
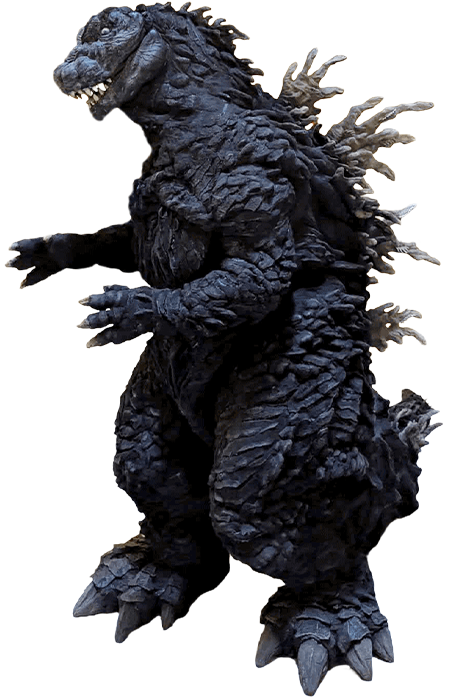
King of the Monsters
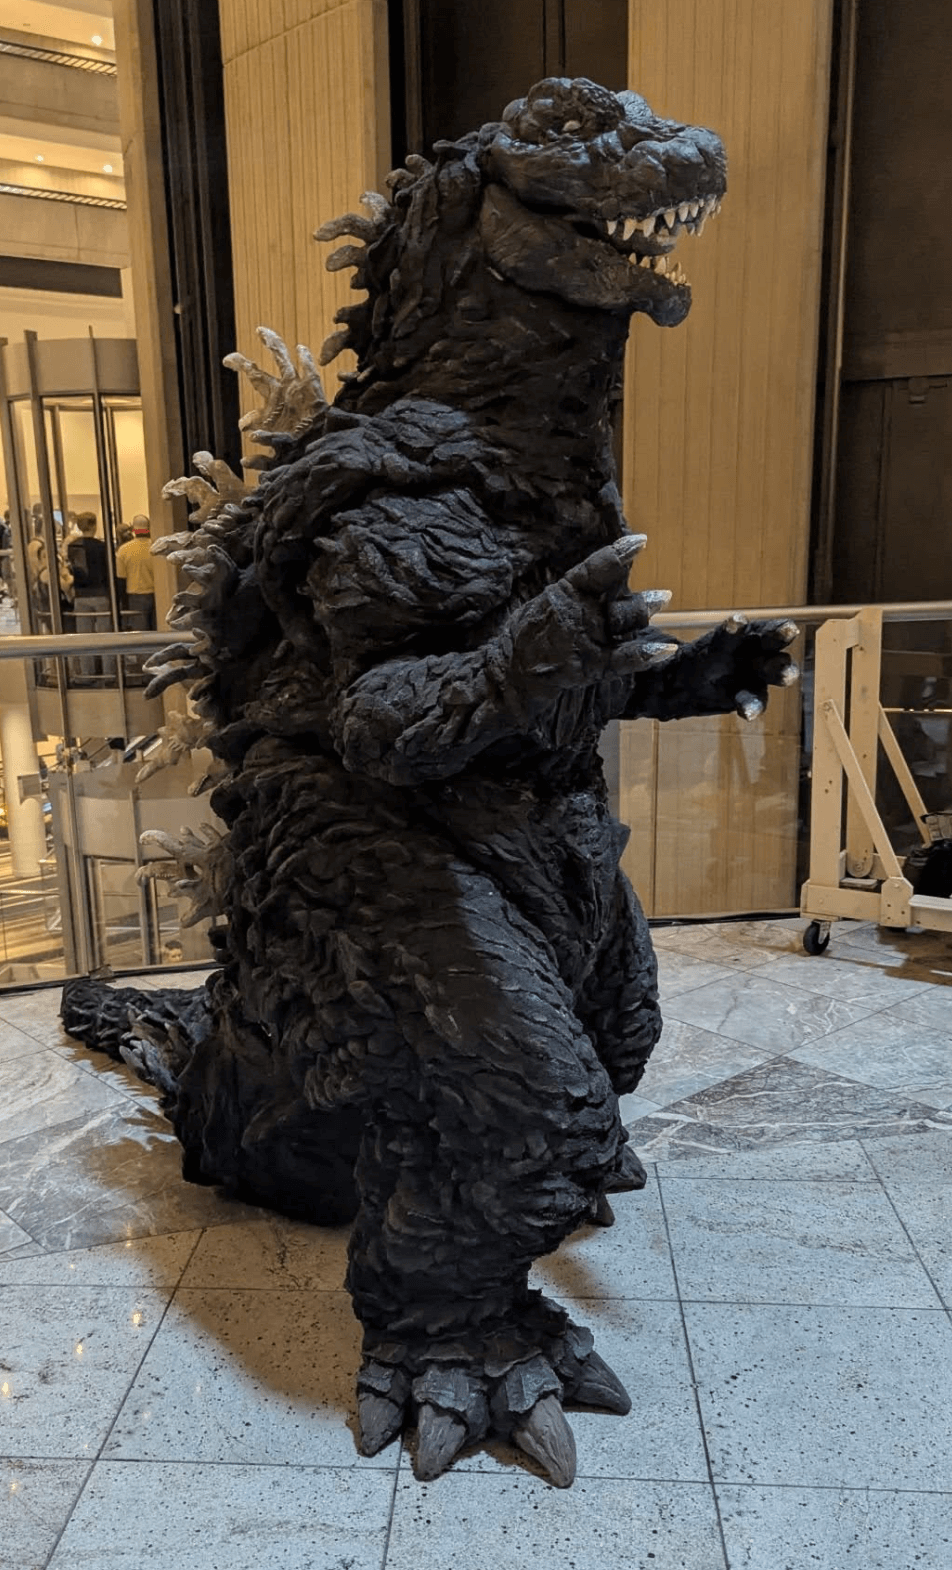
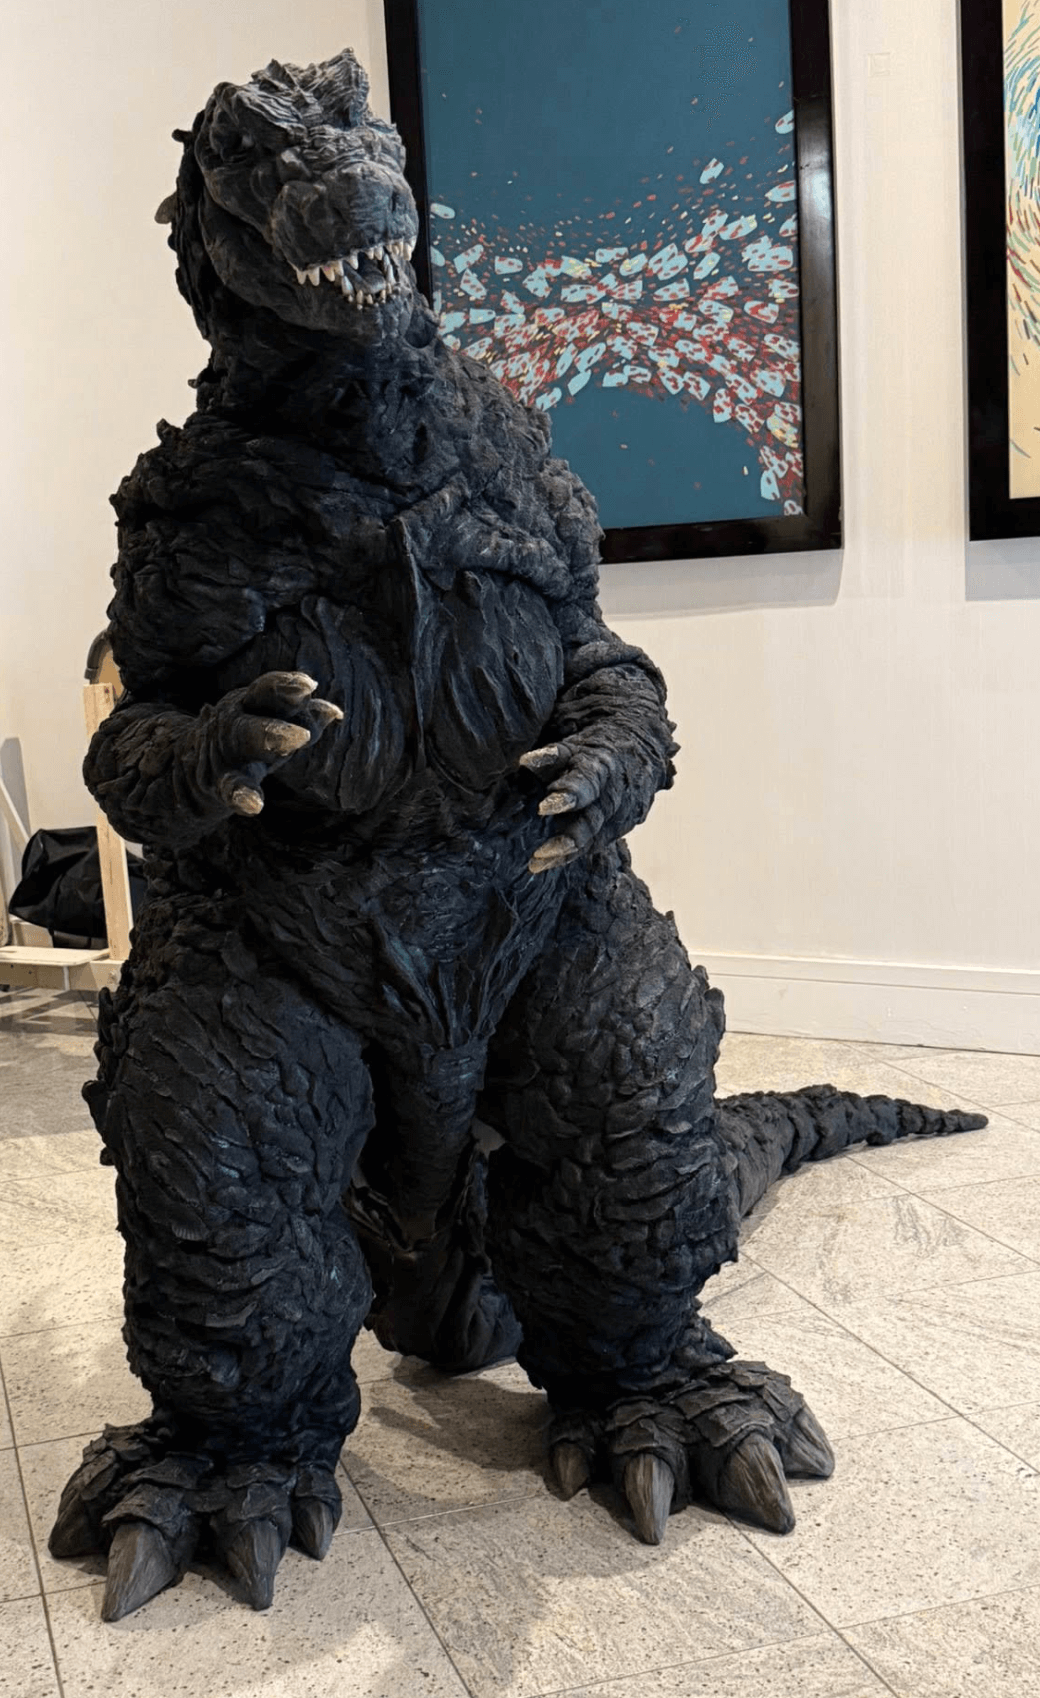
Kevin Jones' Godzilla
 Rock Hill, South Carolina
 Active (as of 2026)
About 13 years ago, my friends introduced me to costume building as a creative outlet. Being a Godzilla lover, I added it to my “bucket list” of projects but put it off until I had a few more monster suits under my belt.
Picking a favorite Godzilla was hard but I felt the long history and variety of Godzillas gave me leeway to design my own.
Home Videos
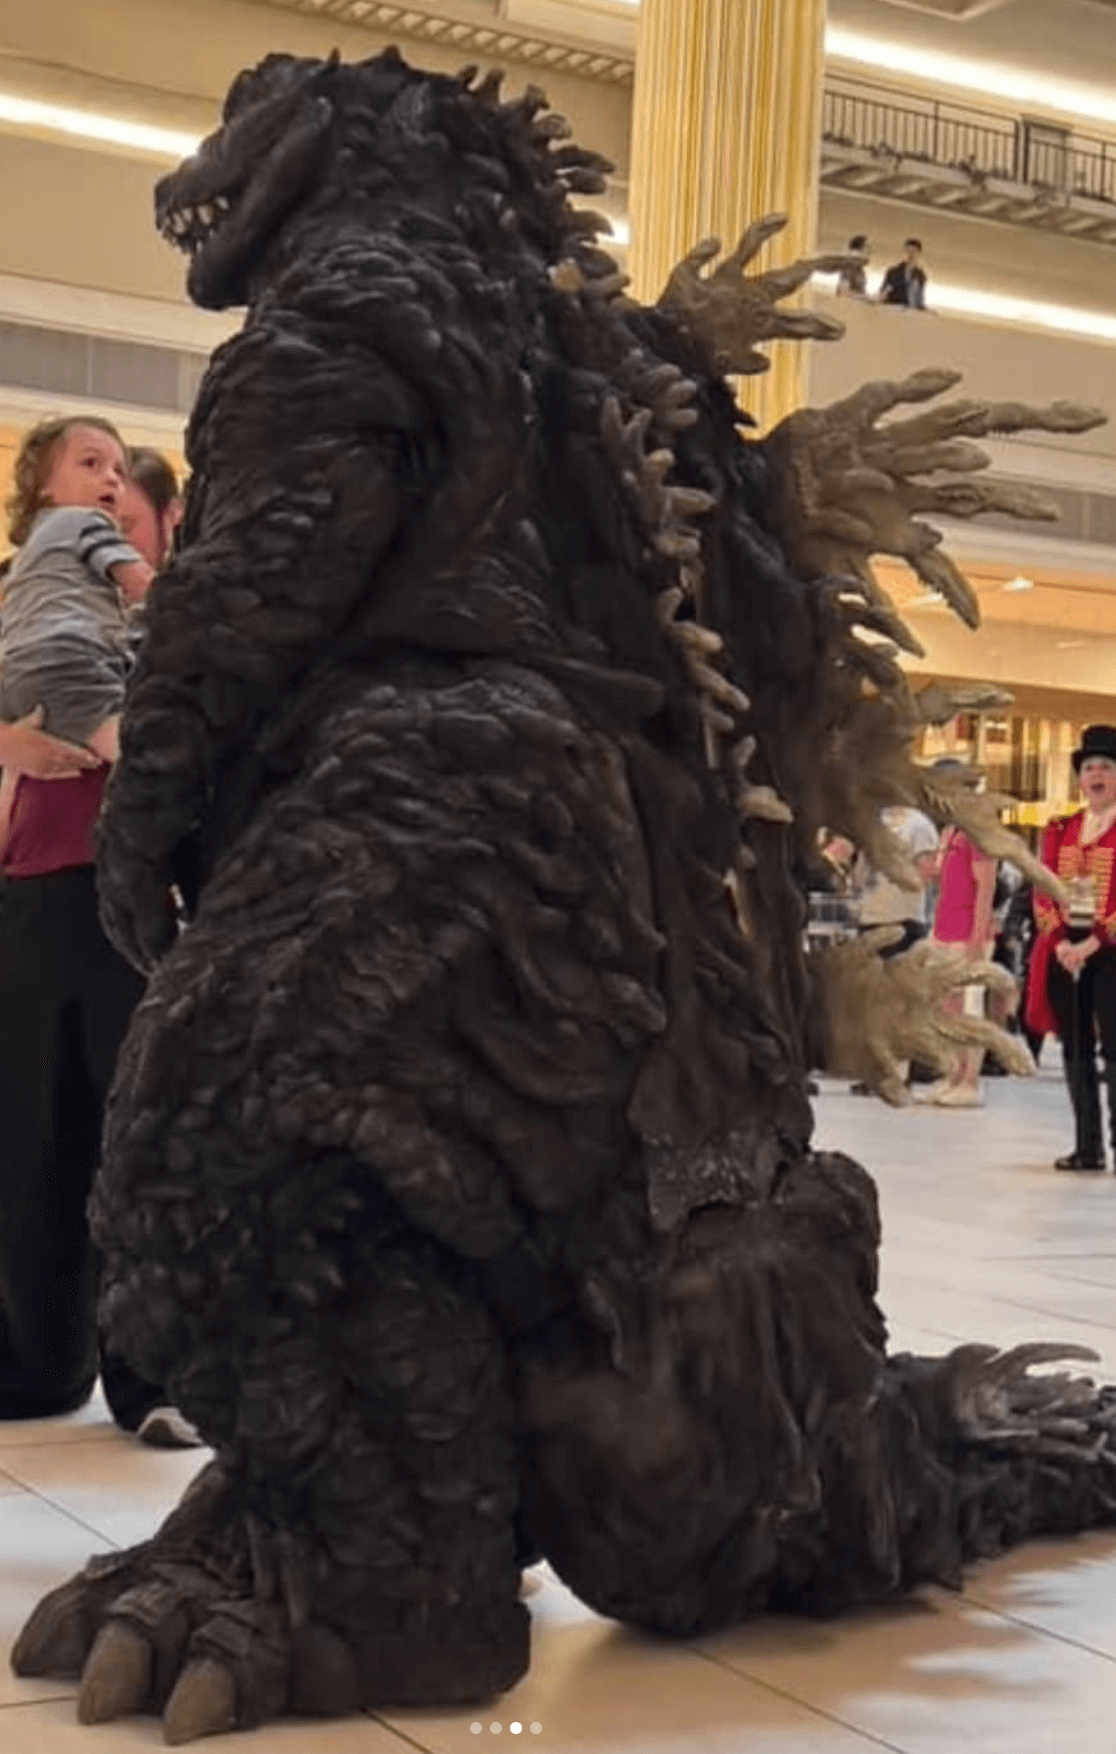
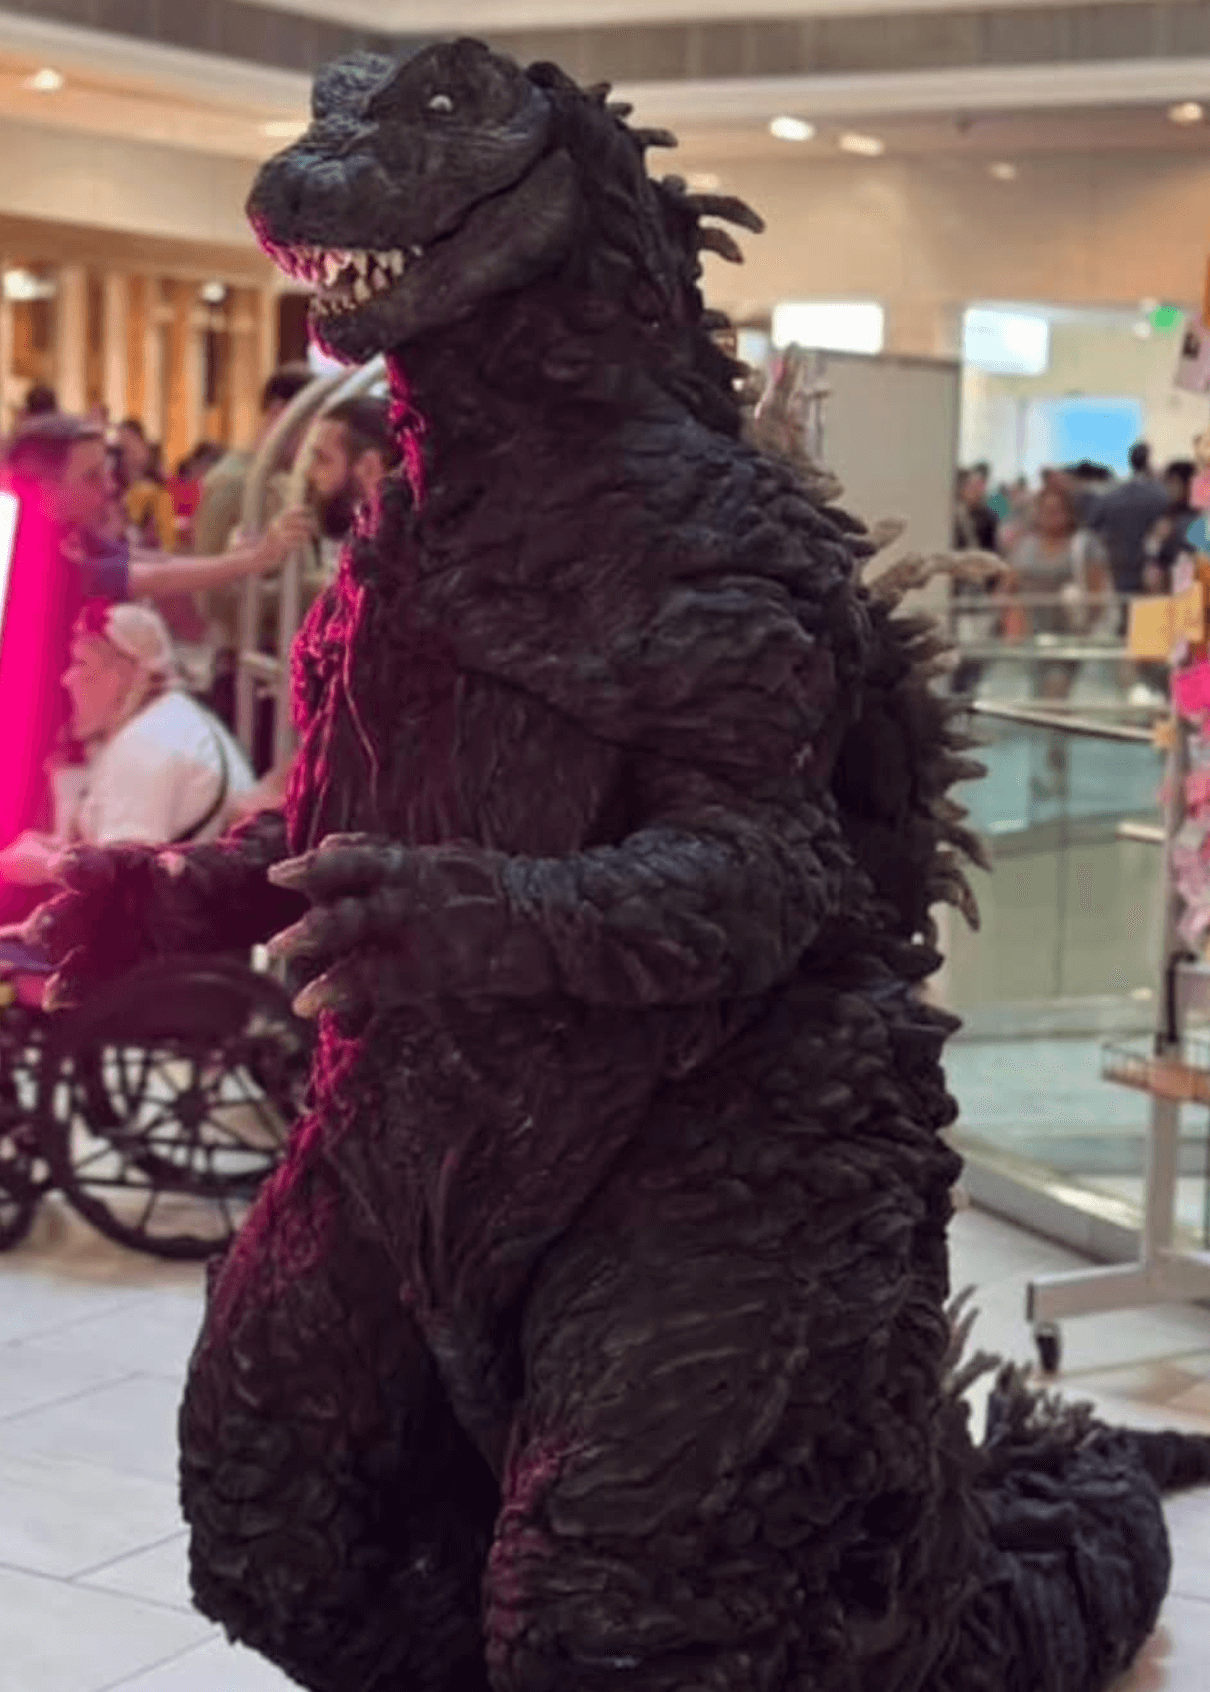
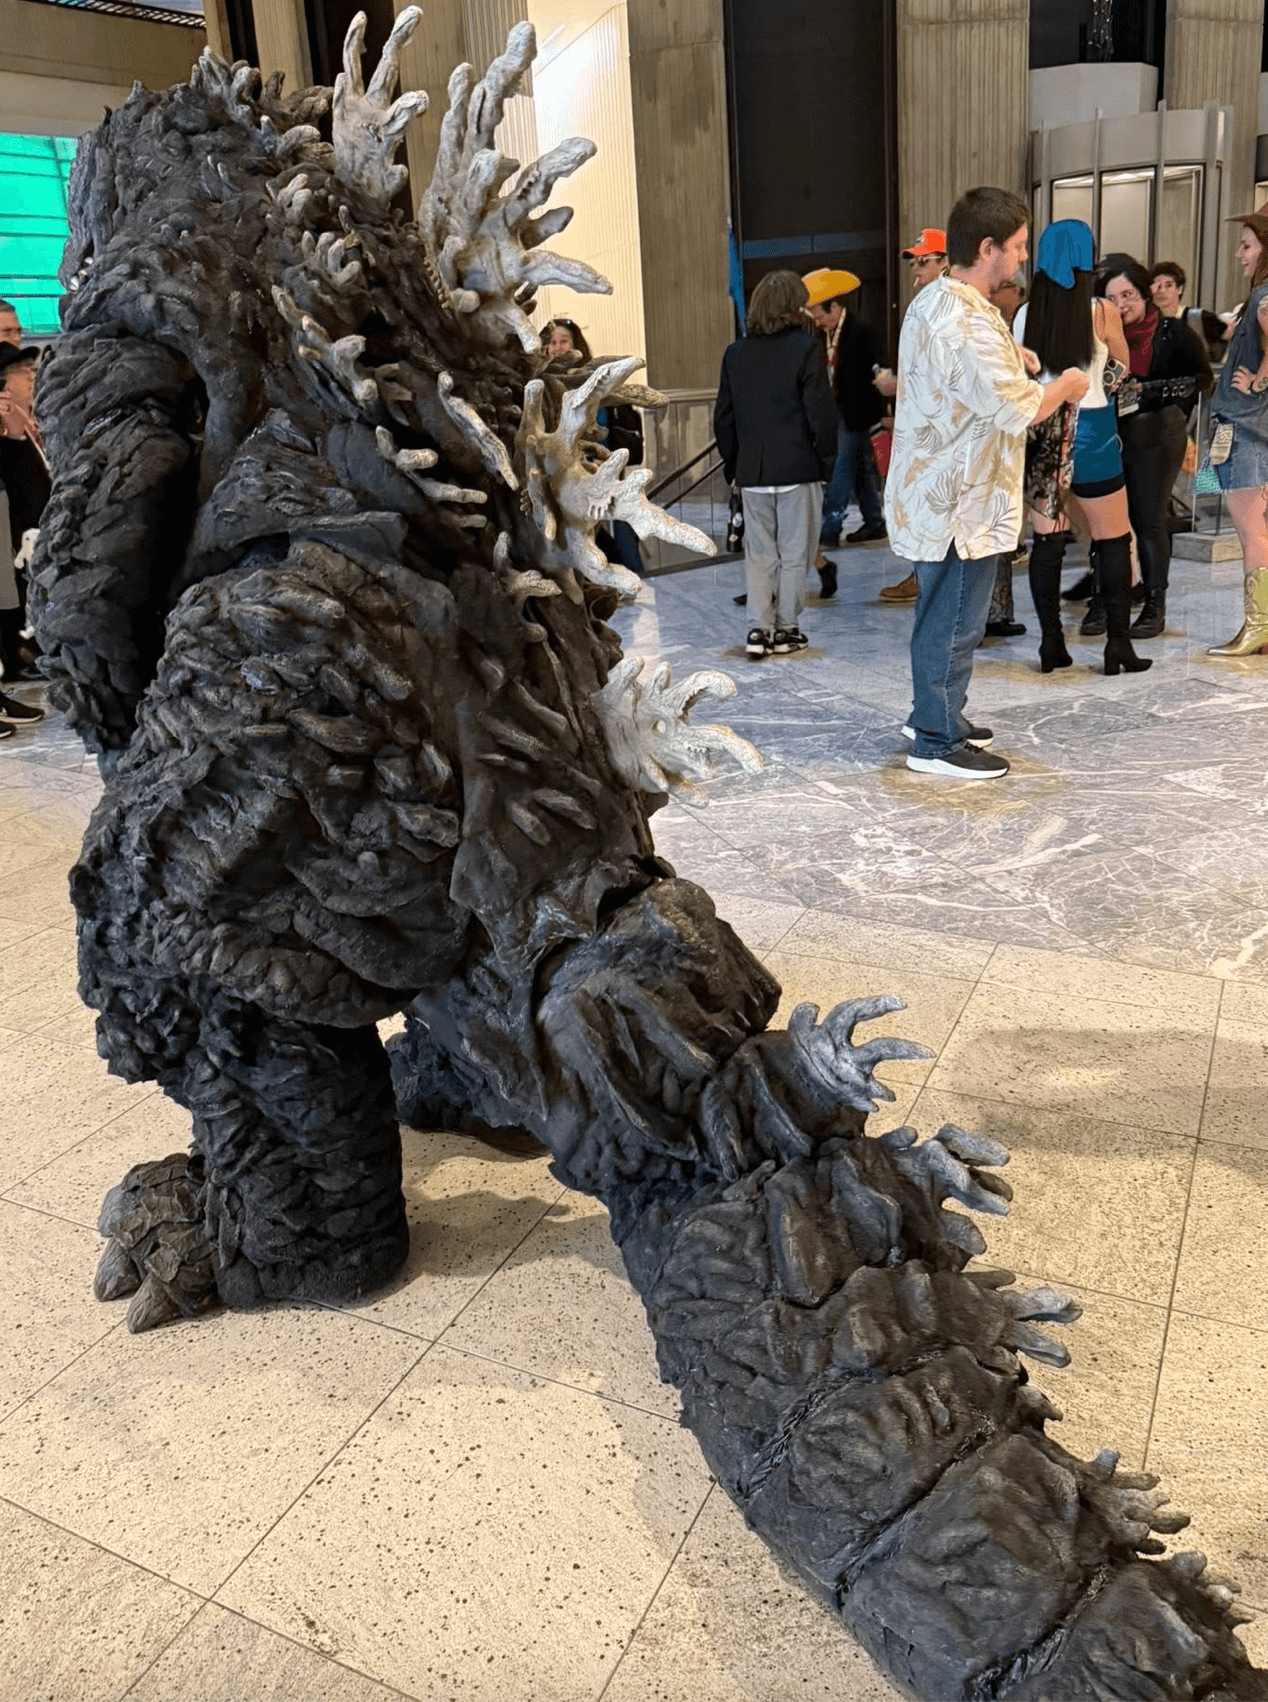
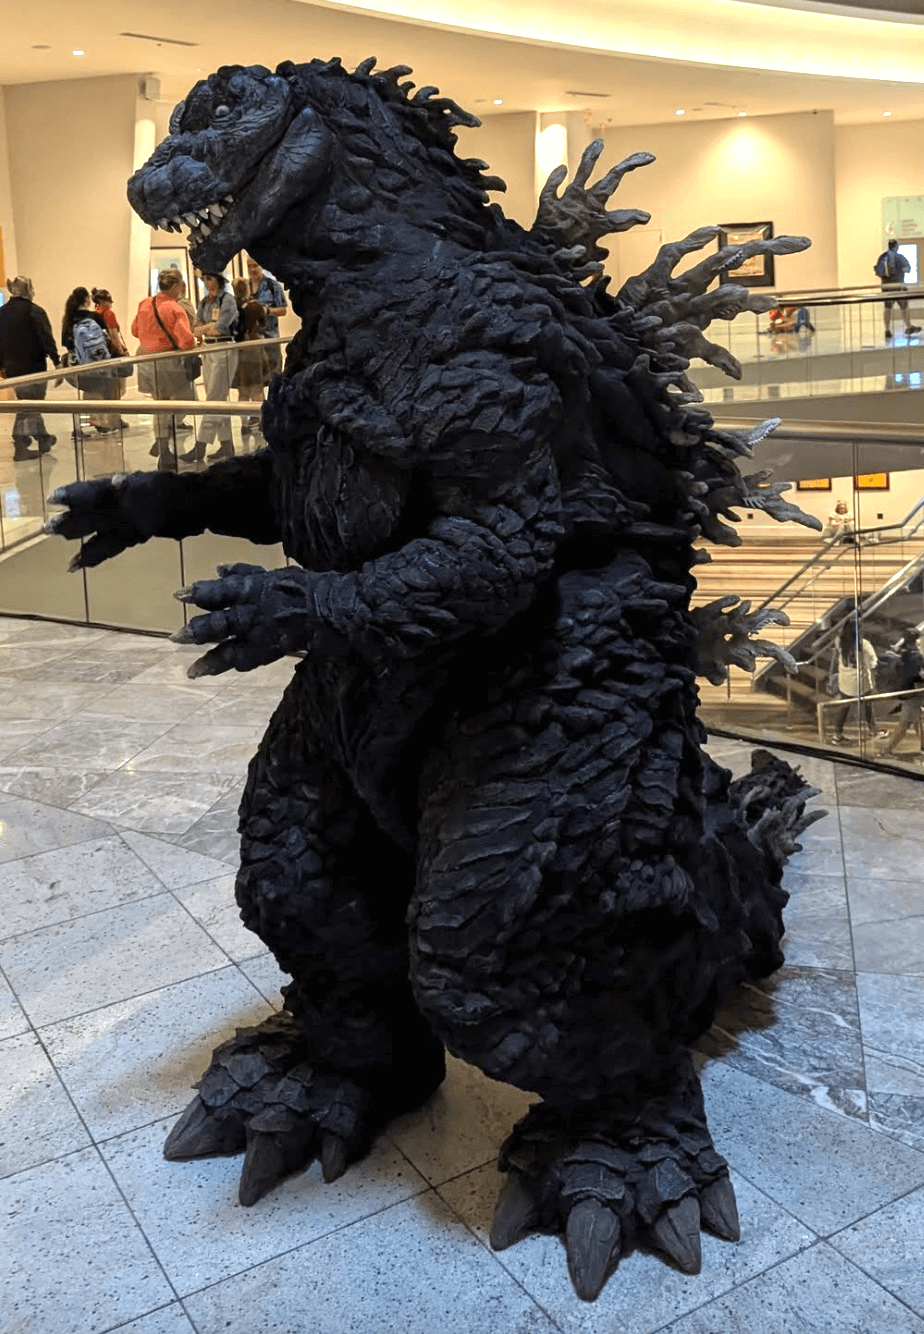
Final Walk Around
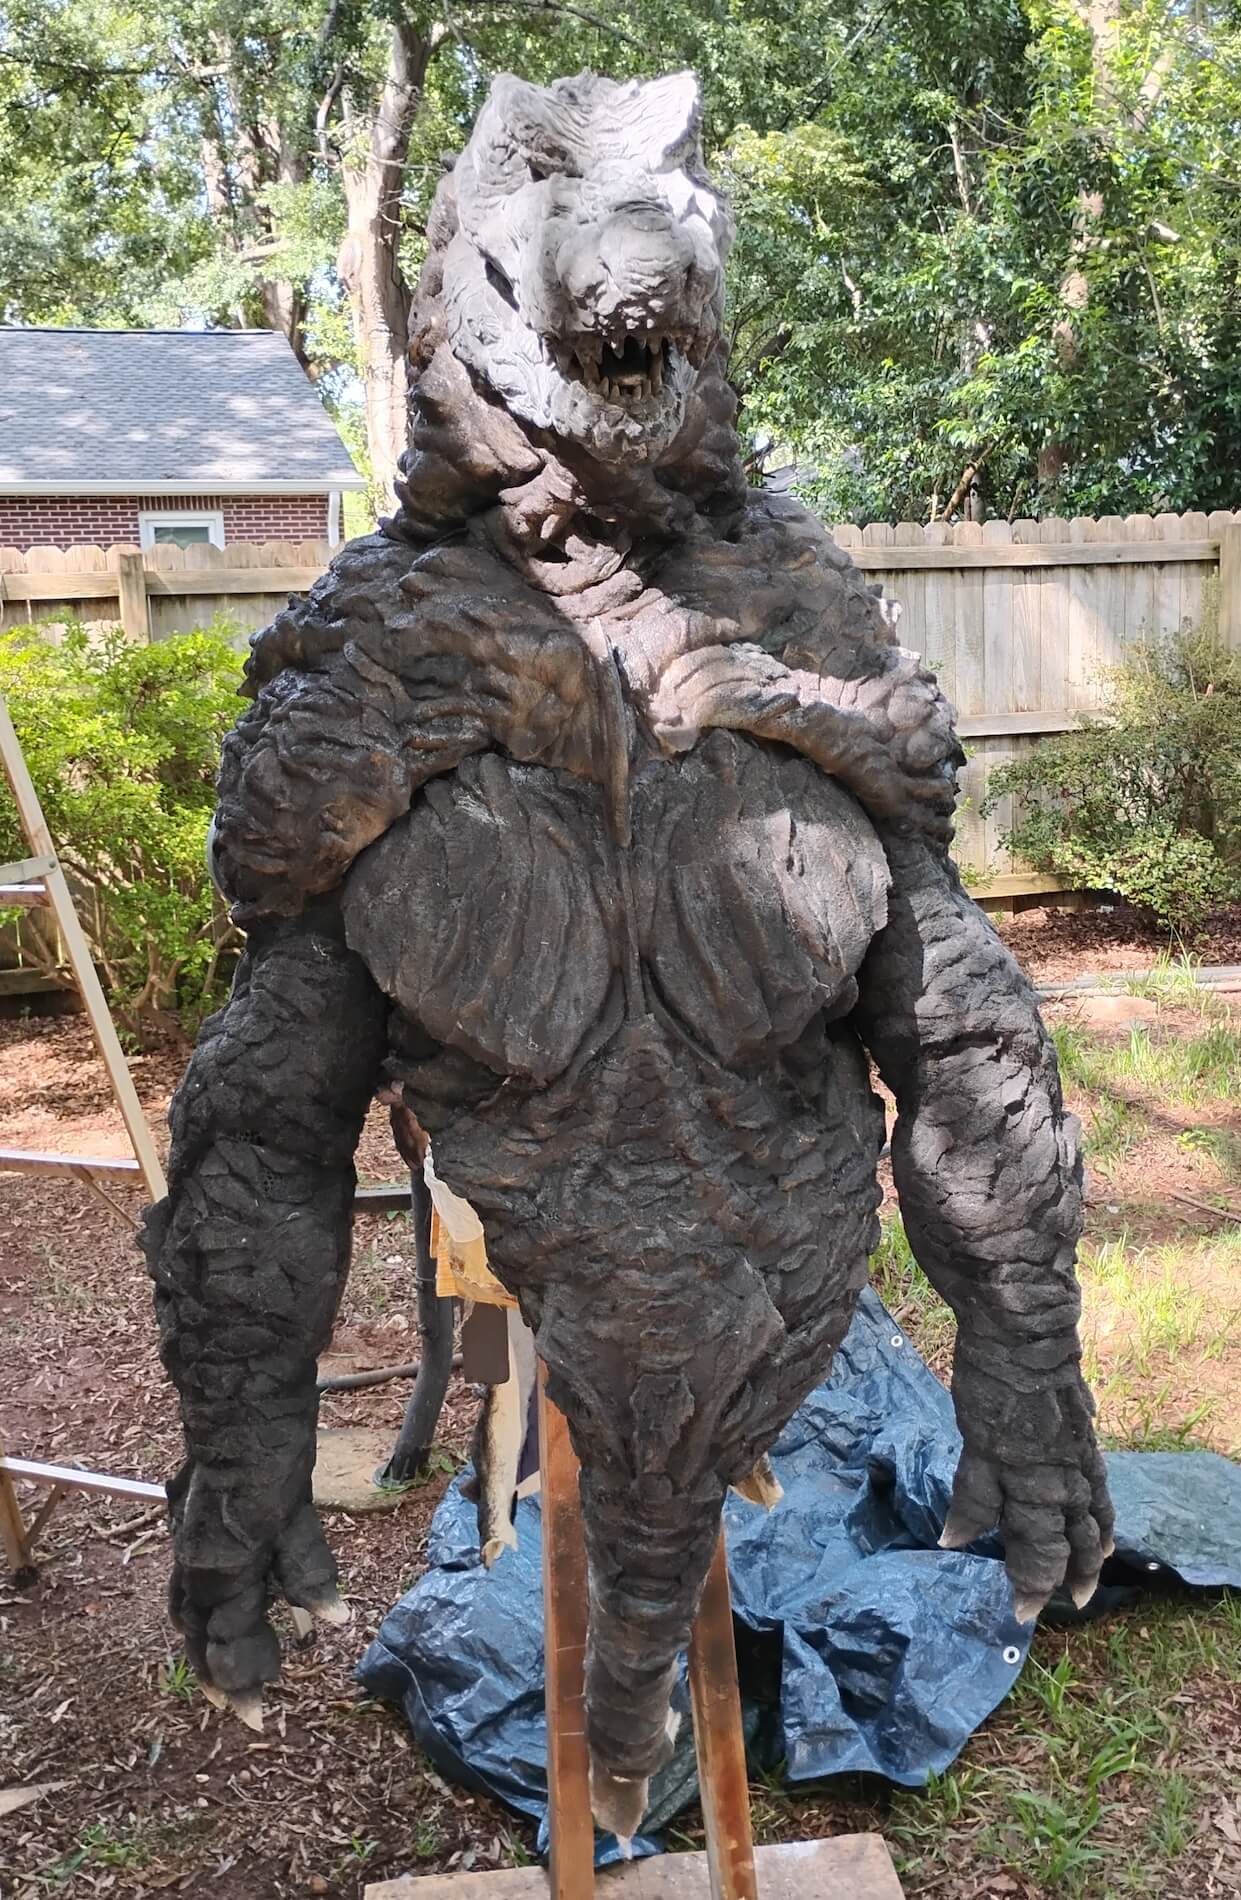
A quick walk around of the final costume to make sure there were no problem areas, gaps, comfort issues, and that everything held up well. It was a beautiful day for the final walk!
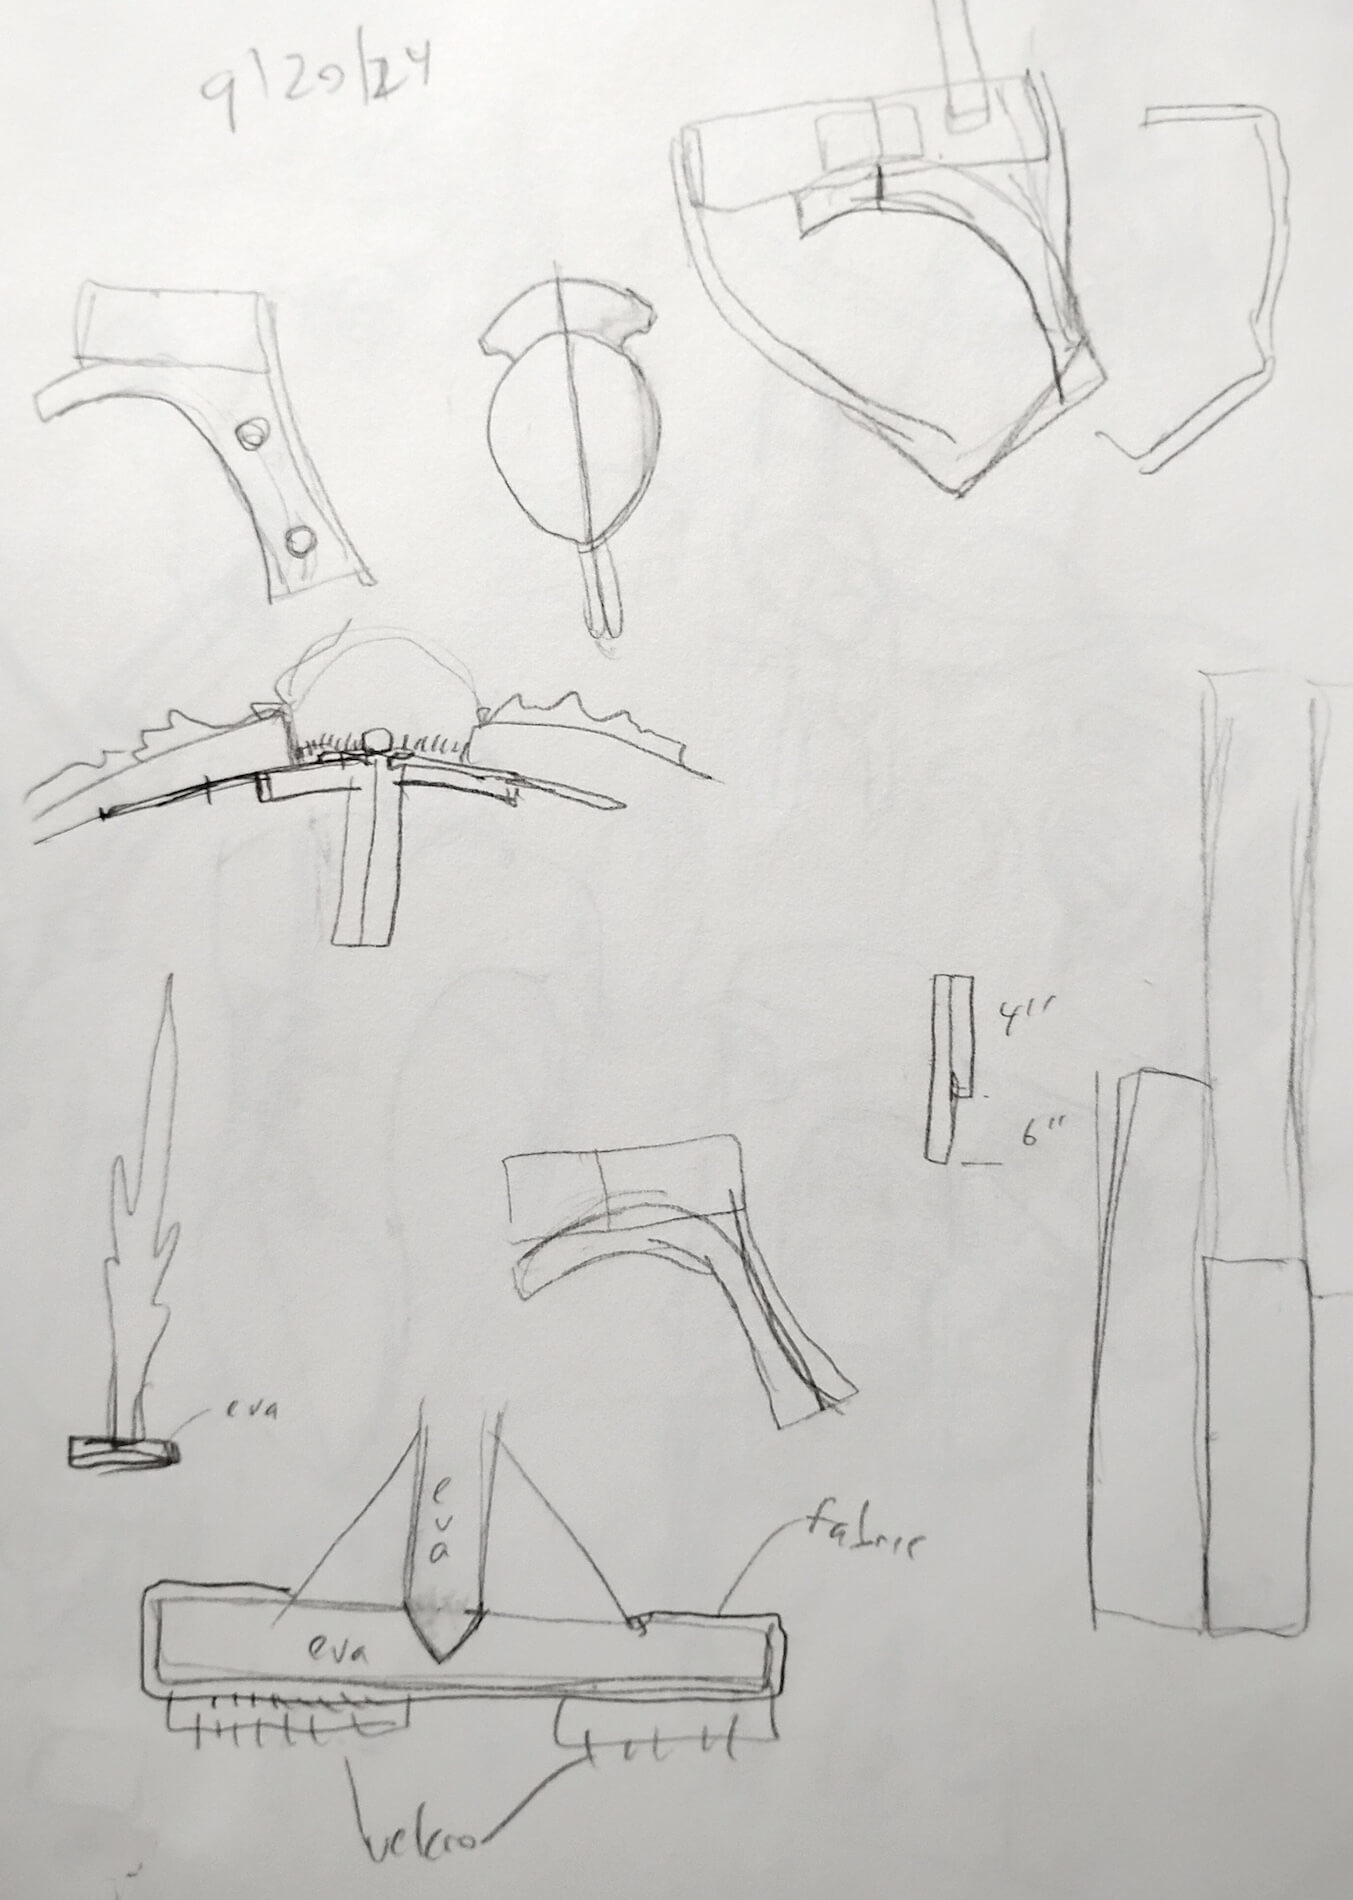
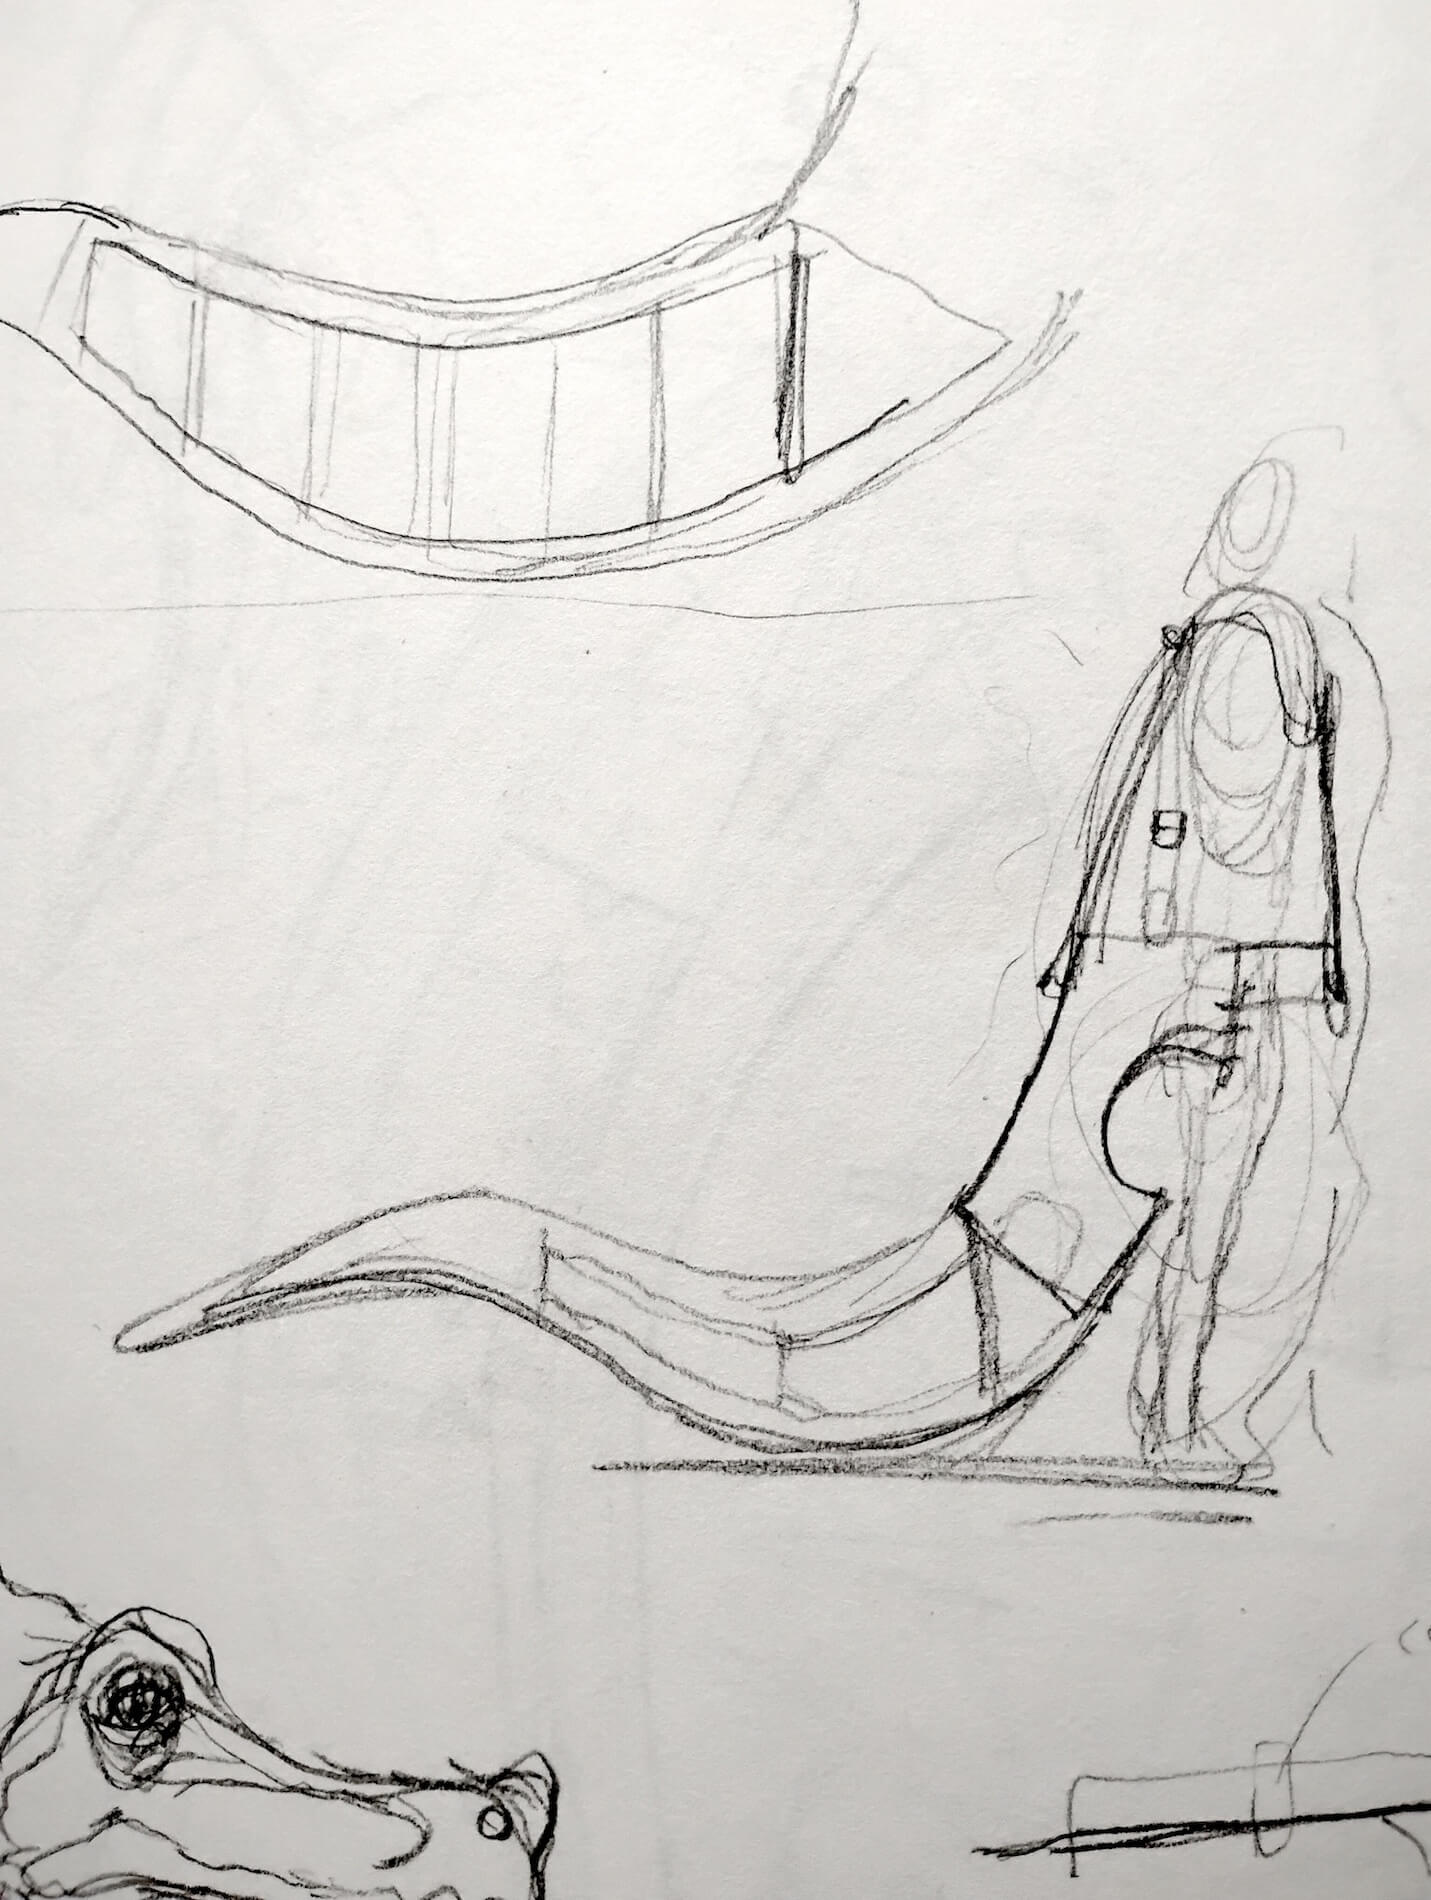
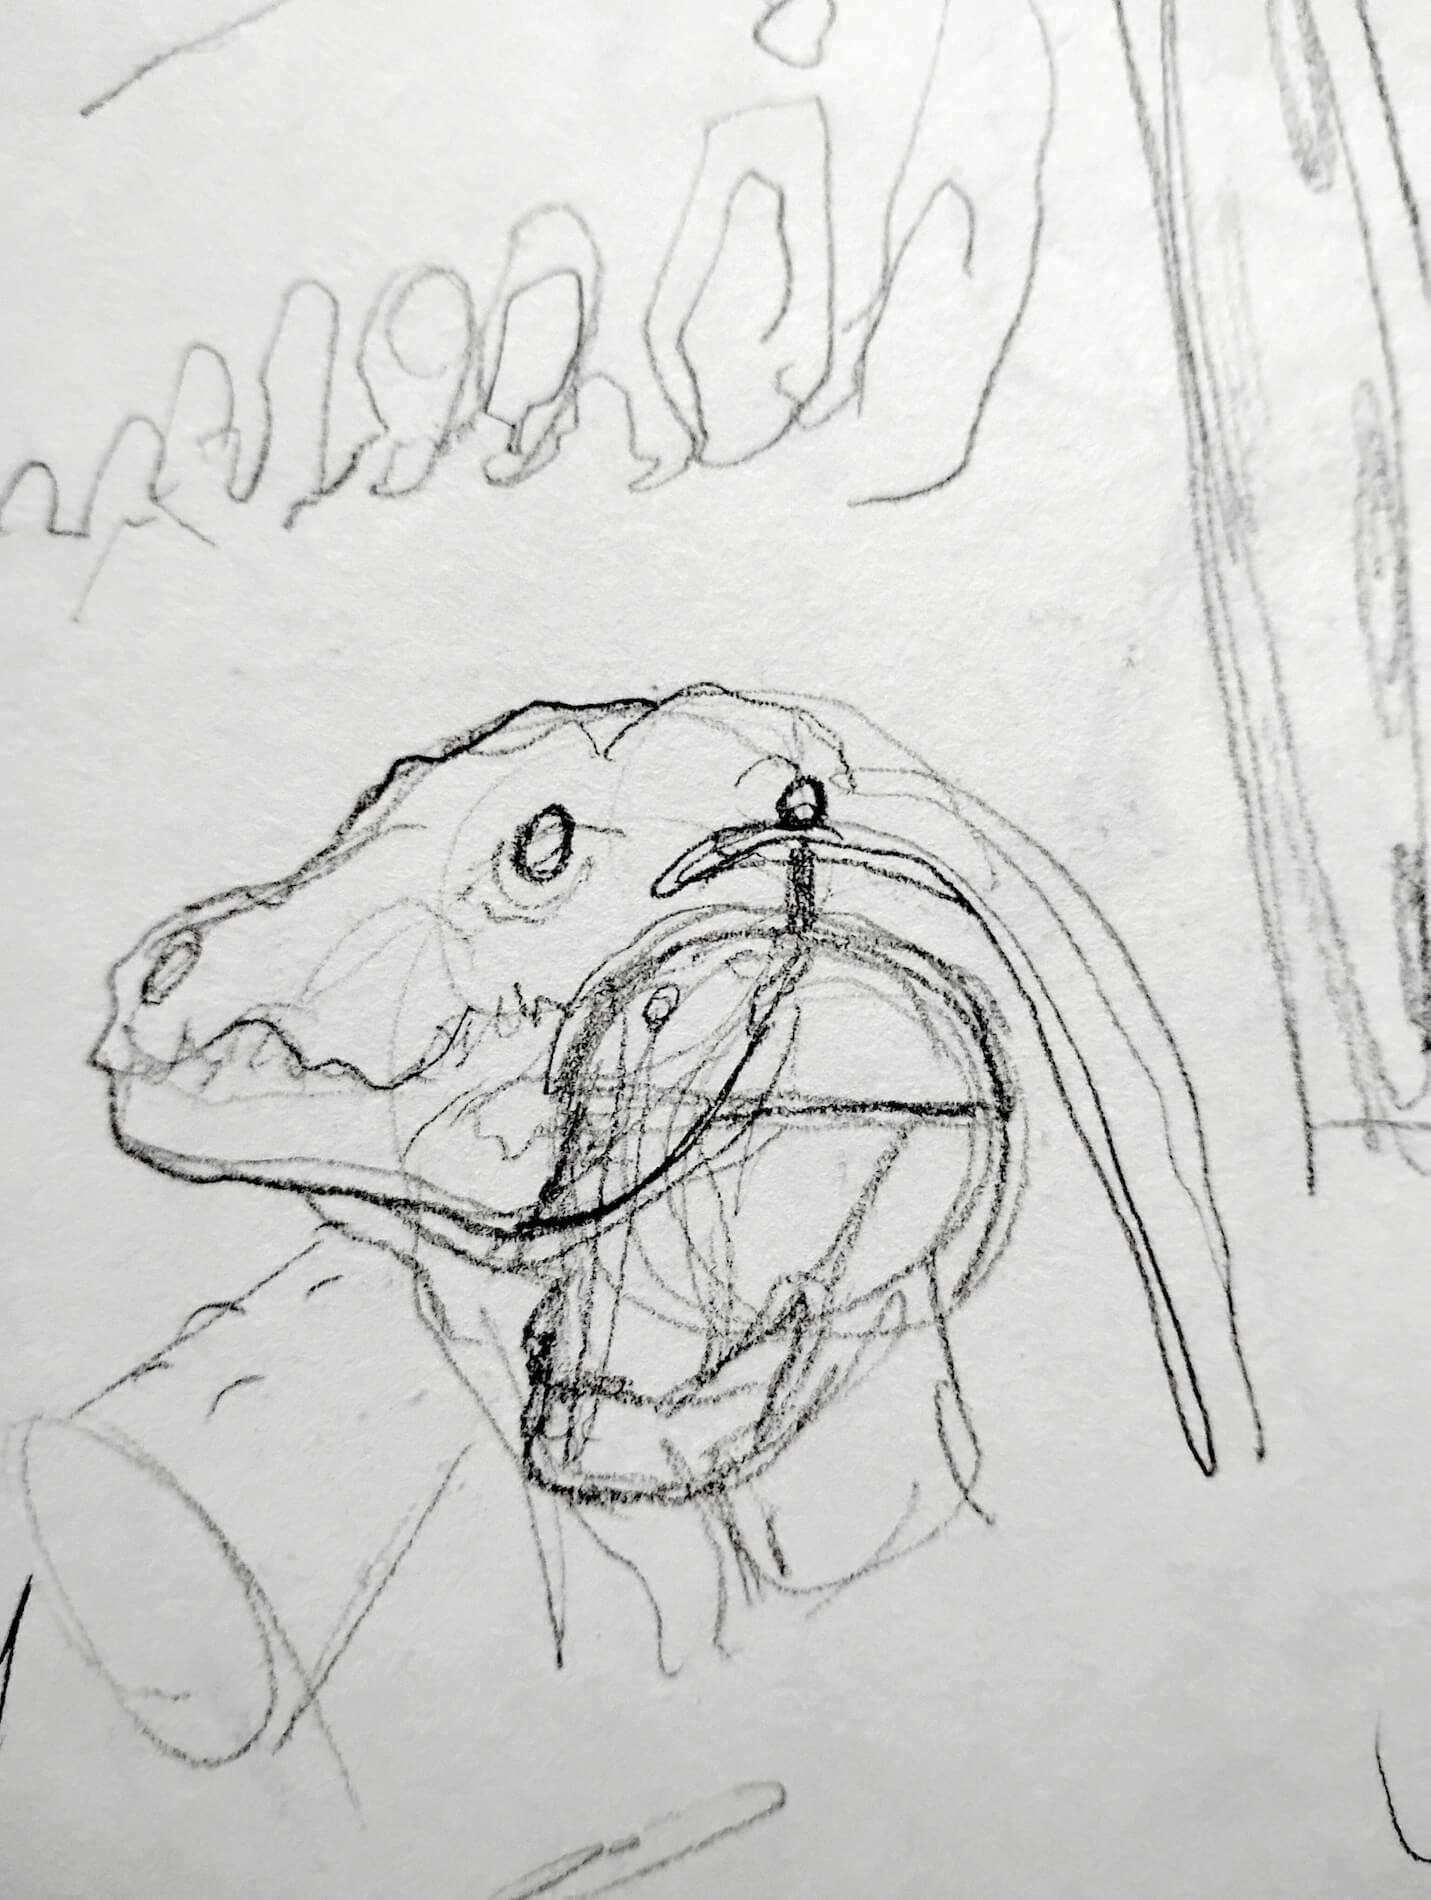
Planning
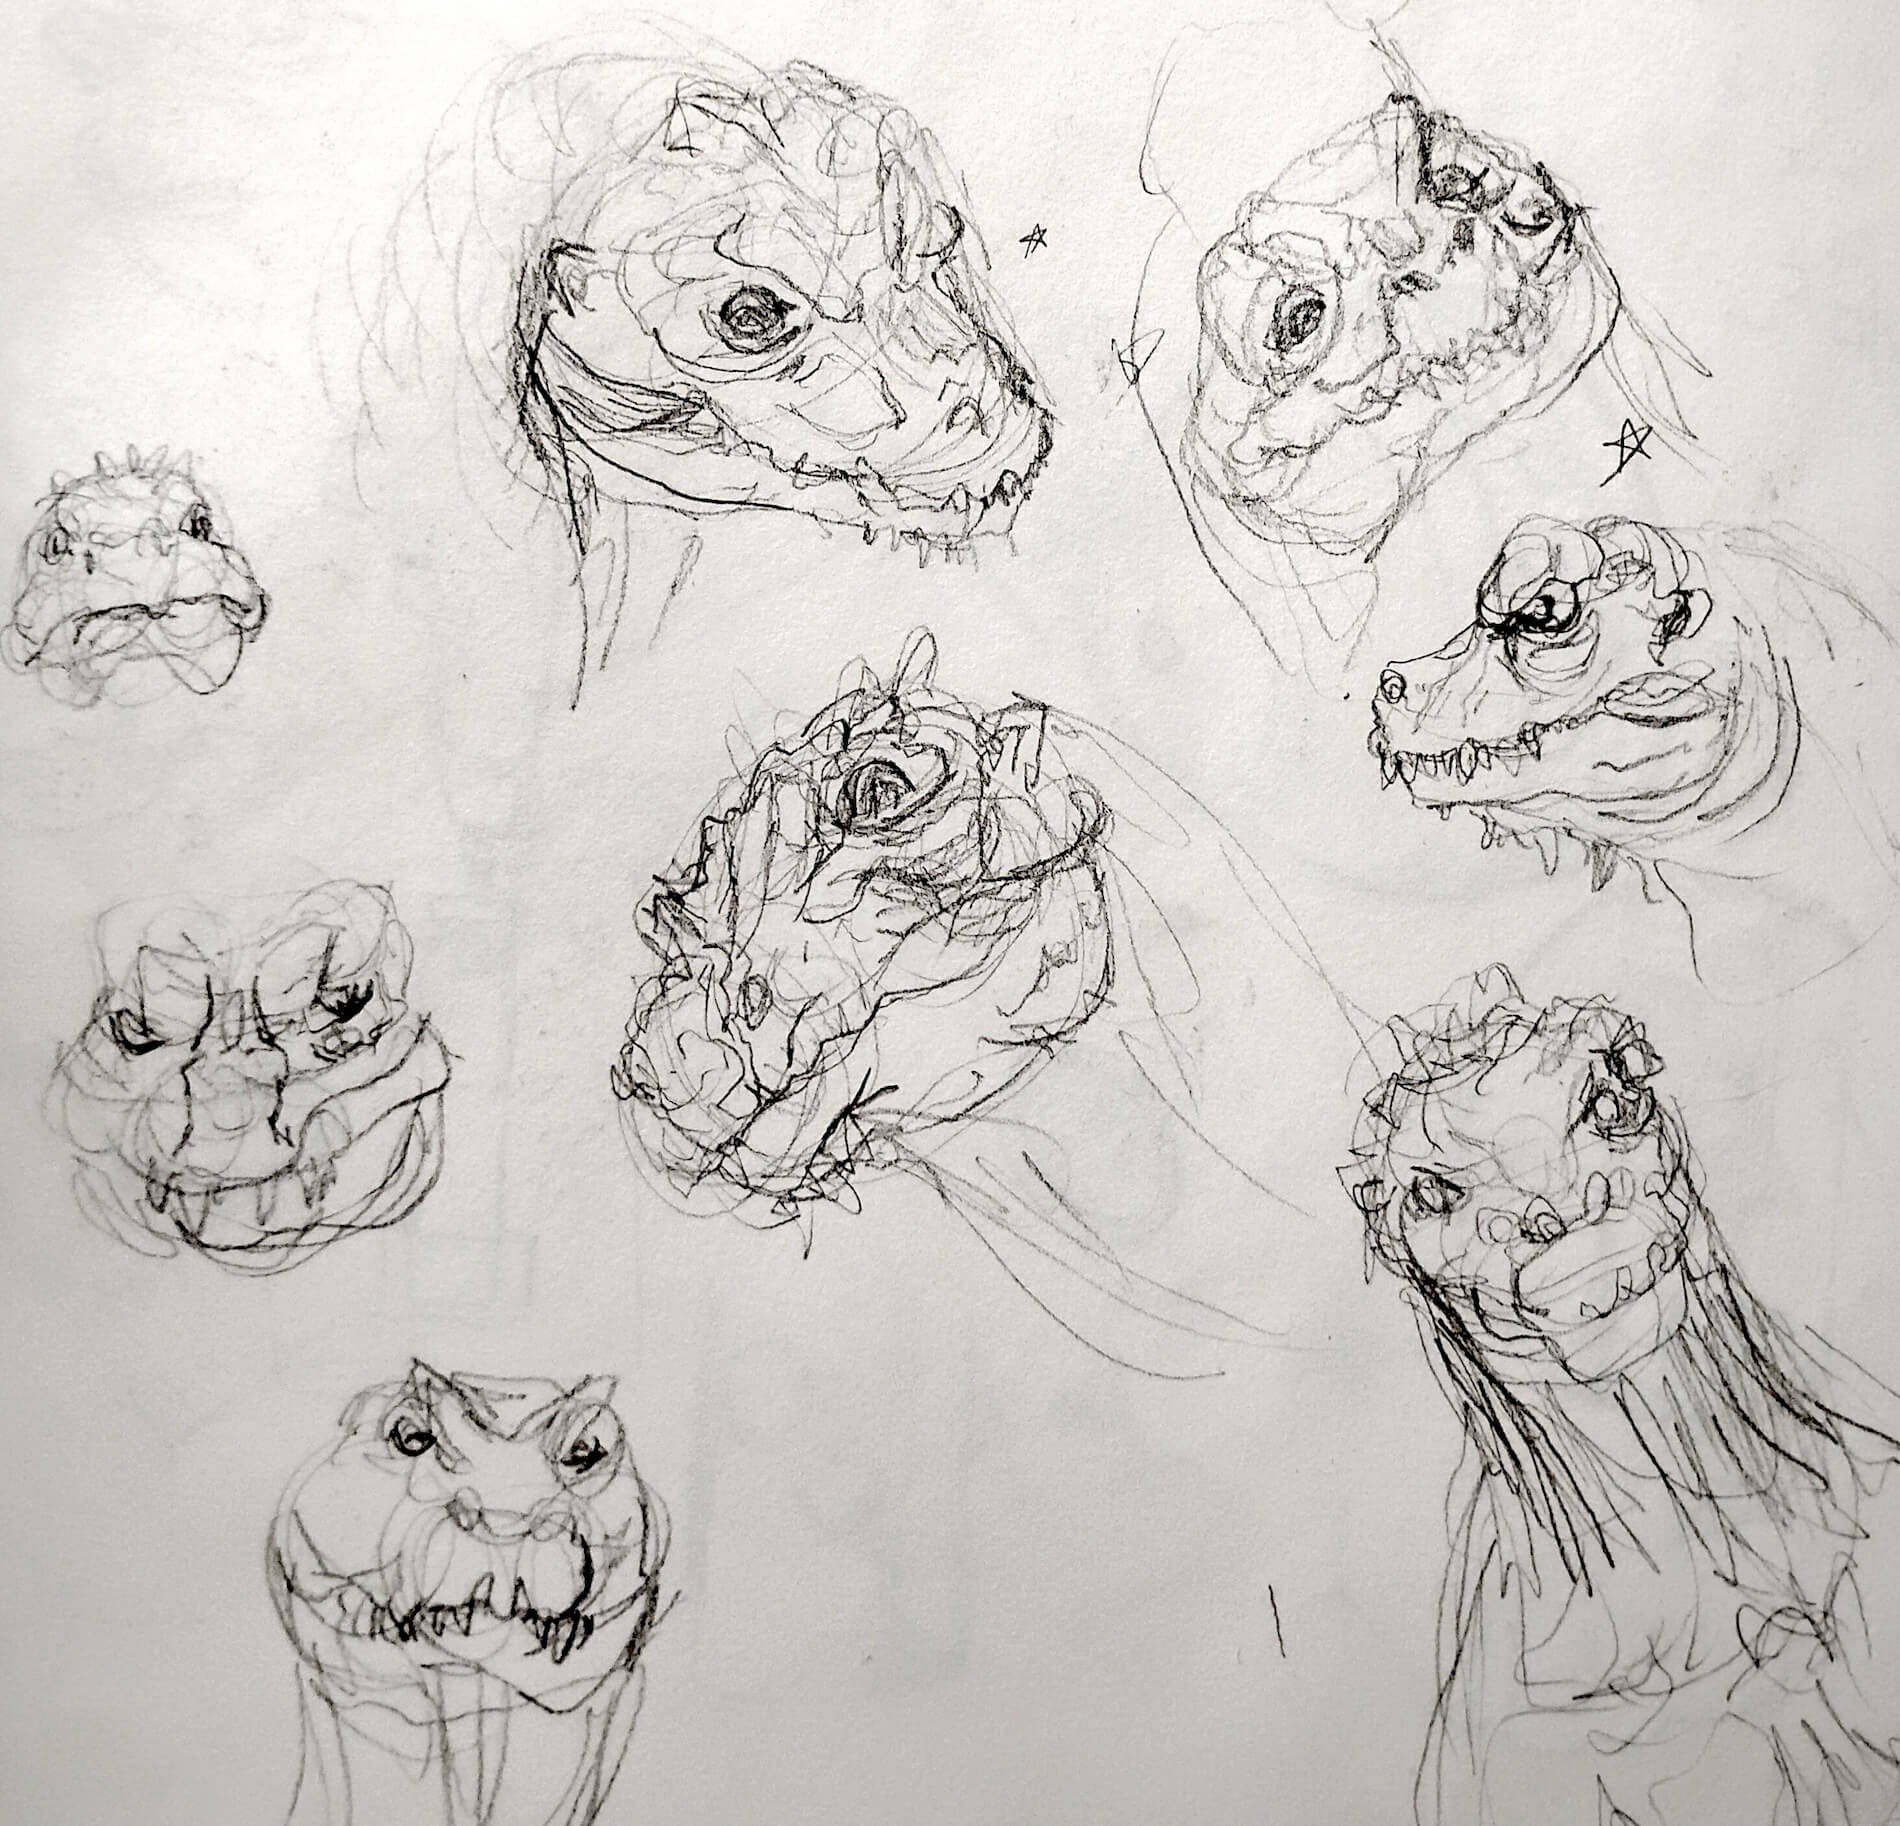
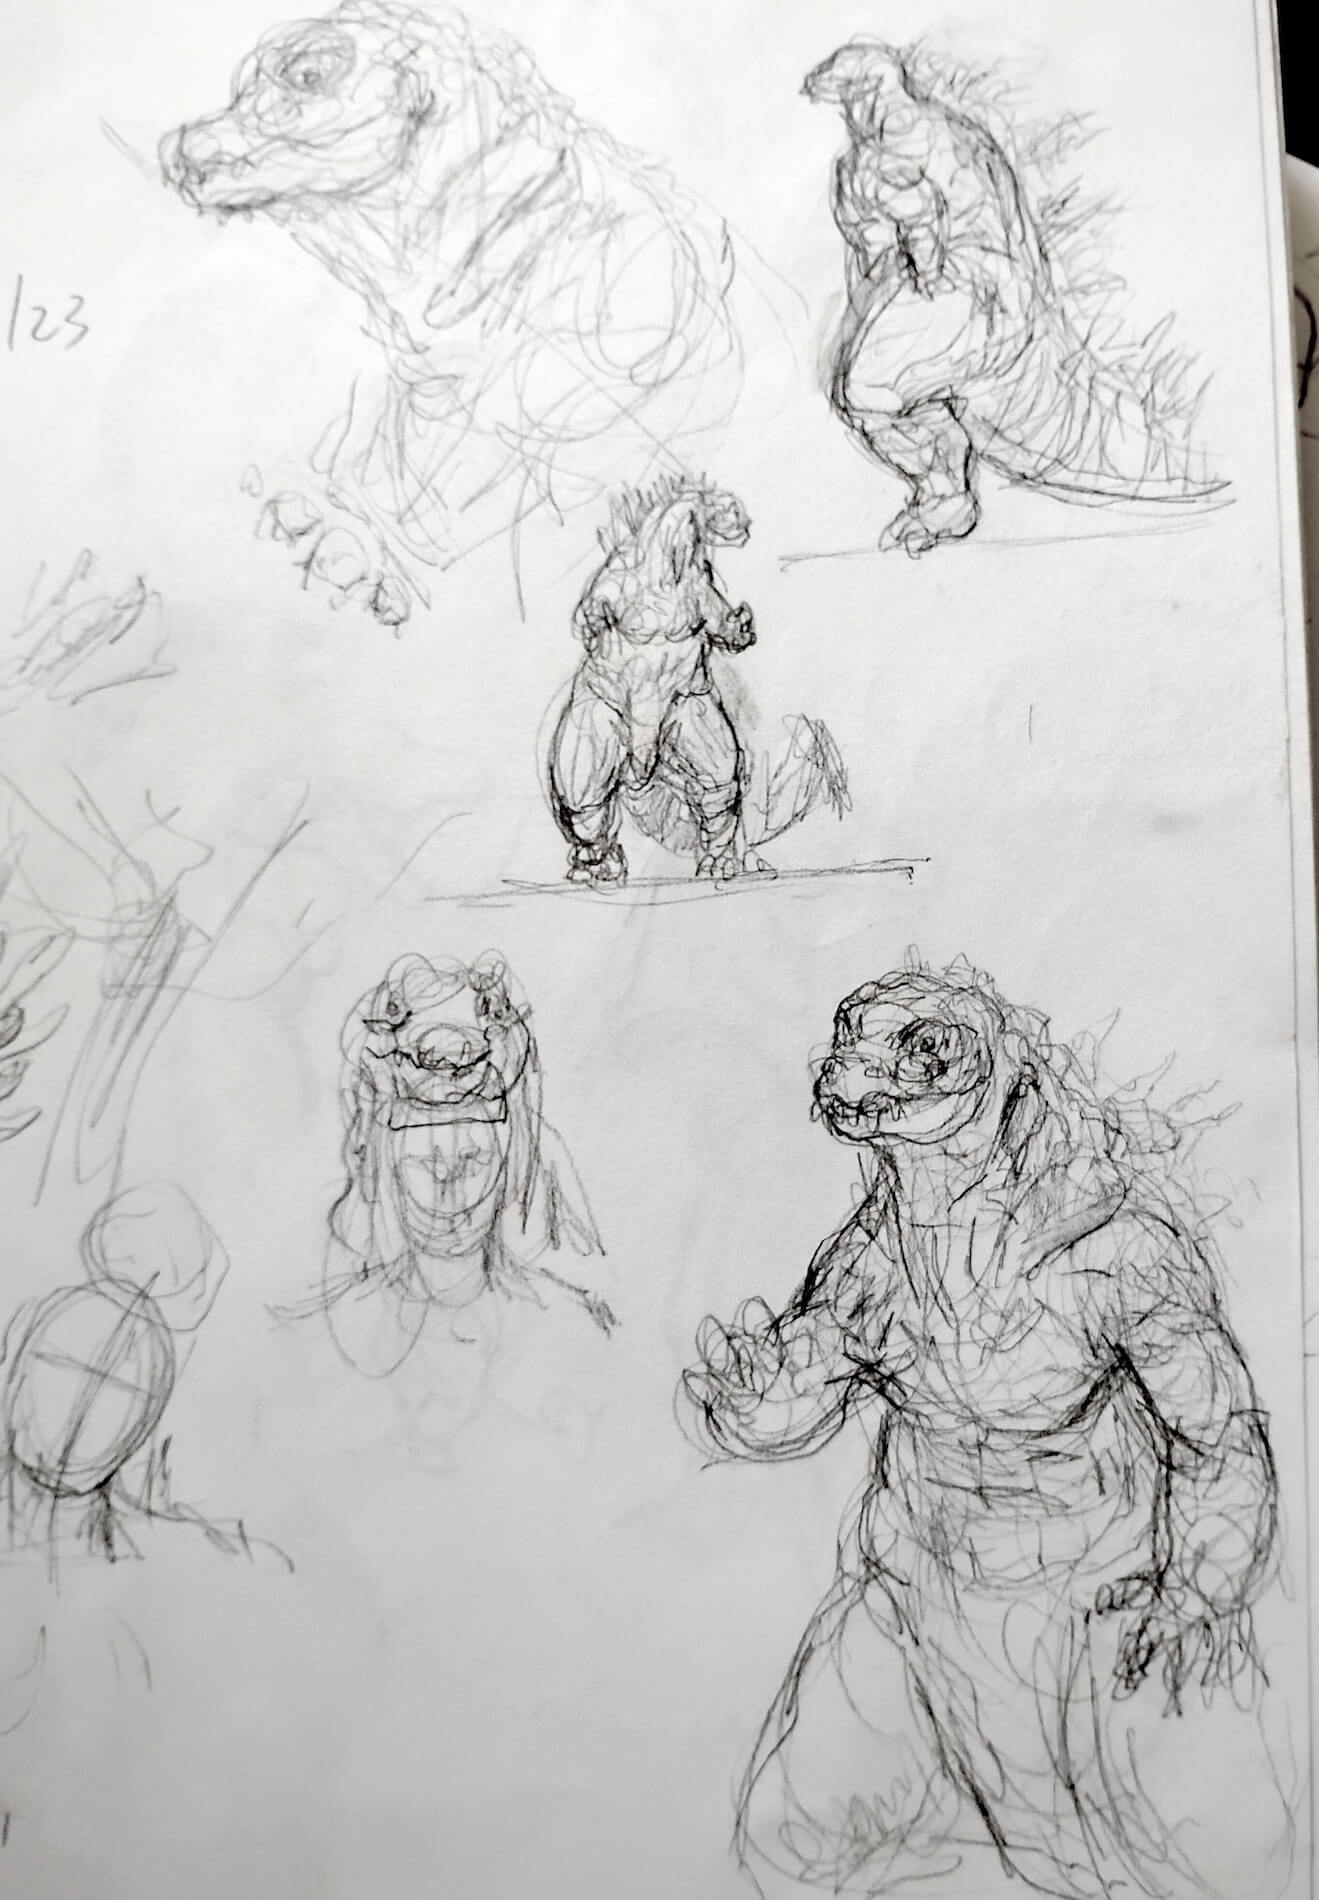
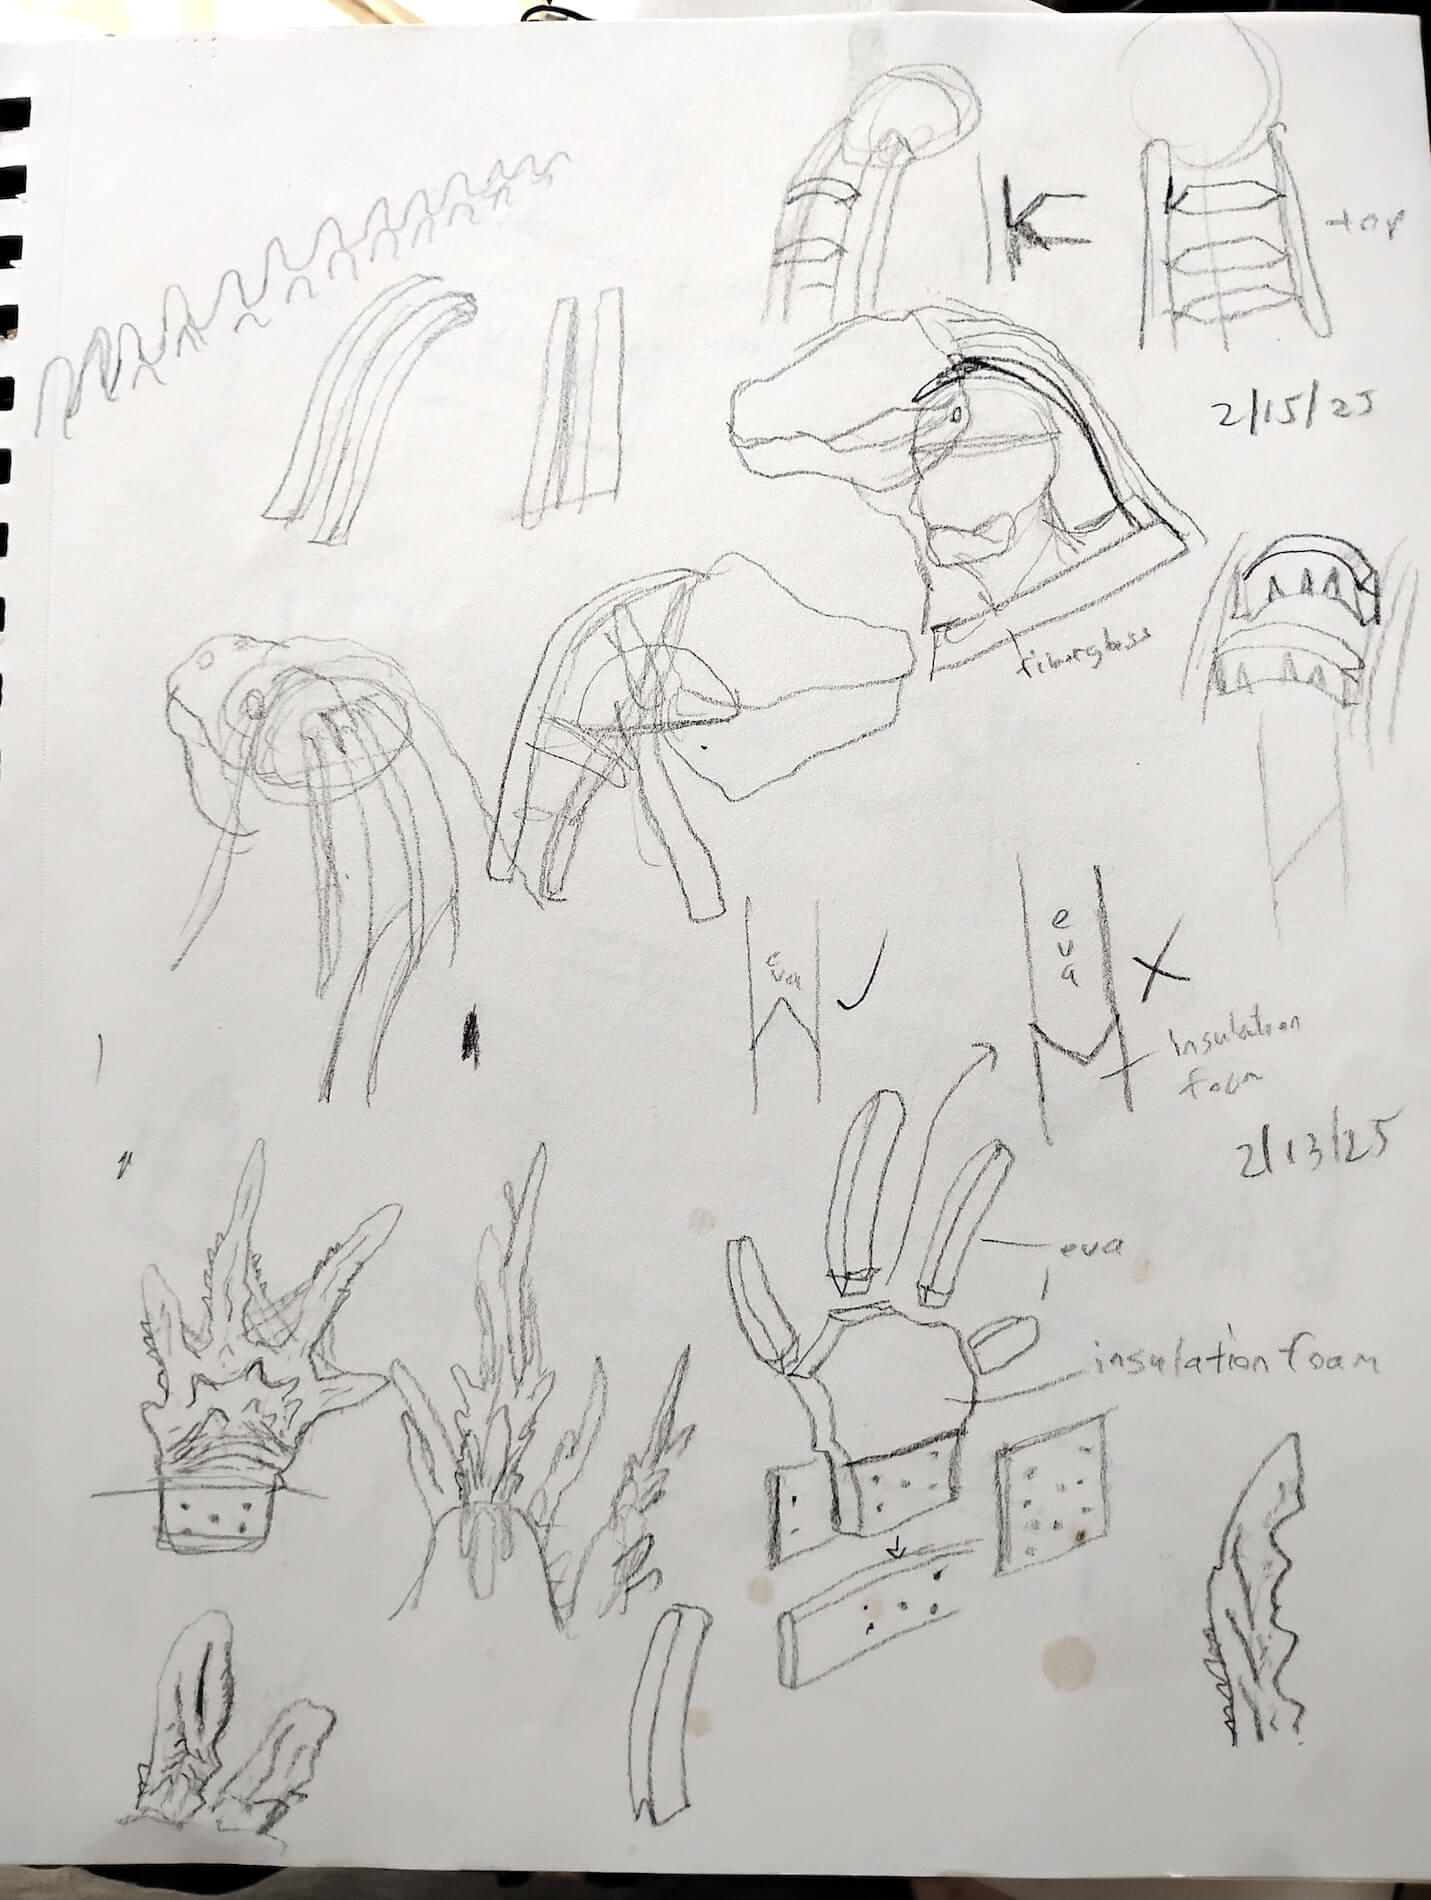
- Doodles of different heads. Not looking for final details, just more of a feeling or general direction.
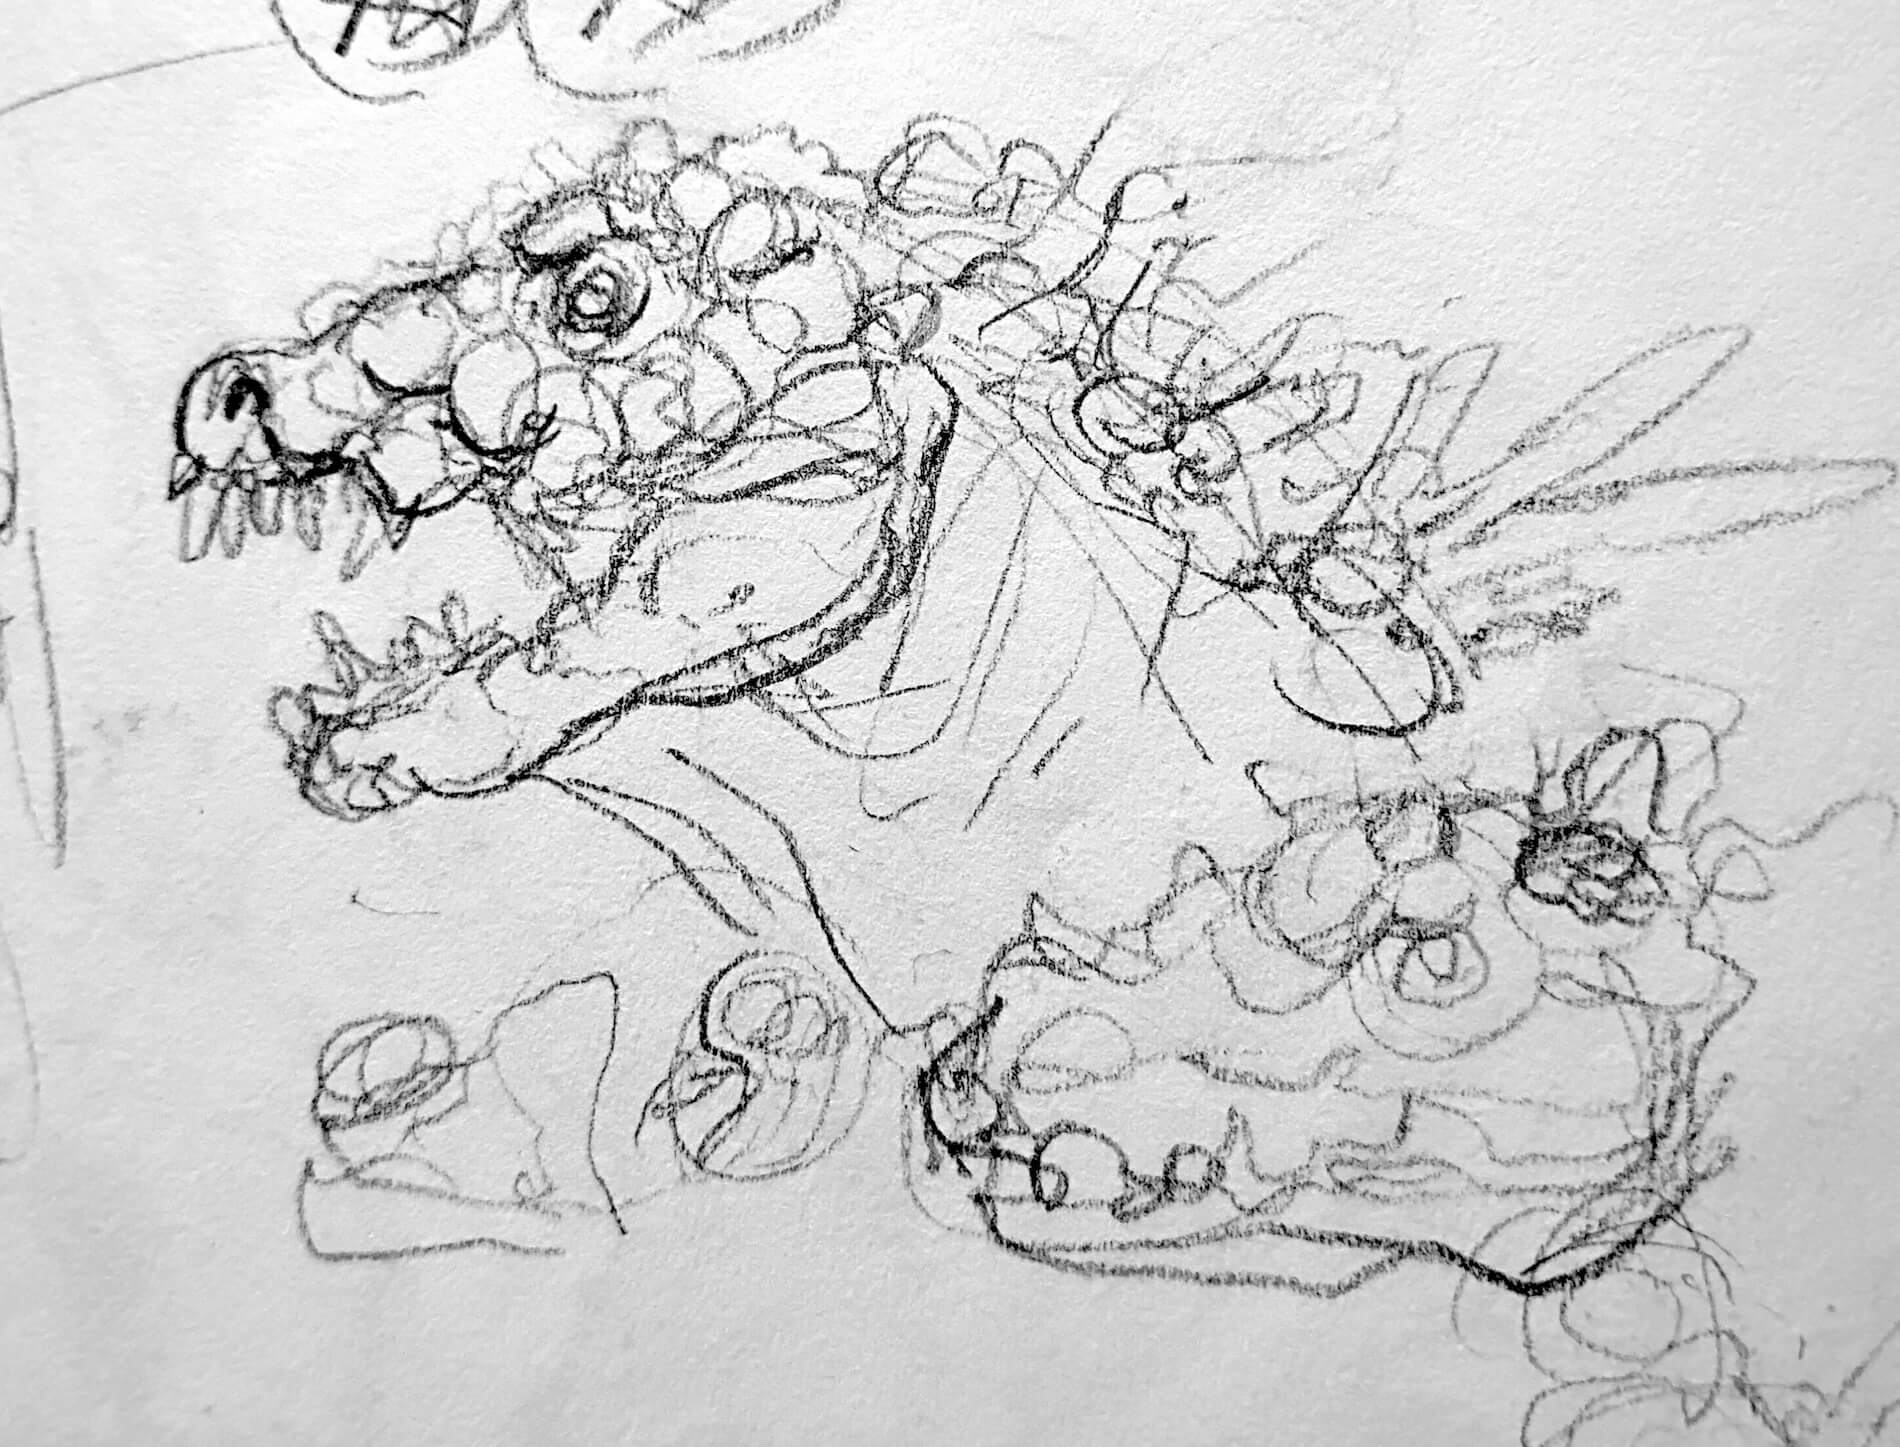
- An early idea was to make him very lumpy and irregular.
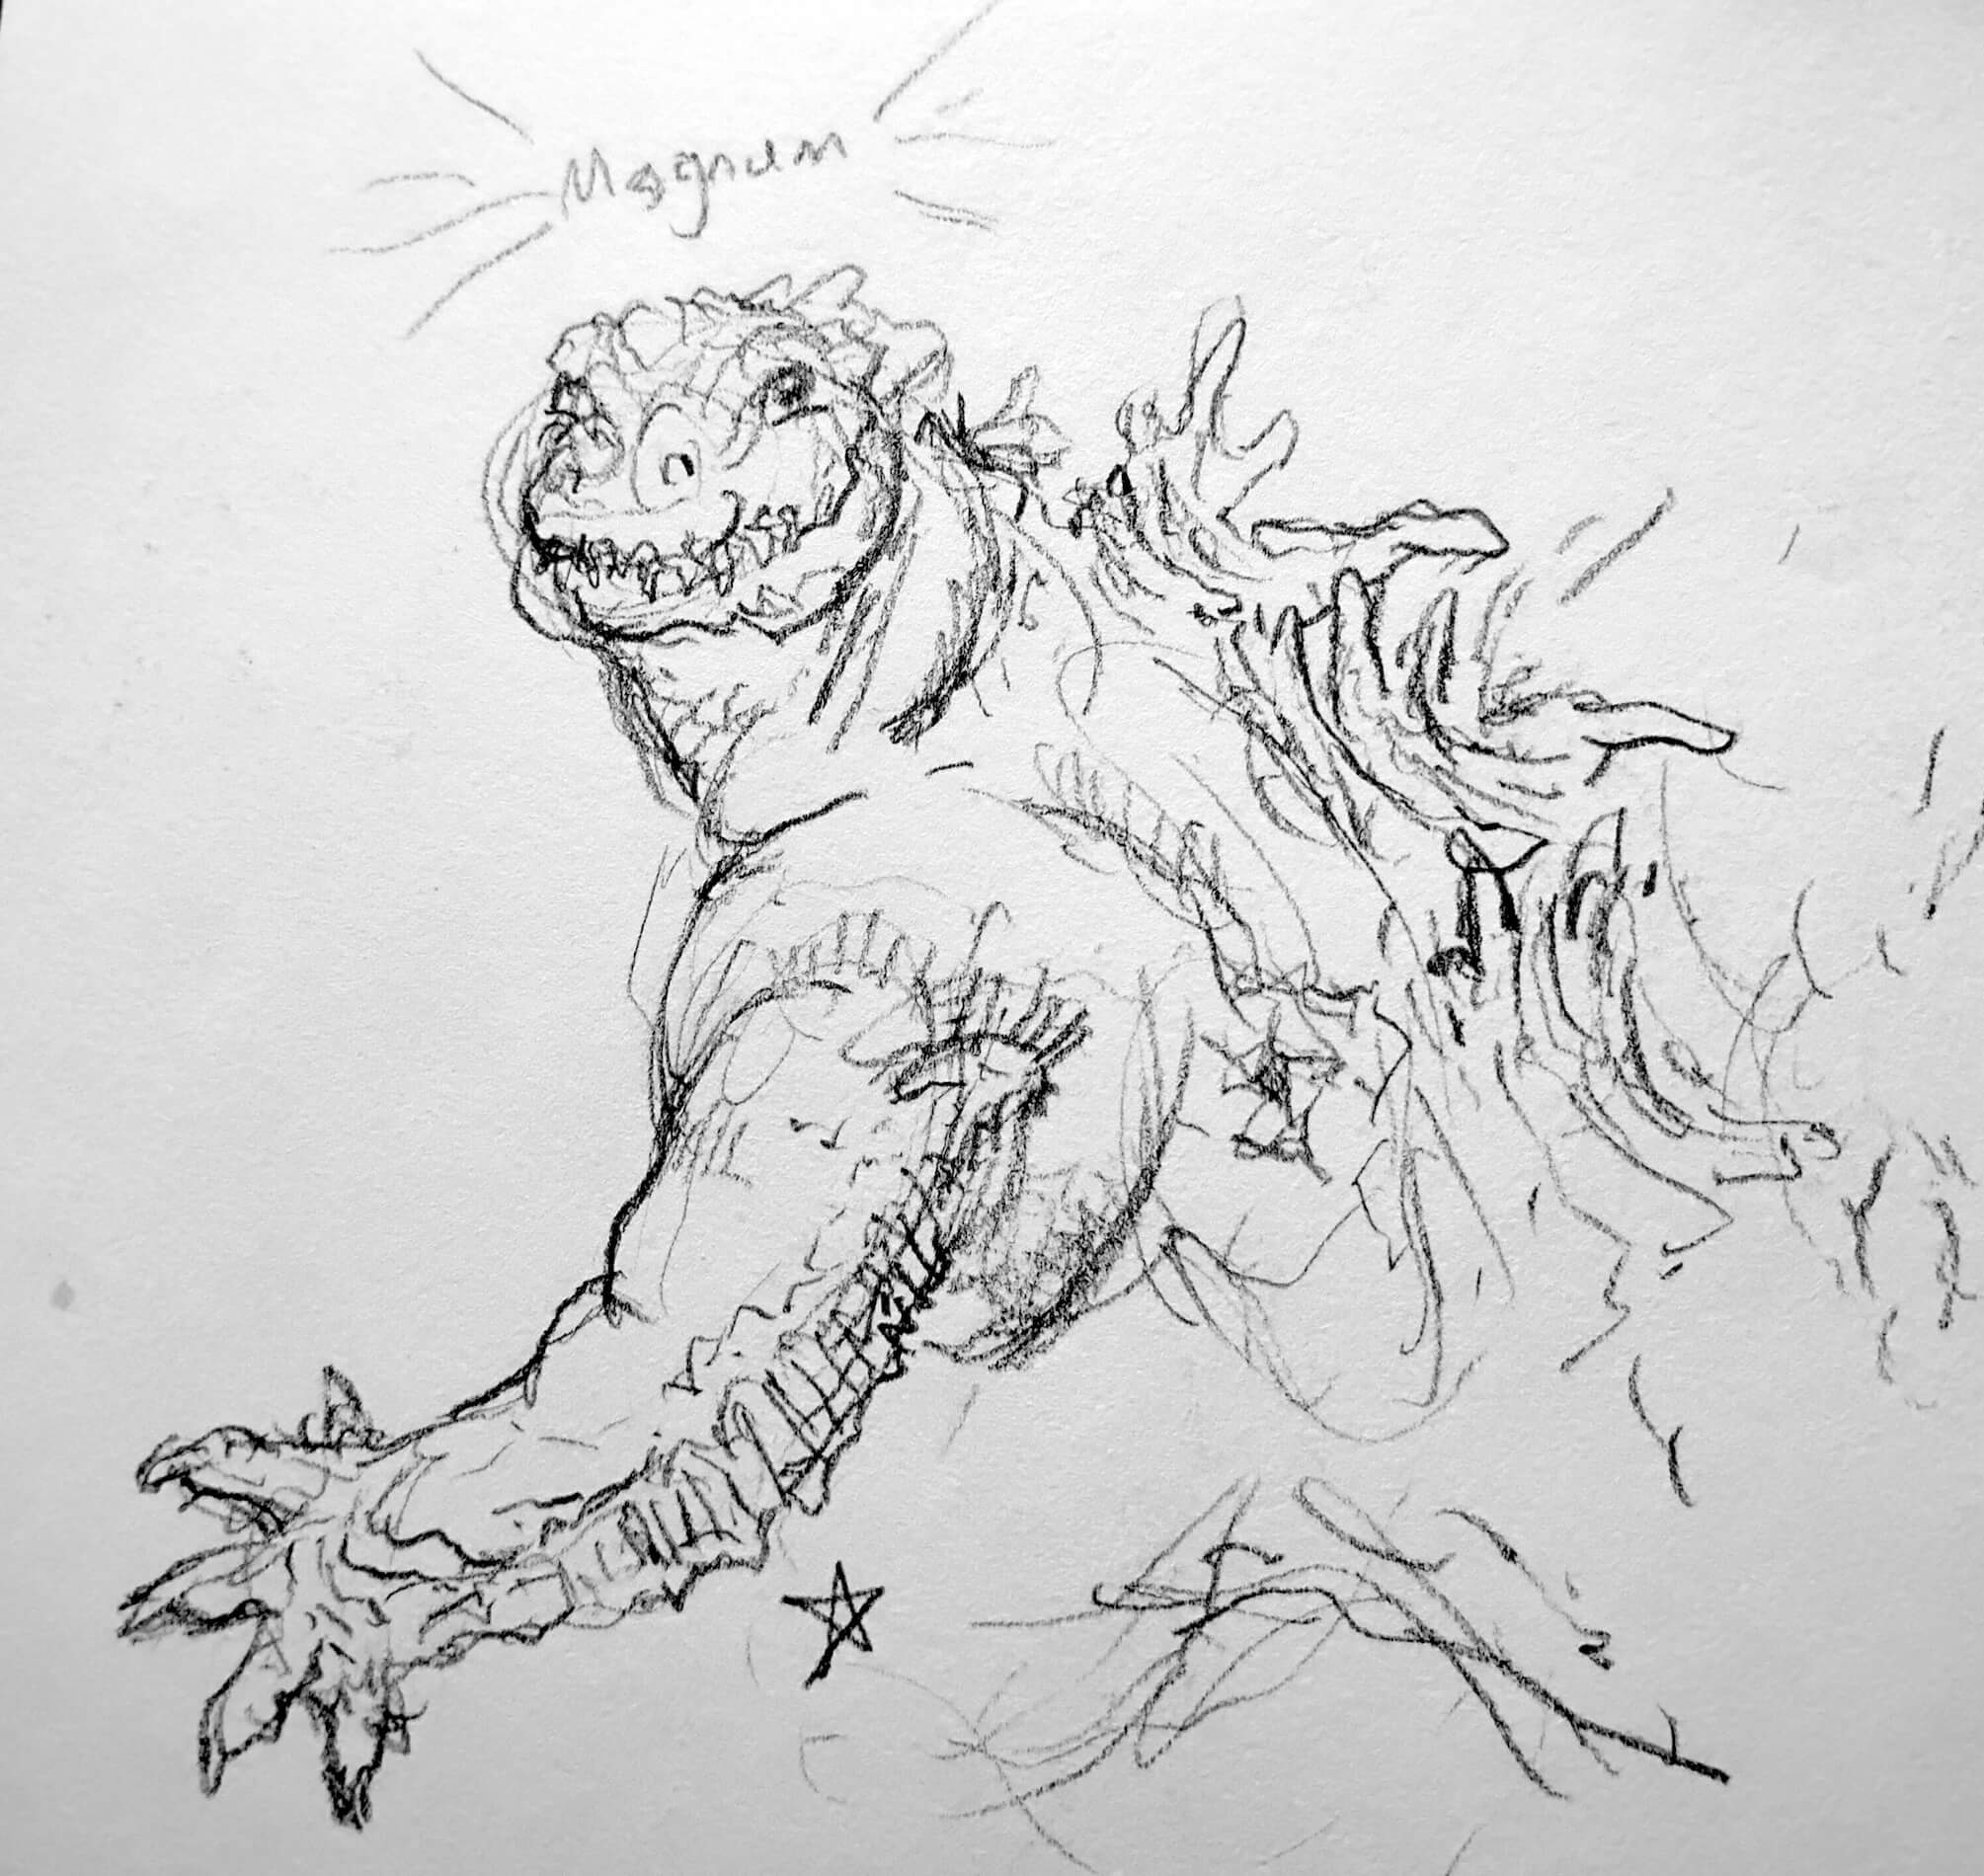
- This project started like any other: loads of rough sketches to feel it out, even silly ones.
- I liked the chunky look of the American 2014 Godzilla. My initial inspirations were grizzly bears, rhinos, and alligators.
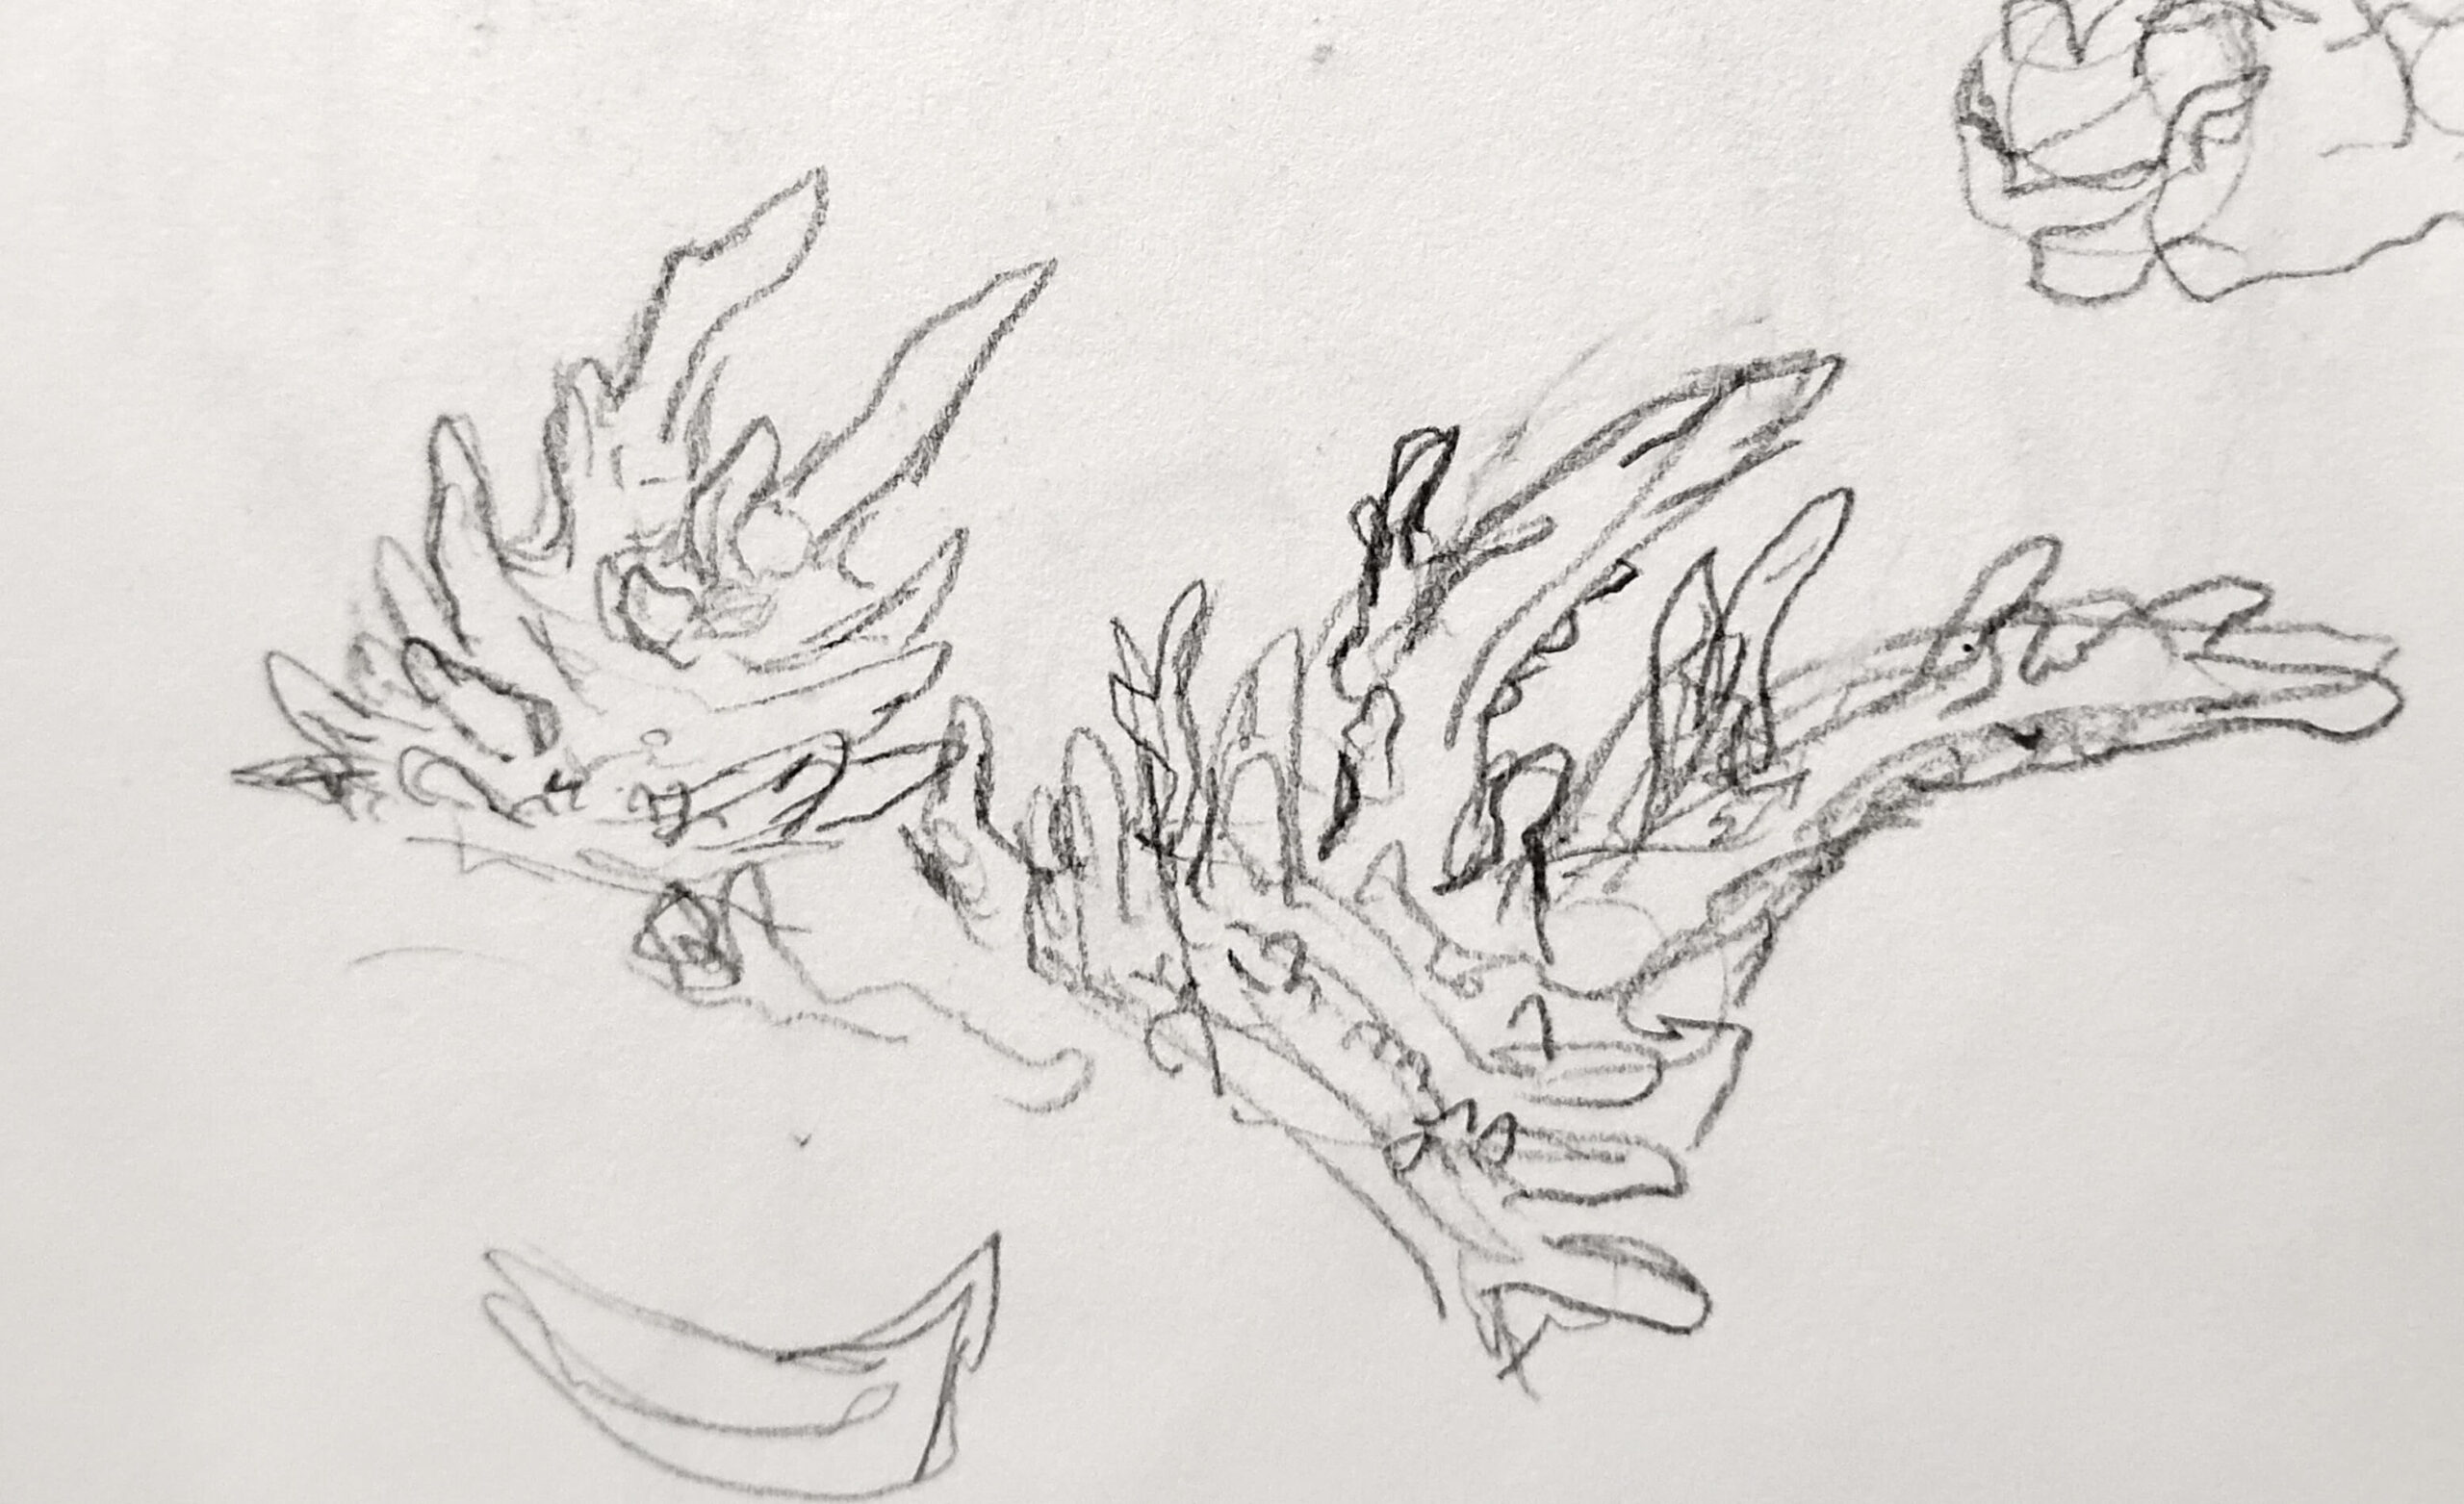
- For the dorsal plates/ fins, I looked at antlers and different types of corral.
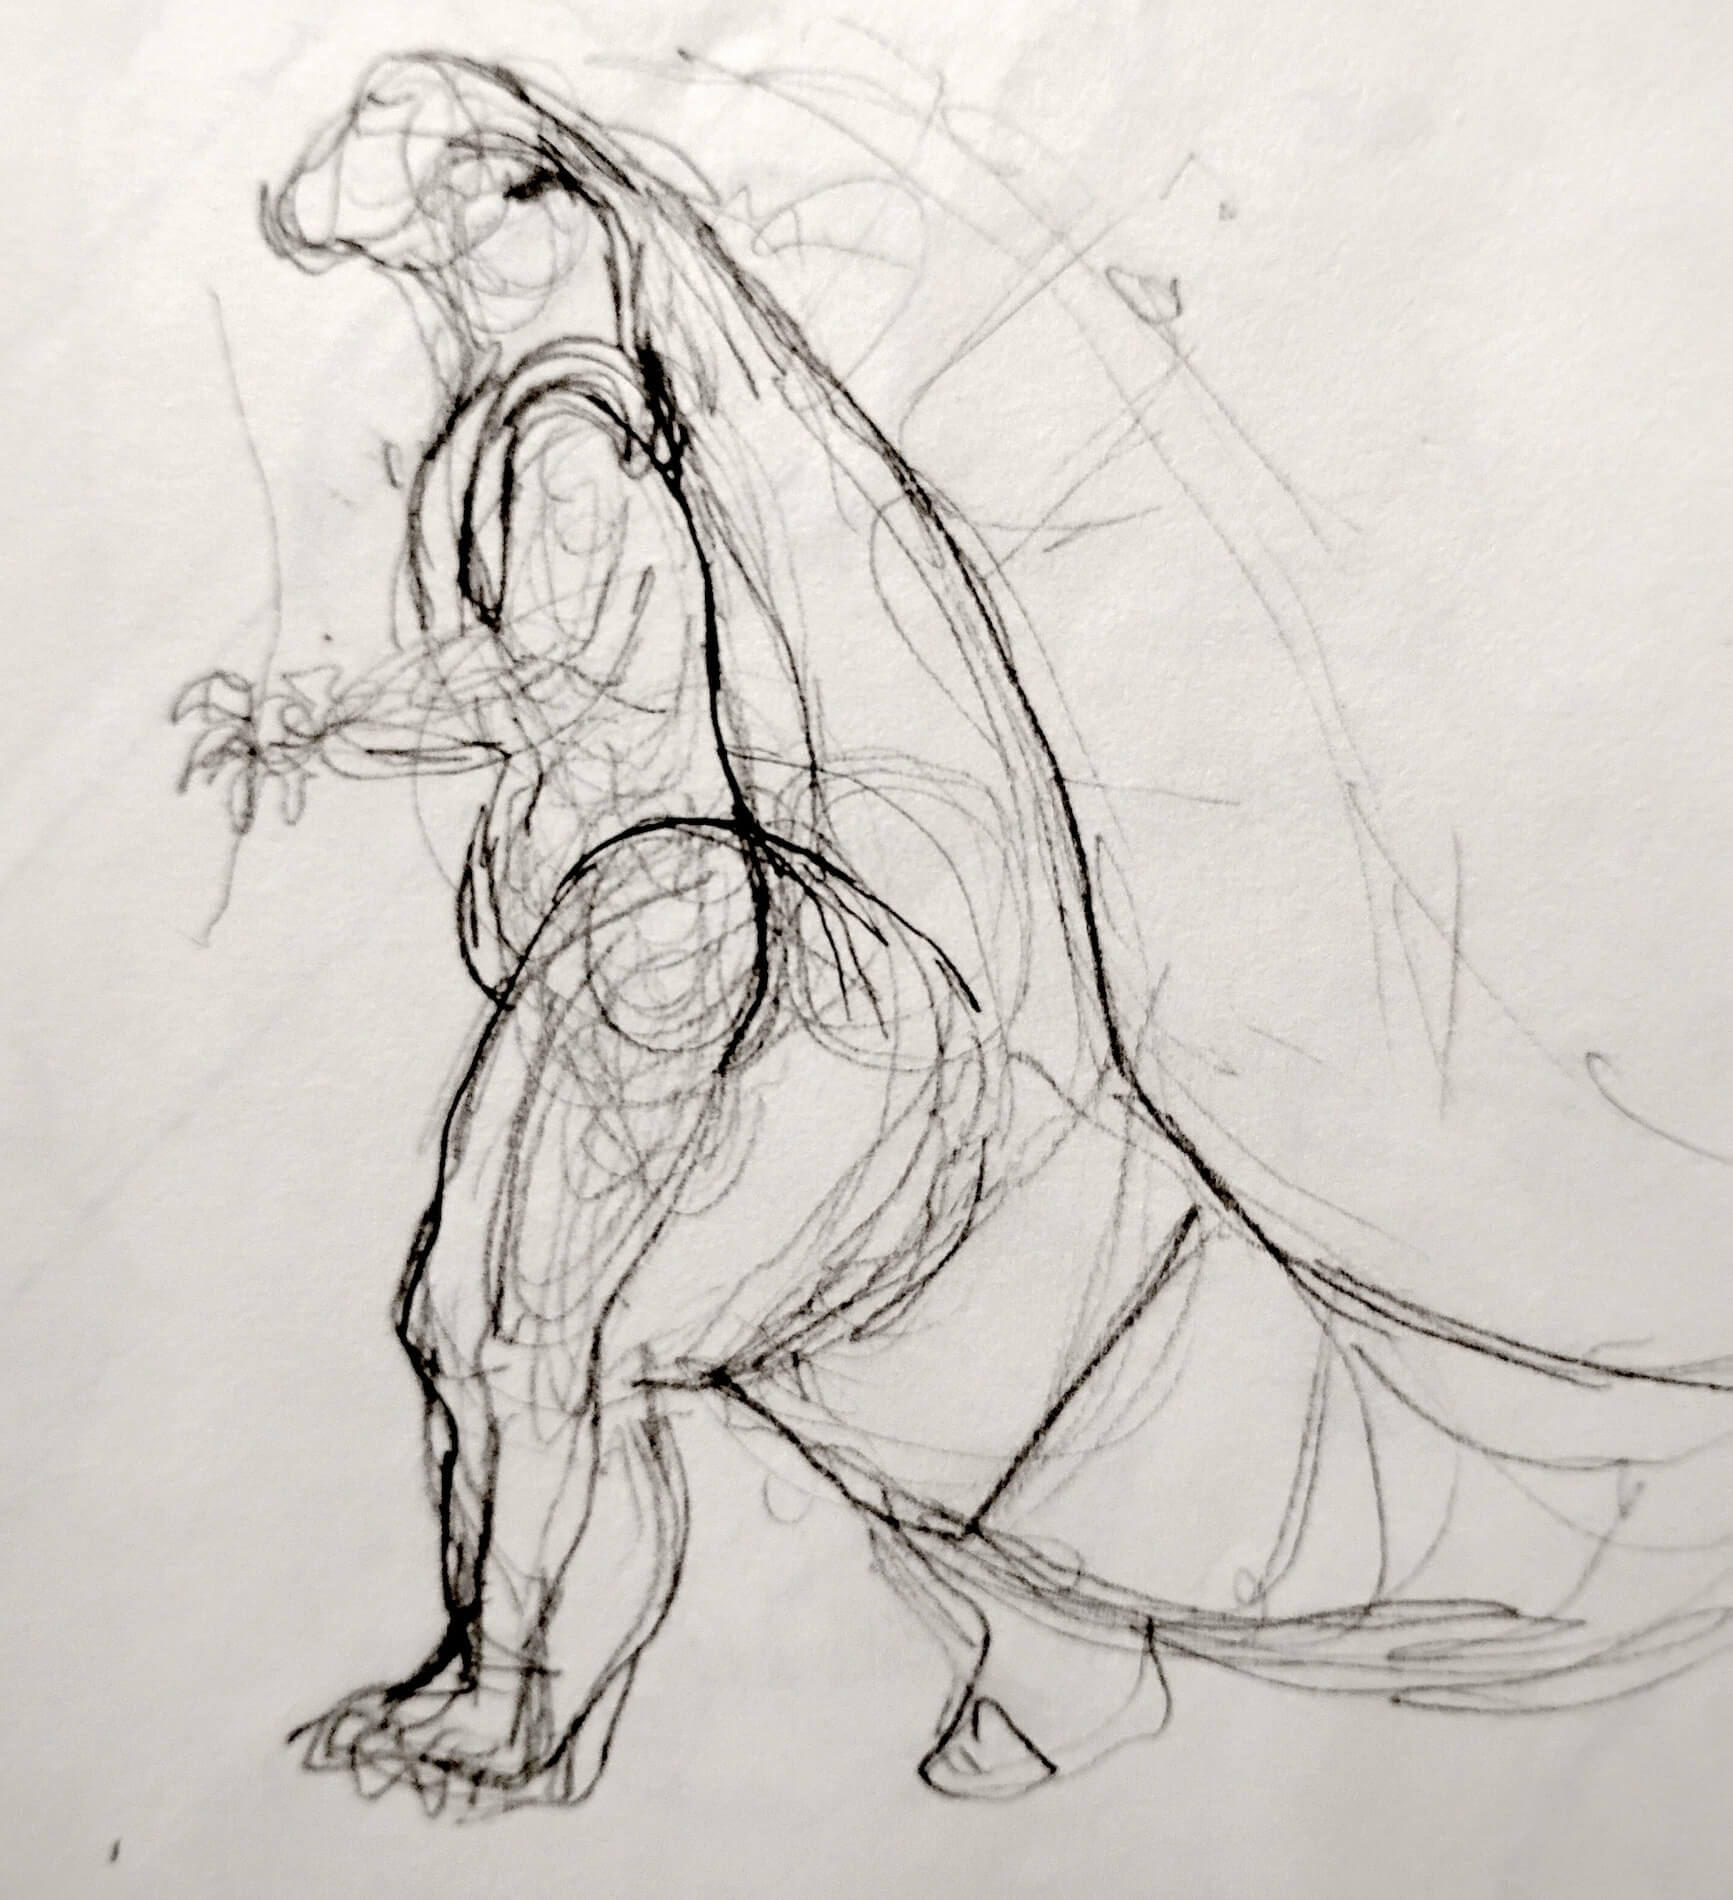
- I drew lots of sketches just to get a feel where everything would hang on me. You don’t know until you make it but sketching helps.
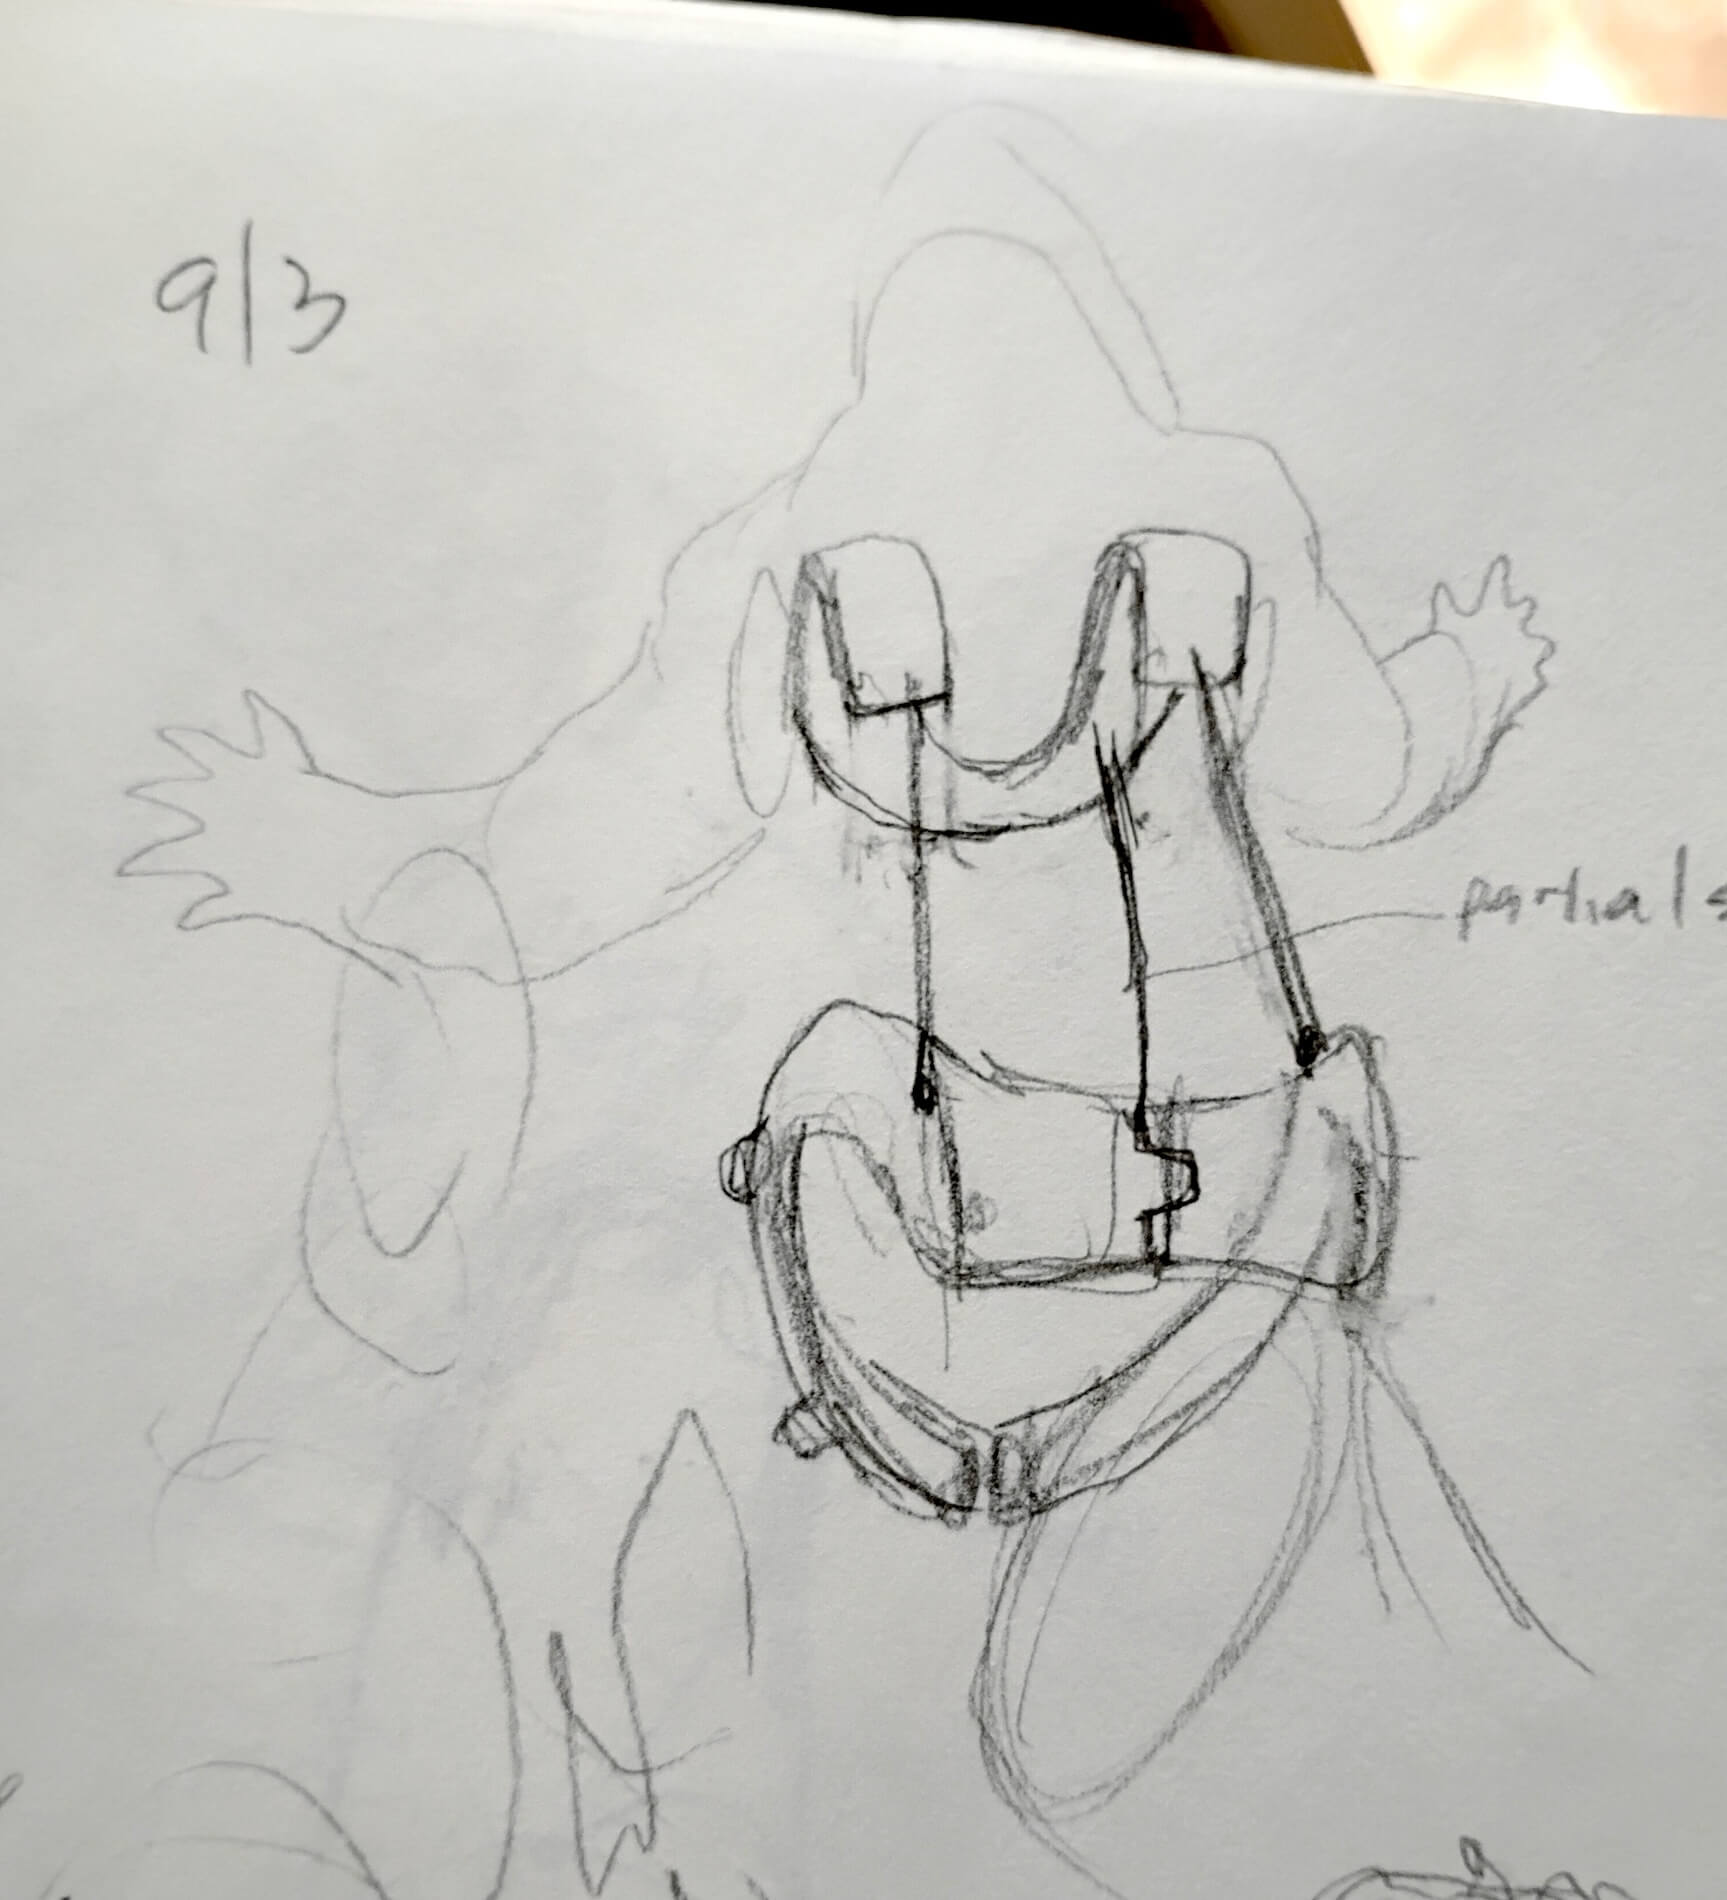
- Early harness ideas.
- I sometimes think in cross sections to understand how materials will layer on themselves from inner functional to outer textural.
- I fretted over how to wear it easily and take it on and off smoothly. I’m not an engineer so the task of making it modular was a challenge.
- I attend Dragoncon in Atlanta every year. I drive so my builds have to be modular to fit in my car. The tail was separate from the hips and legs. The torso with head and arms was another piece as was the spine with fins. I try to plan this into the build at the early stages to minimize surprises down the road.
- The head sits forward from mine so despite being relatively small, the weight is pulling forward. I had a challenge keeping it upright and not lolling about.
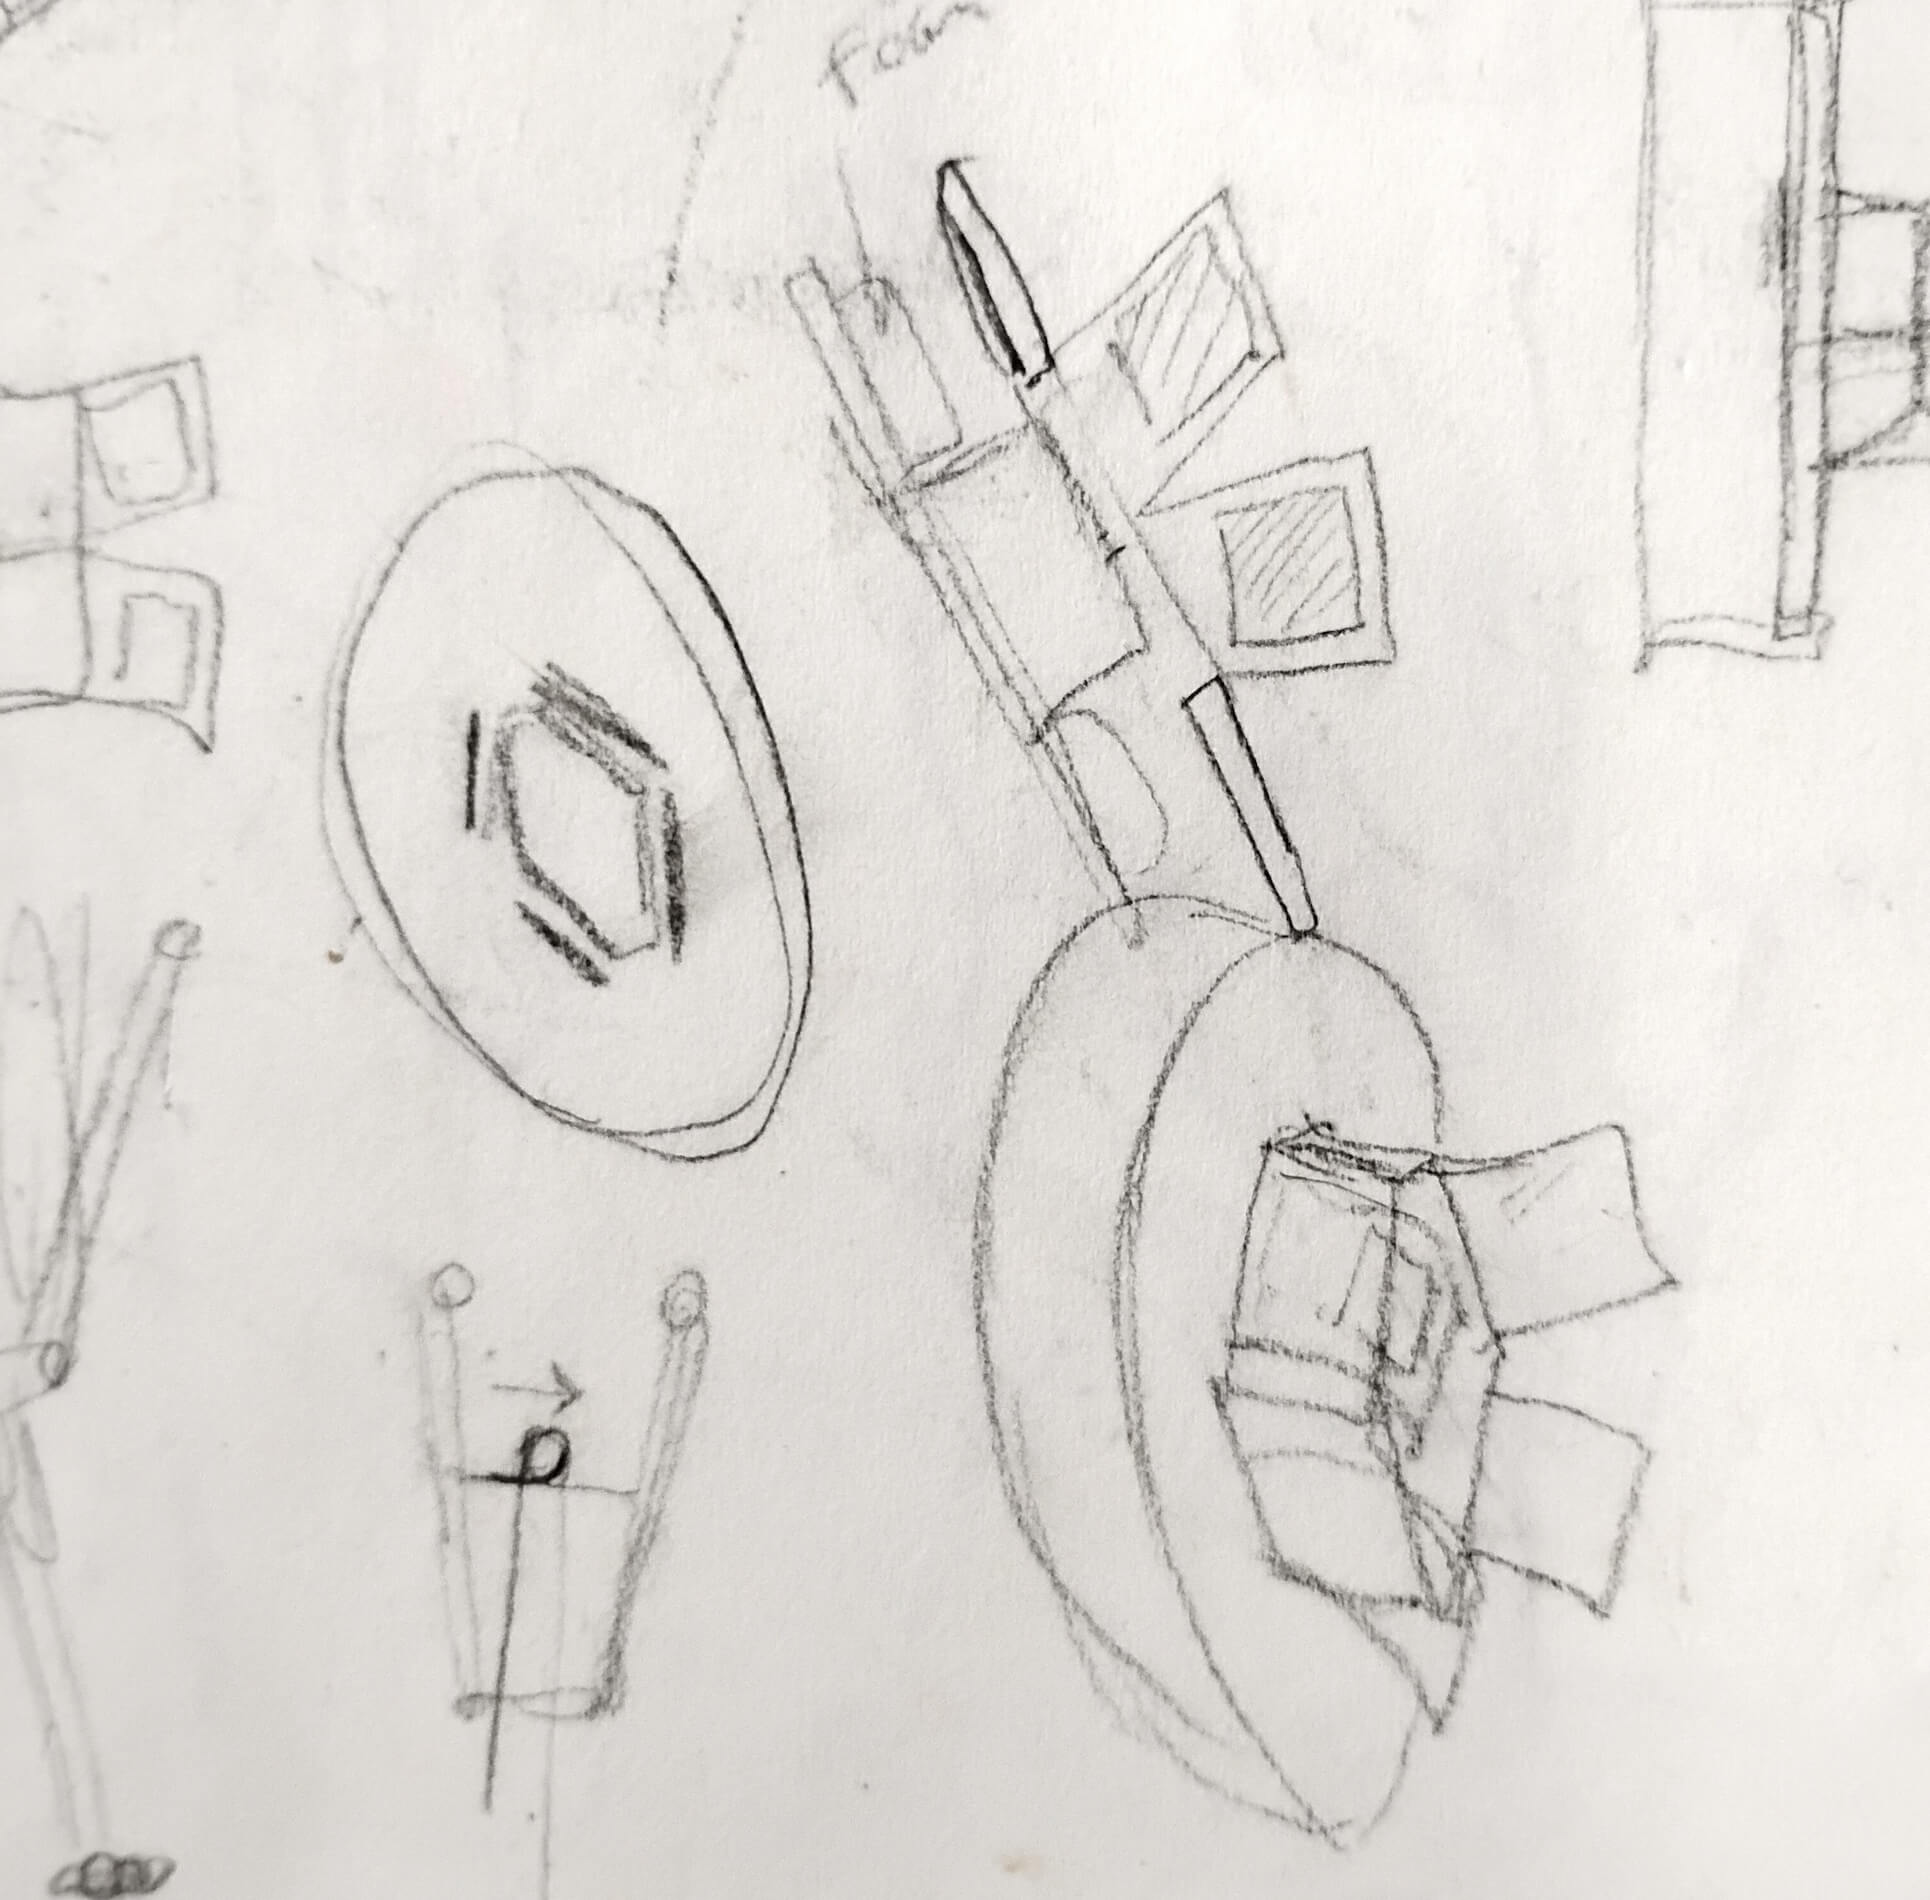
- More thoughts on the neck and fin construction. I wanted mine to be able to turn his head which doesn’t seem to be a thing in Godzilla suits. I could up until the “texture” phase.
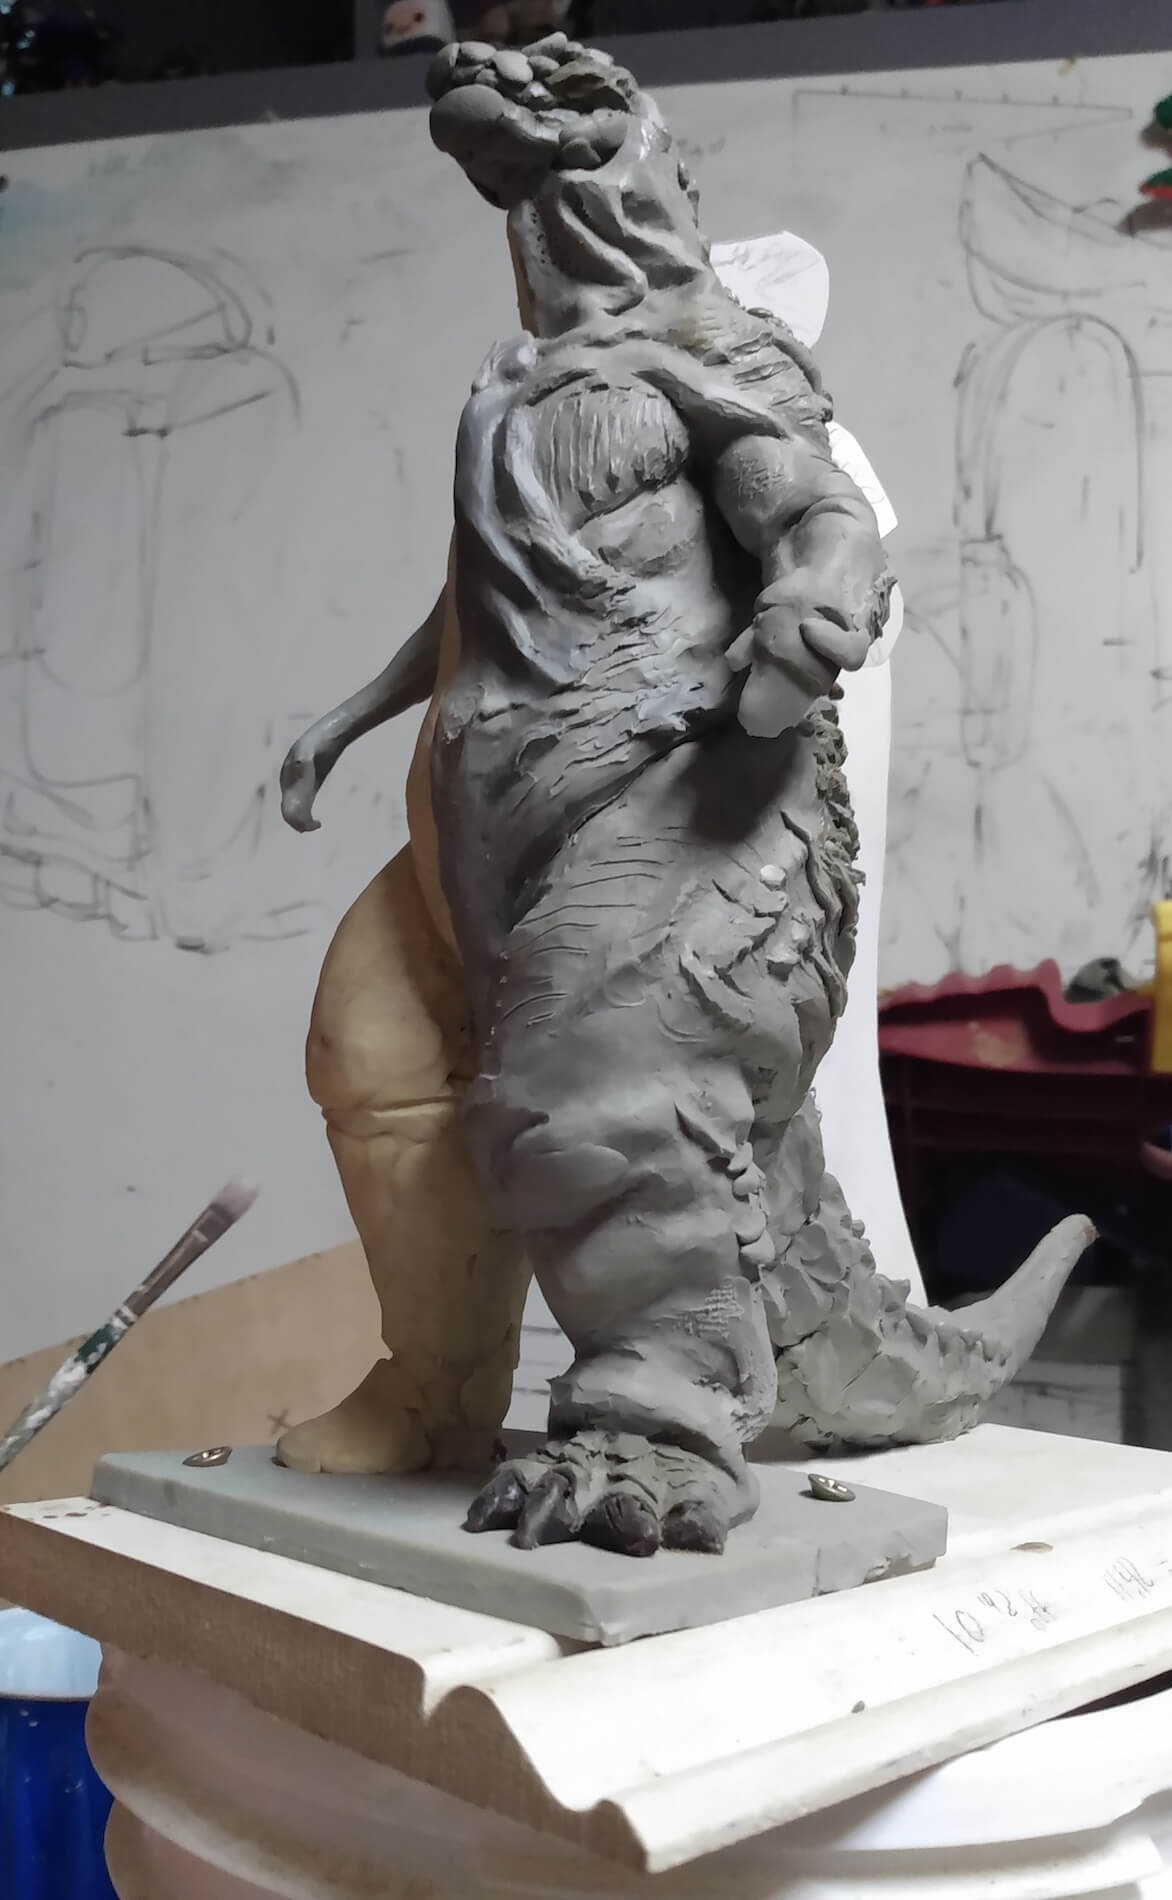
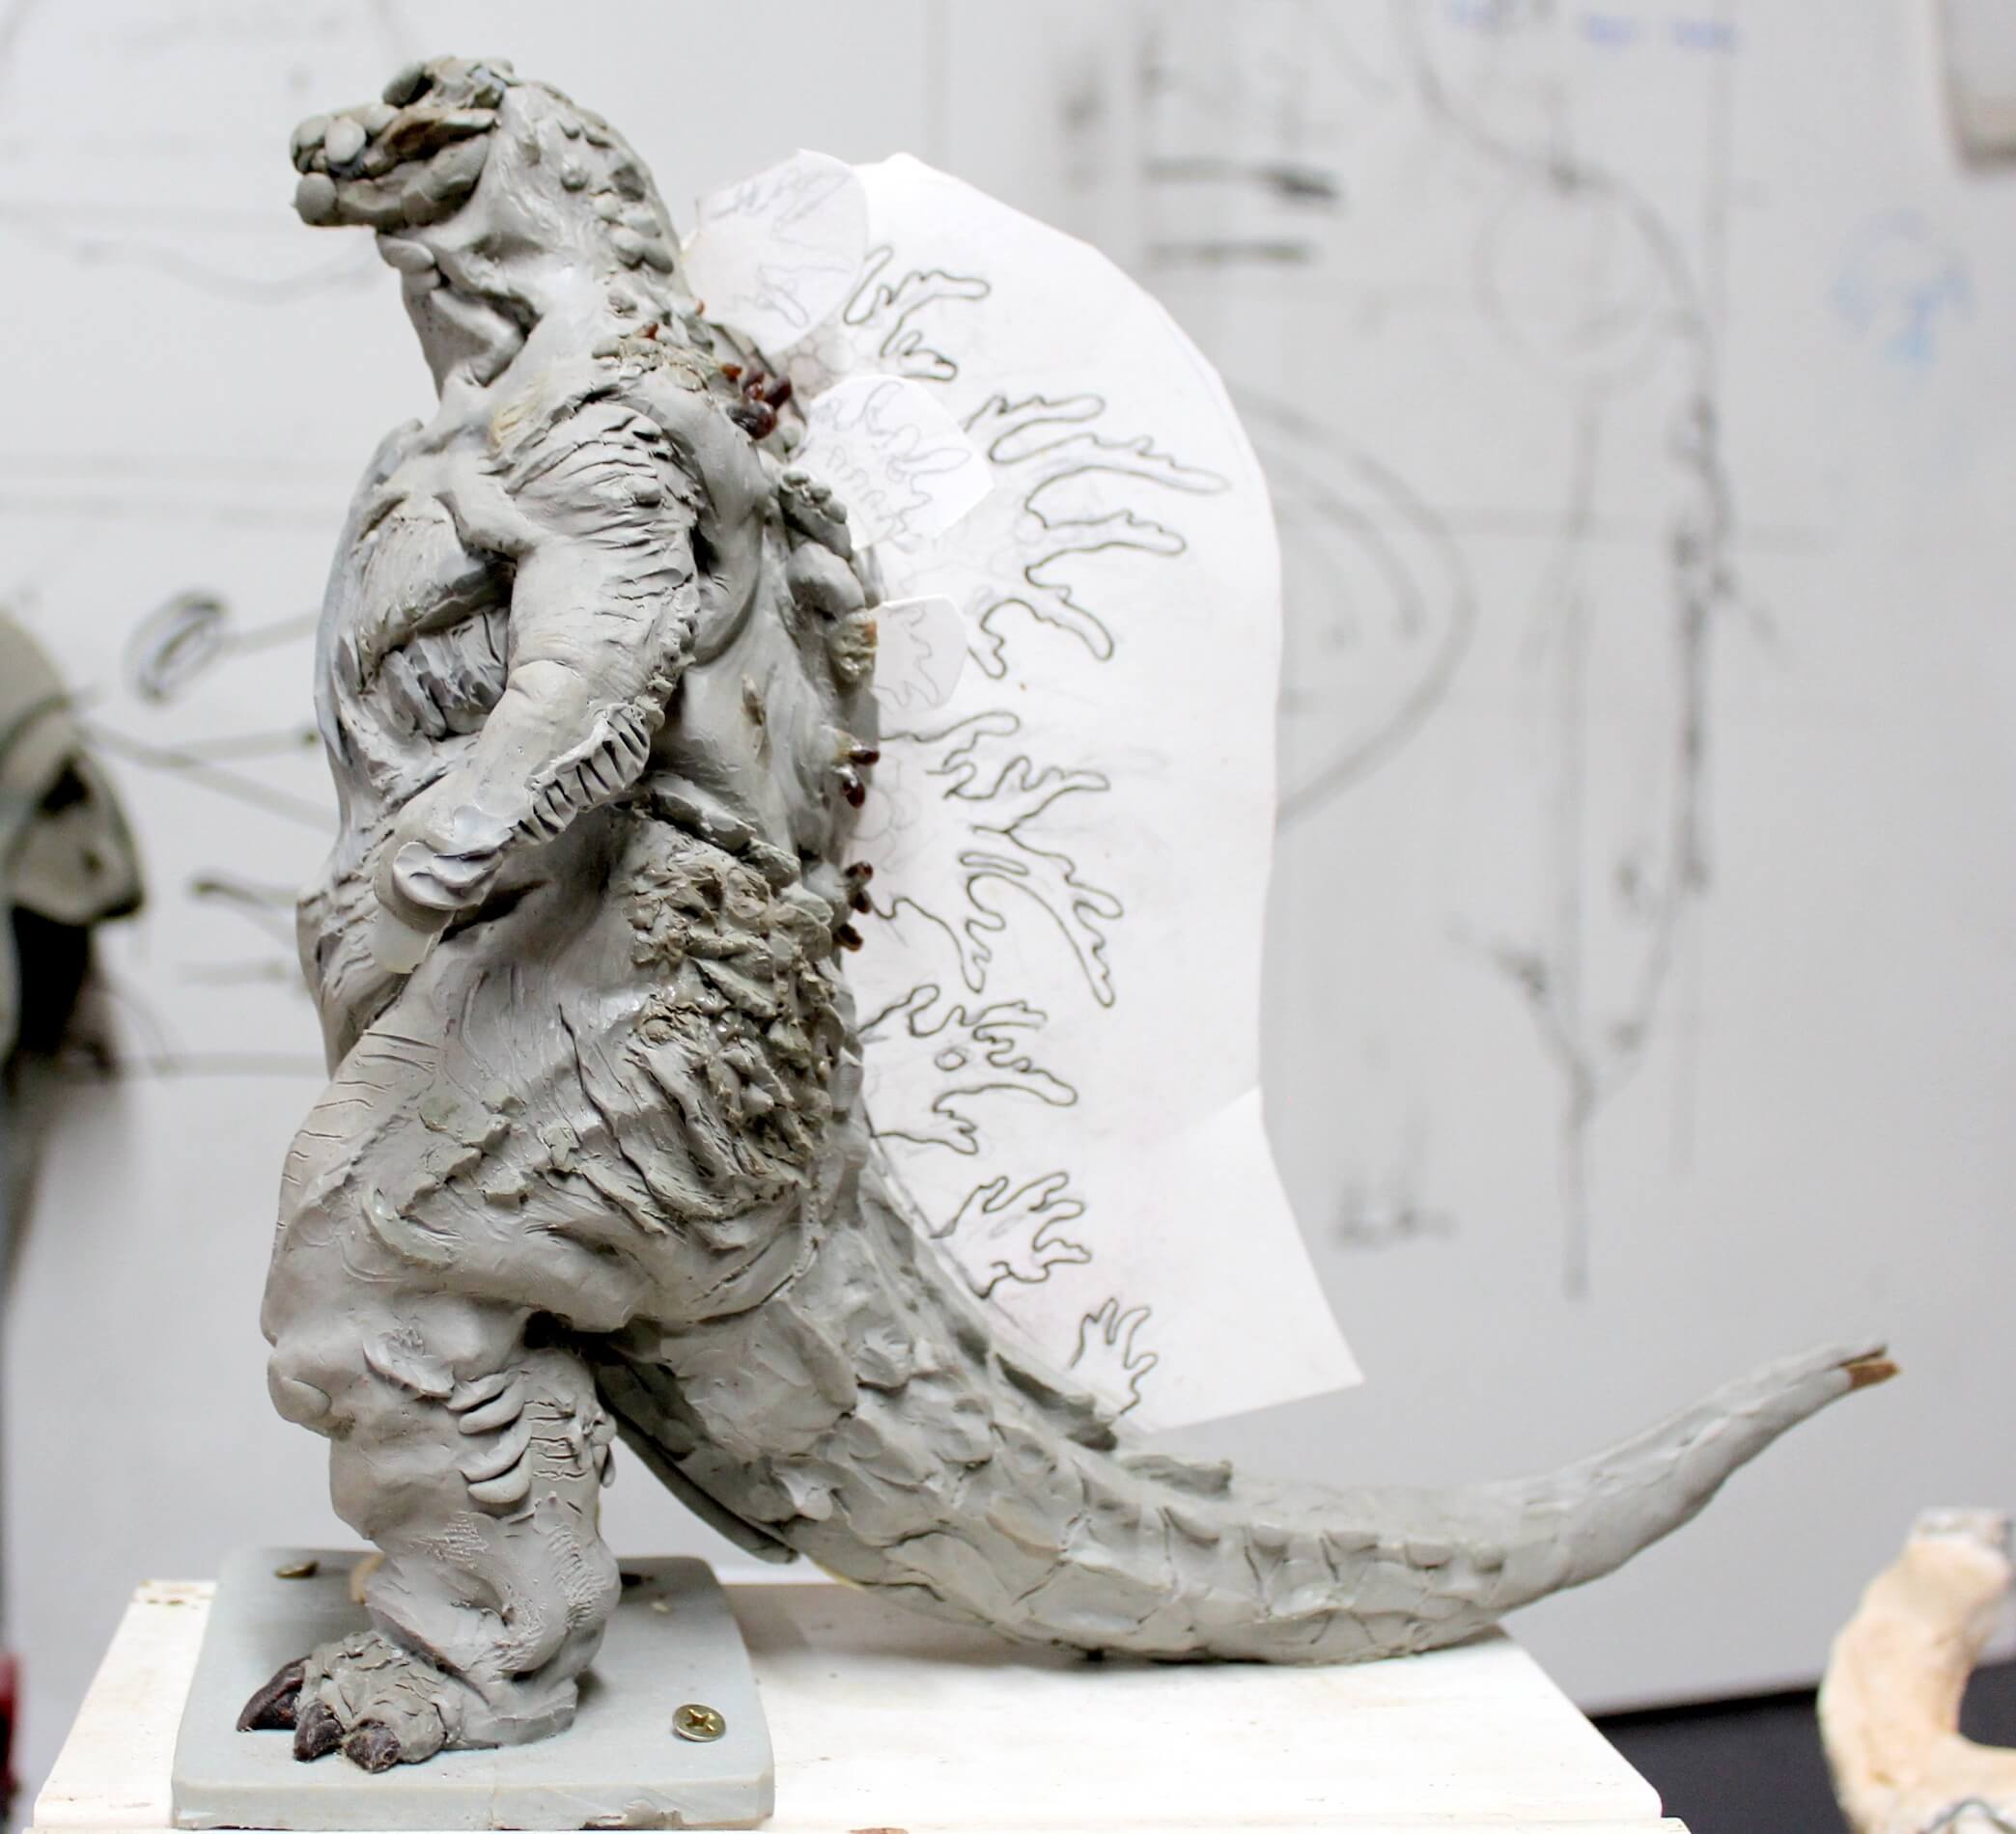
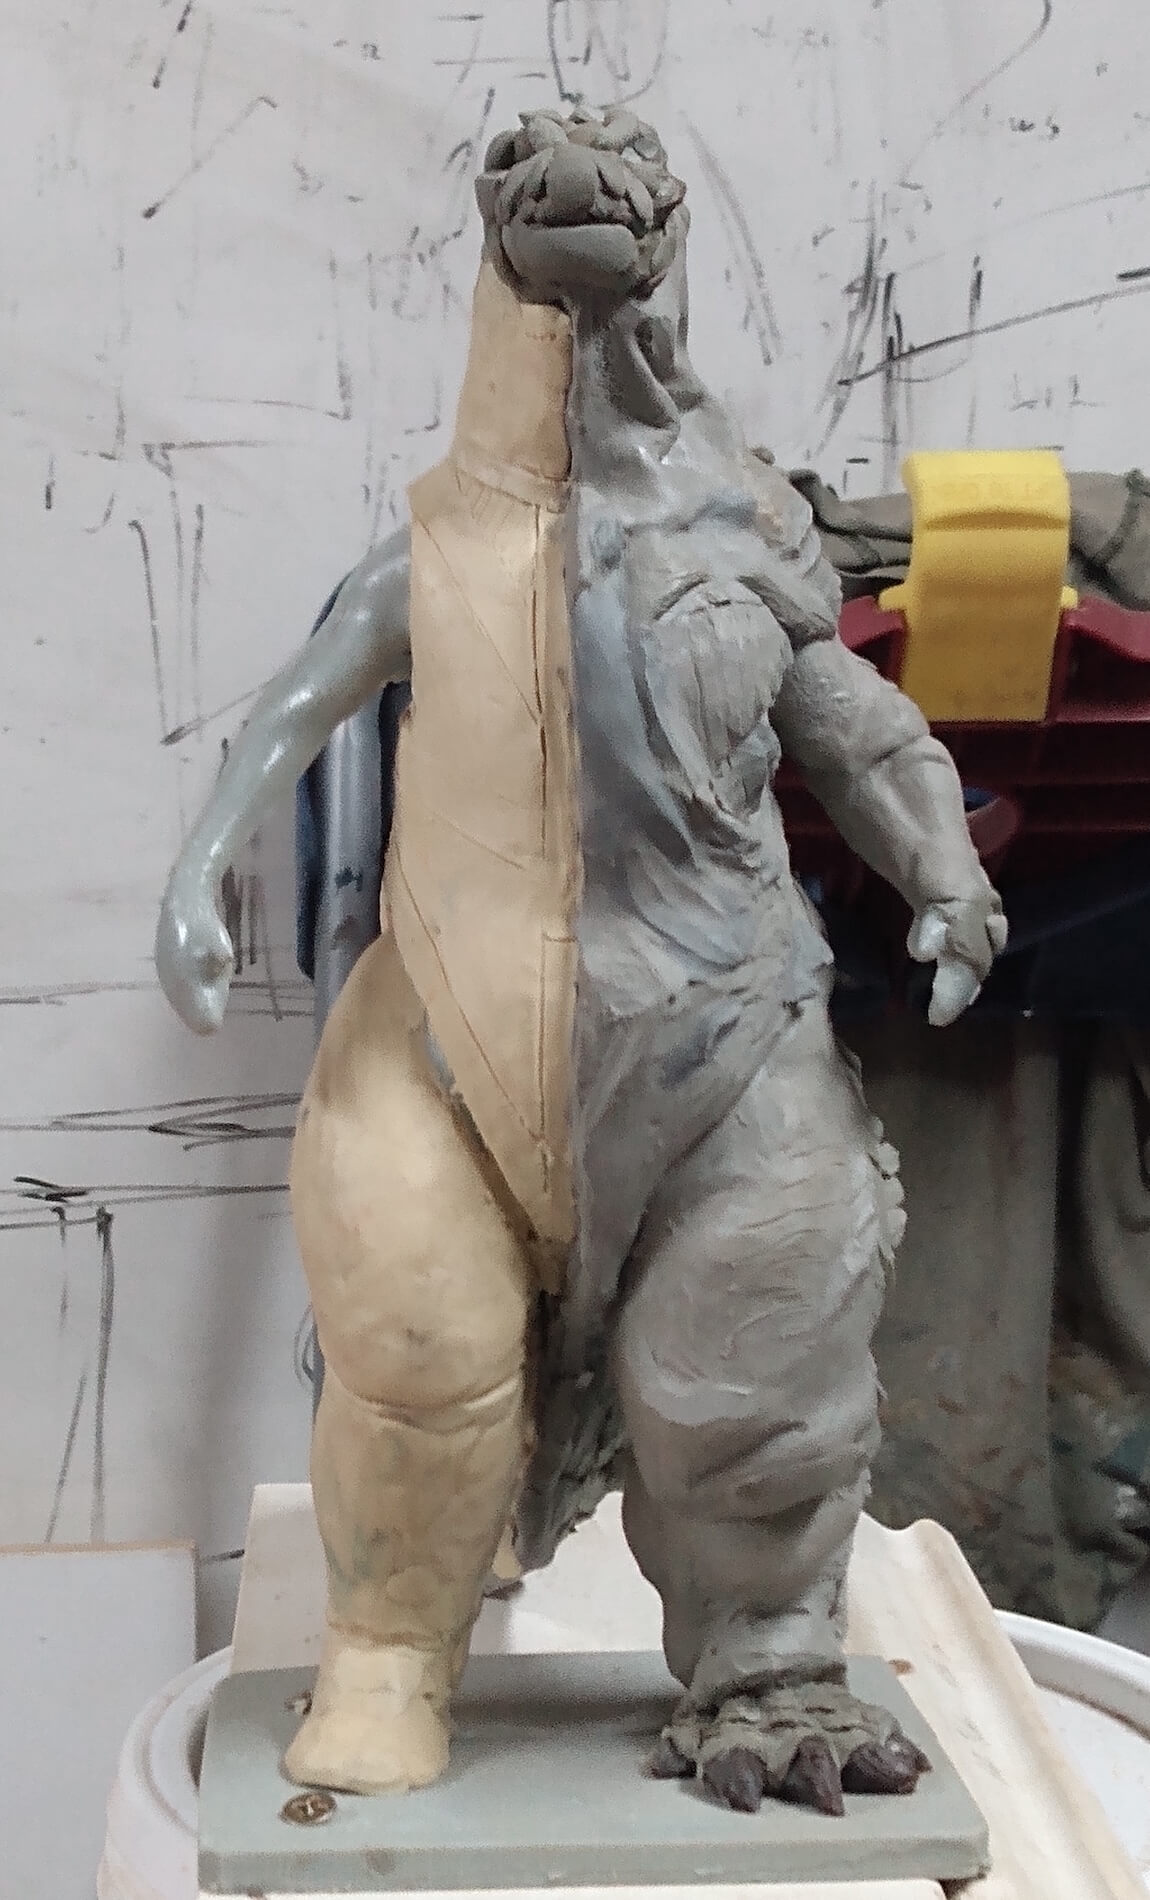
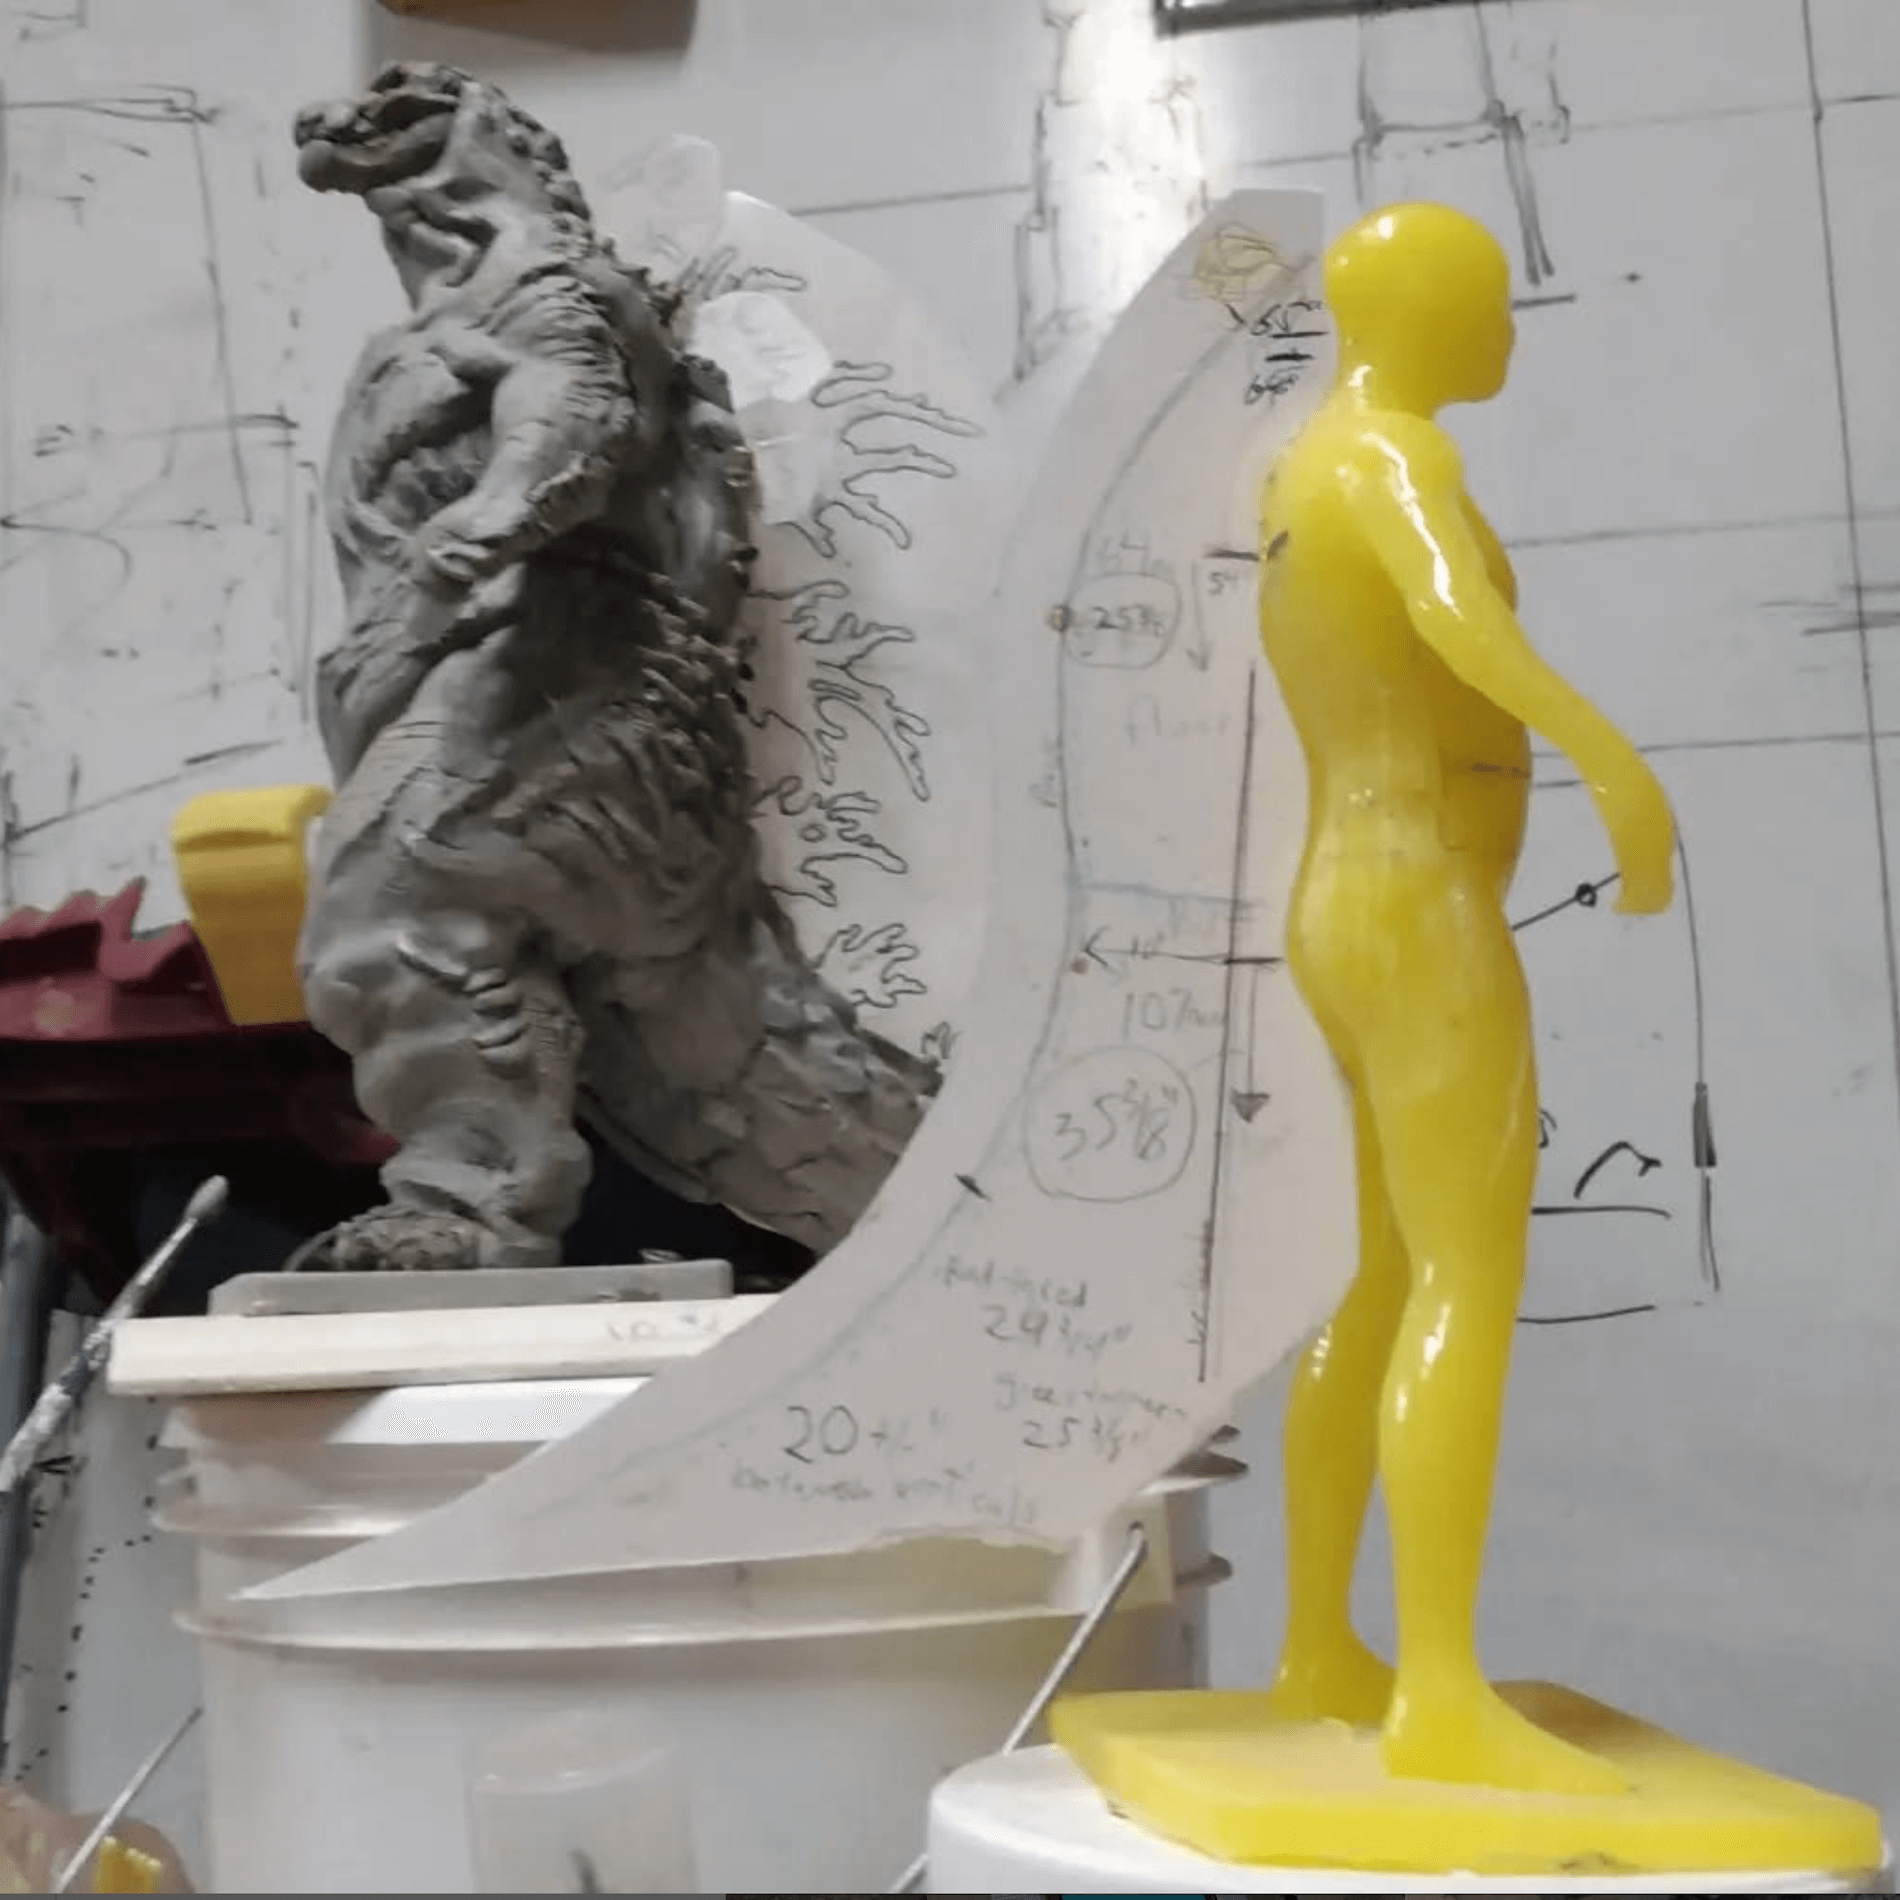
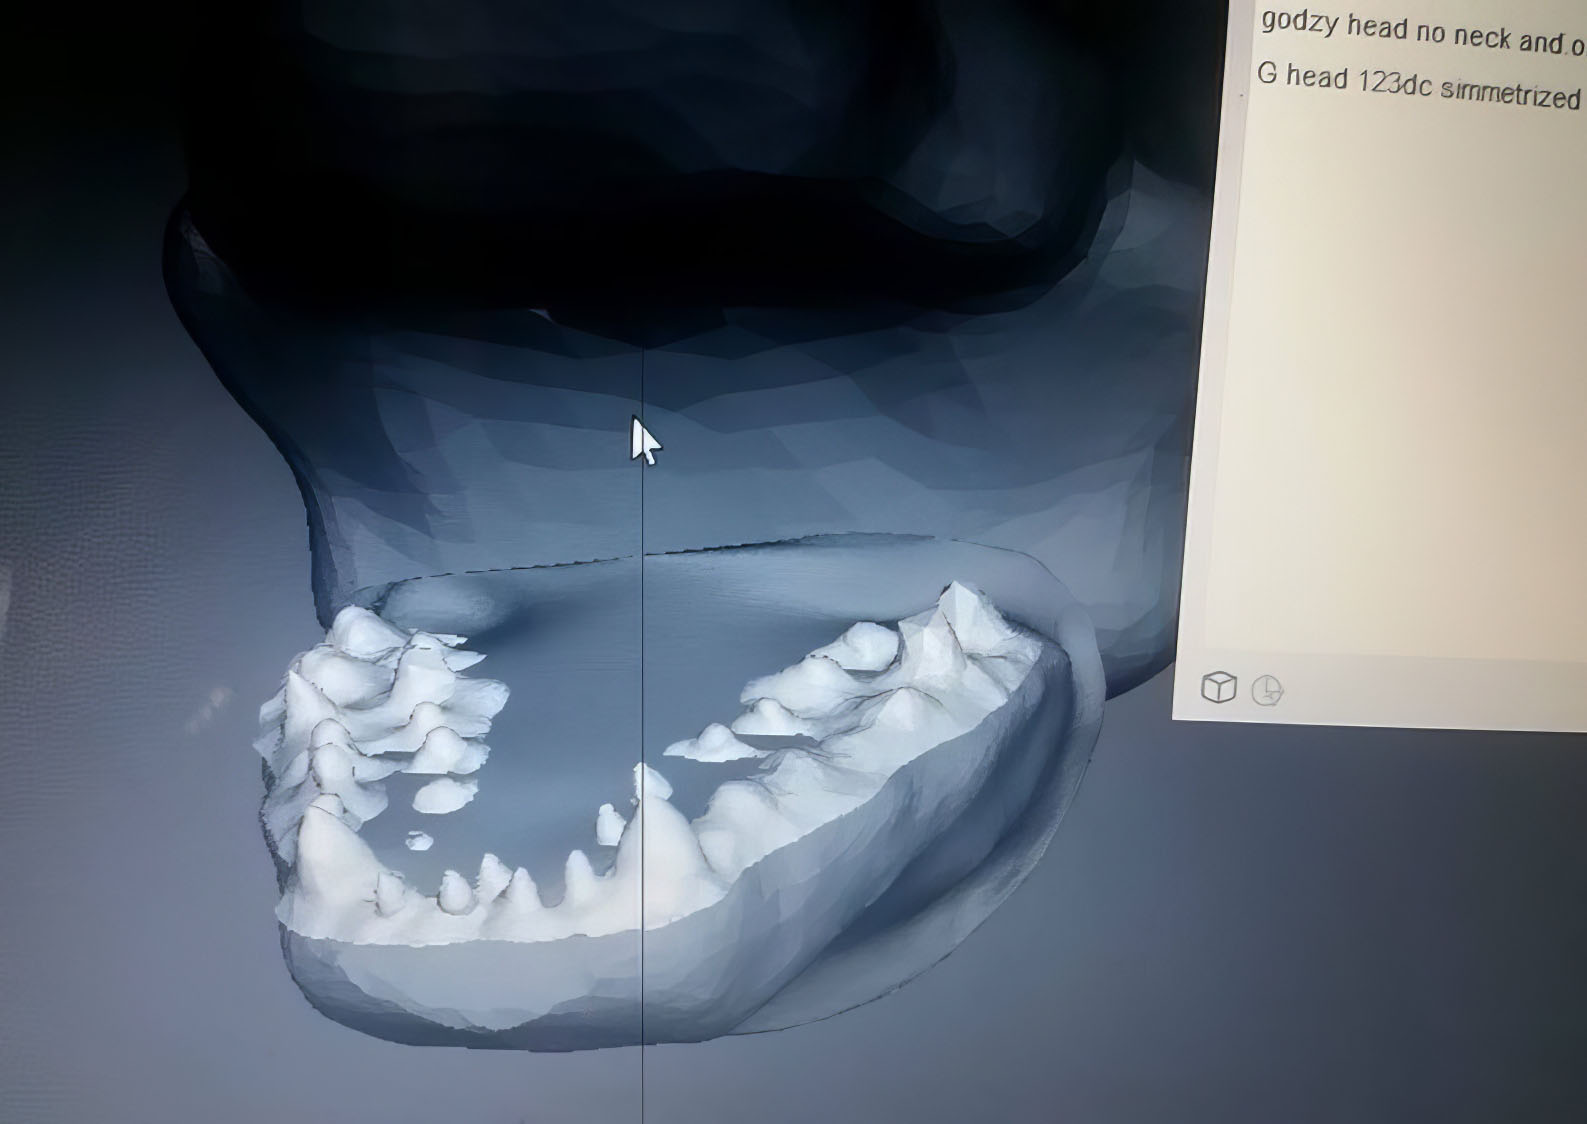
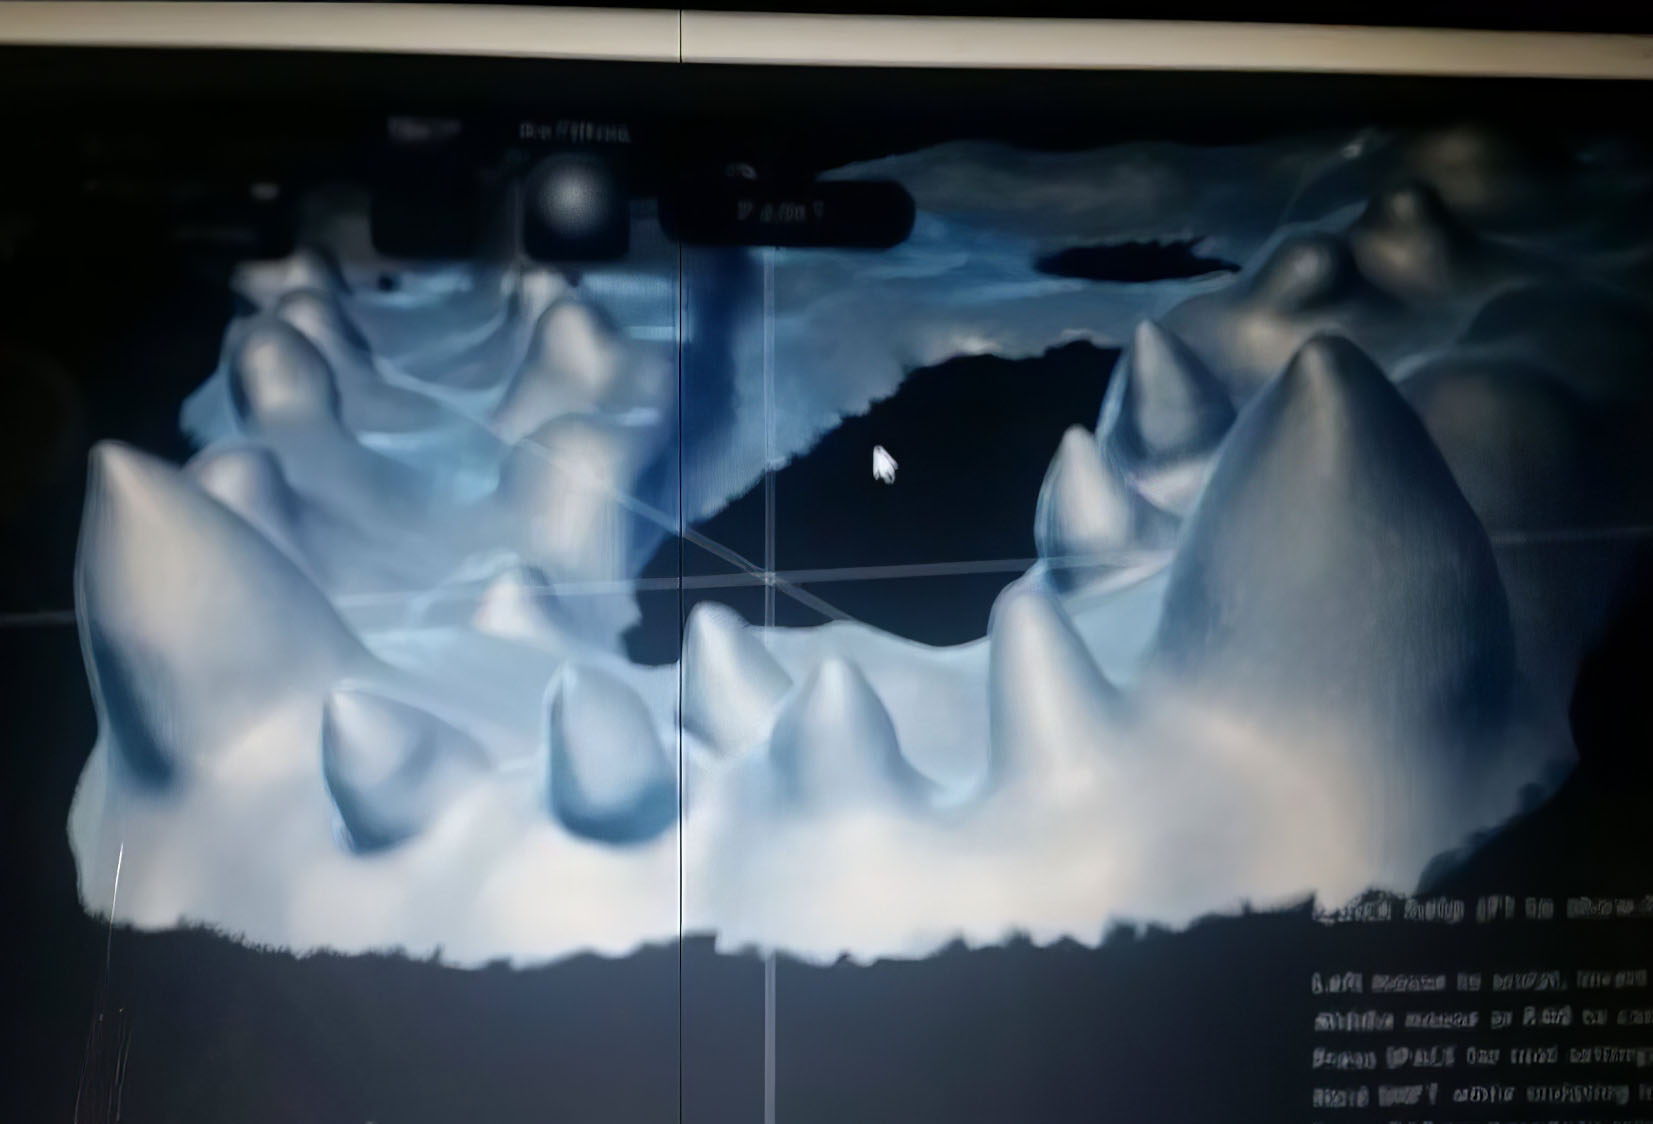
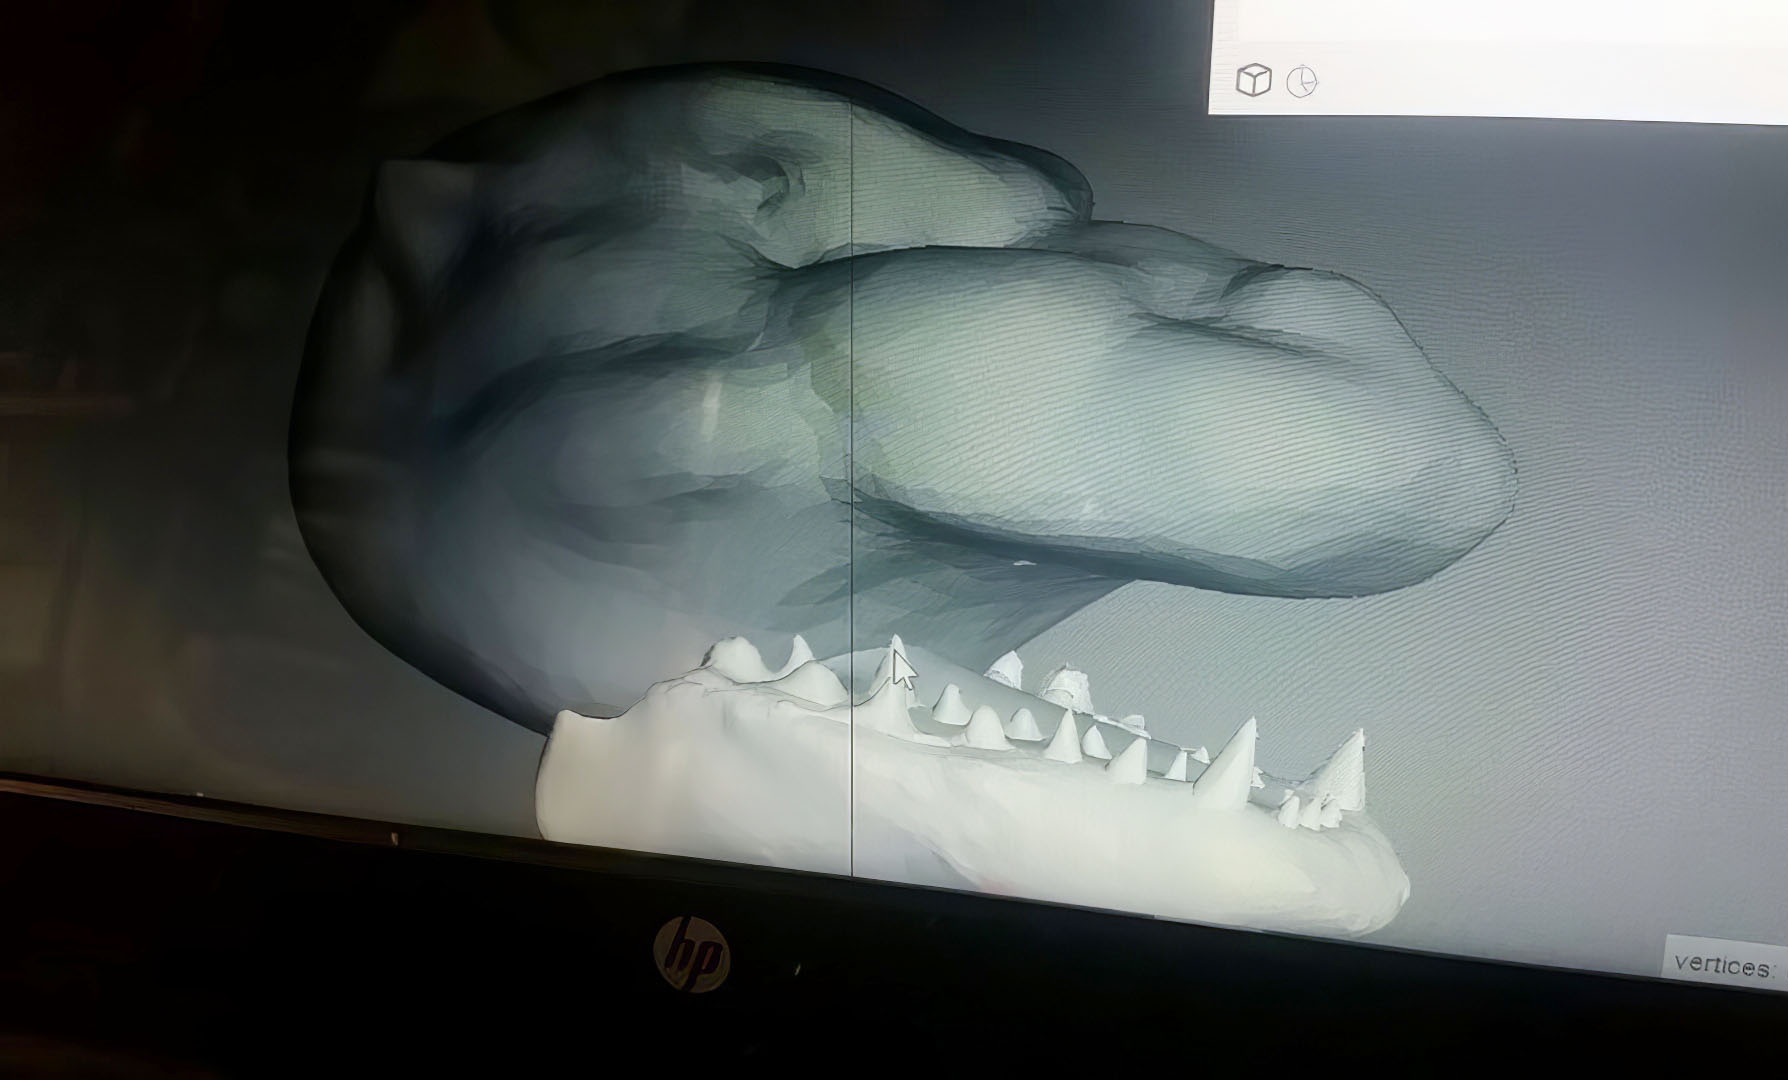
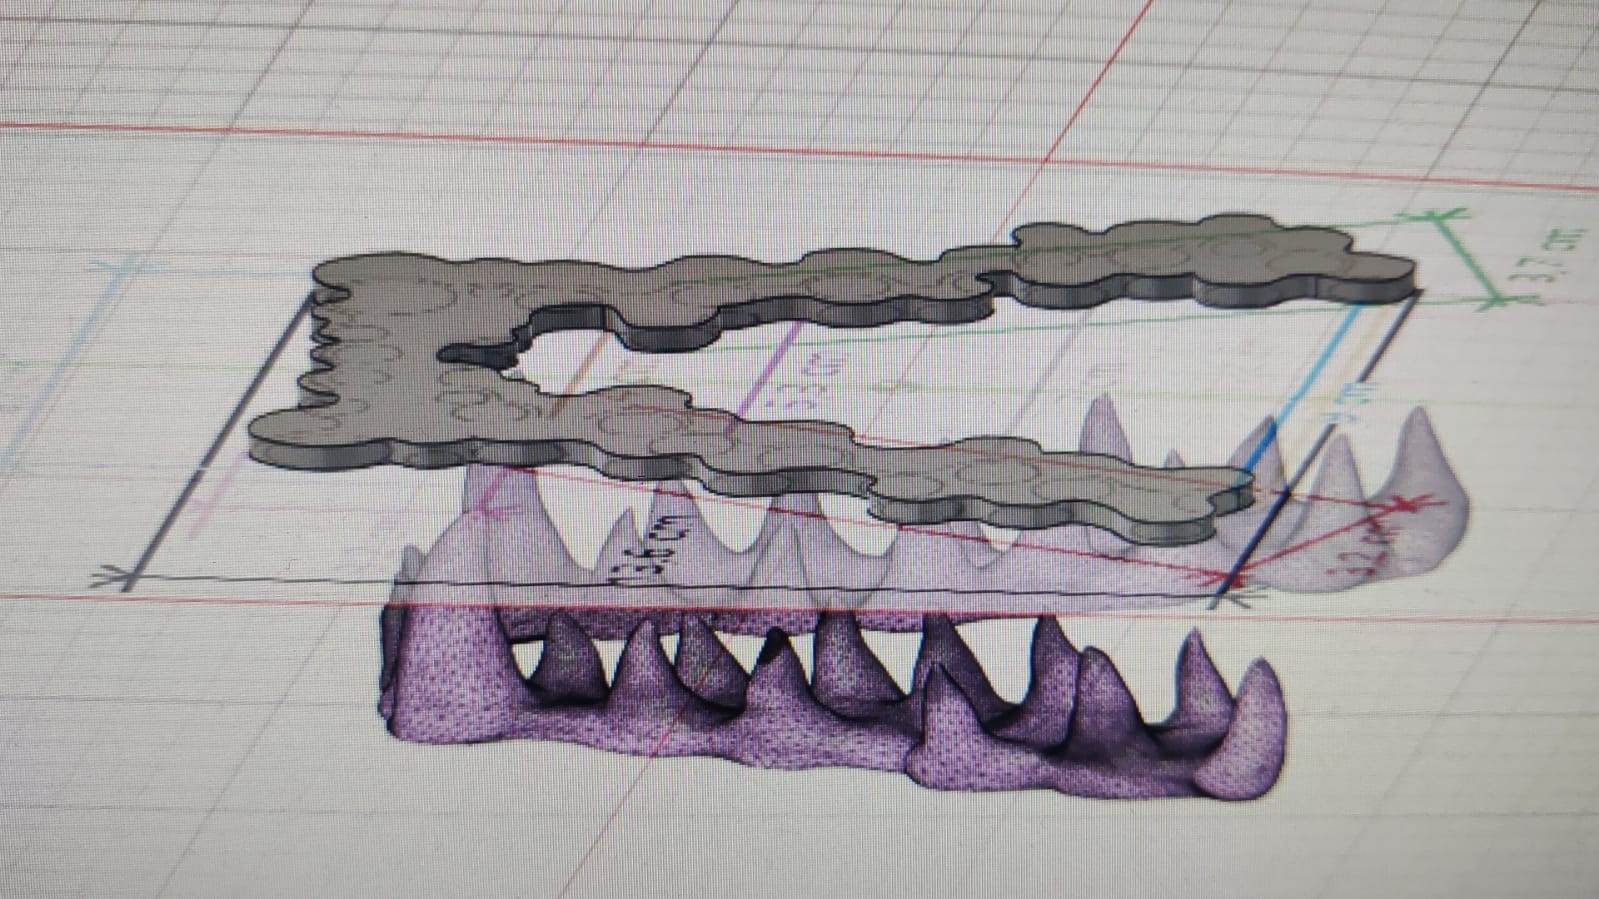
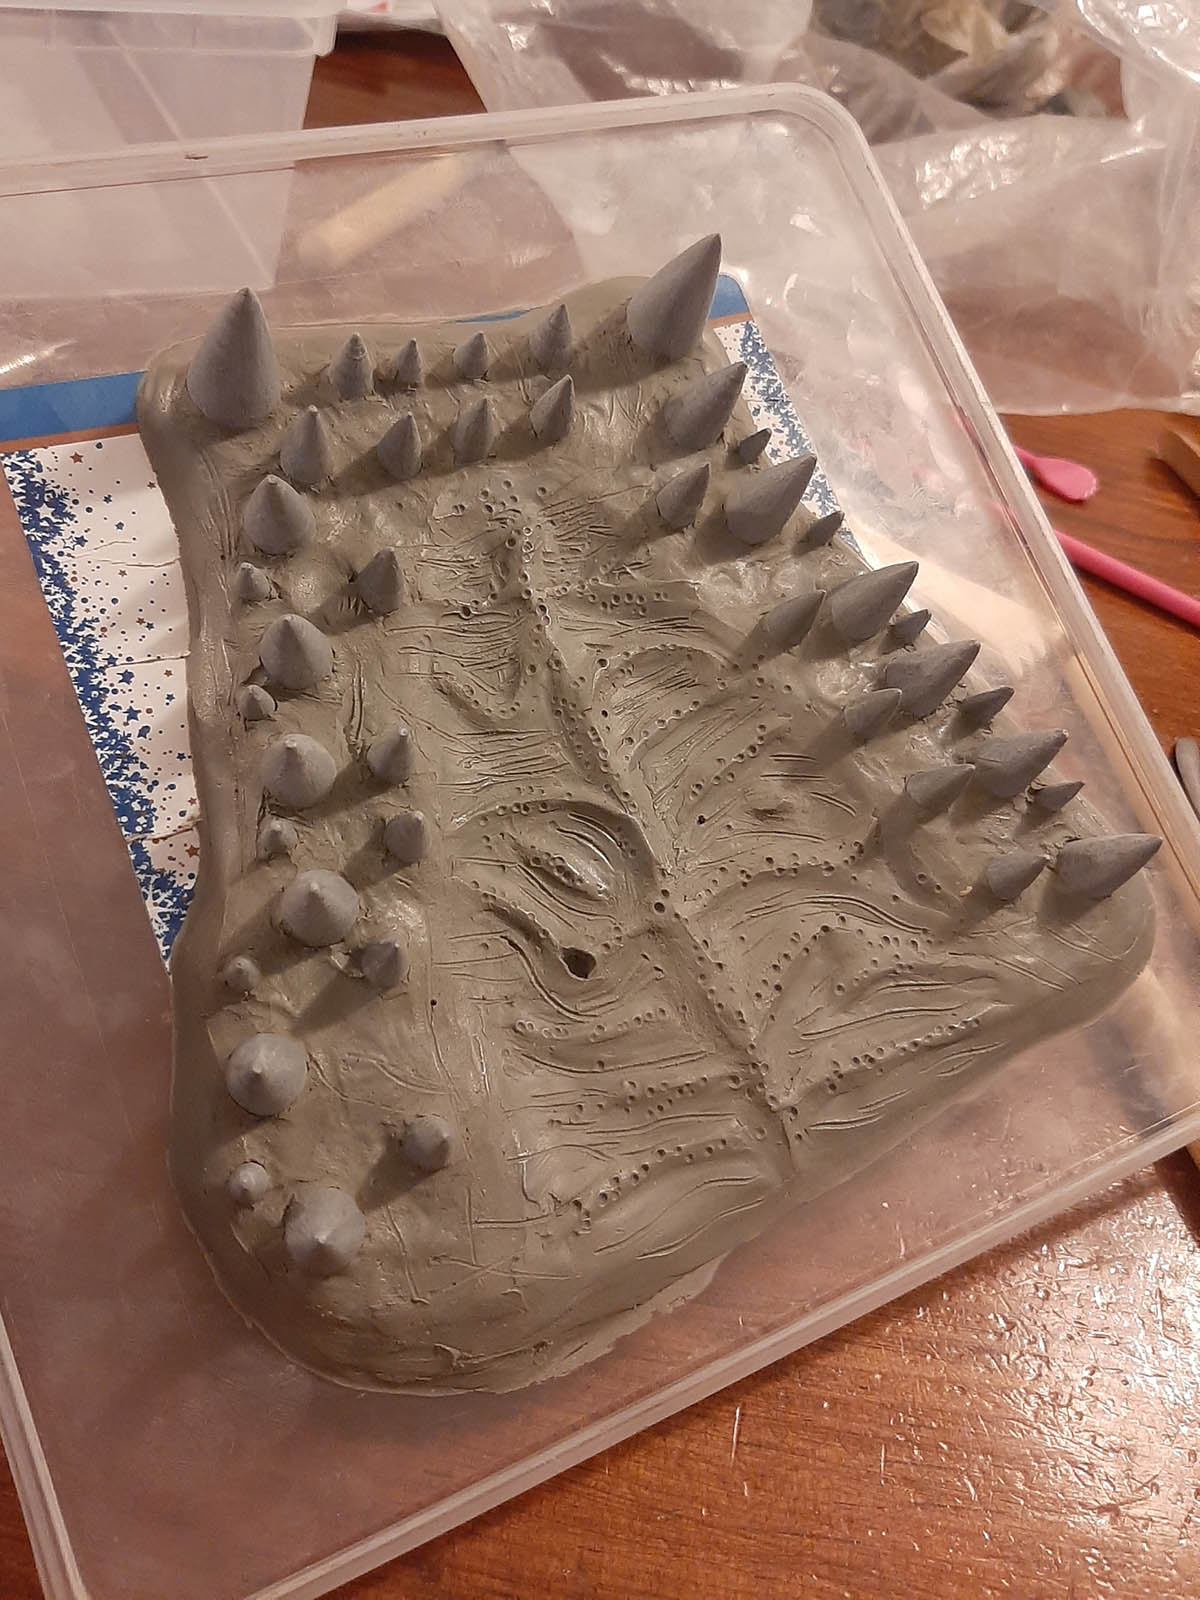
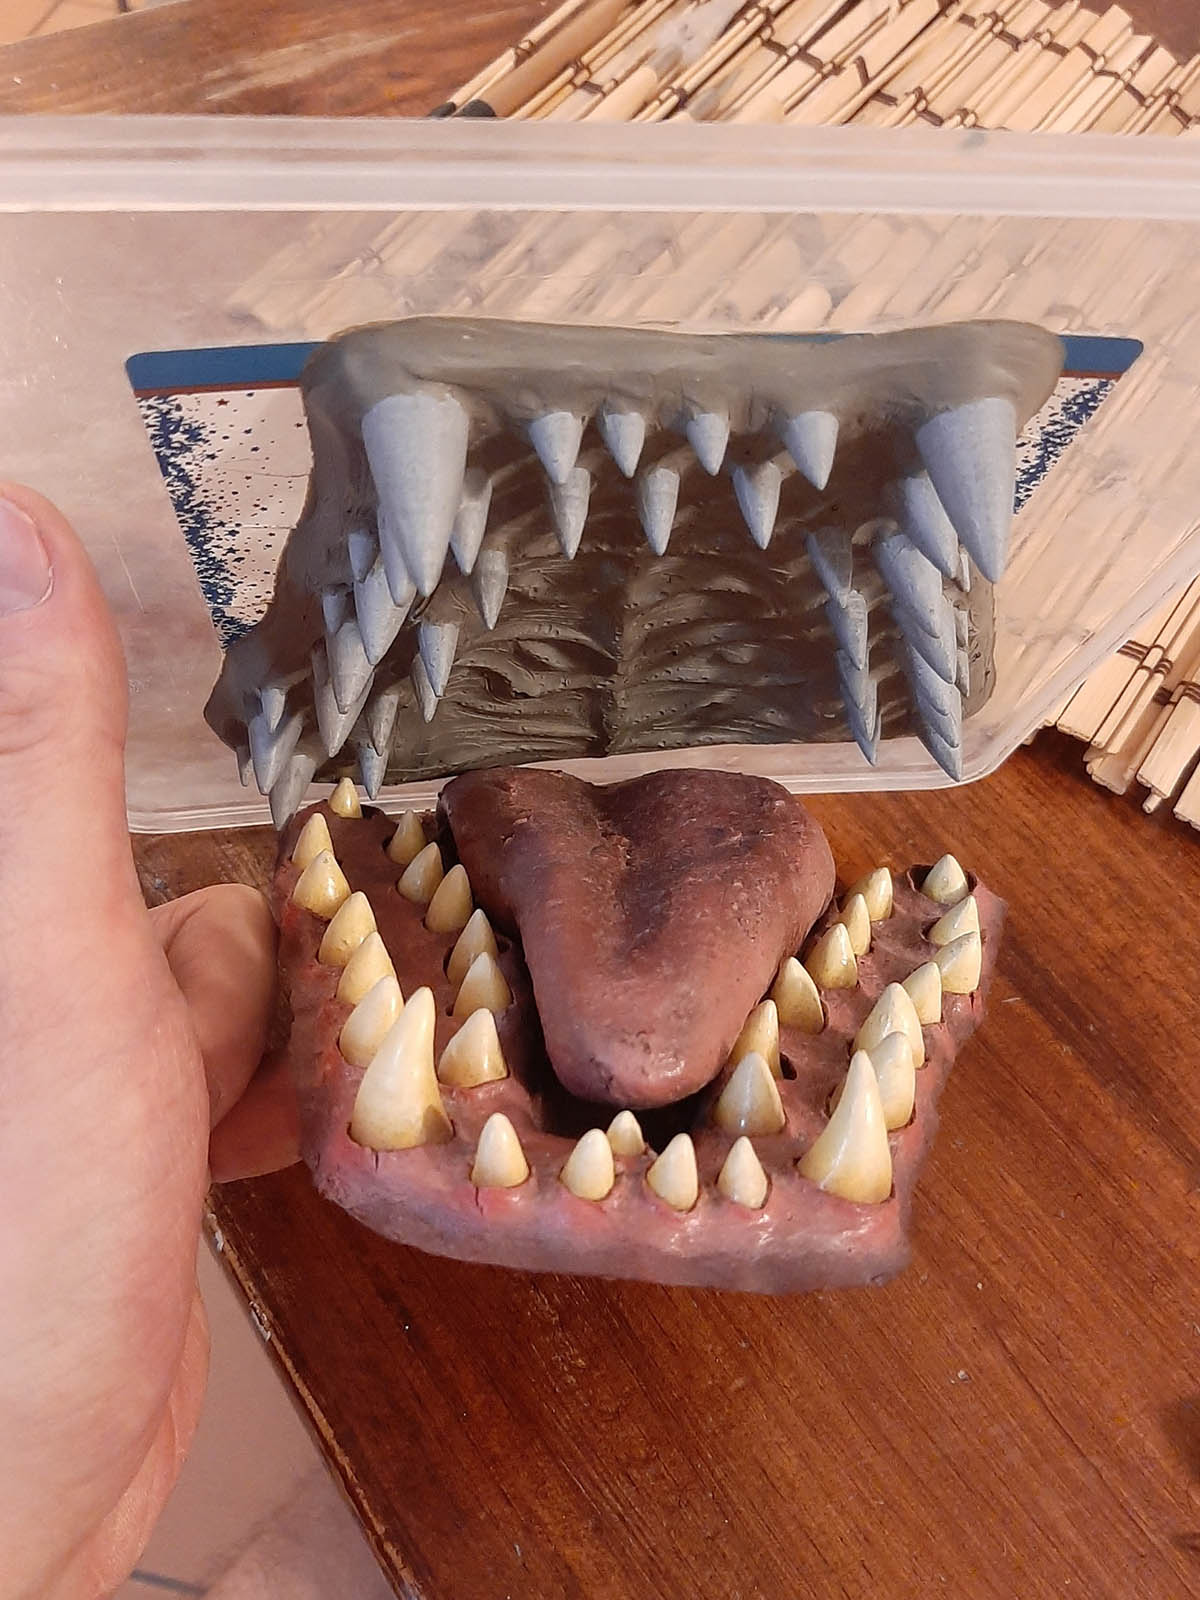
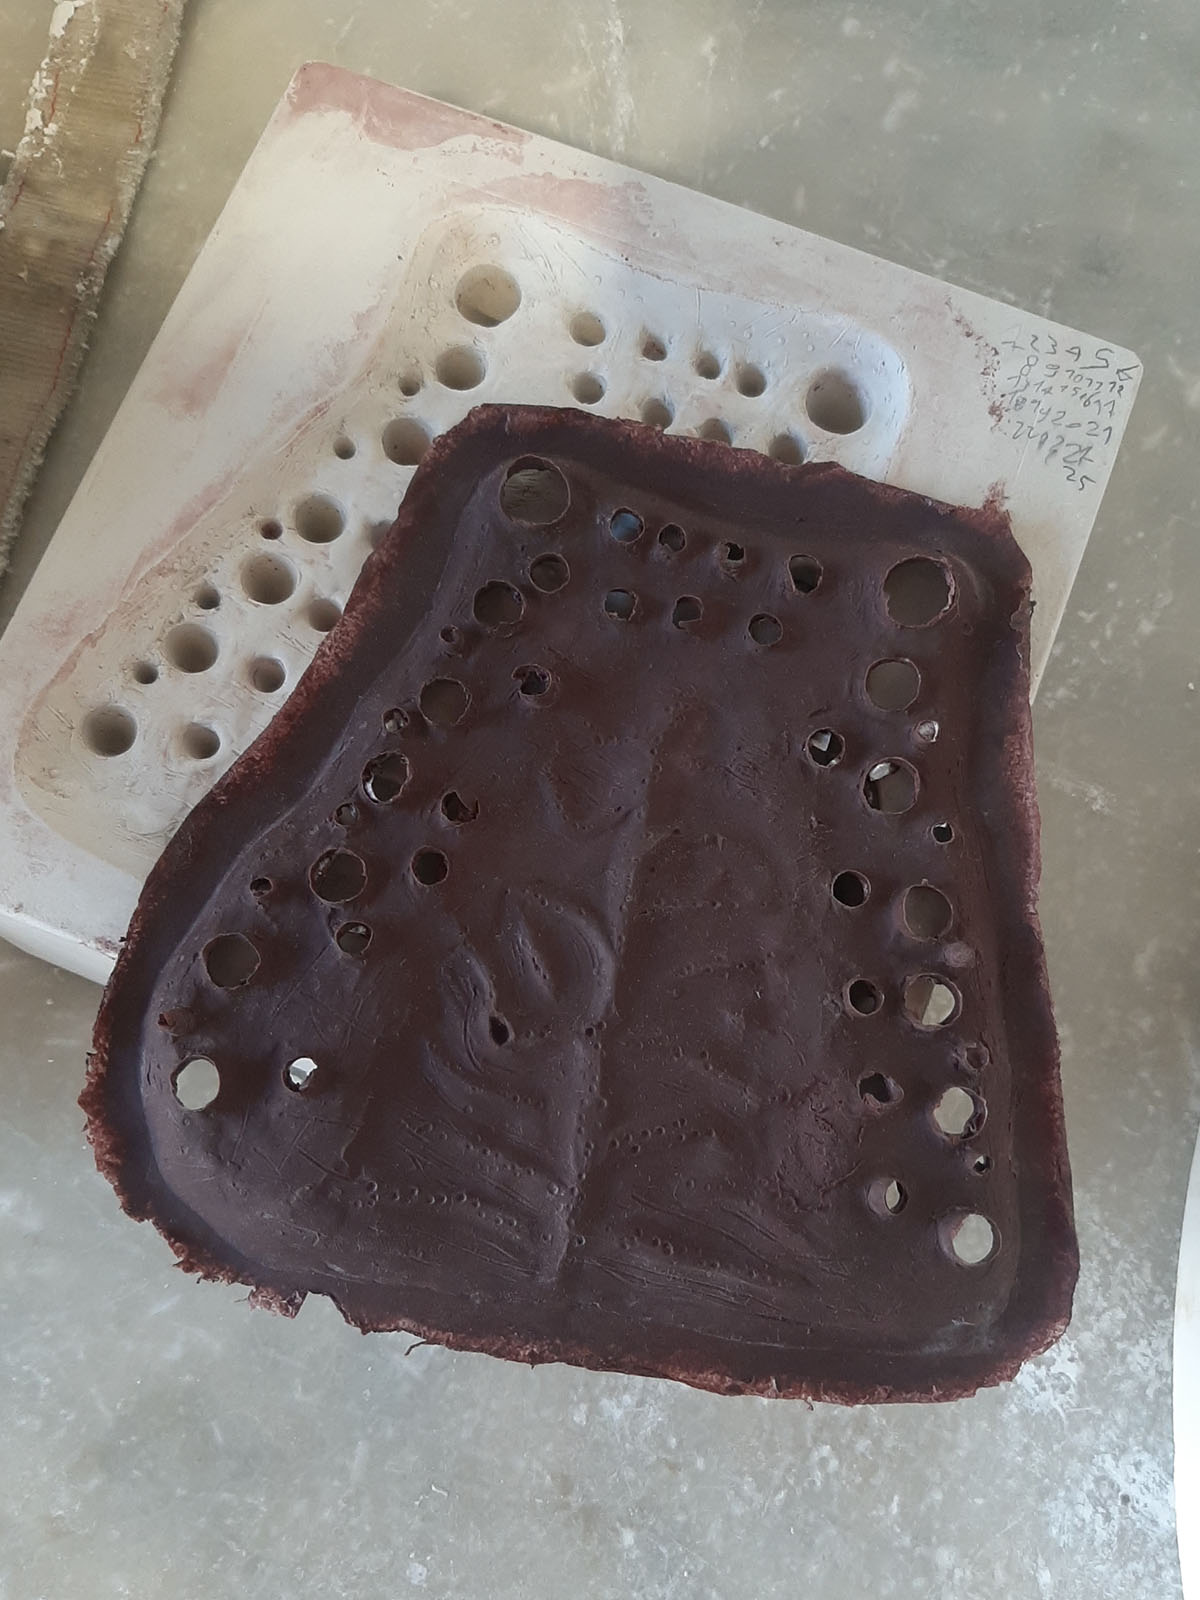
- I 3d printed a “me” then molded / cast several resin copies. I sculpted clay over top of that to get a prototype to work from.
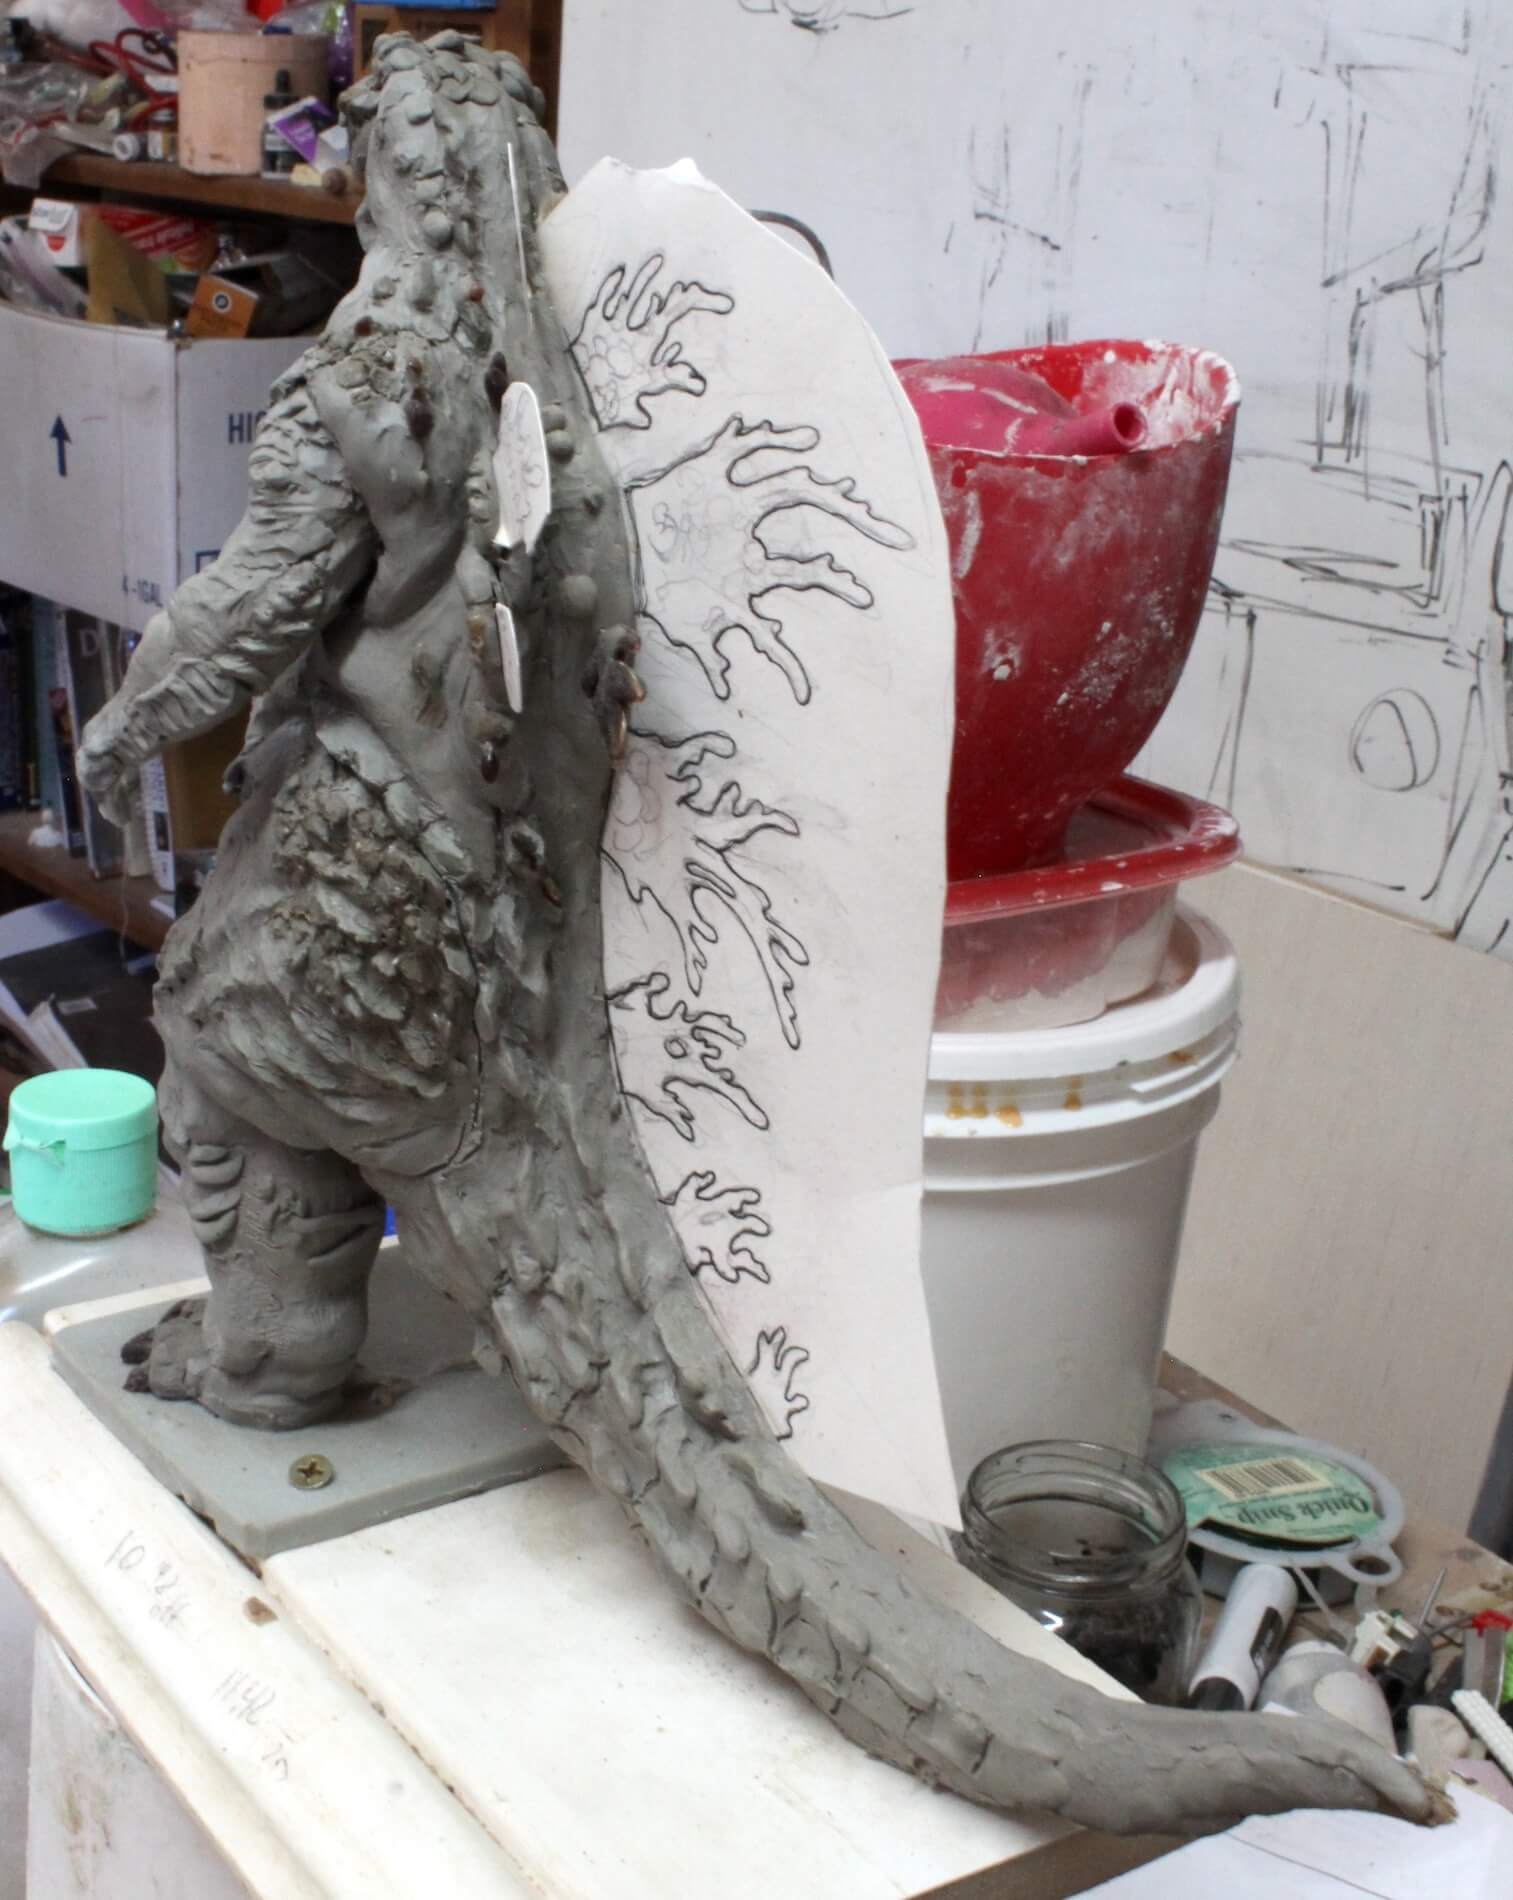
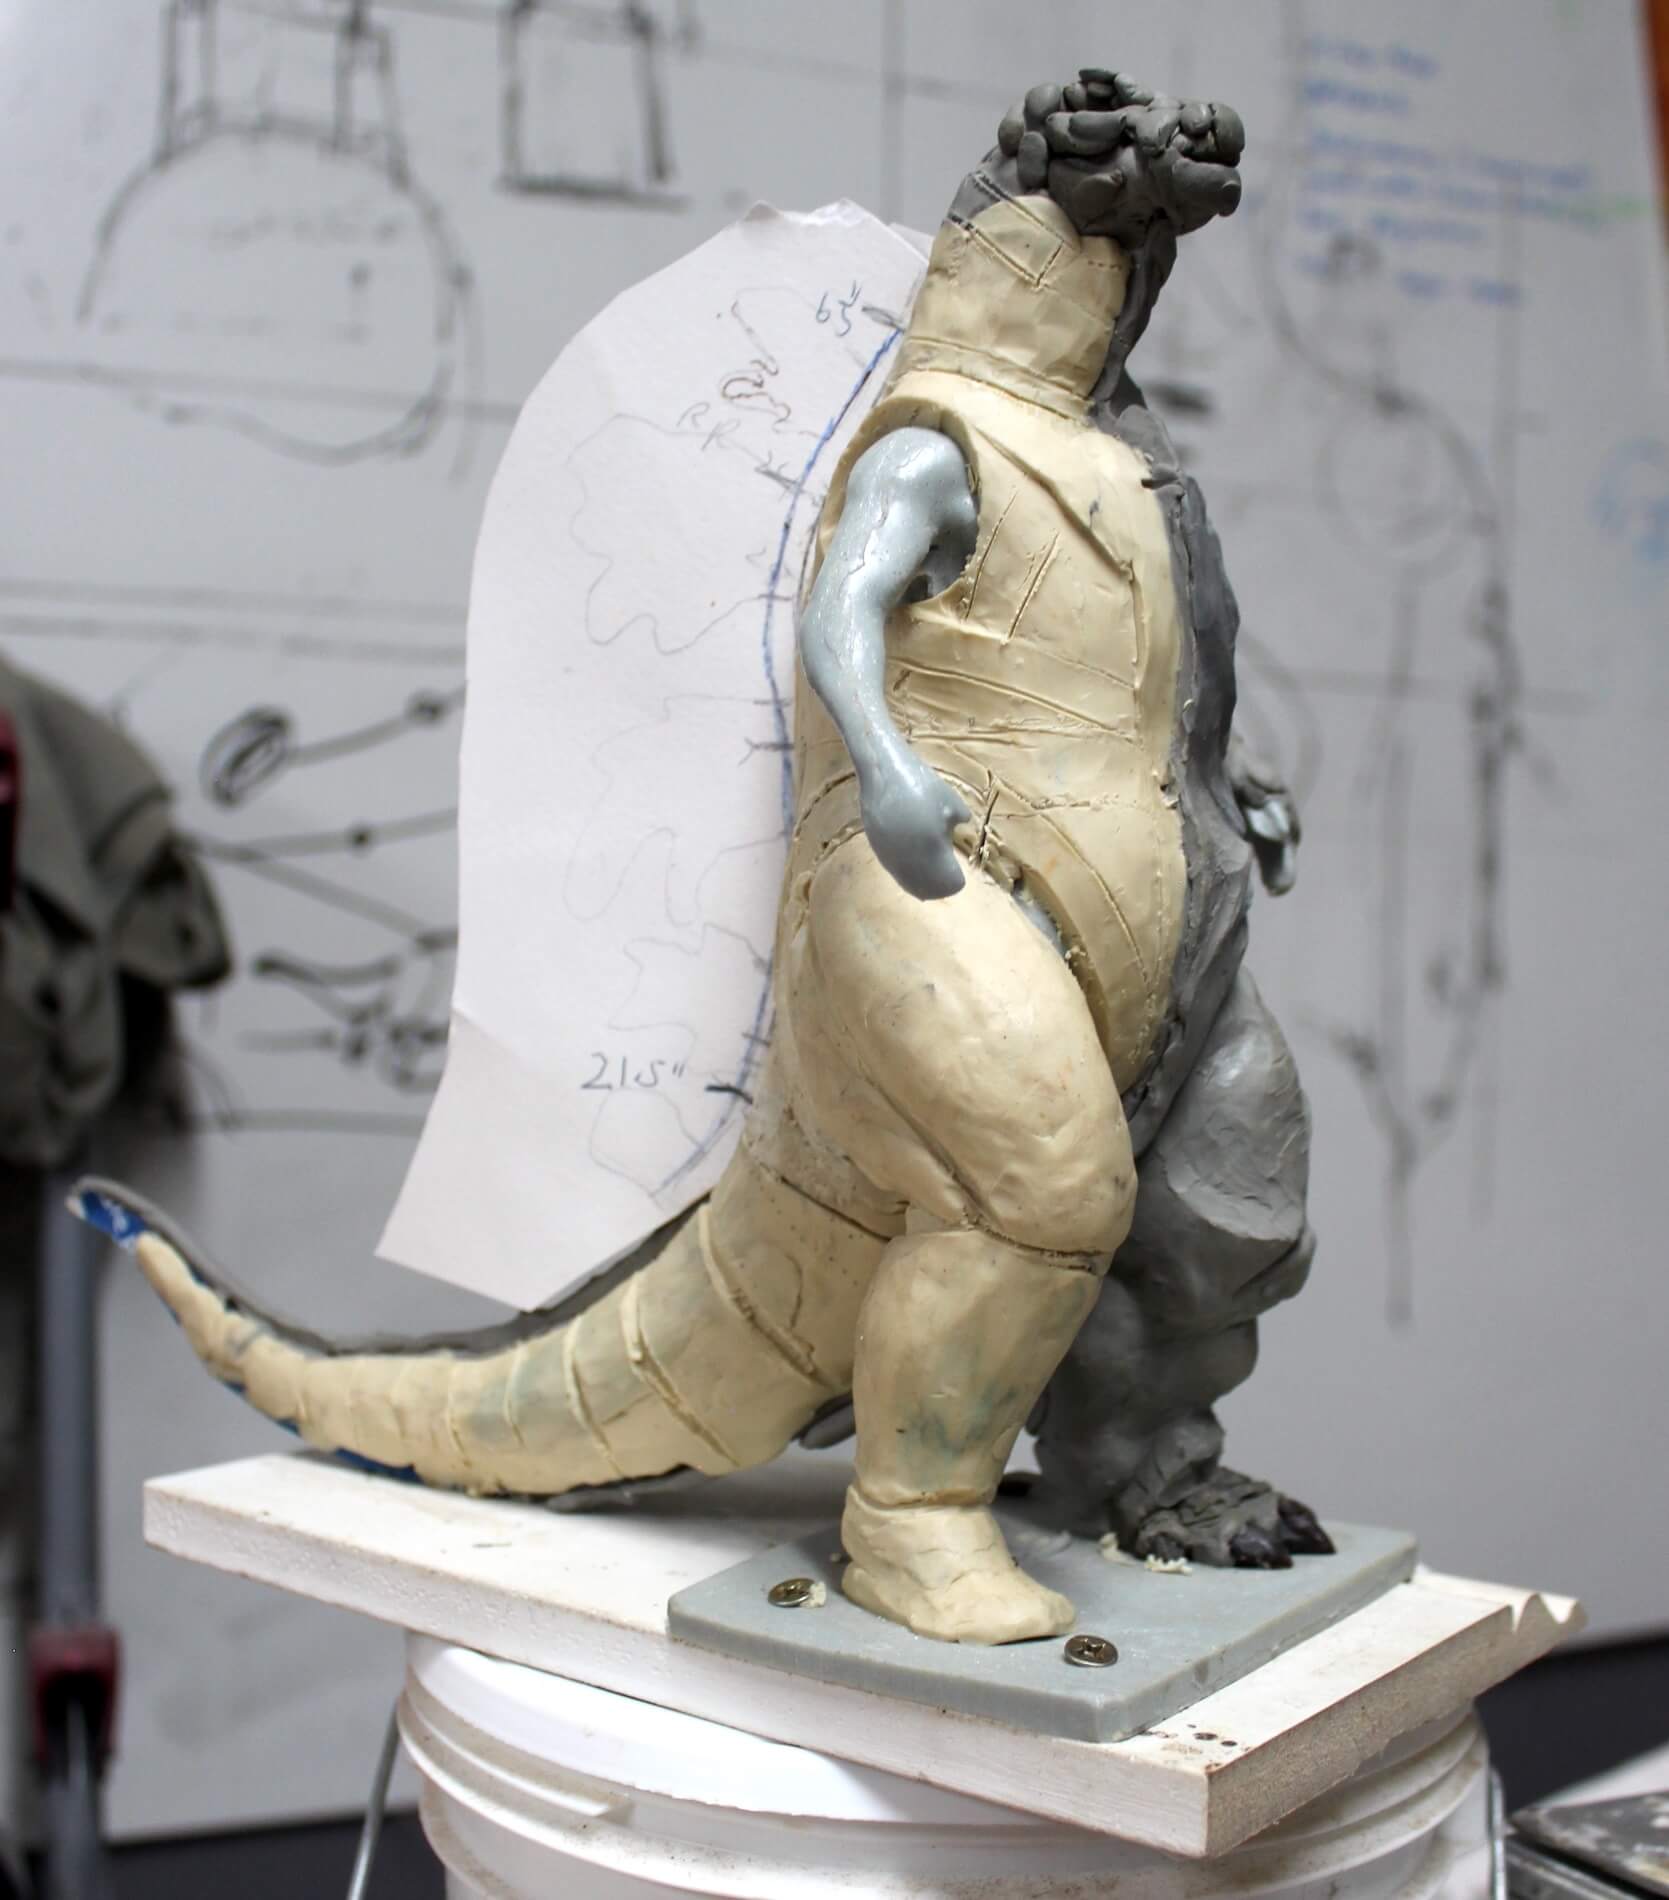
- A simple flange of paper with drawn-on fins sufficed.
- I can’t imagine working without a direct reference model, either digital, printed or sculpted. I love this little guy as much as the final product.
- One side is relatively detailed and the other was just general smooth primary shapes to make templates from.
- You can see scratched in lines where I was roughly planning the foam construction.
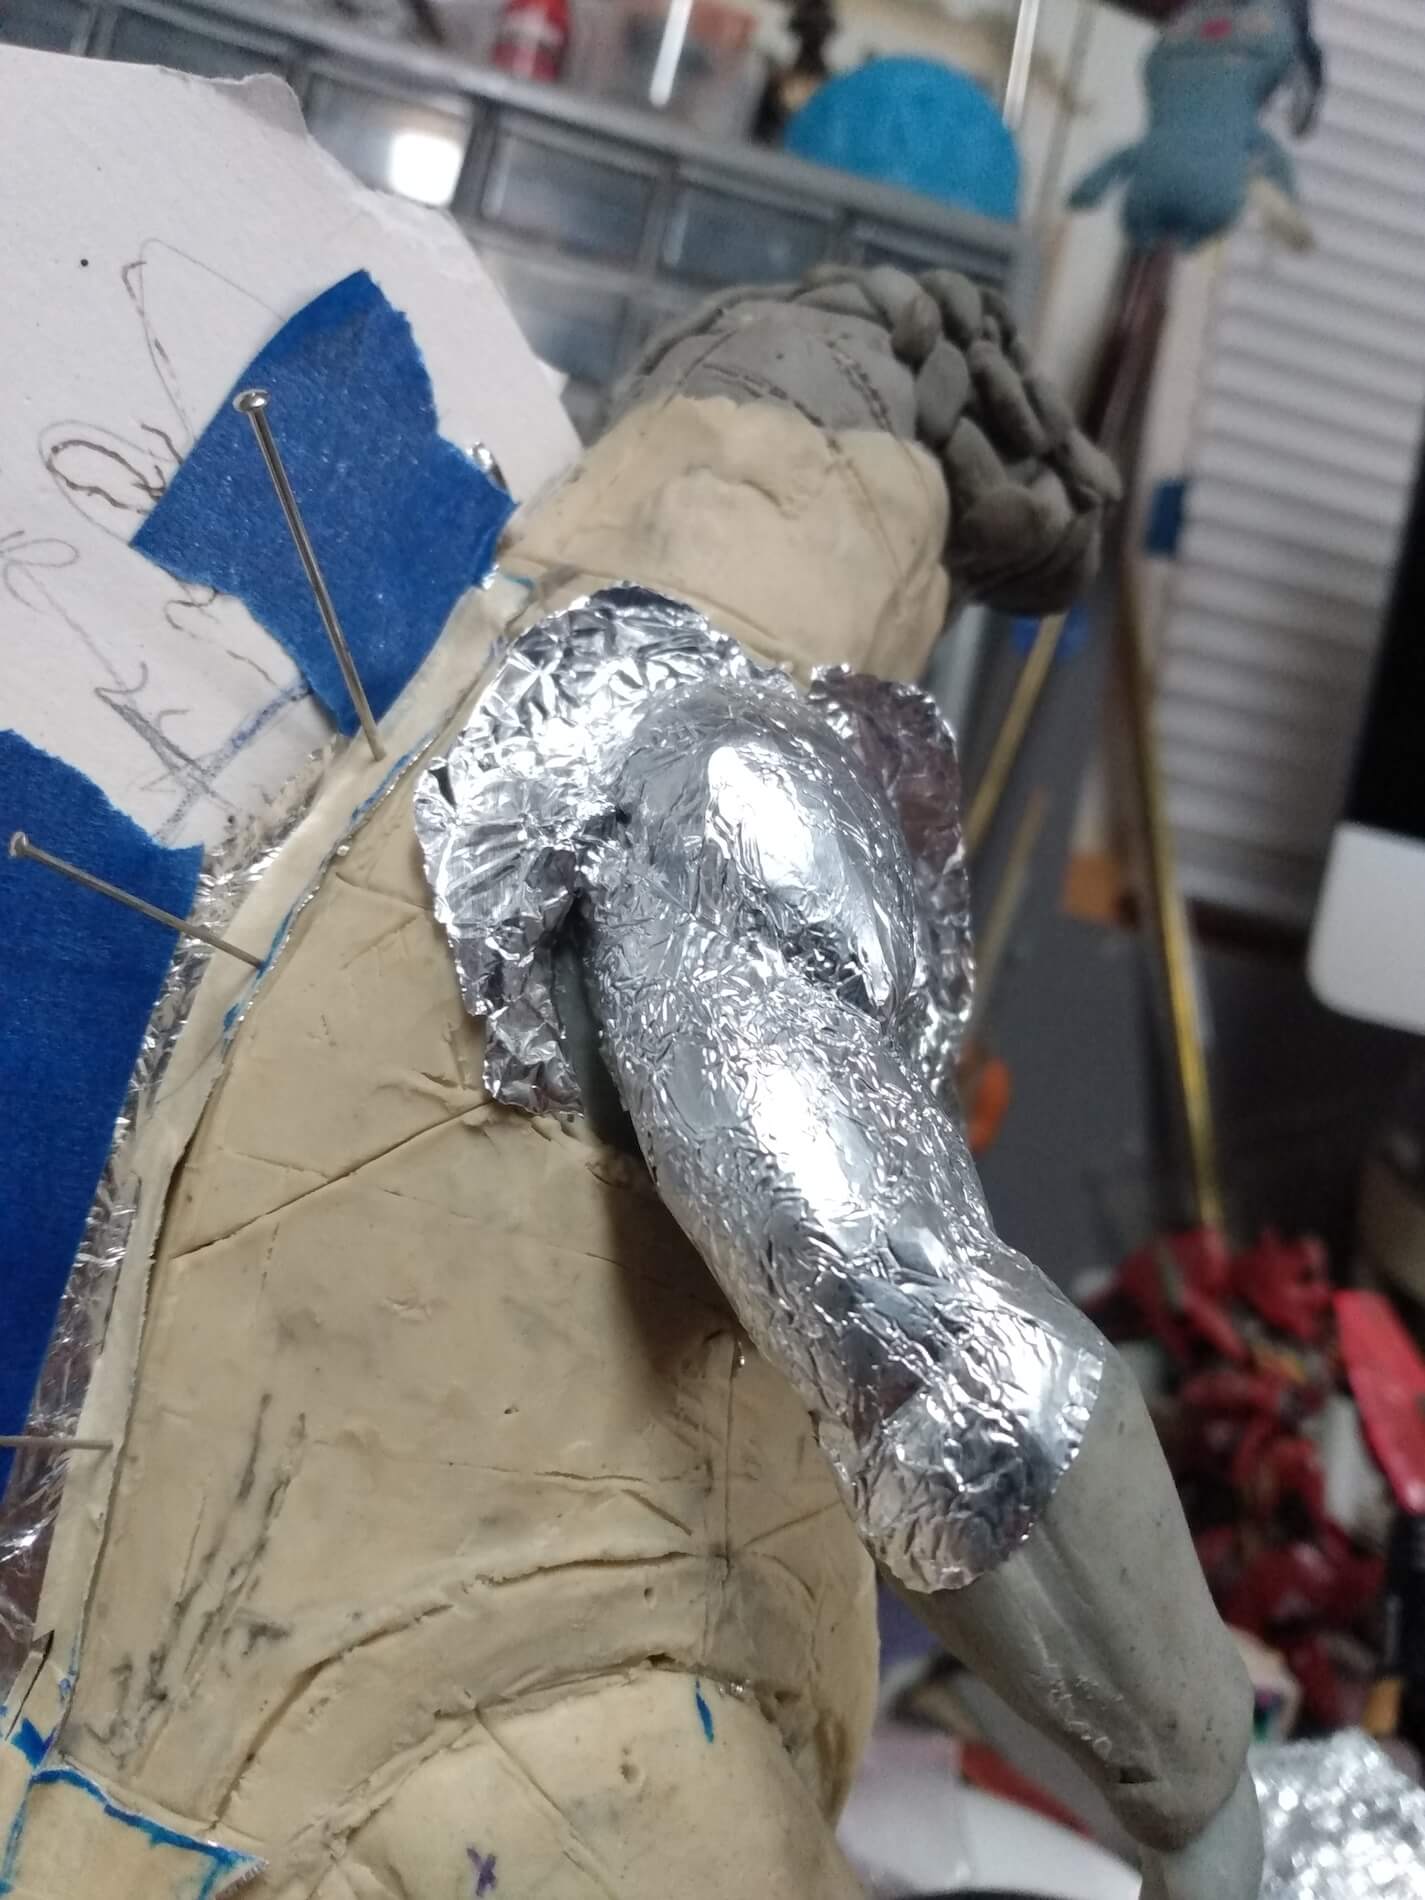
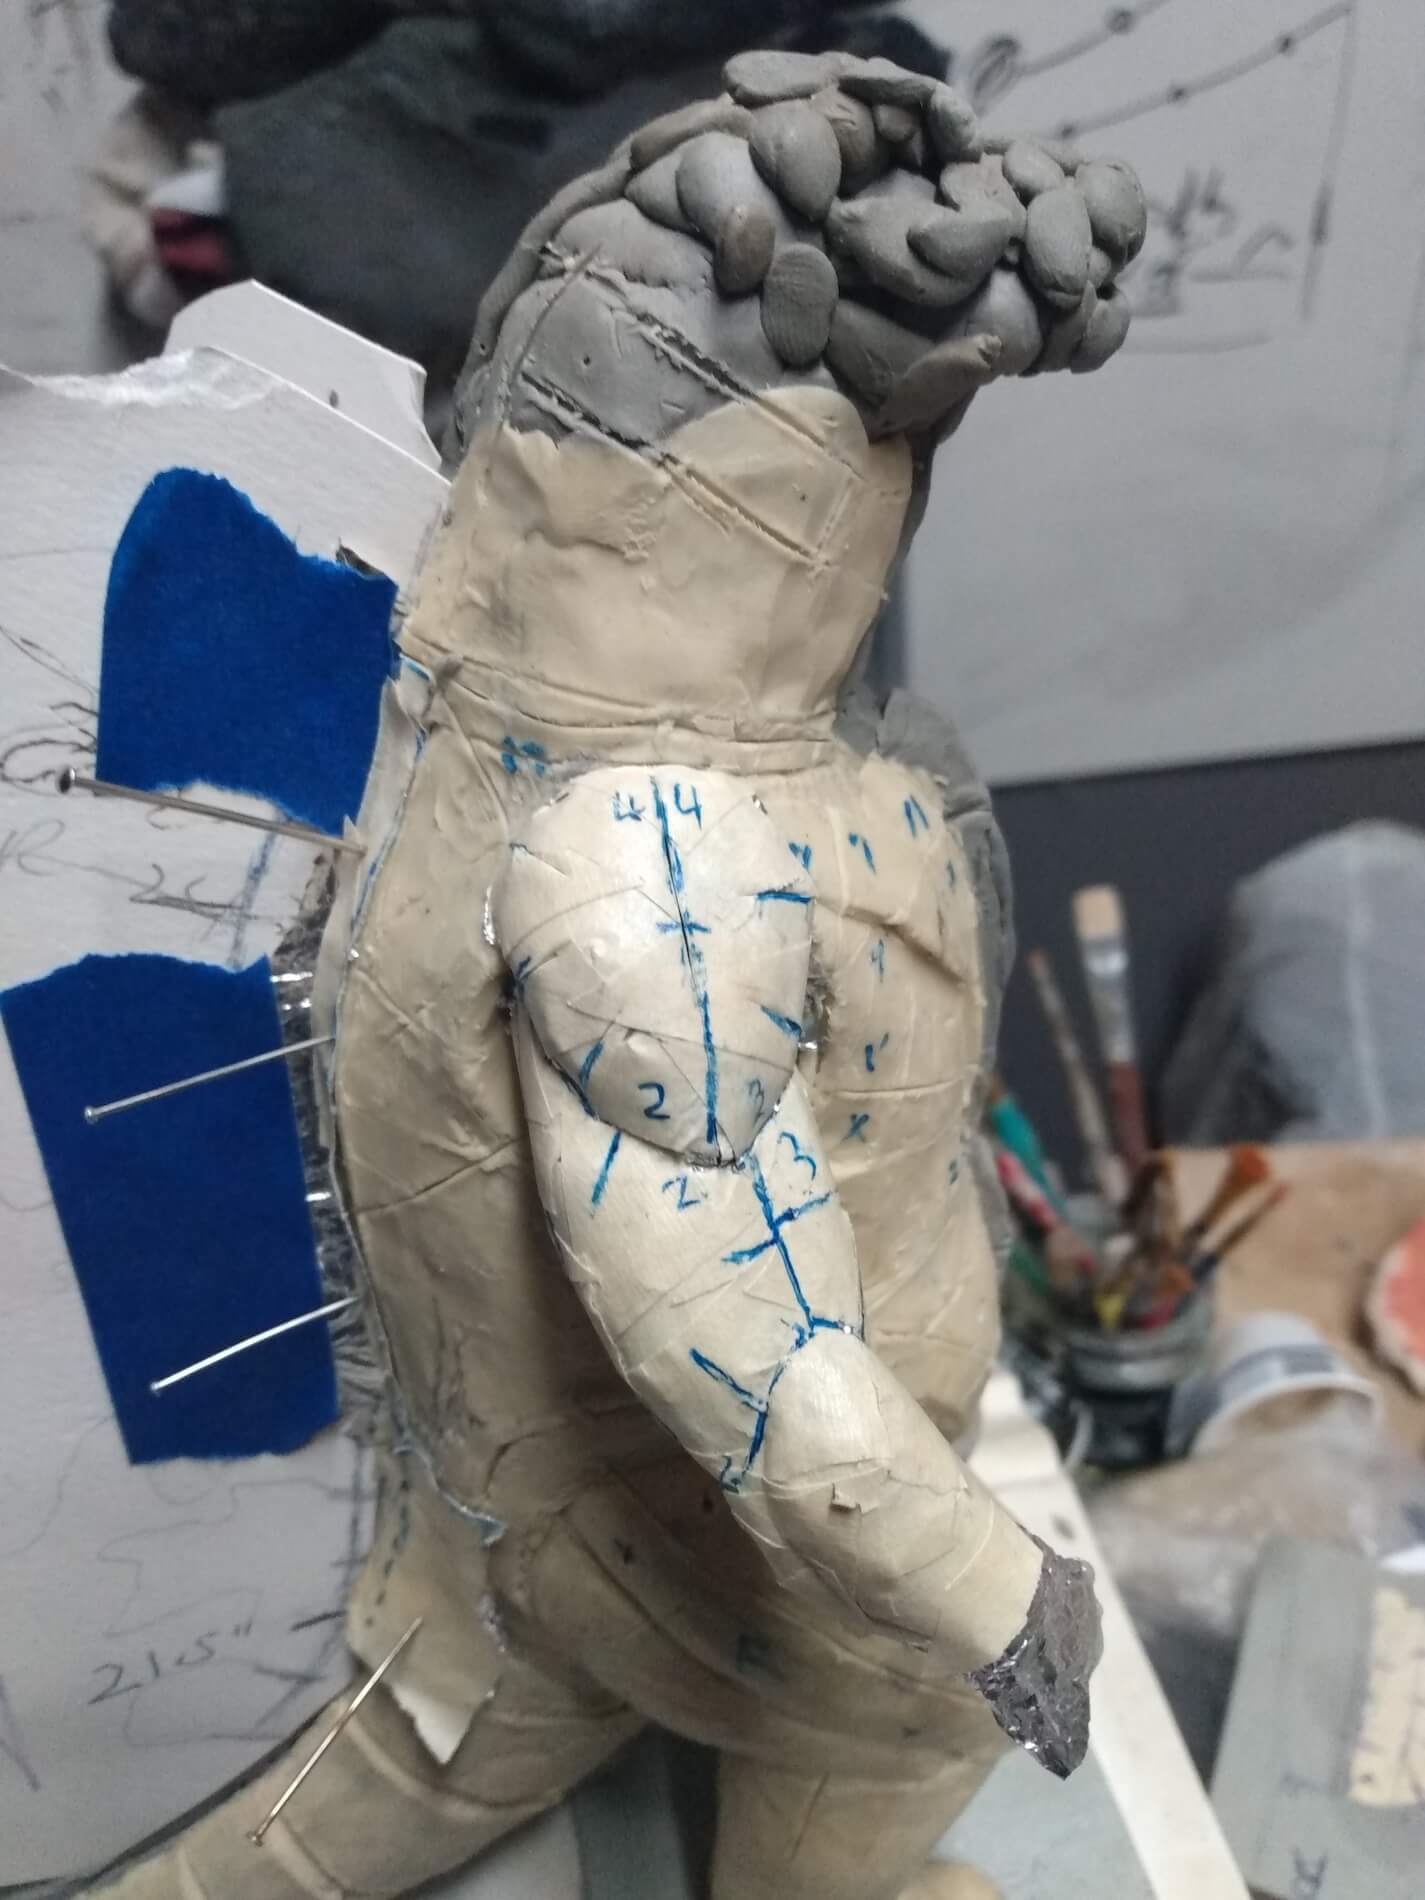
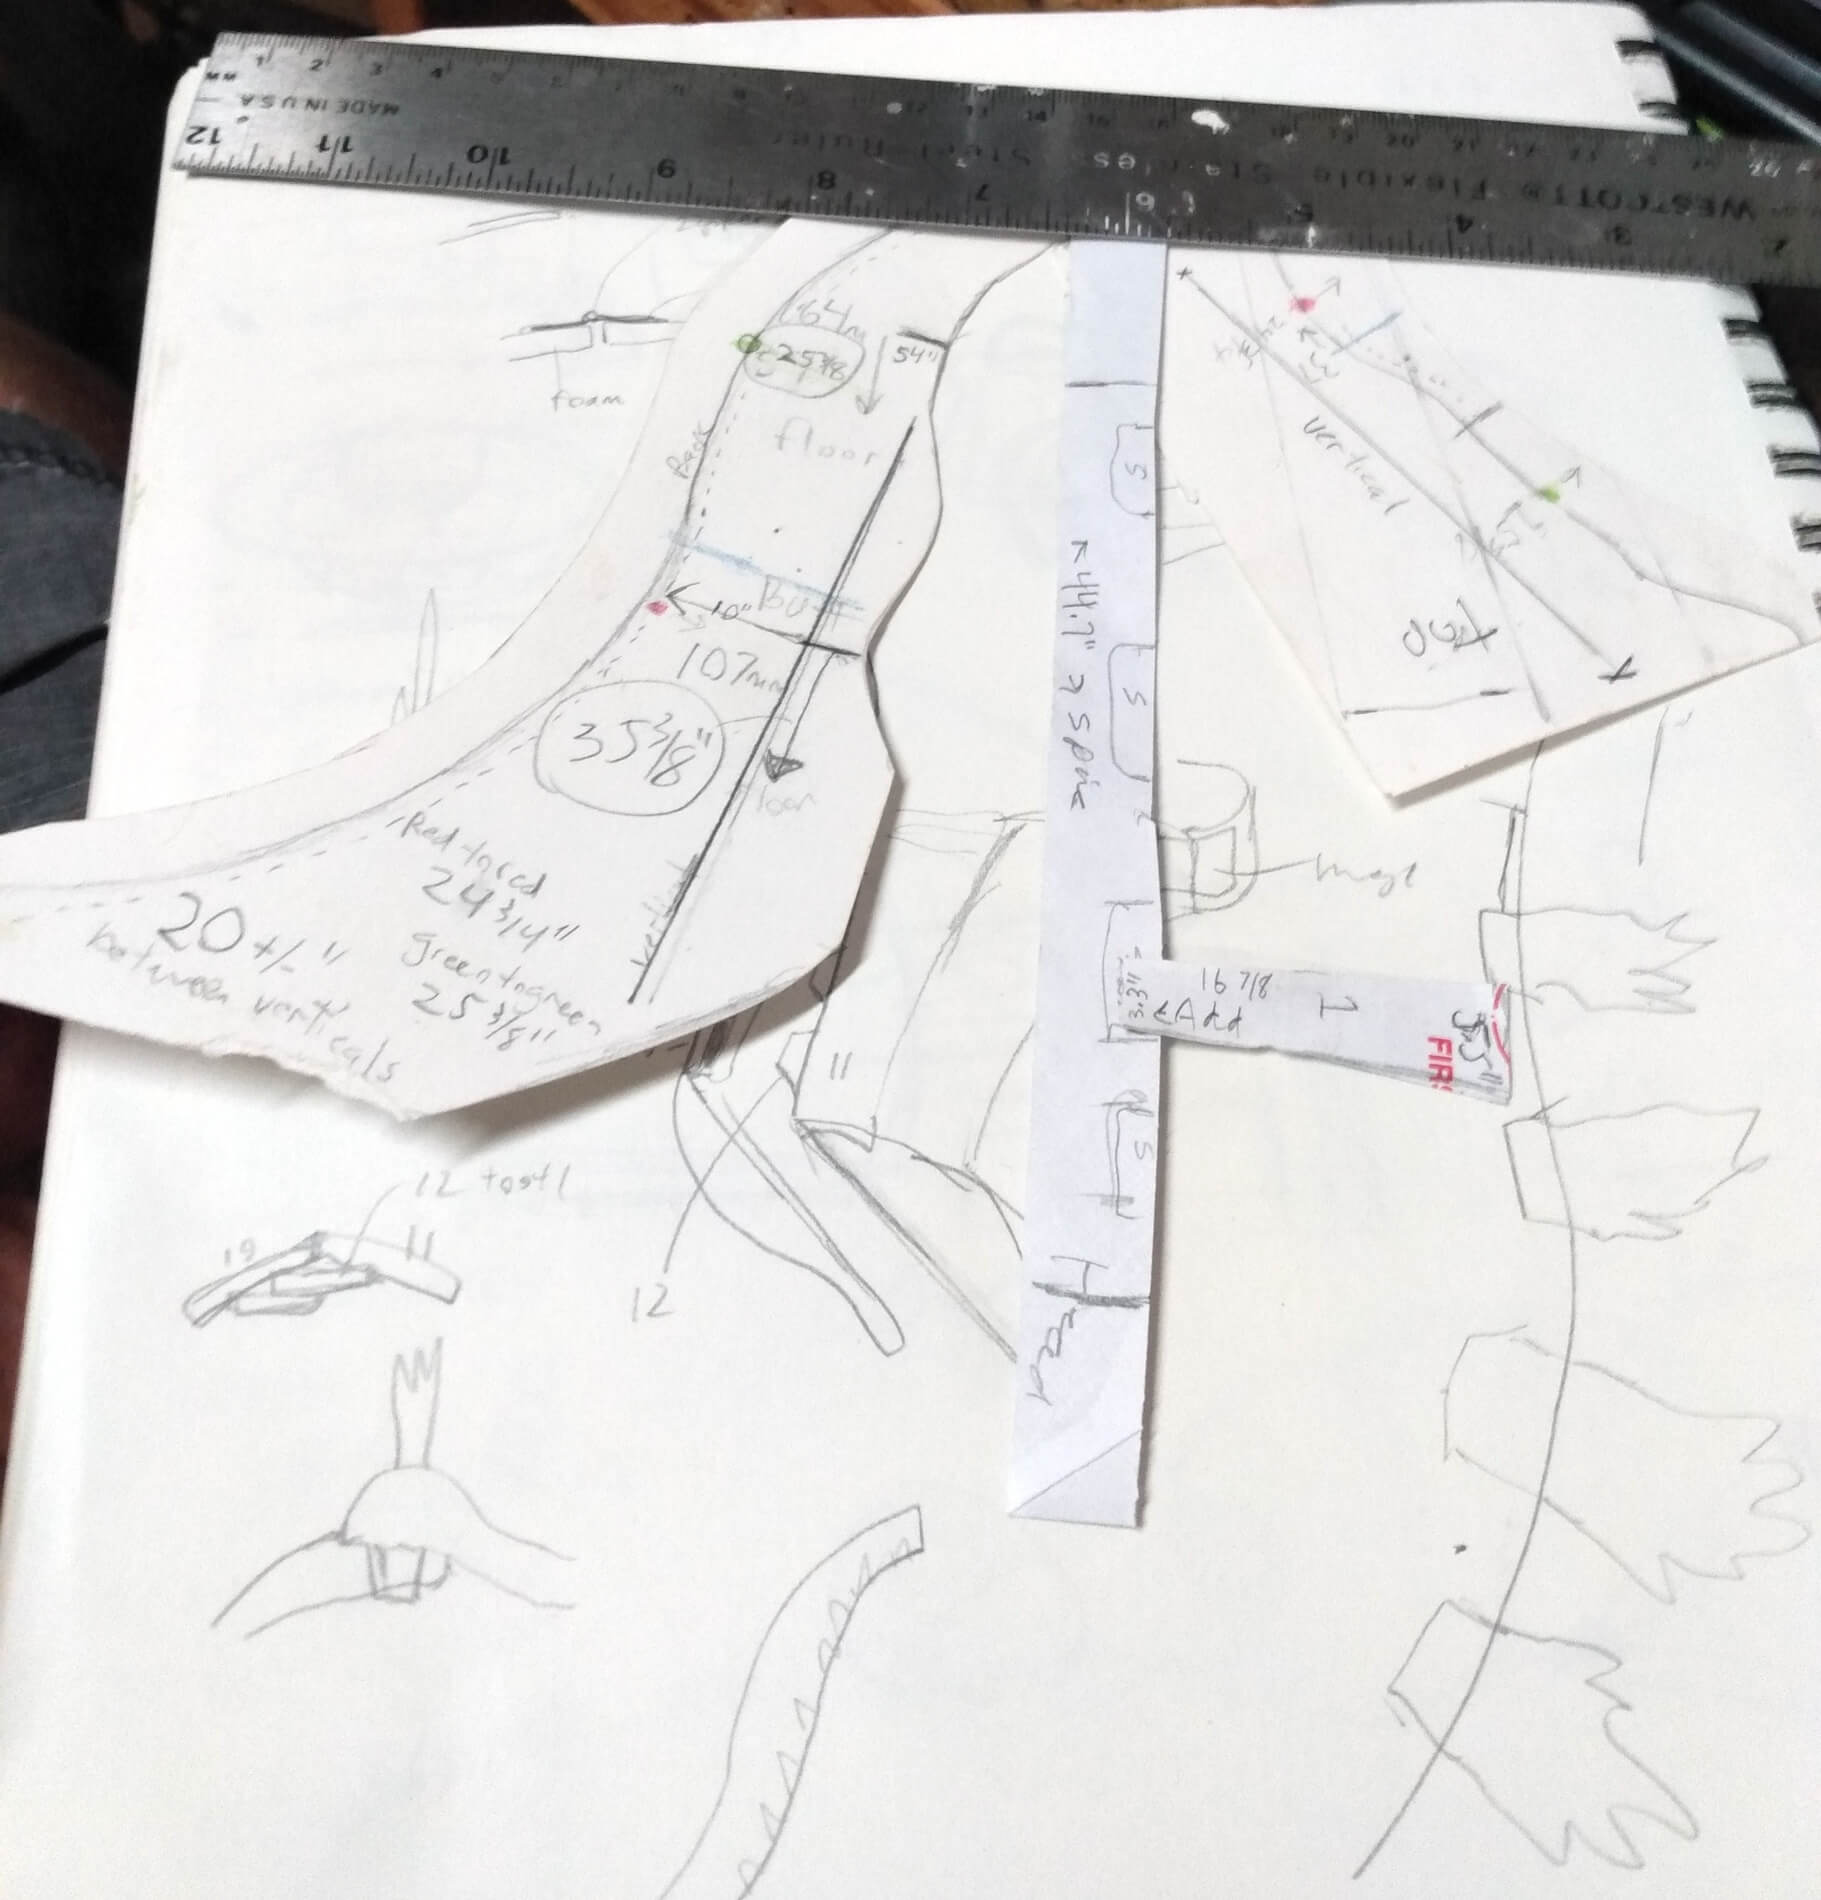
- The ol “aluminum foil wrapped in tape” trick makes usable templates that I put on my projector and trace onto dense upholstery foam.
- Not every early idea makes it to the finish line. I made the shoulders a couple of ways
before picking the final. - There was a good deal of math involved in the early stages. I know the scaled-down resin cast of me’s height and my actual height. Cross multiplying and dividing gives me a factor to multiply by to go from my small model to full size. I do this a LOT to be faithful to the clay model, proportion-wise.
- Eventually, you can ditch the math and start building the finer shapes but in the beginning, I trust math.
- Sketch for how the tail attaches to the hips.
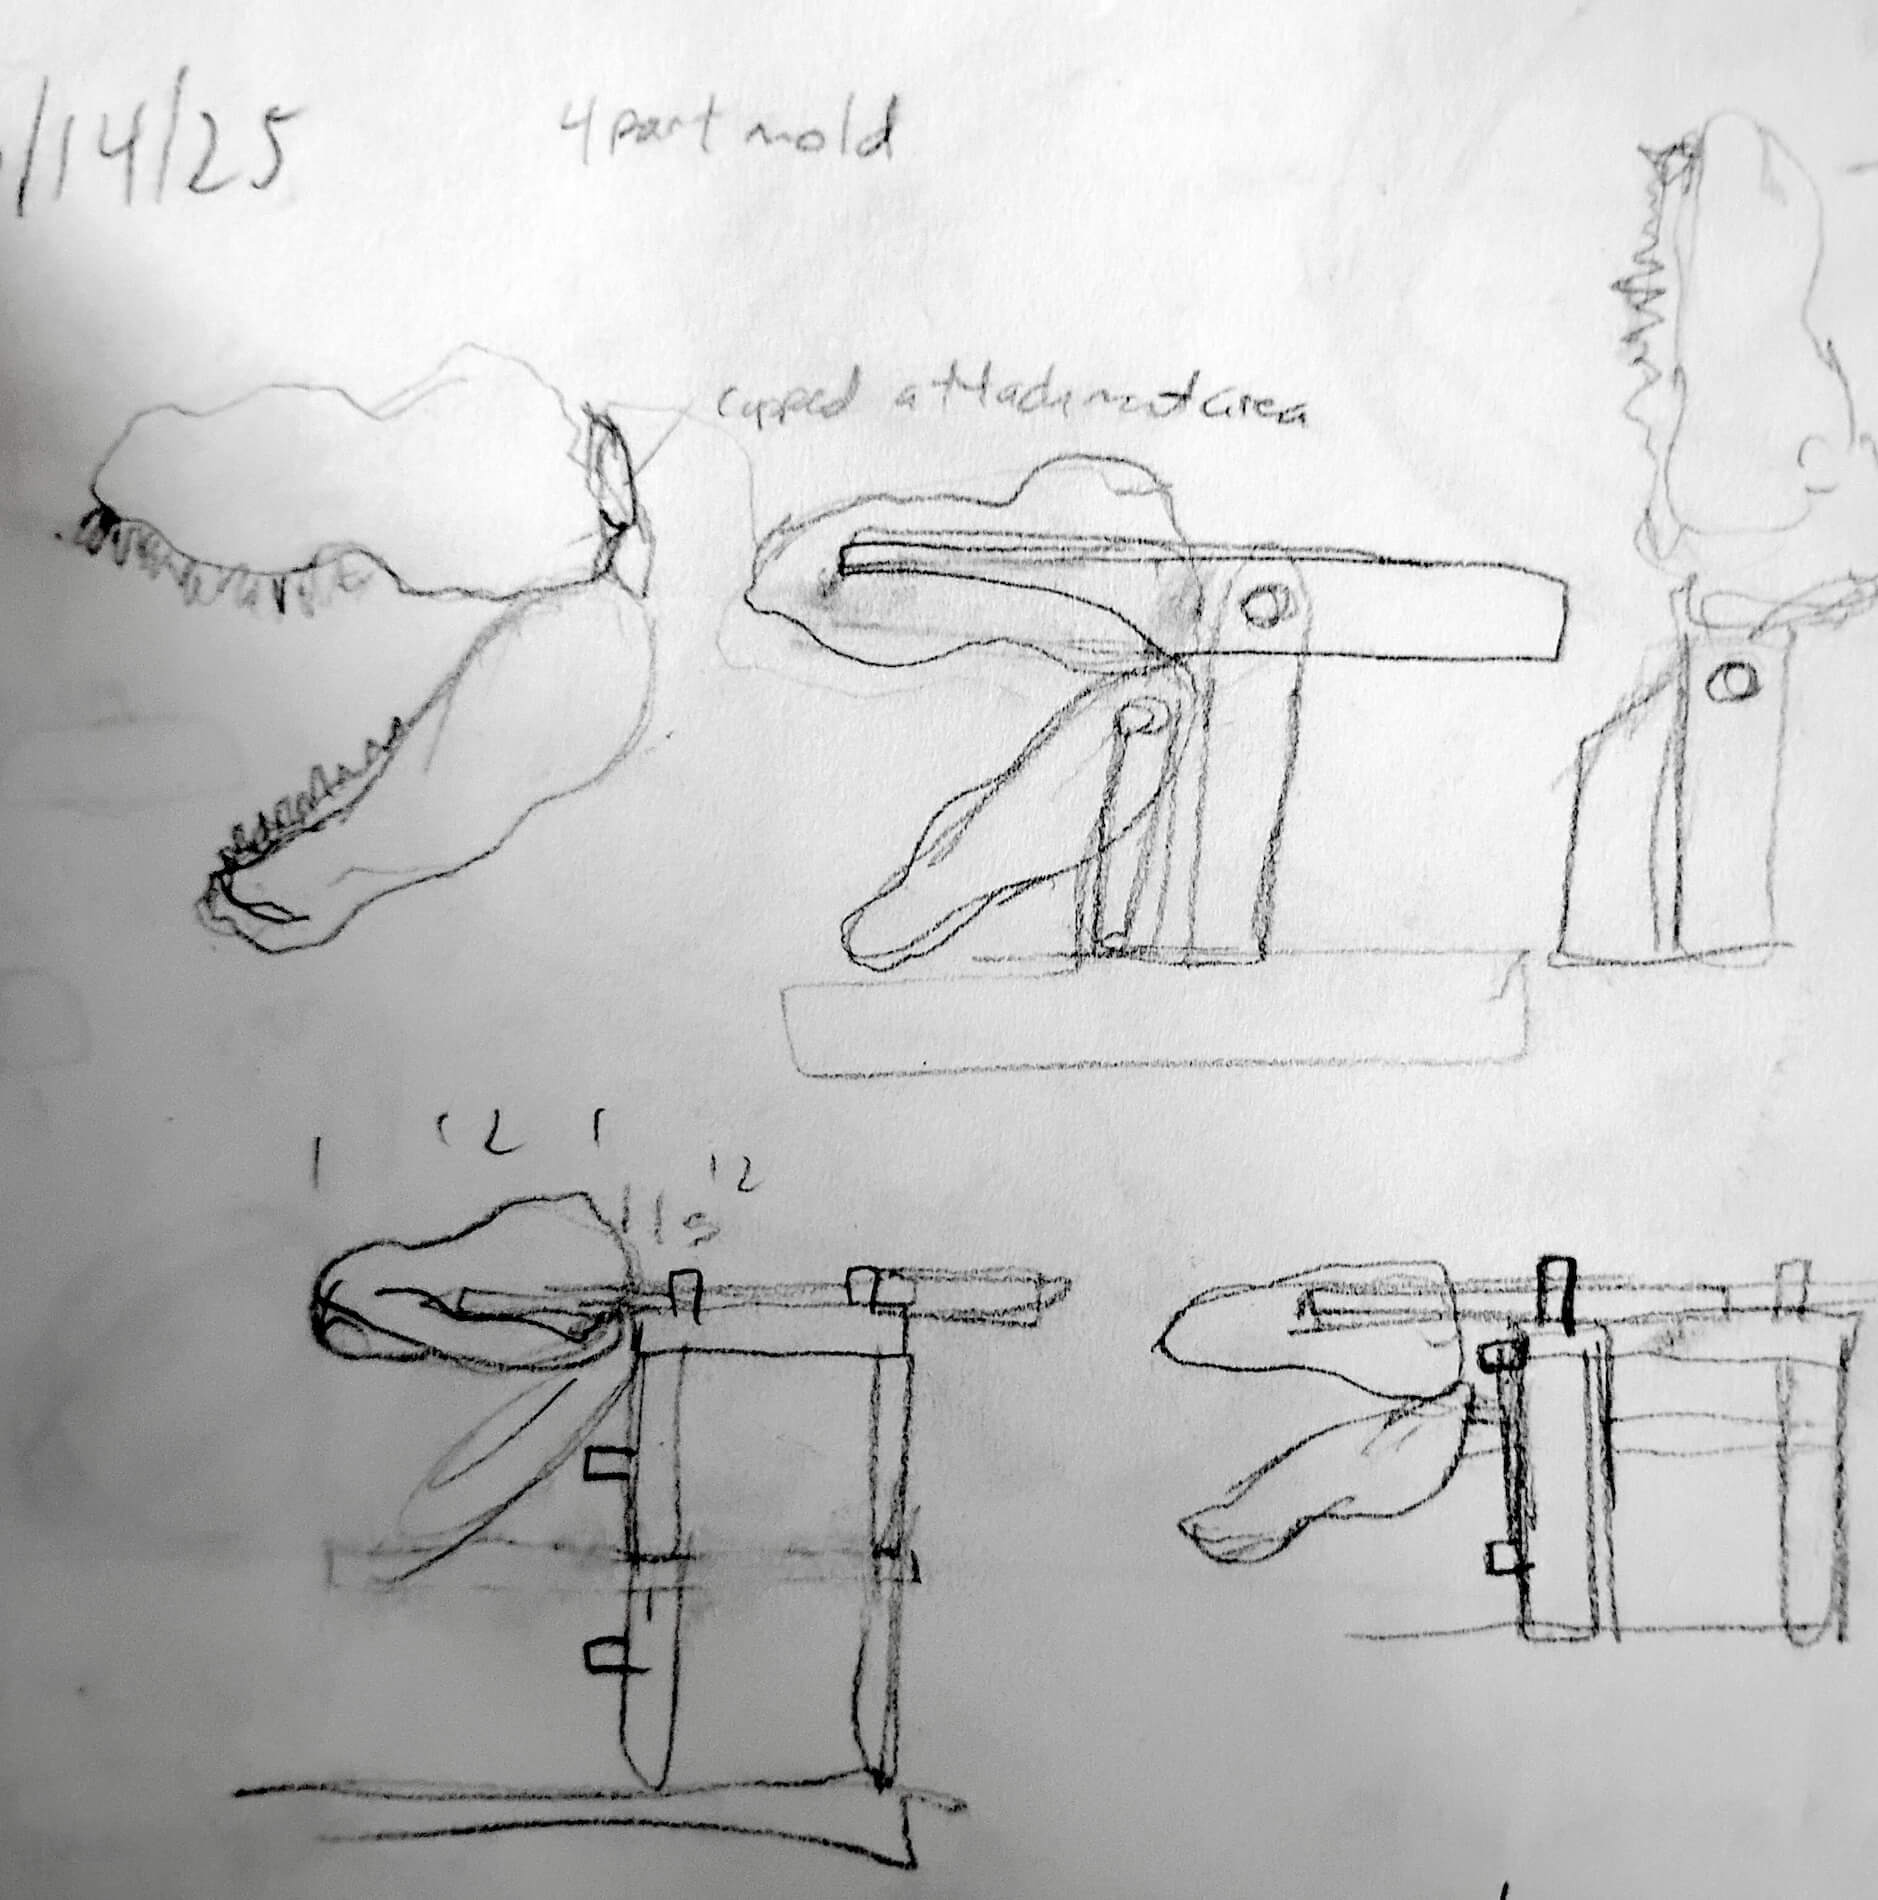
- I sketch during all stages of development. These are doodles for the armature that supported the WED clay head during sculpting and molding.
Harness
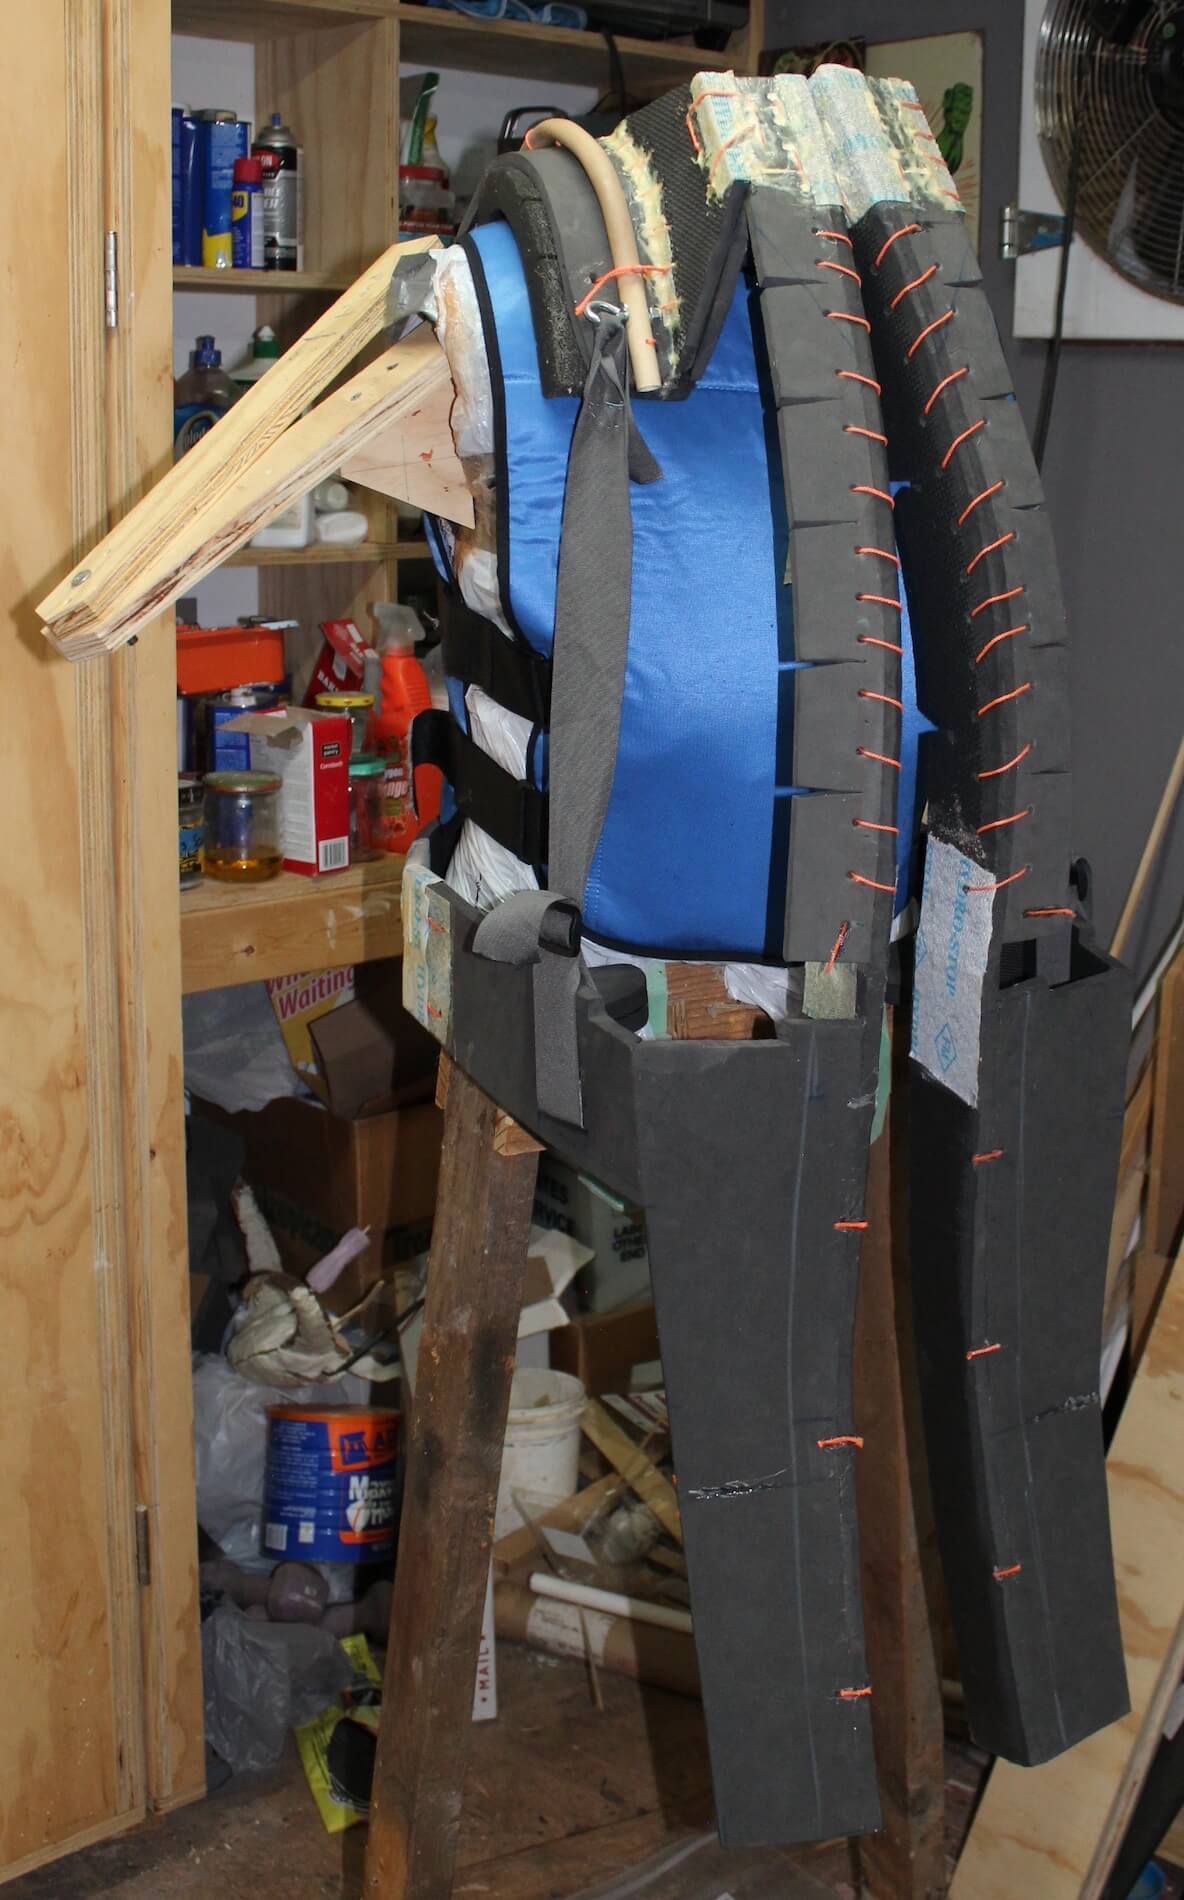
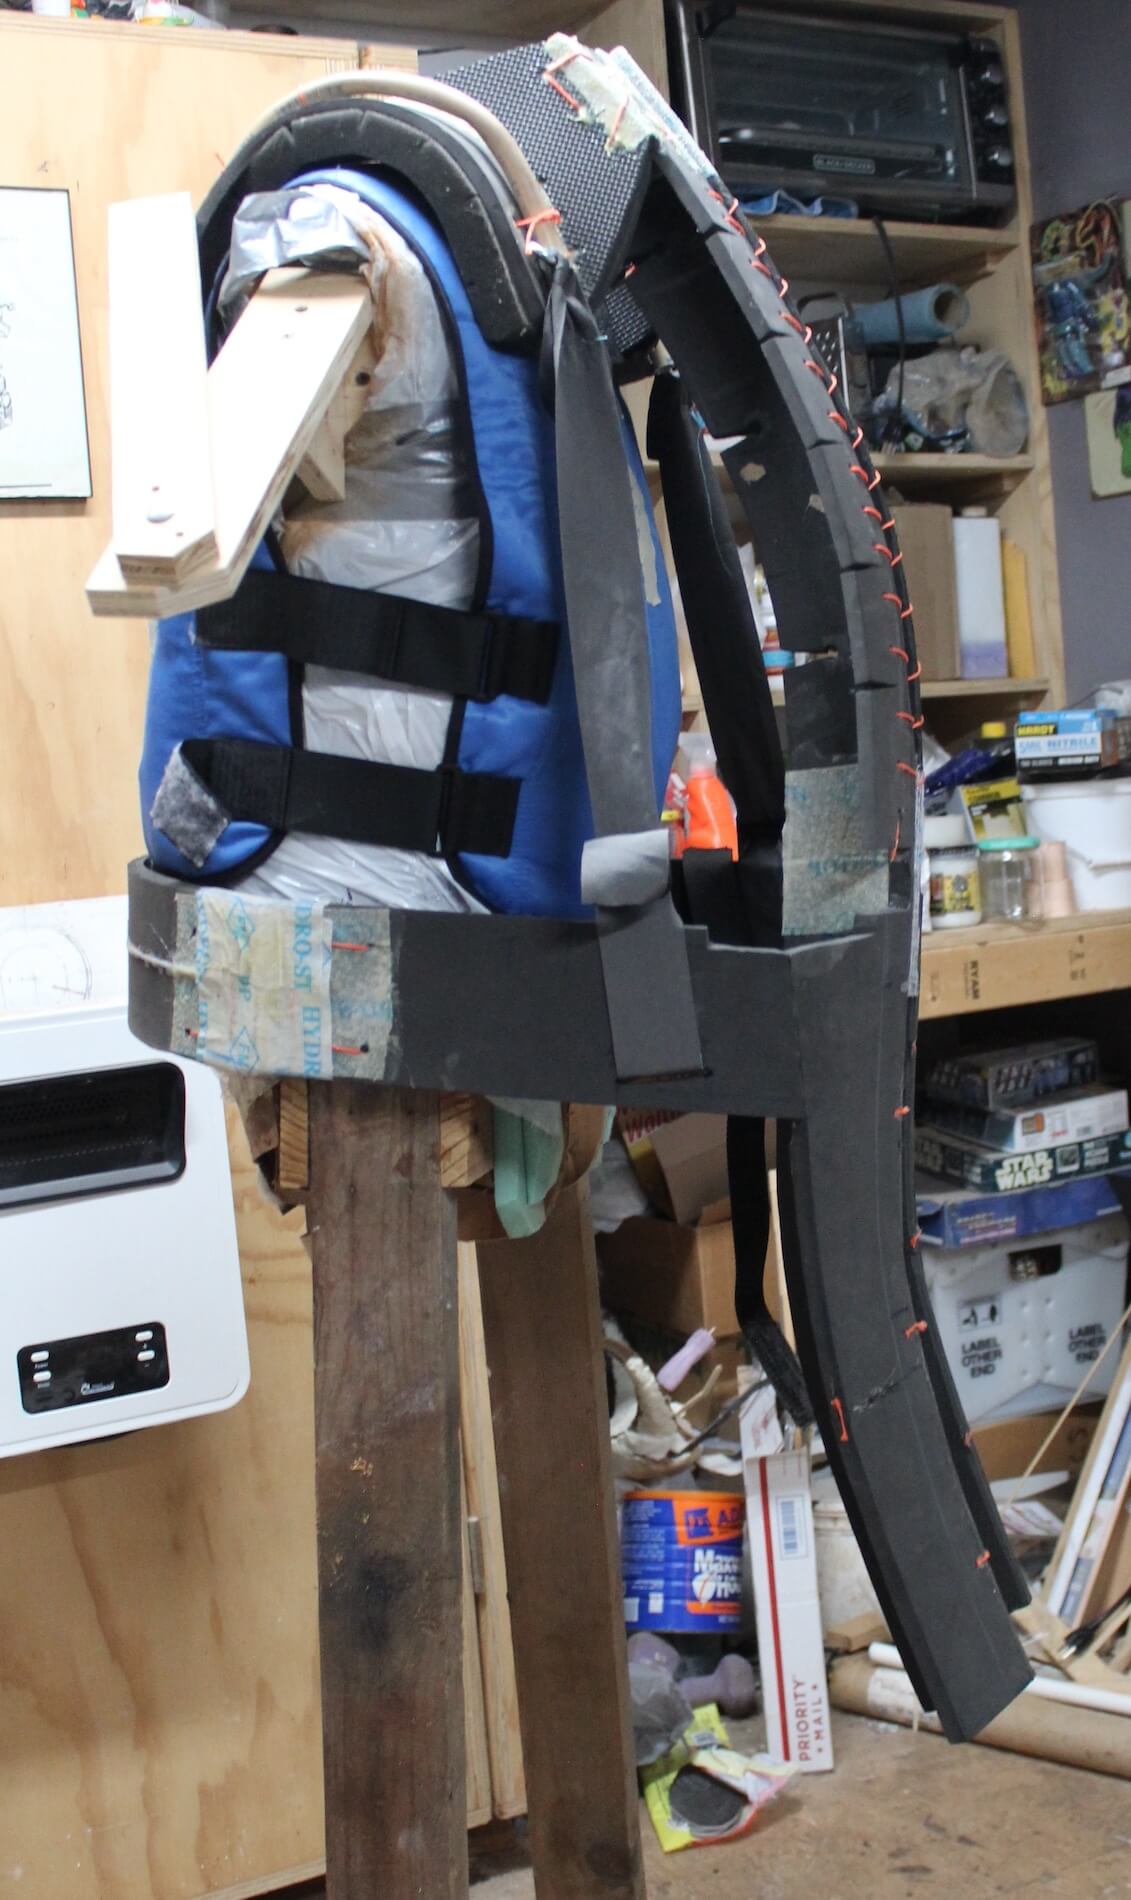
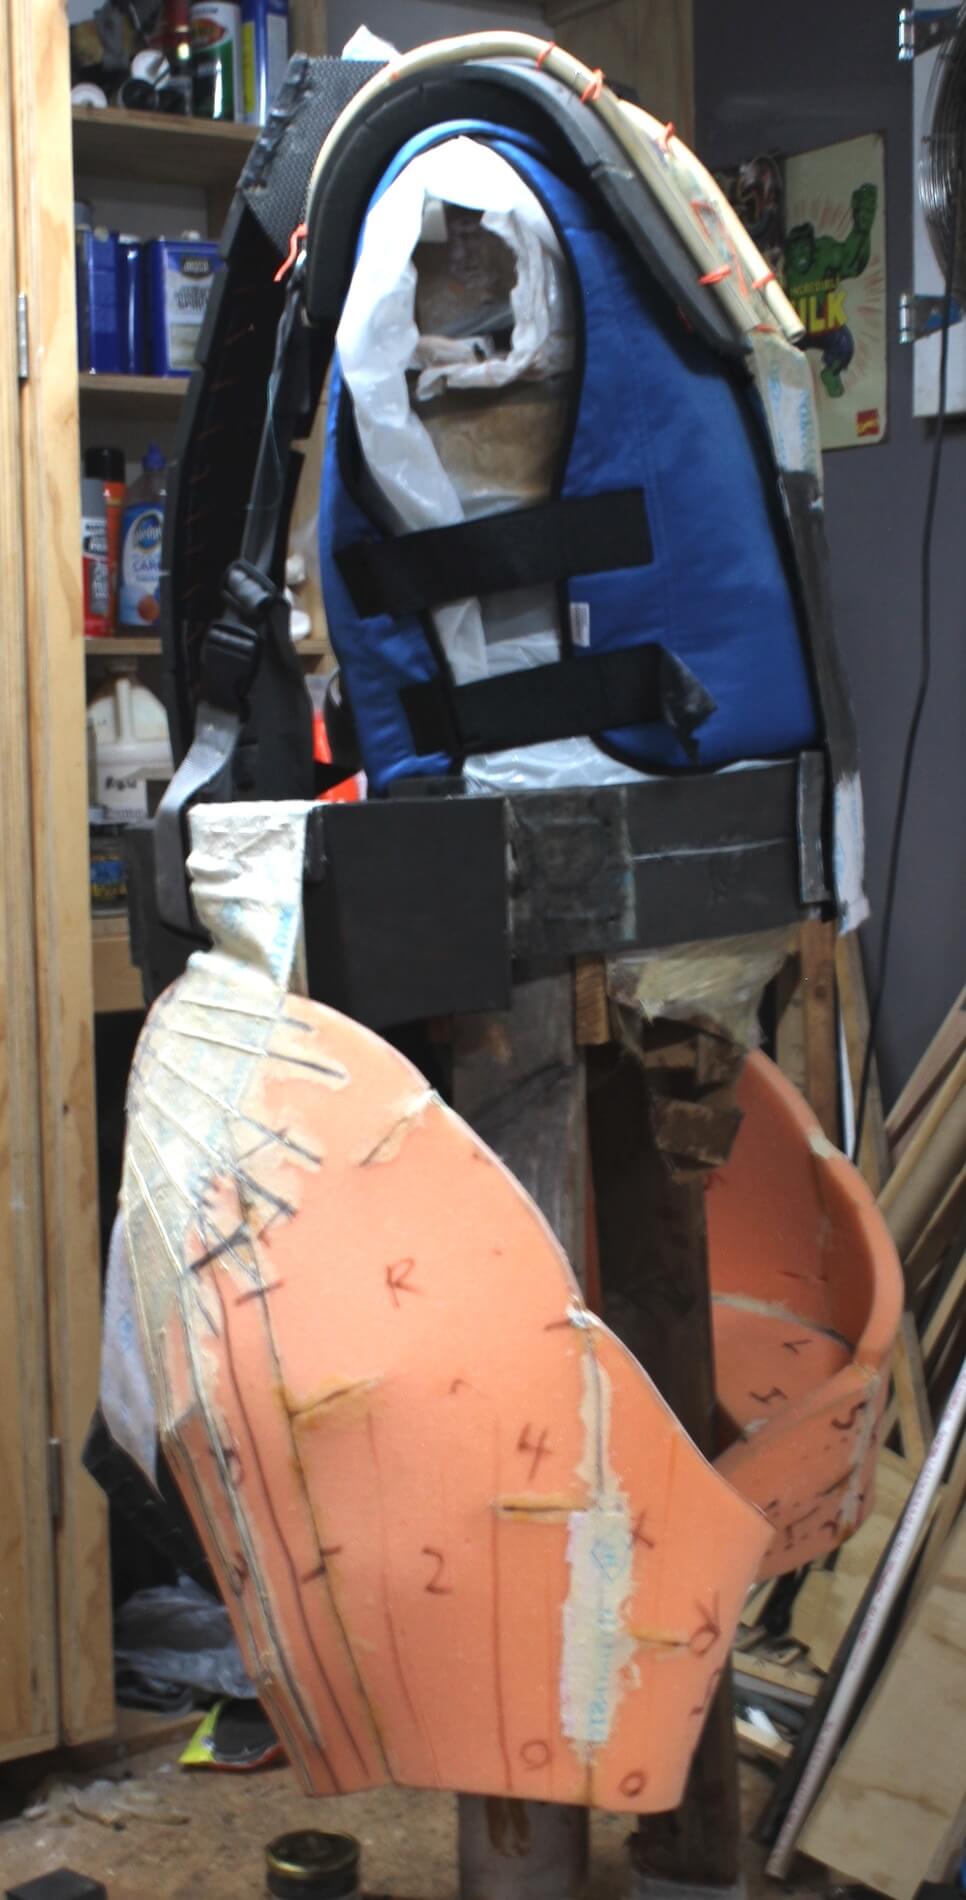
- The more aesthetically pleasing Godzilla suits I’ve seen are made as a single piece with removable fins. Functionality dictated that I needed to break mine down so an inner harness that bulks out the back and acts as suspenders for the legs/tail seemed like a necessity.
- This is an early stage of the harness. Ultimately, the lower hip portion was made into another piece that connected to the torso harness part with clips and velcro.
- I don’t trust EVA foam very much and I’ve learned from past monsters to reinforce whenever you can. You can see some orange twine that I used to sew it together as an added precaution.I glued it, sewed it, dabbed contact cement over the twine/foam and then gooped latex on that making a fairly unified piece. The waist “belt” ripped after wearing it a few times, necessitating a hotel room repair.
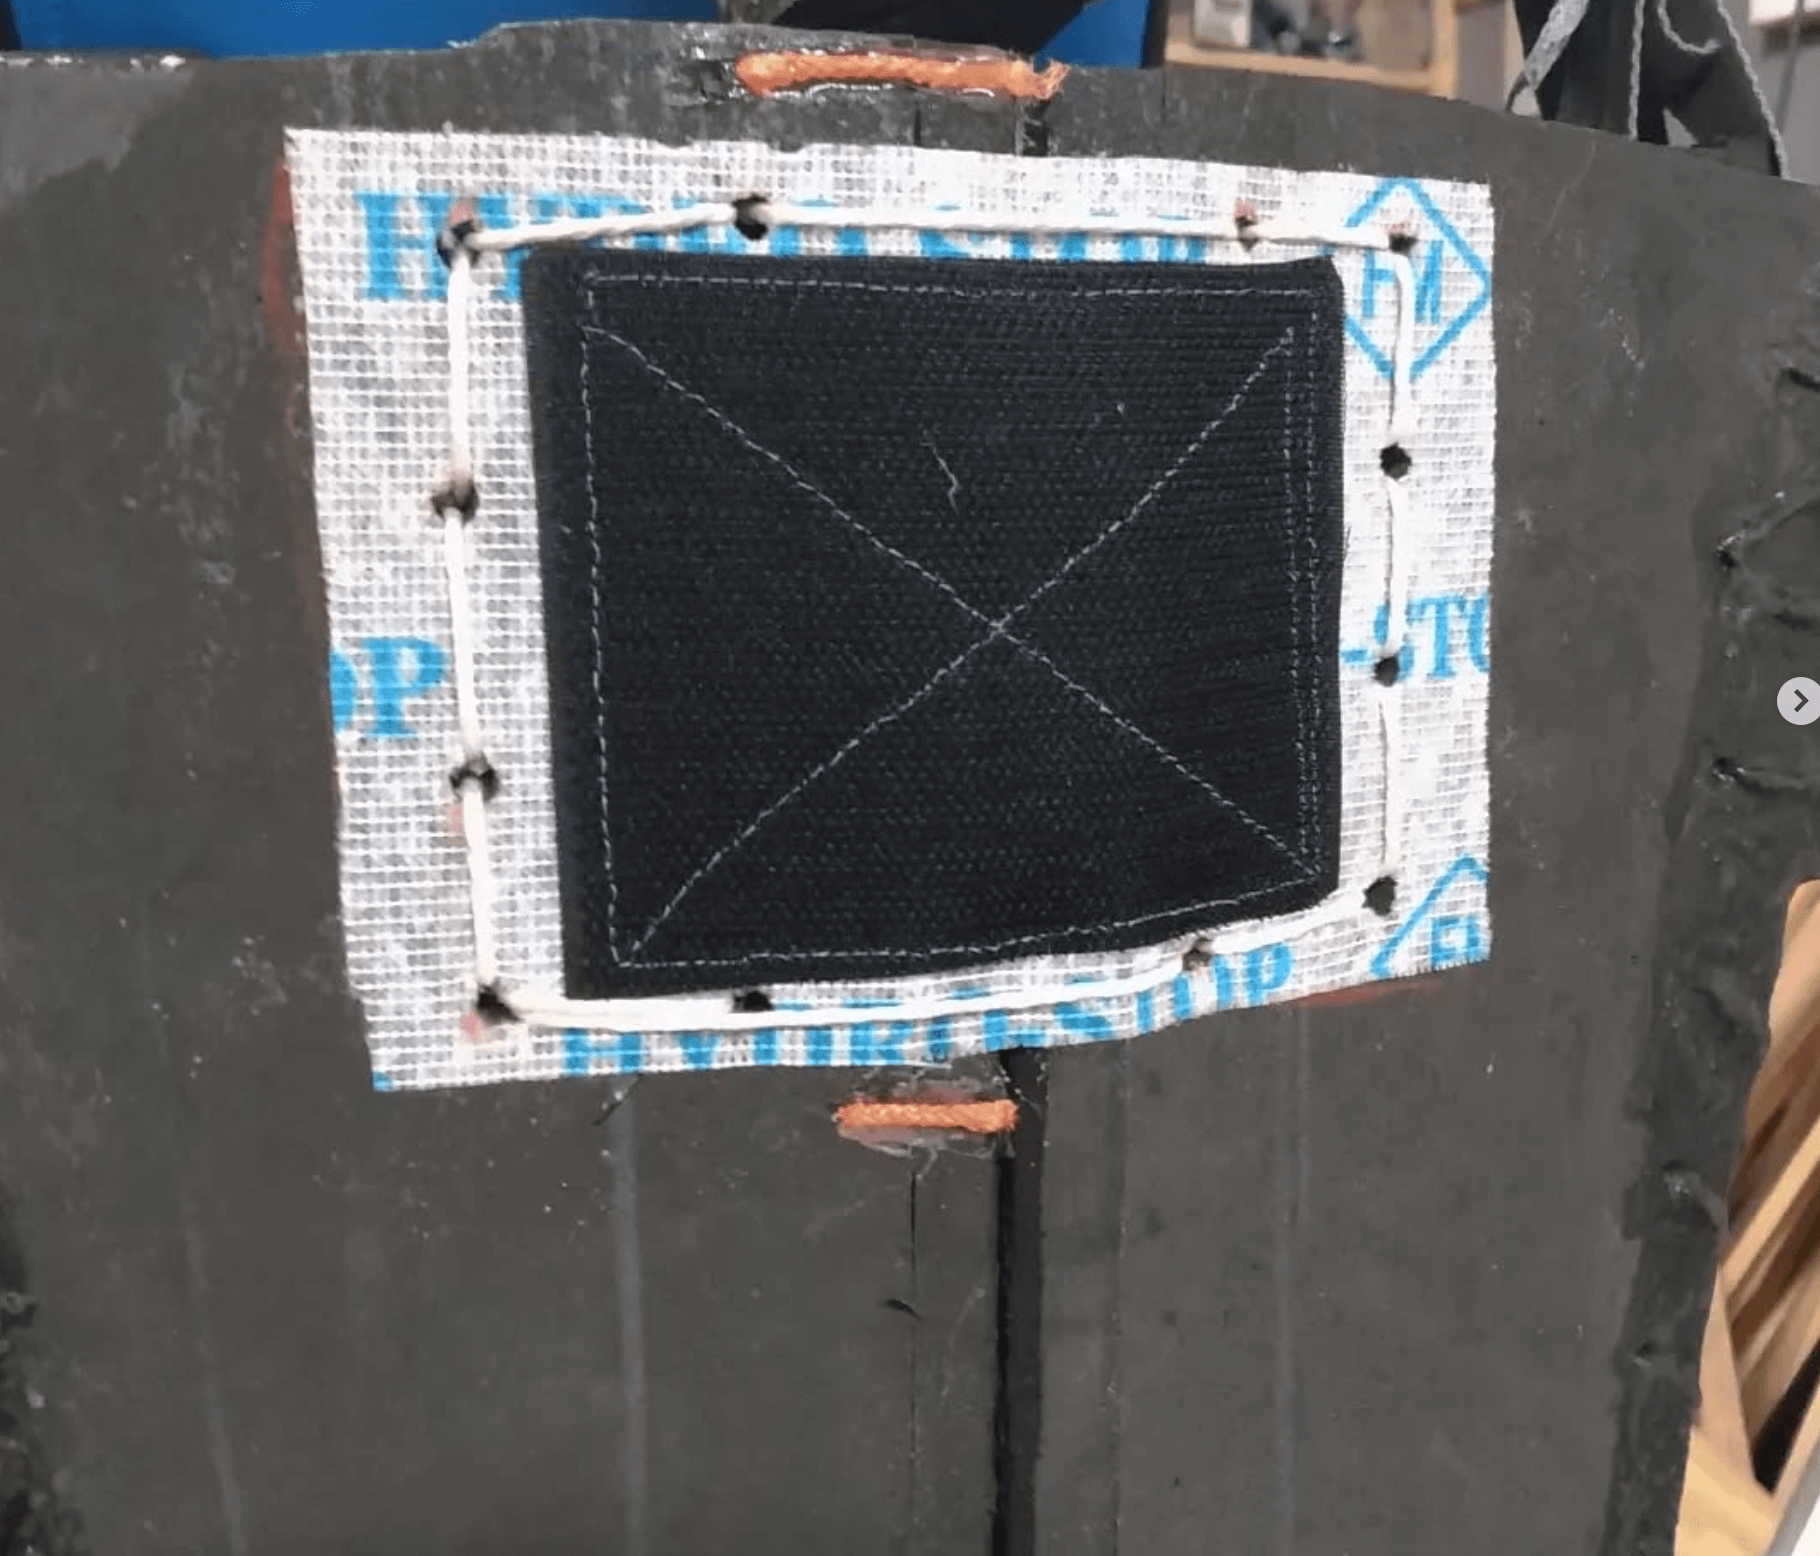
- Any velcro attached to EVA was sewn to fabric, glued via the fabric onto the EVA, then sewn on with twine. Contact cement and latex over the fabric and twine sealed the deal.
Initial Foam Build / Primary Shapes
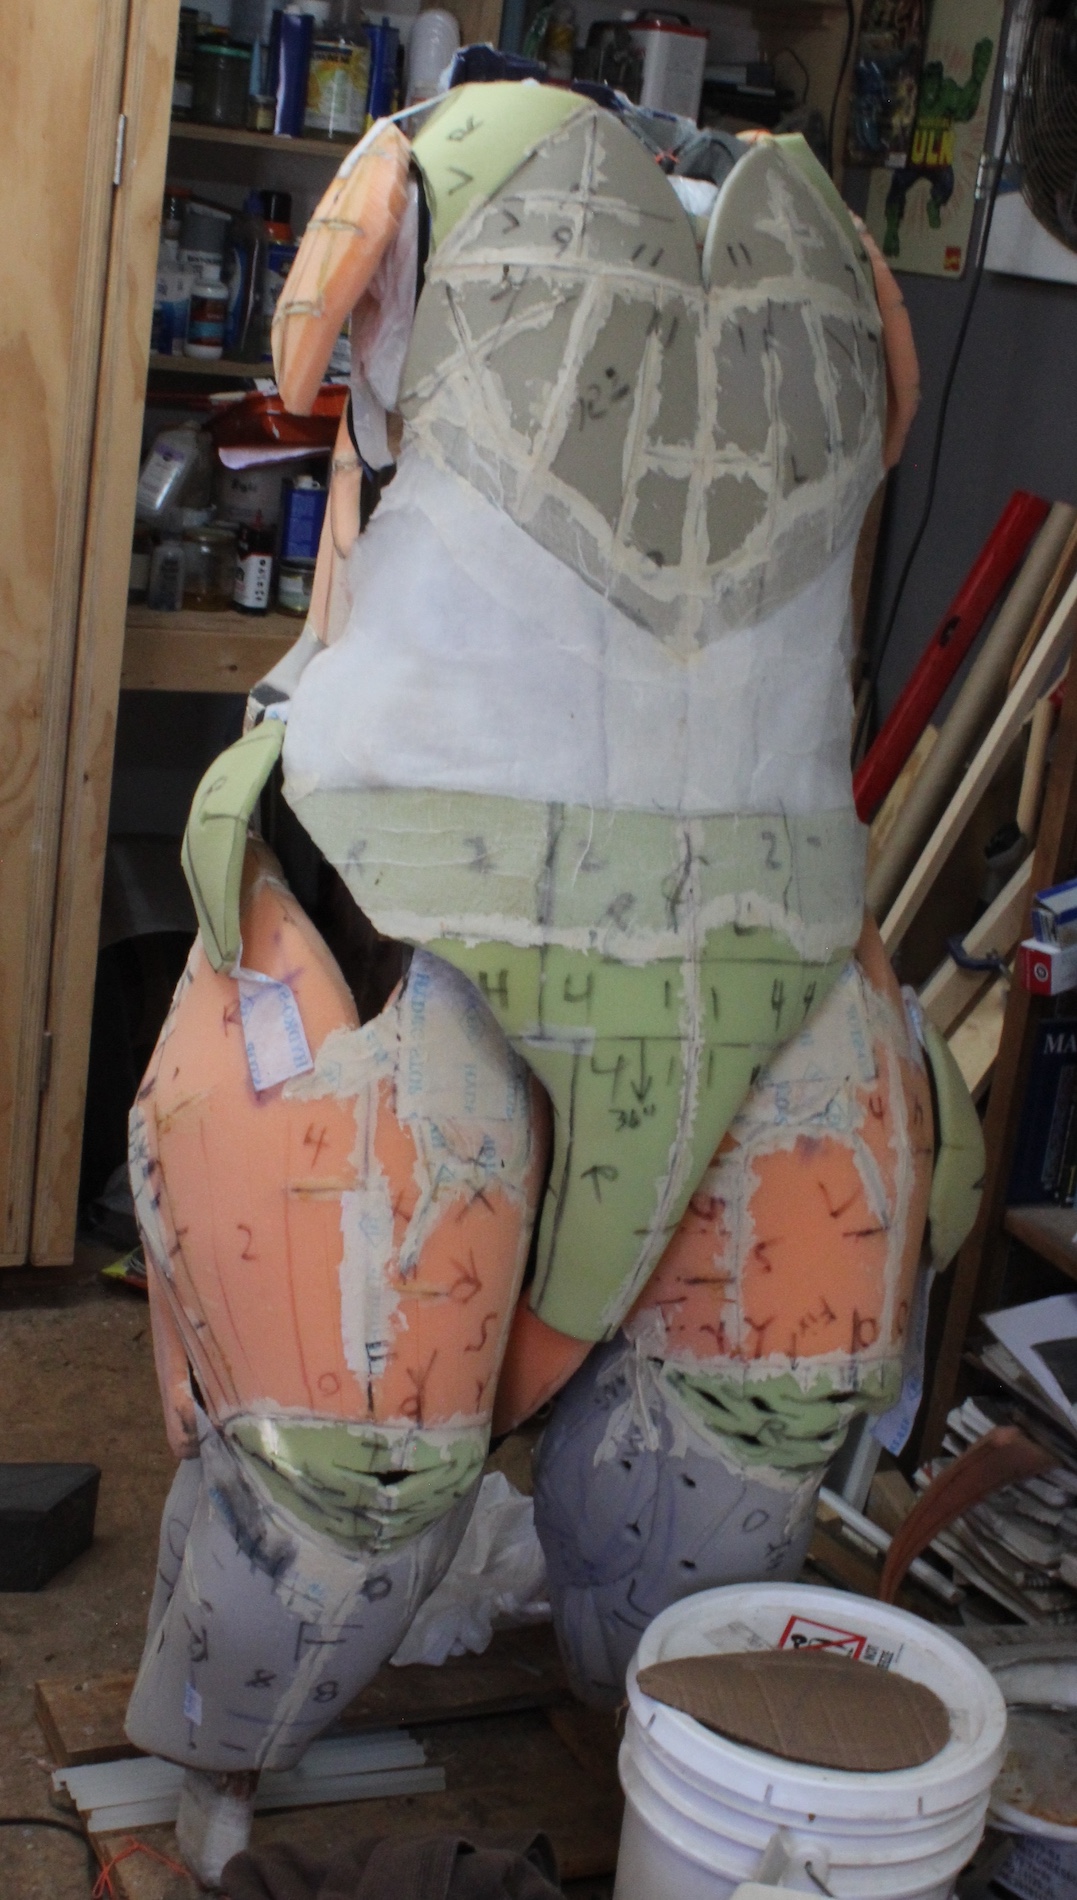
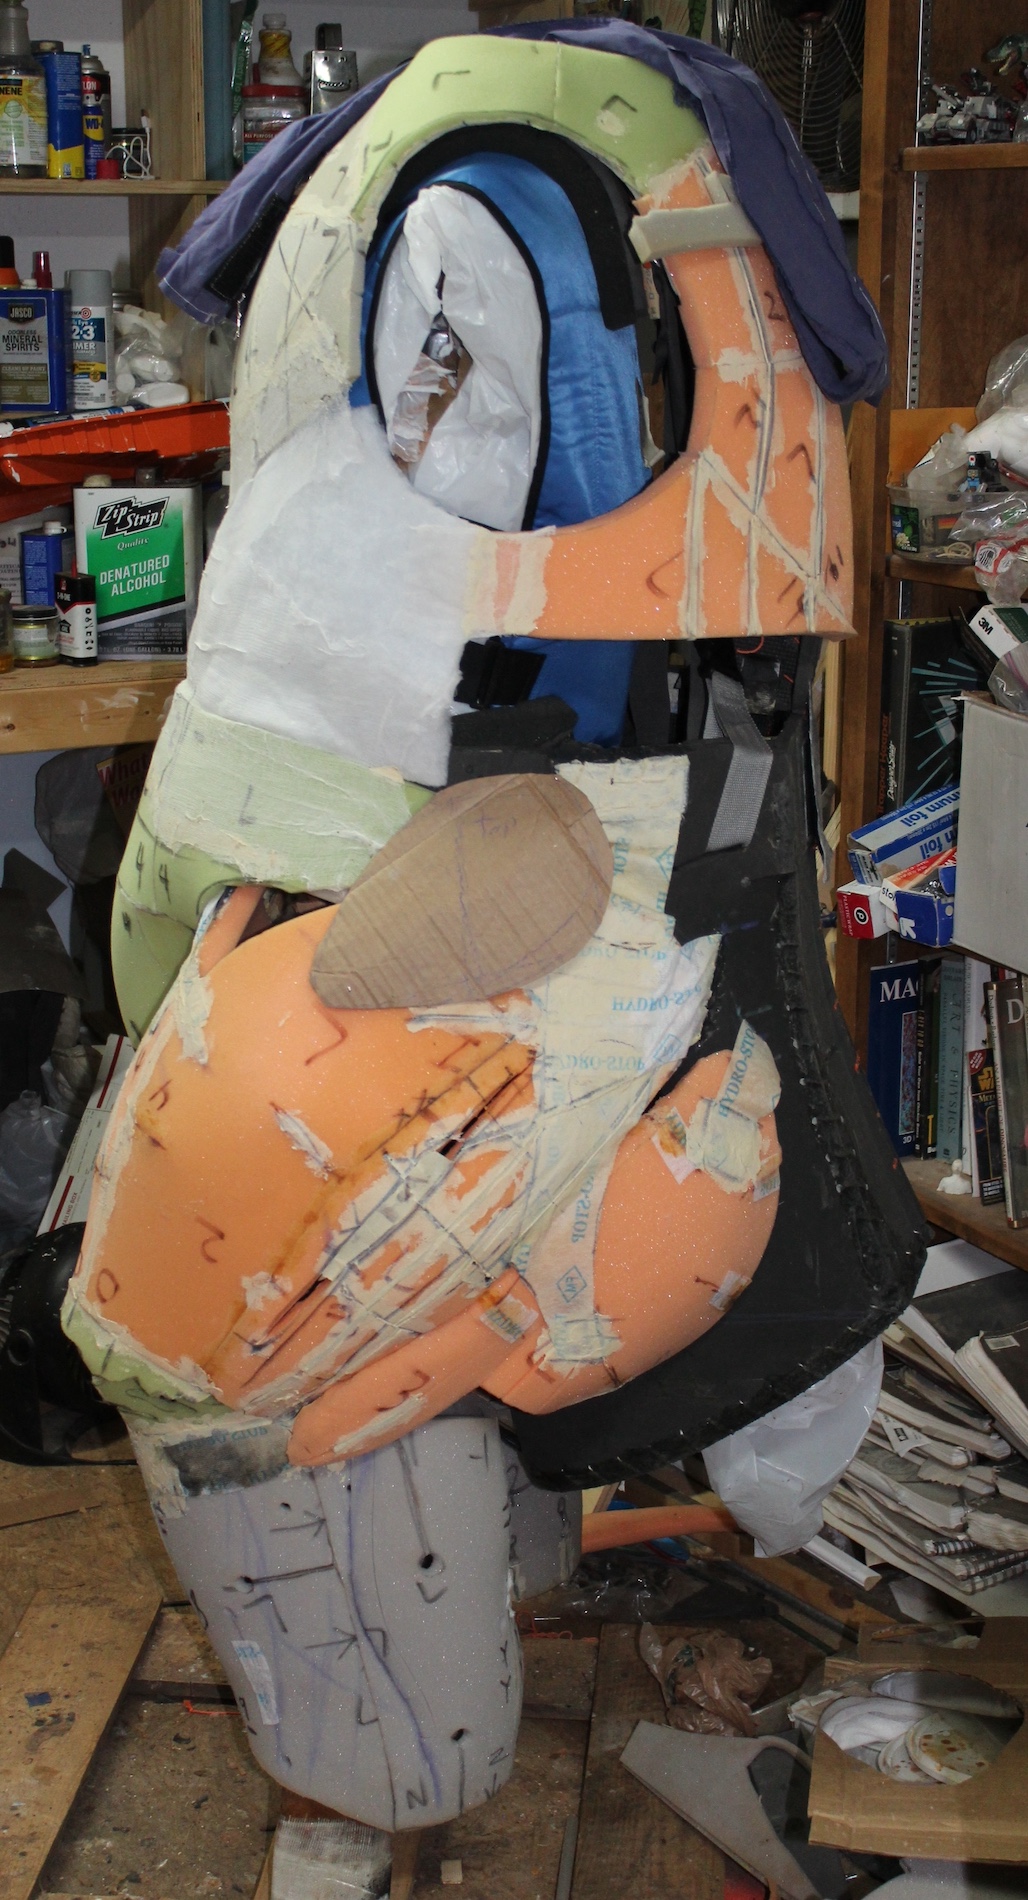
- I HATE carving foam so my build was almost entirely ½” or 1” thick dense upholstery foam cut from templates generated from my clay original.
- I found contact cement or spray adhesive would hold the foam for a while but ultimately would split.I took hot glue sticks and melted them into thin sheets which I would then heat and press onto the first foam edge. Hitting the now glue-covered edge with the heat gun and pressing the adjacent piece into that made an excellent bond( and didn’t smell as bad).
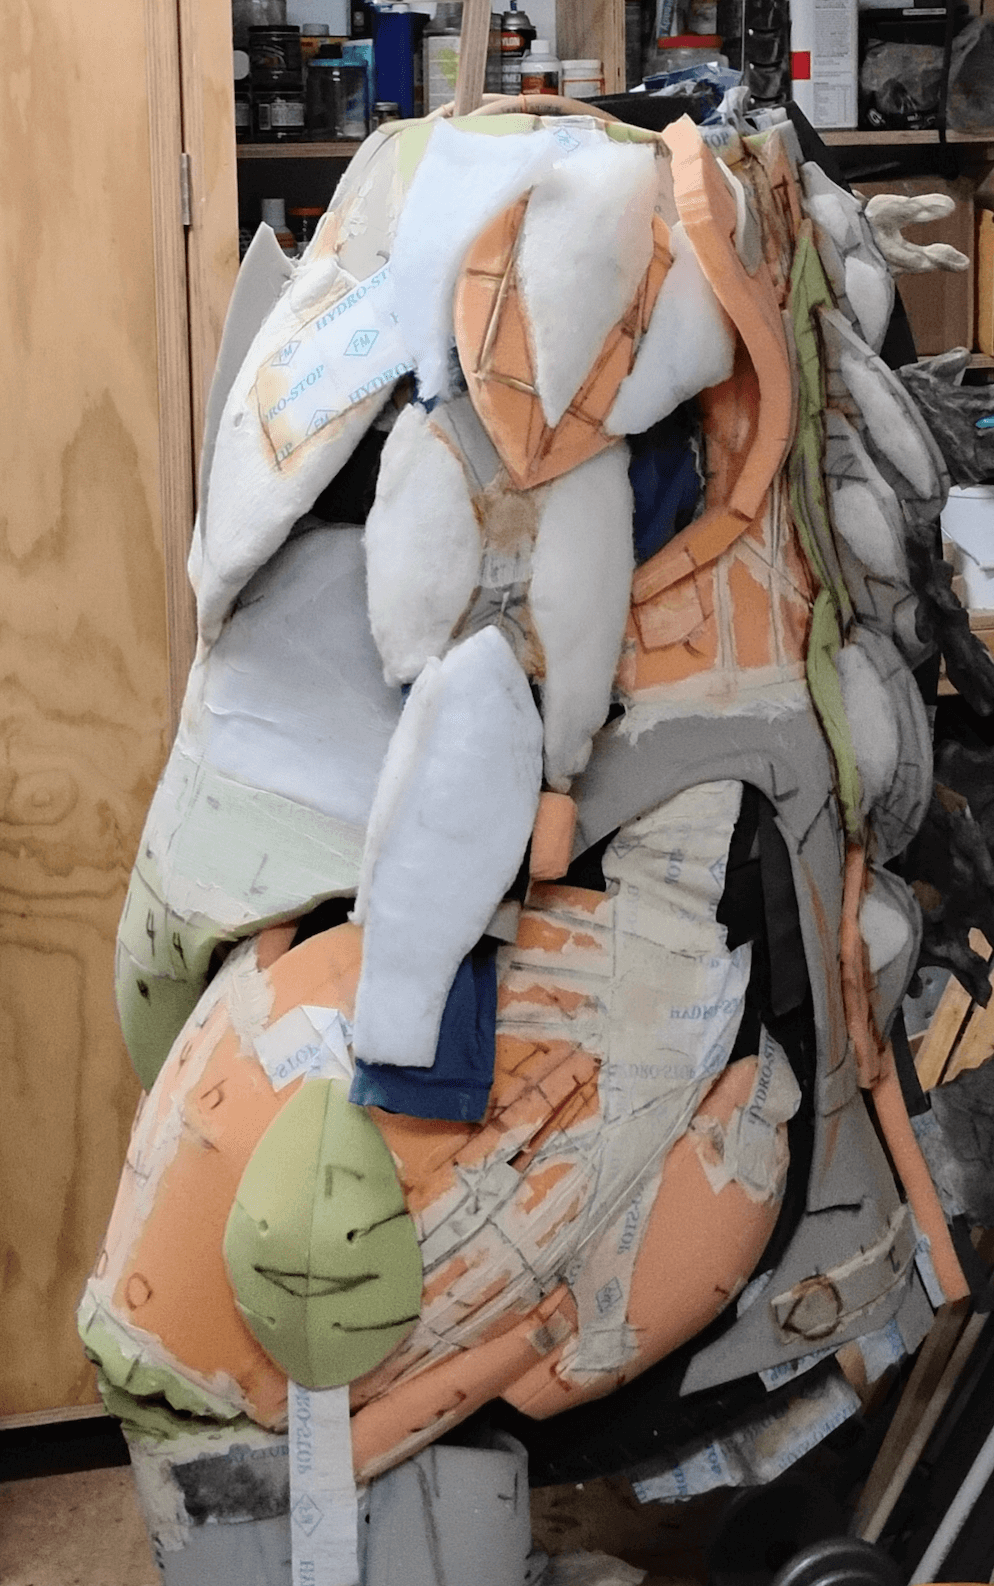
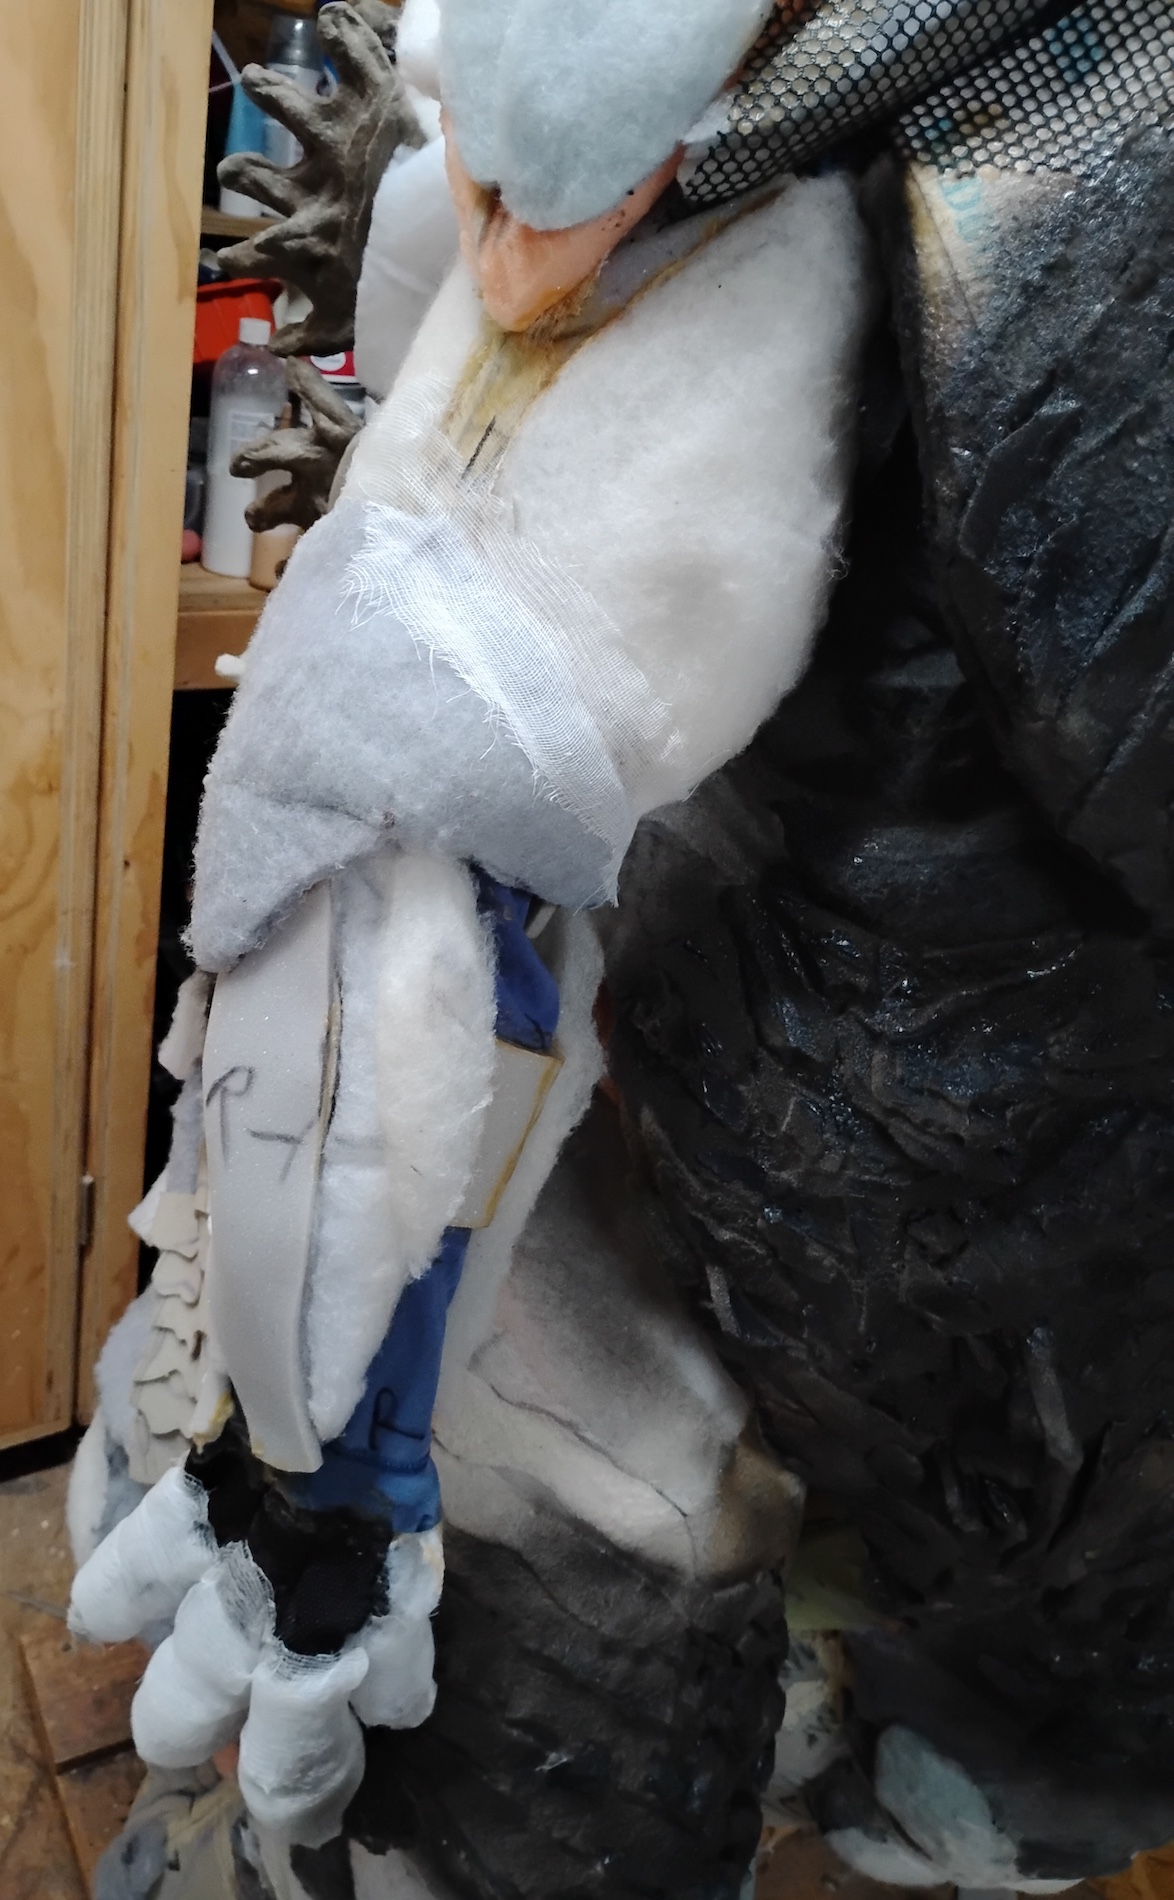
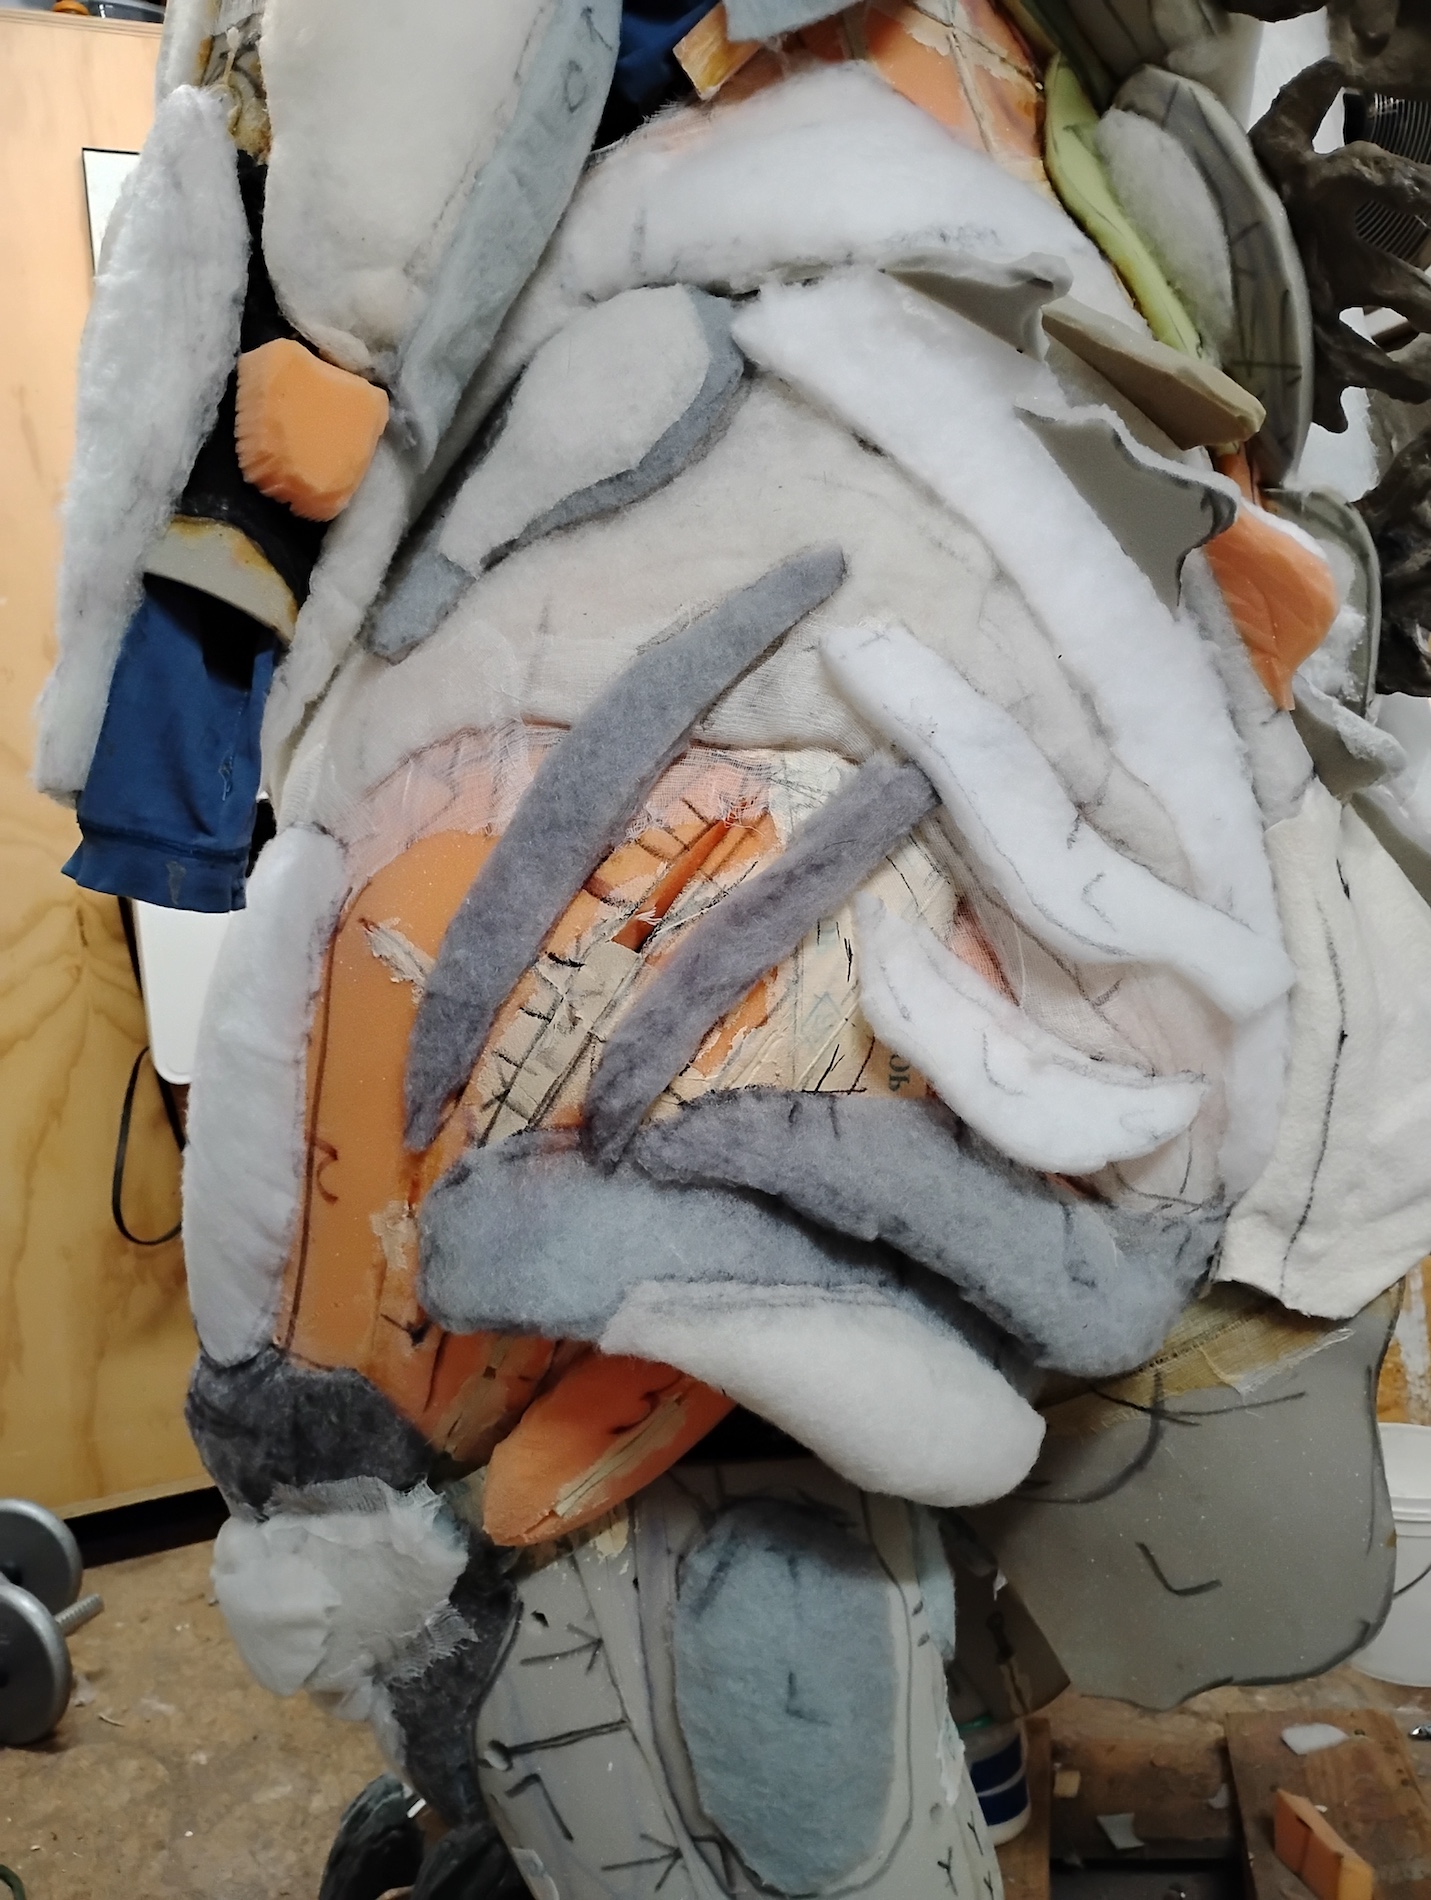
- Secondary shapes or muscles were built up by layering quilt batting( seen on the arm and shoulders).
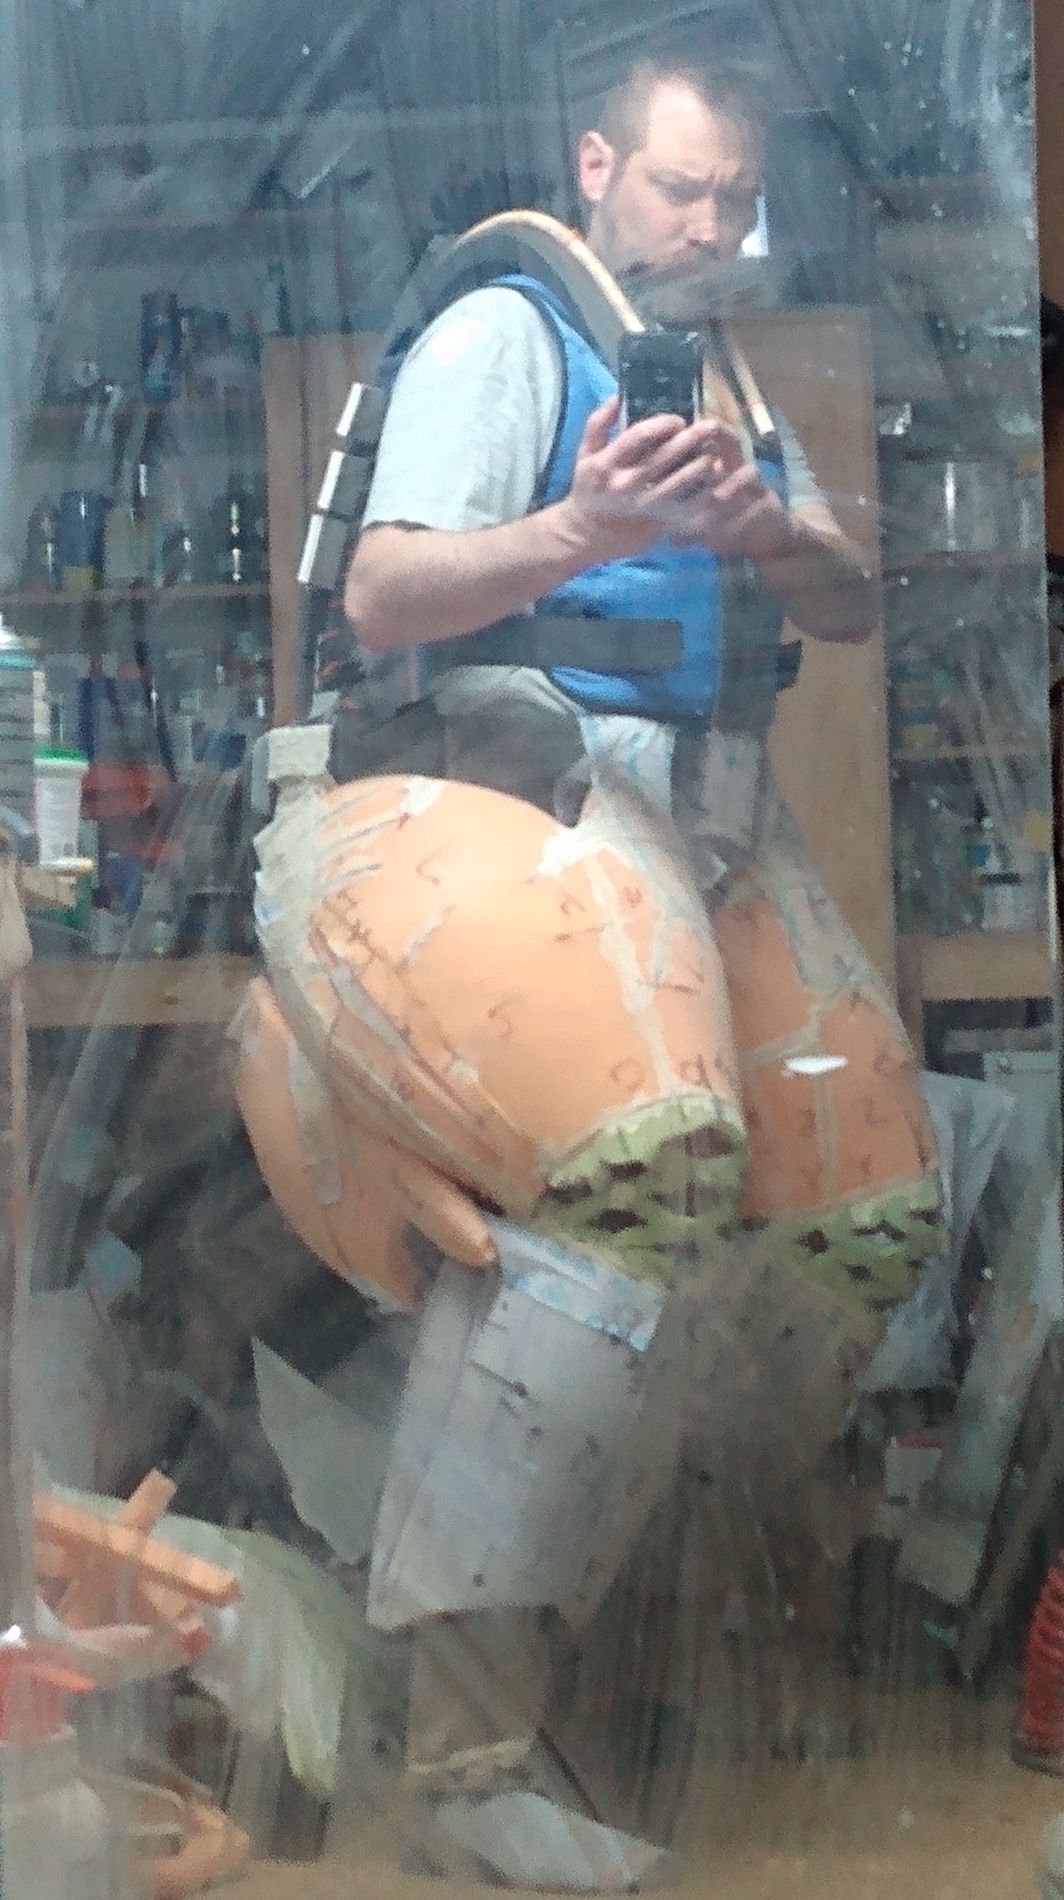
- An early test fitting in a dirty mirror. You’ll notice the blue vest. It’s a cooling vest that I built everything on top of to keep the right spacing. Wearing it without one is rough.
- Ultimately the top of the neck had a mesh vent and there was mesh behind the knees. Moving hot air out is essential.
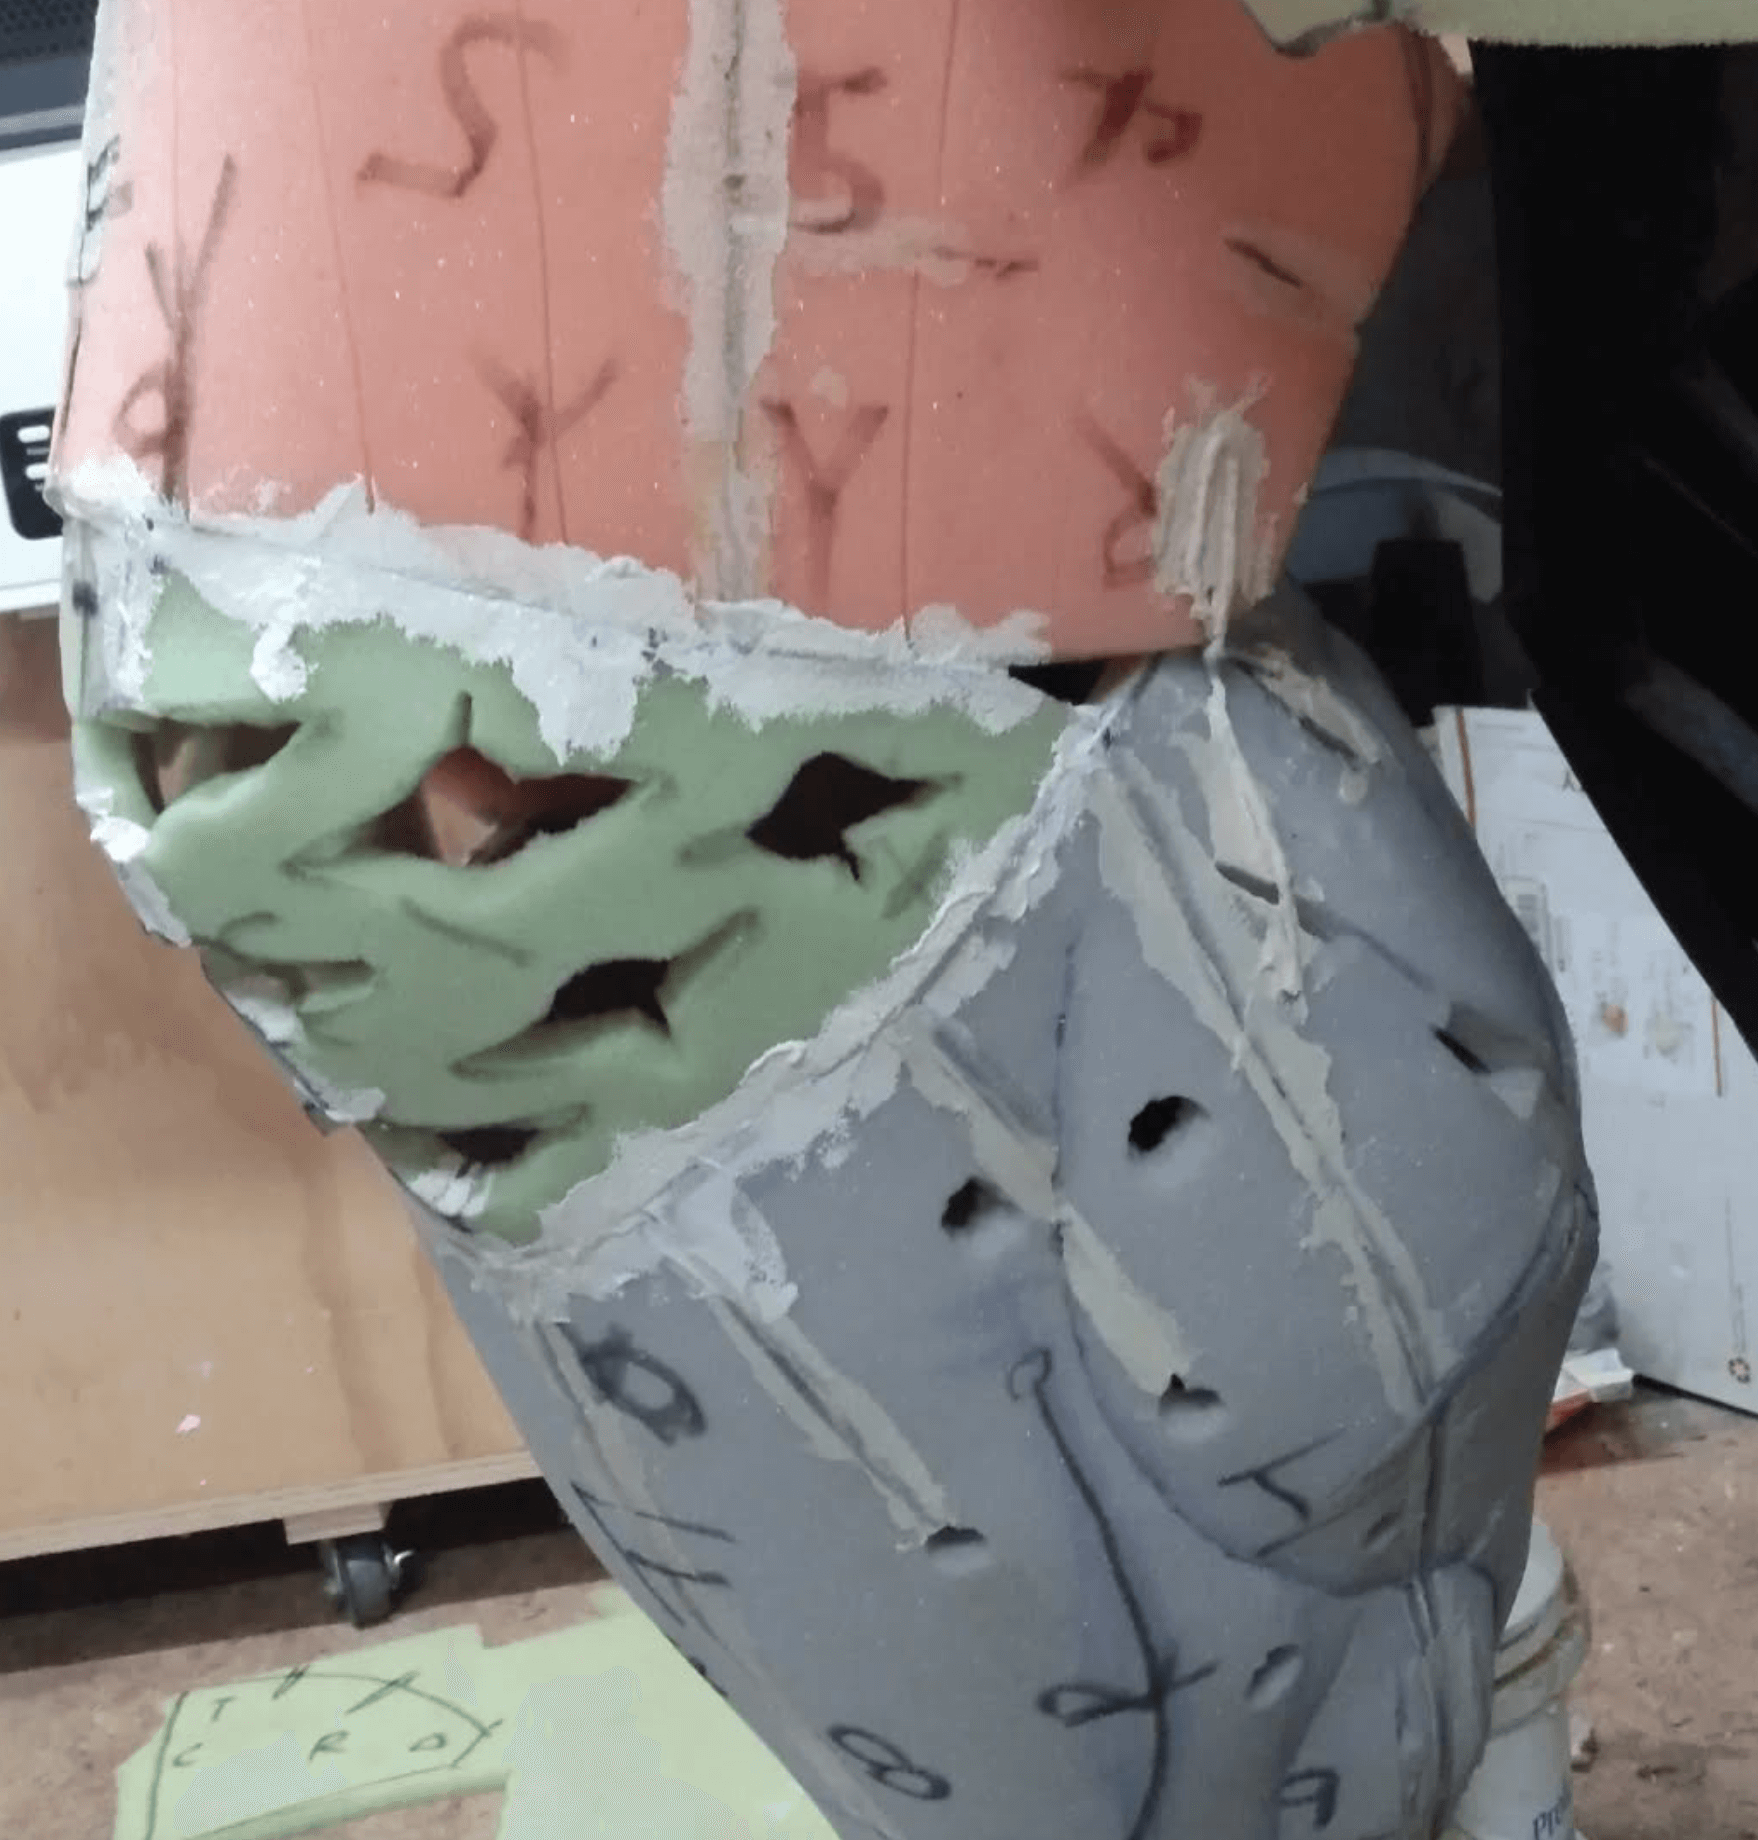
- A knee. The green foam is a much softer foam that gives more easily. You’ll notice all the beige latex on the seams. After having other monsters come apart, I would use latex as a final redundant adhesion method.
- A rough early arm built on an old shirt( blue).
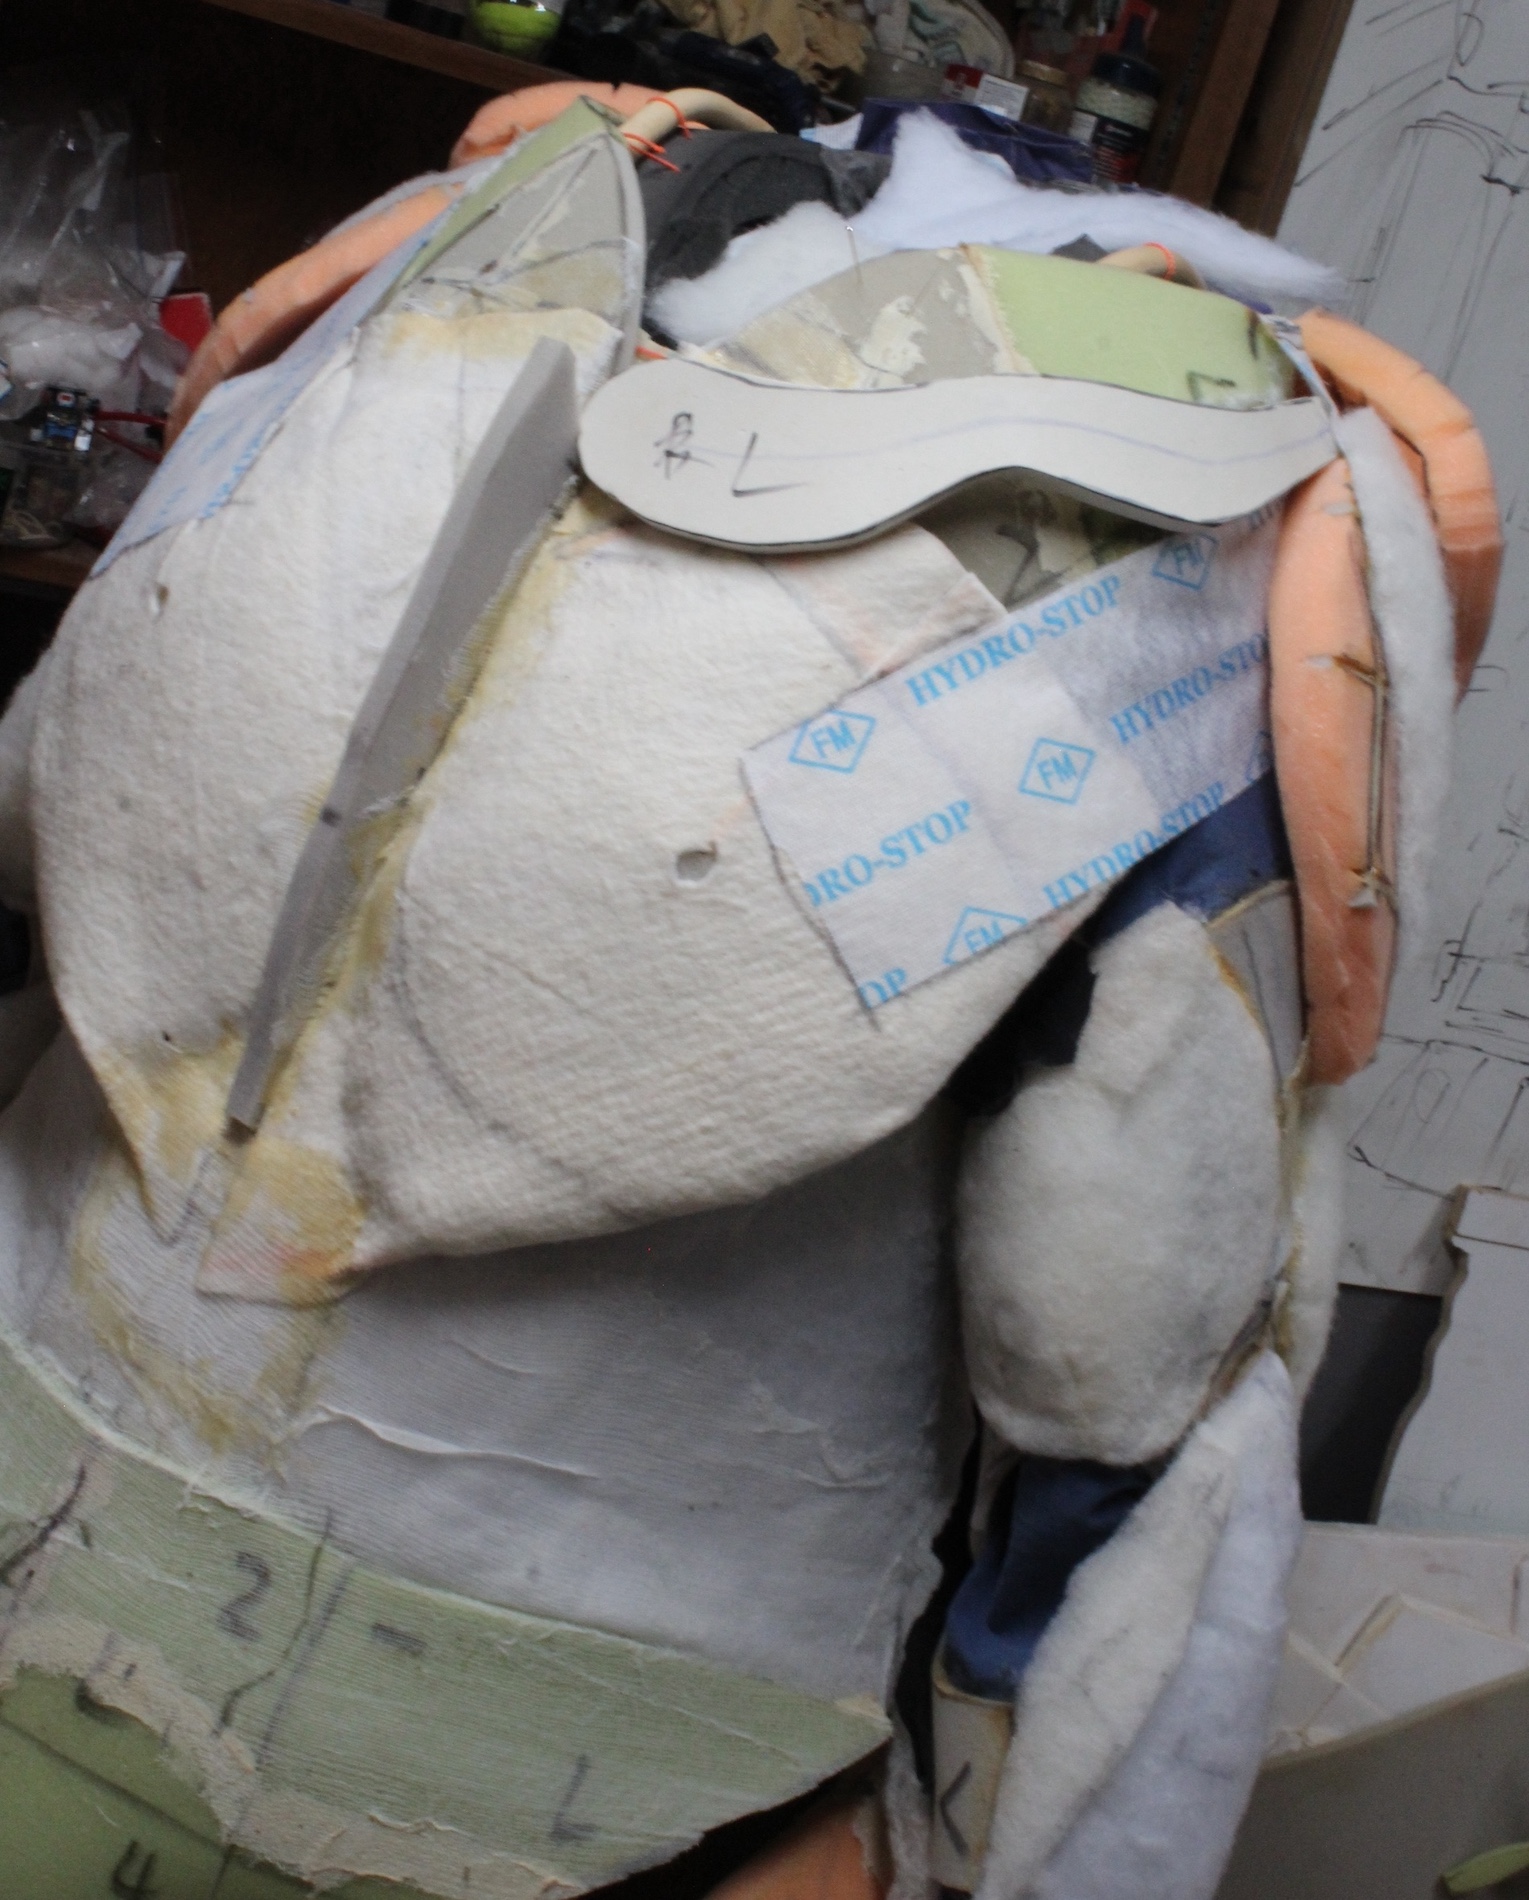
- The “hydrostop” fabric was leftover from a roofing project. I found it made an excellent webbing material to flexibly connect areas. I use cheese cloth in a similar fashion.
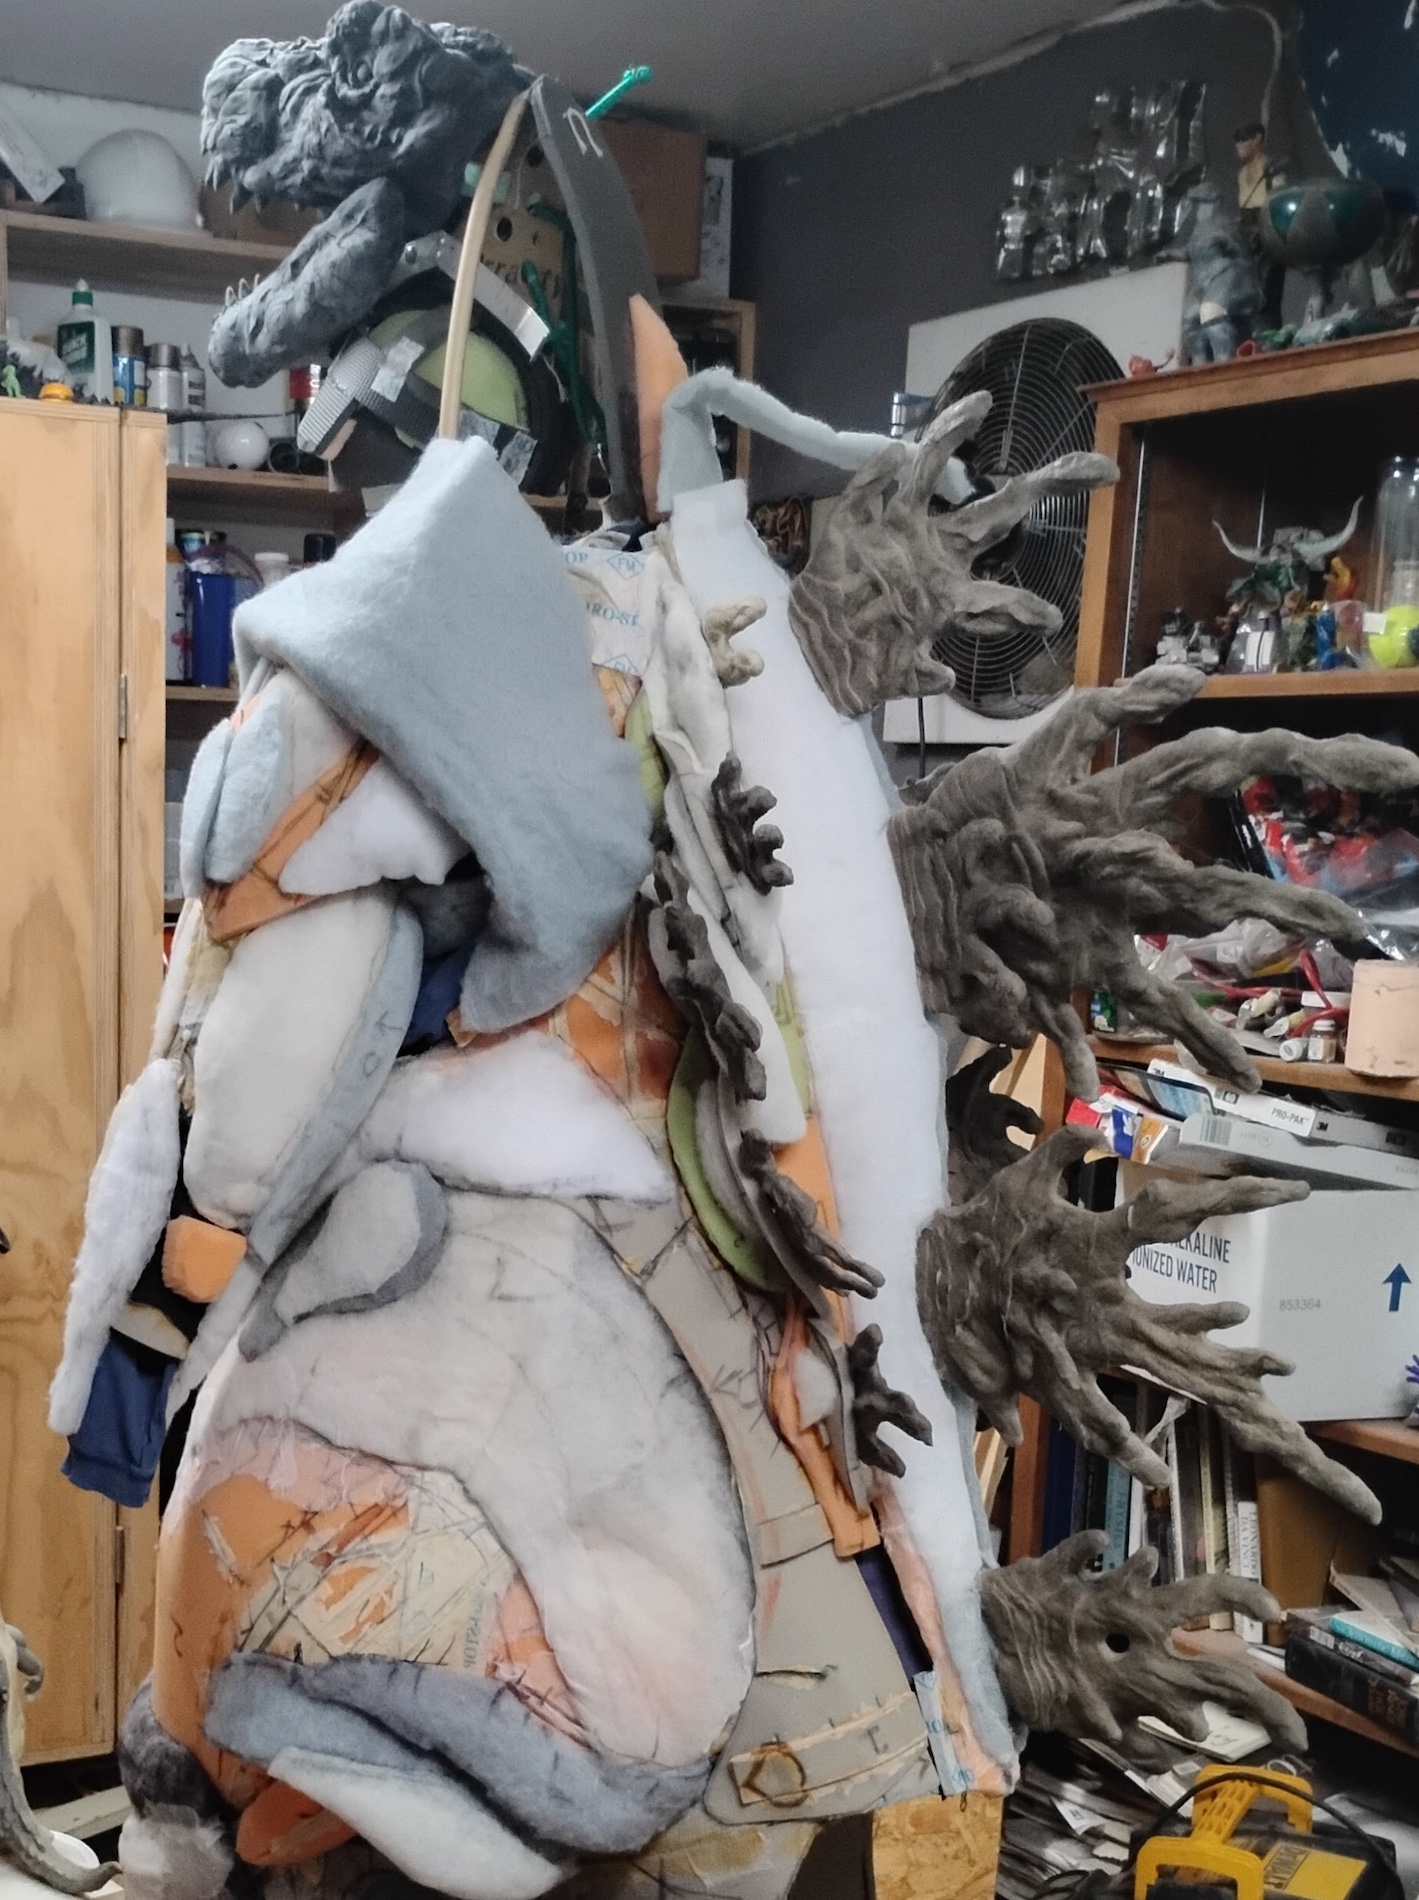
- Some of the quilt batting is blue where I attempted to dye it gray…cleary it didn’t work. The thinking was when little rips and tears happened out on the convention floor it wouldn’t be as visible.
- The neck was the last area to build out. Notice that most of the body has black-dyed latex already applied. I found rubber-coating as I went made previously applied texture less likely to be mussed when building newer pieces.
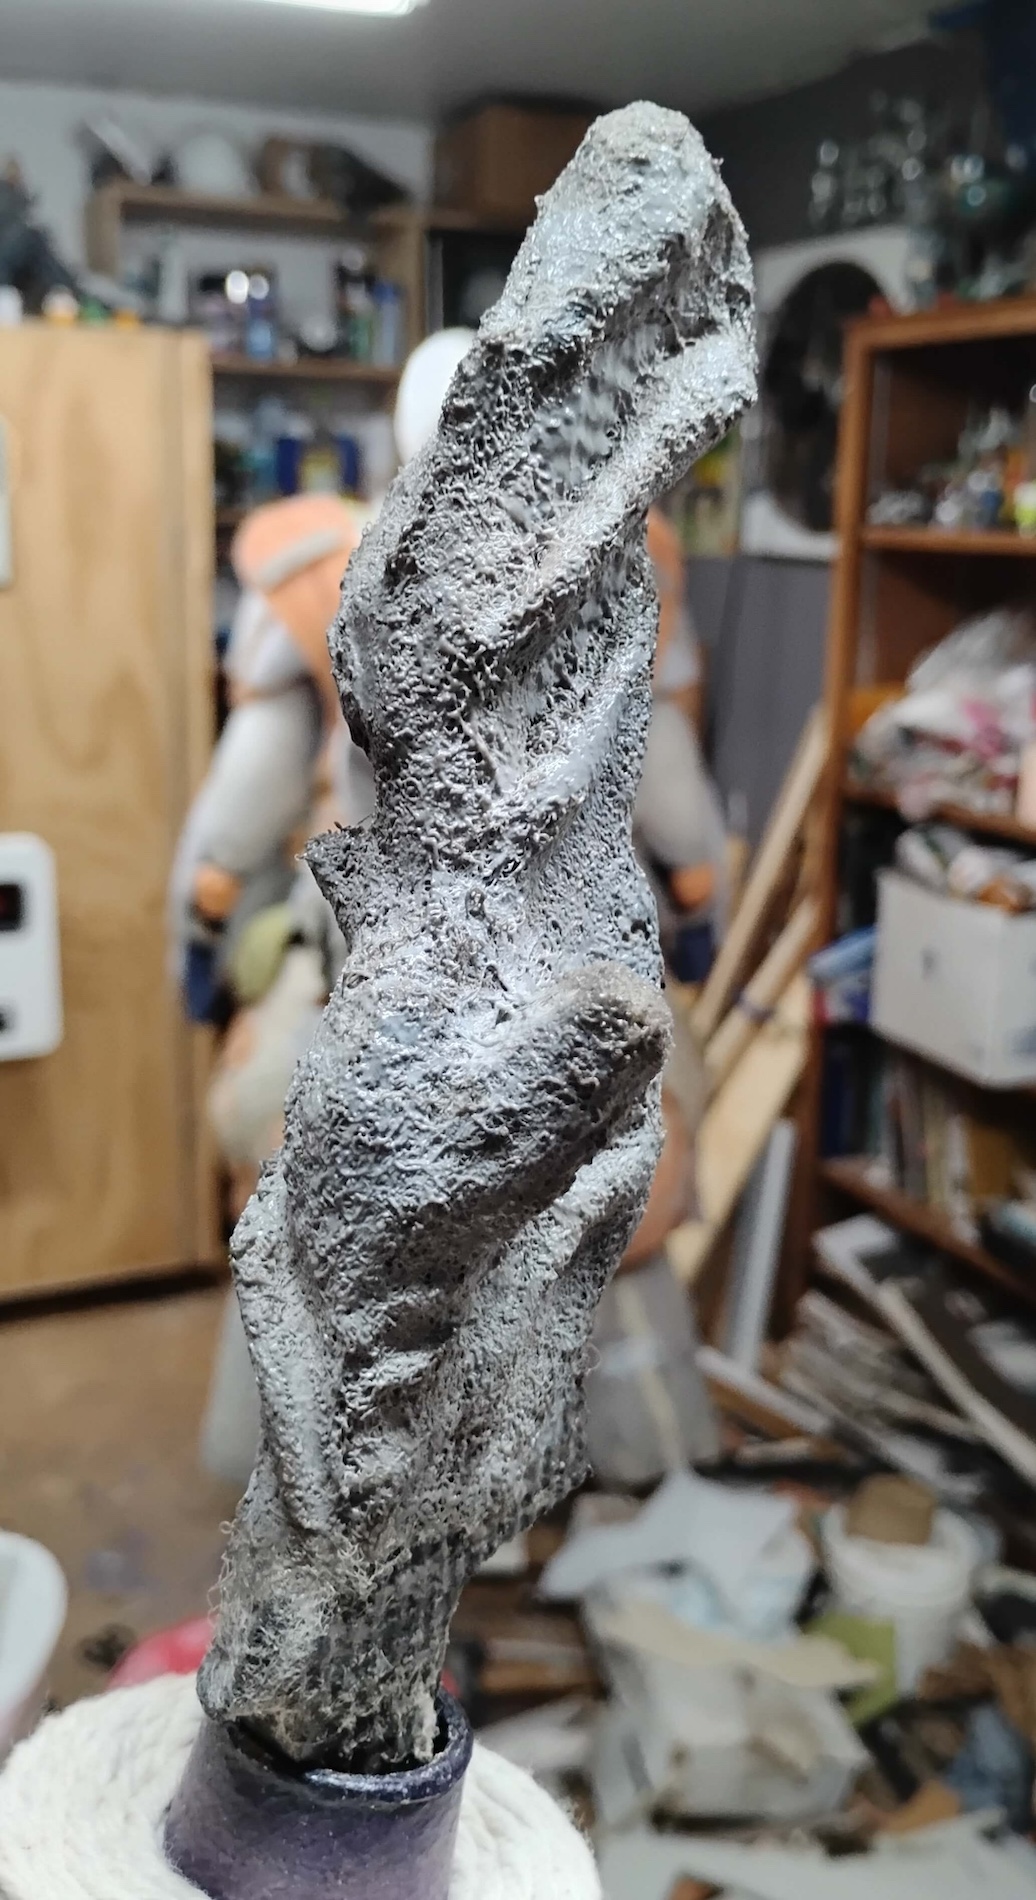
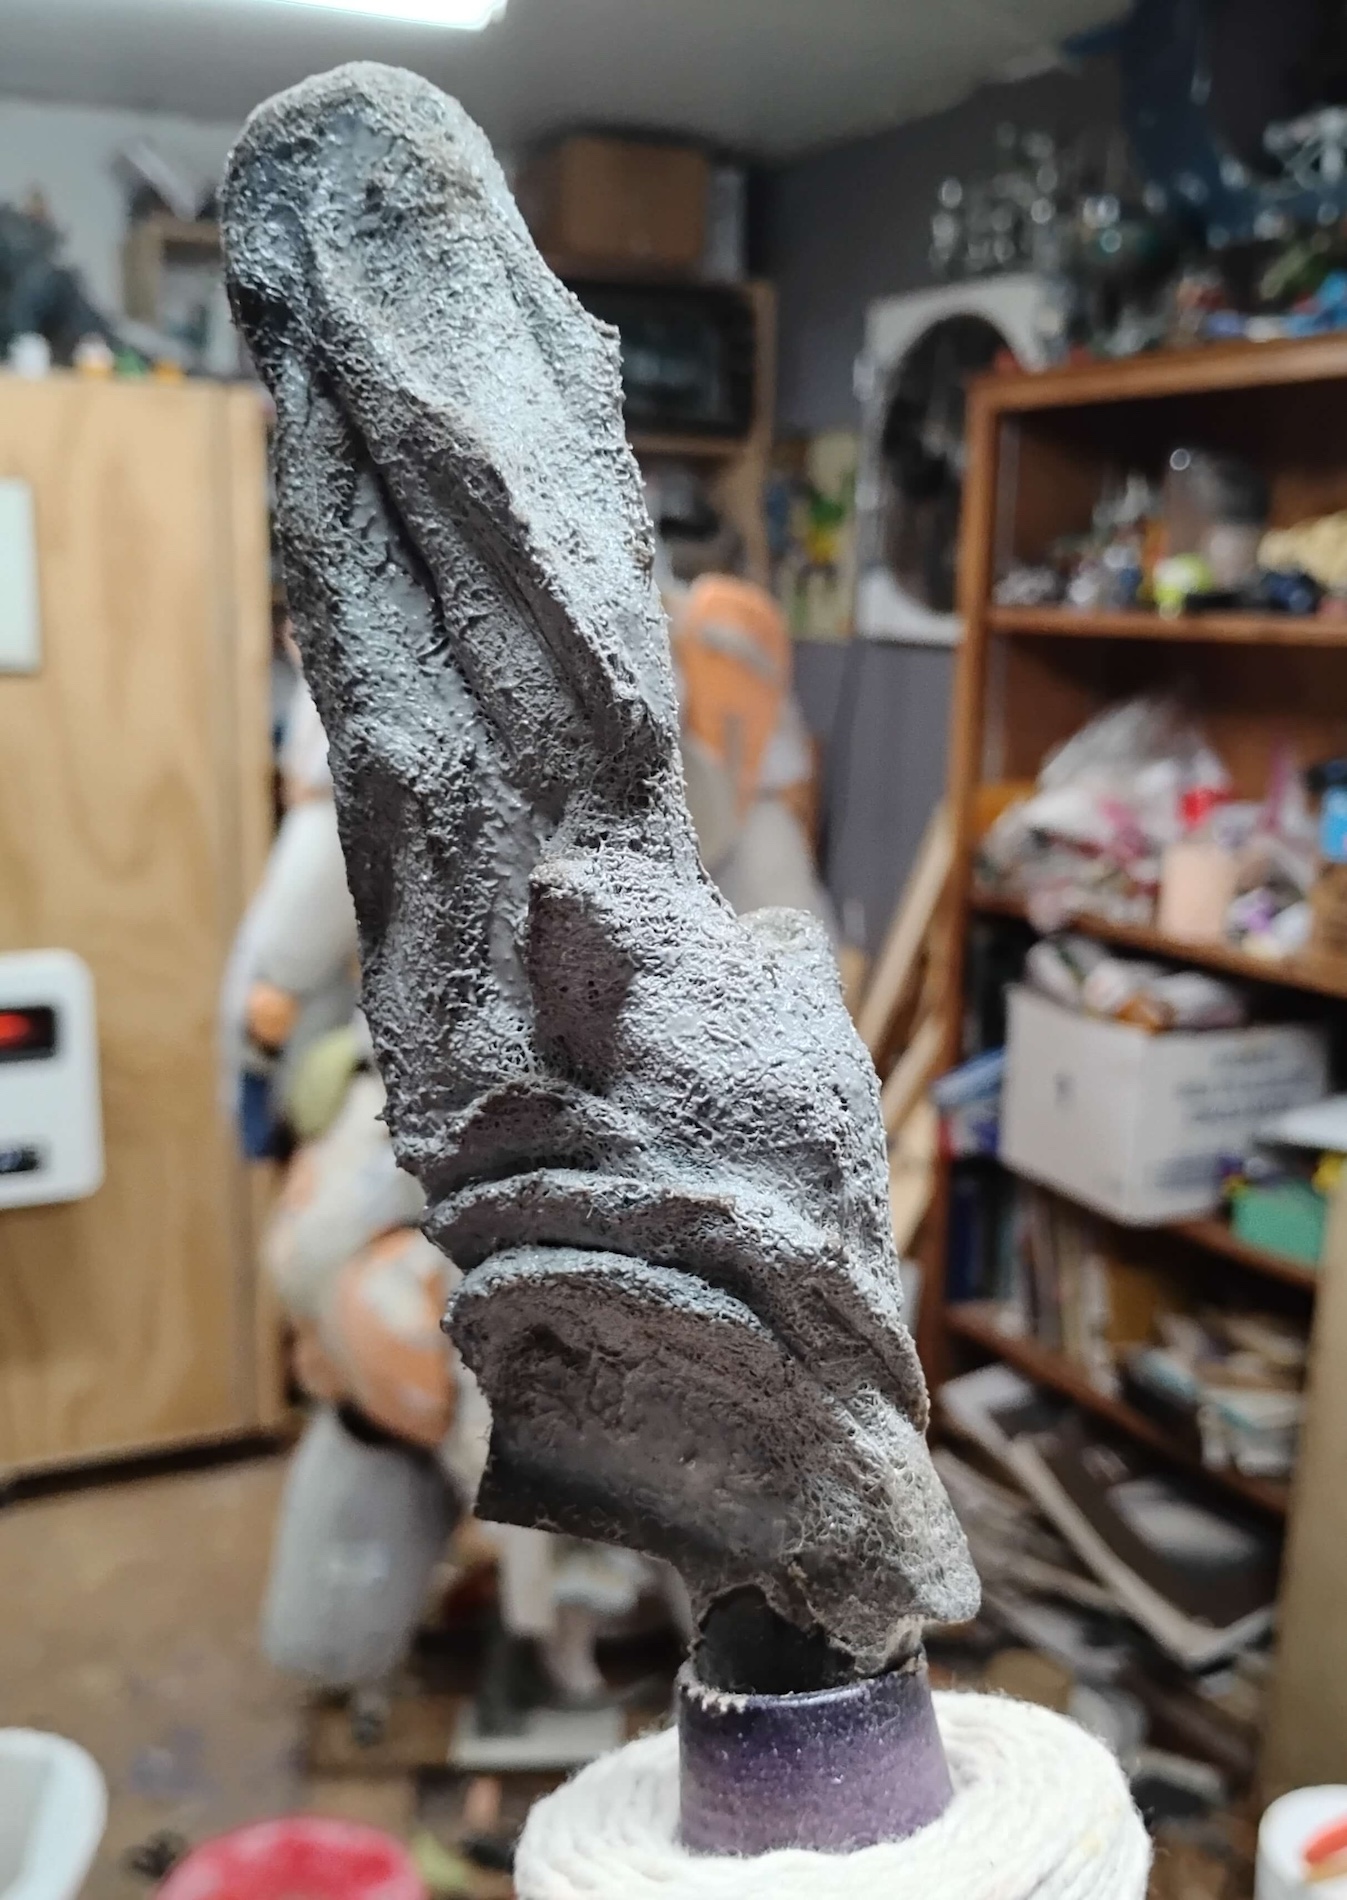
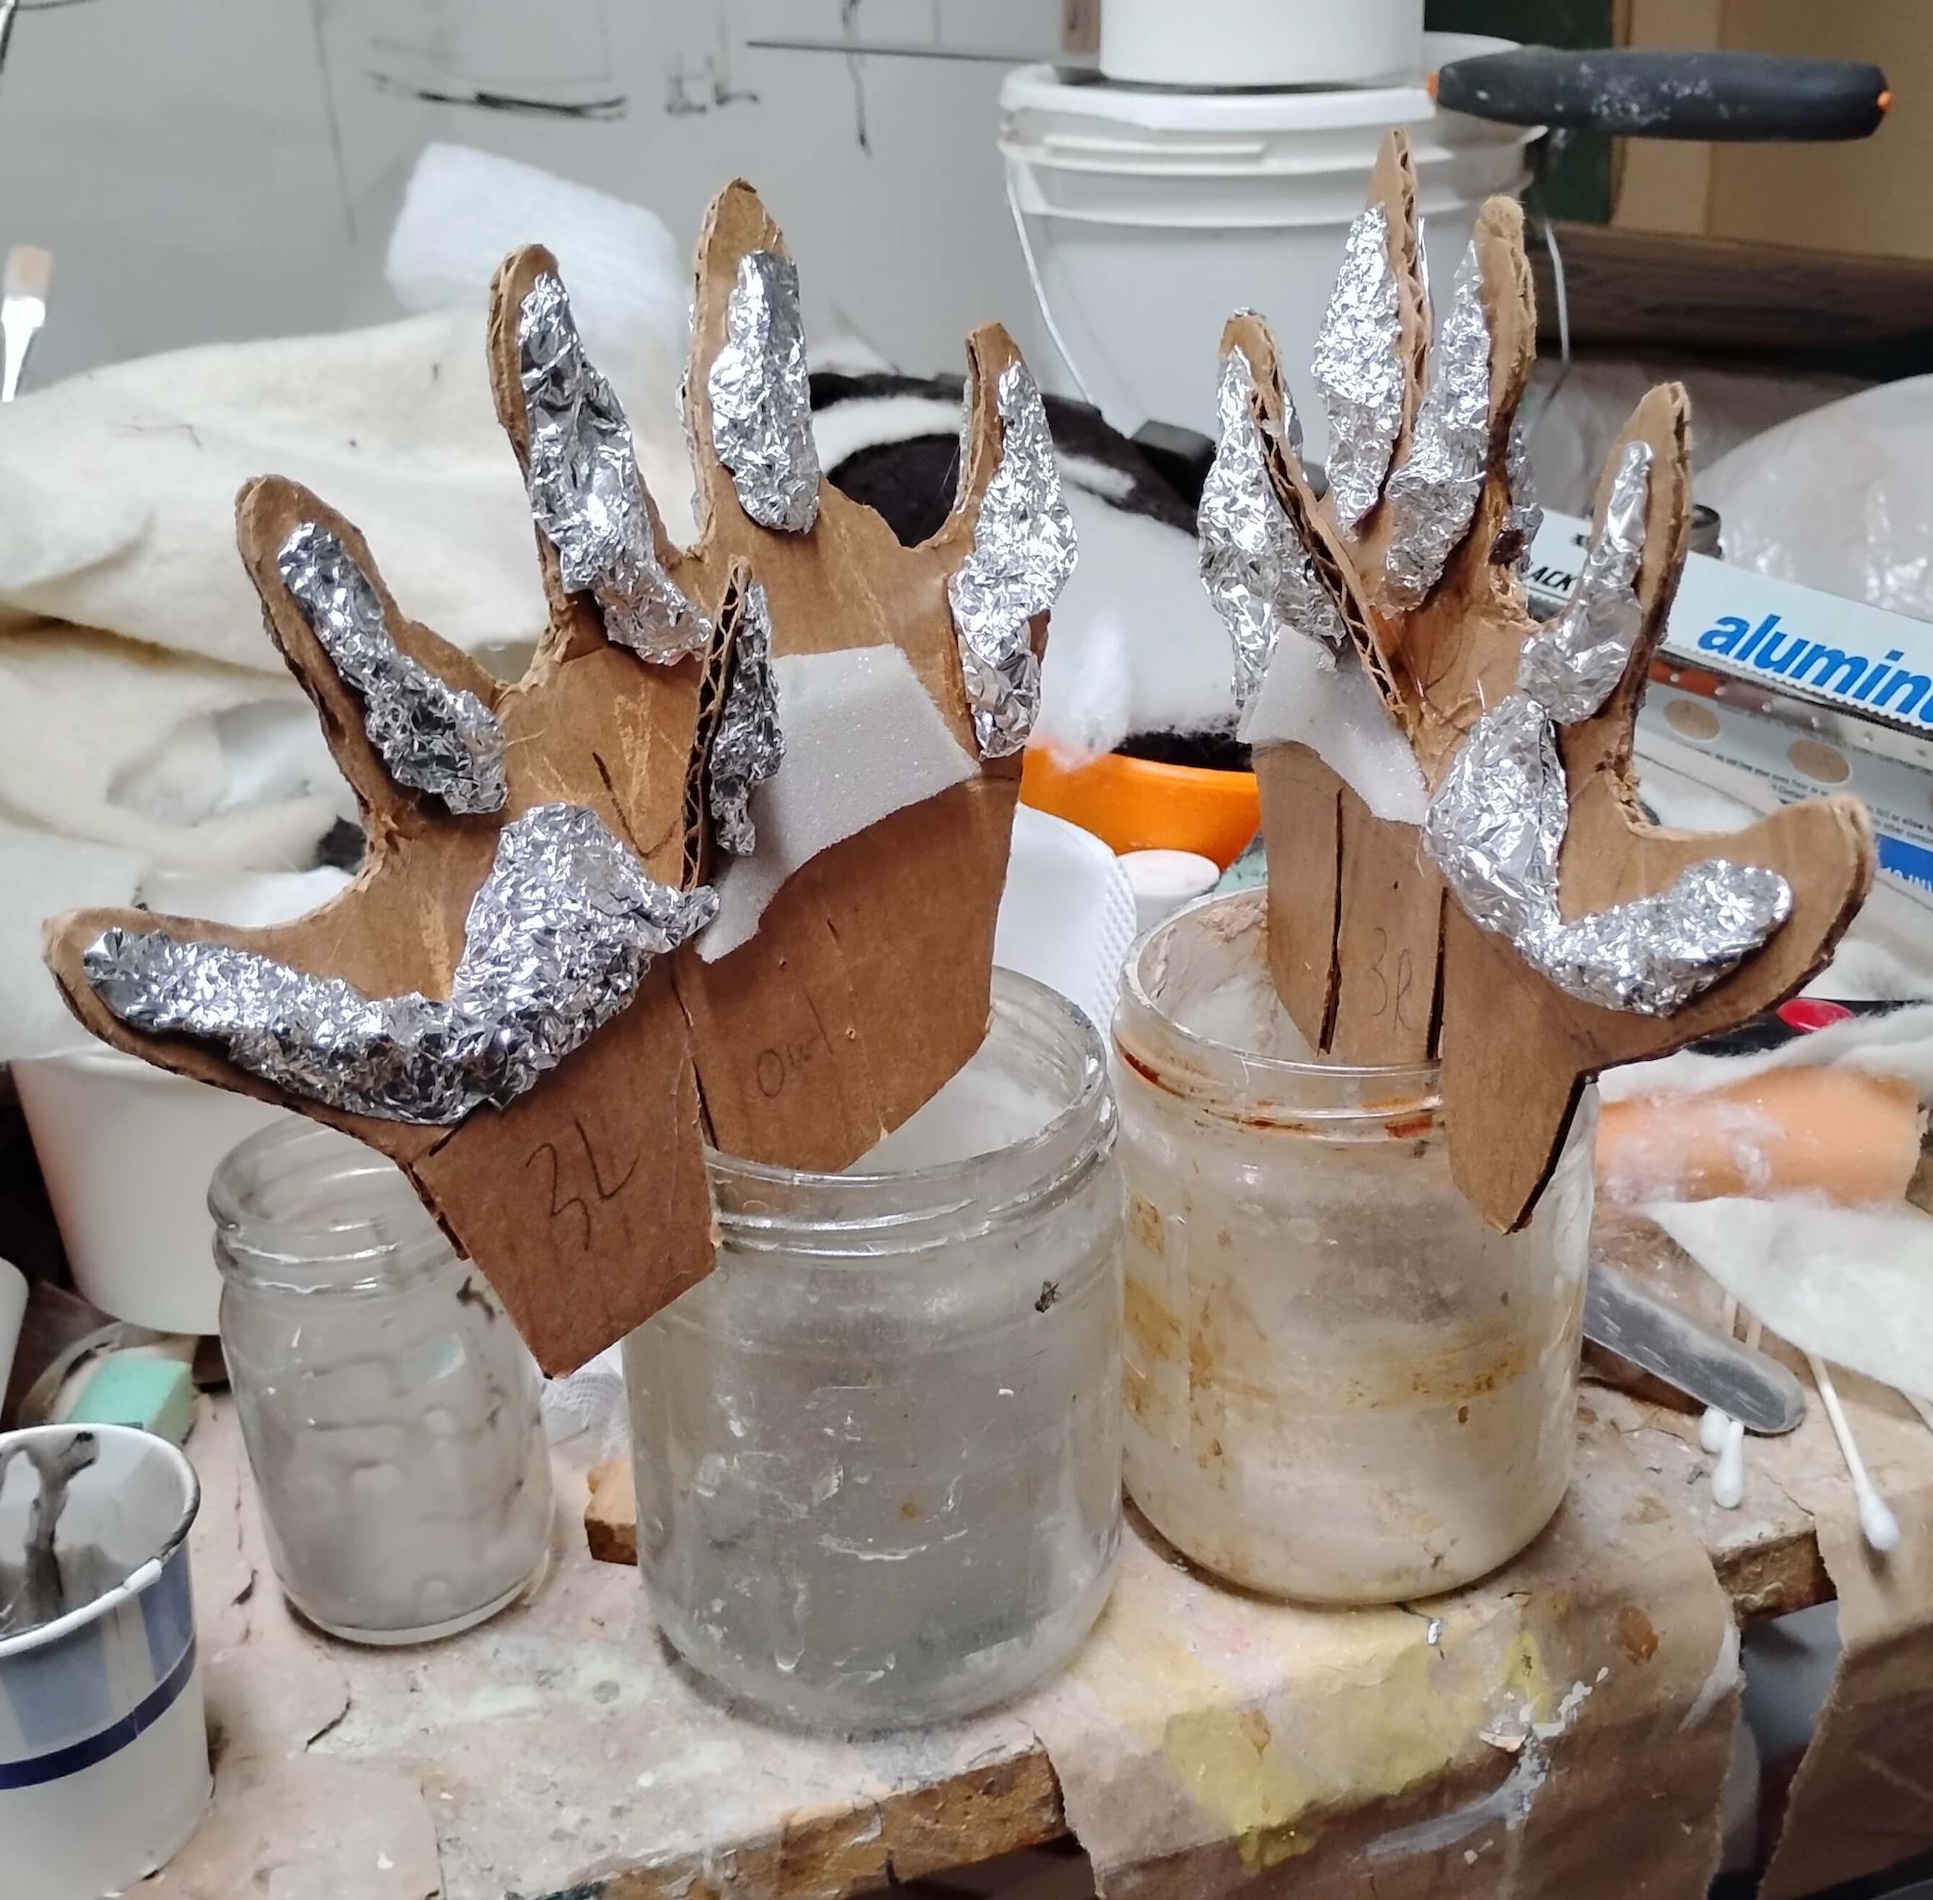
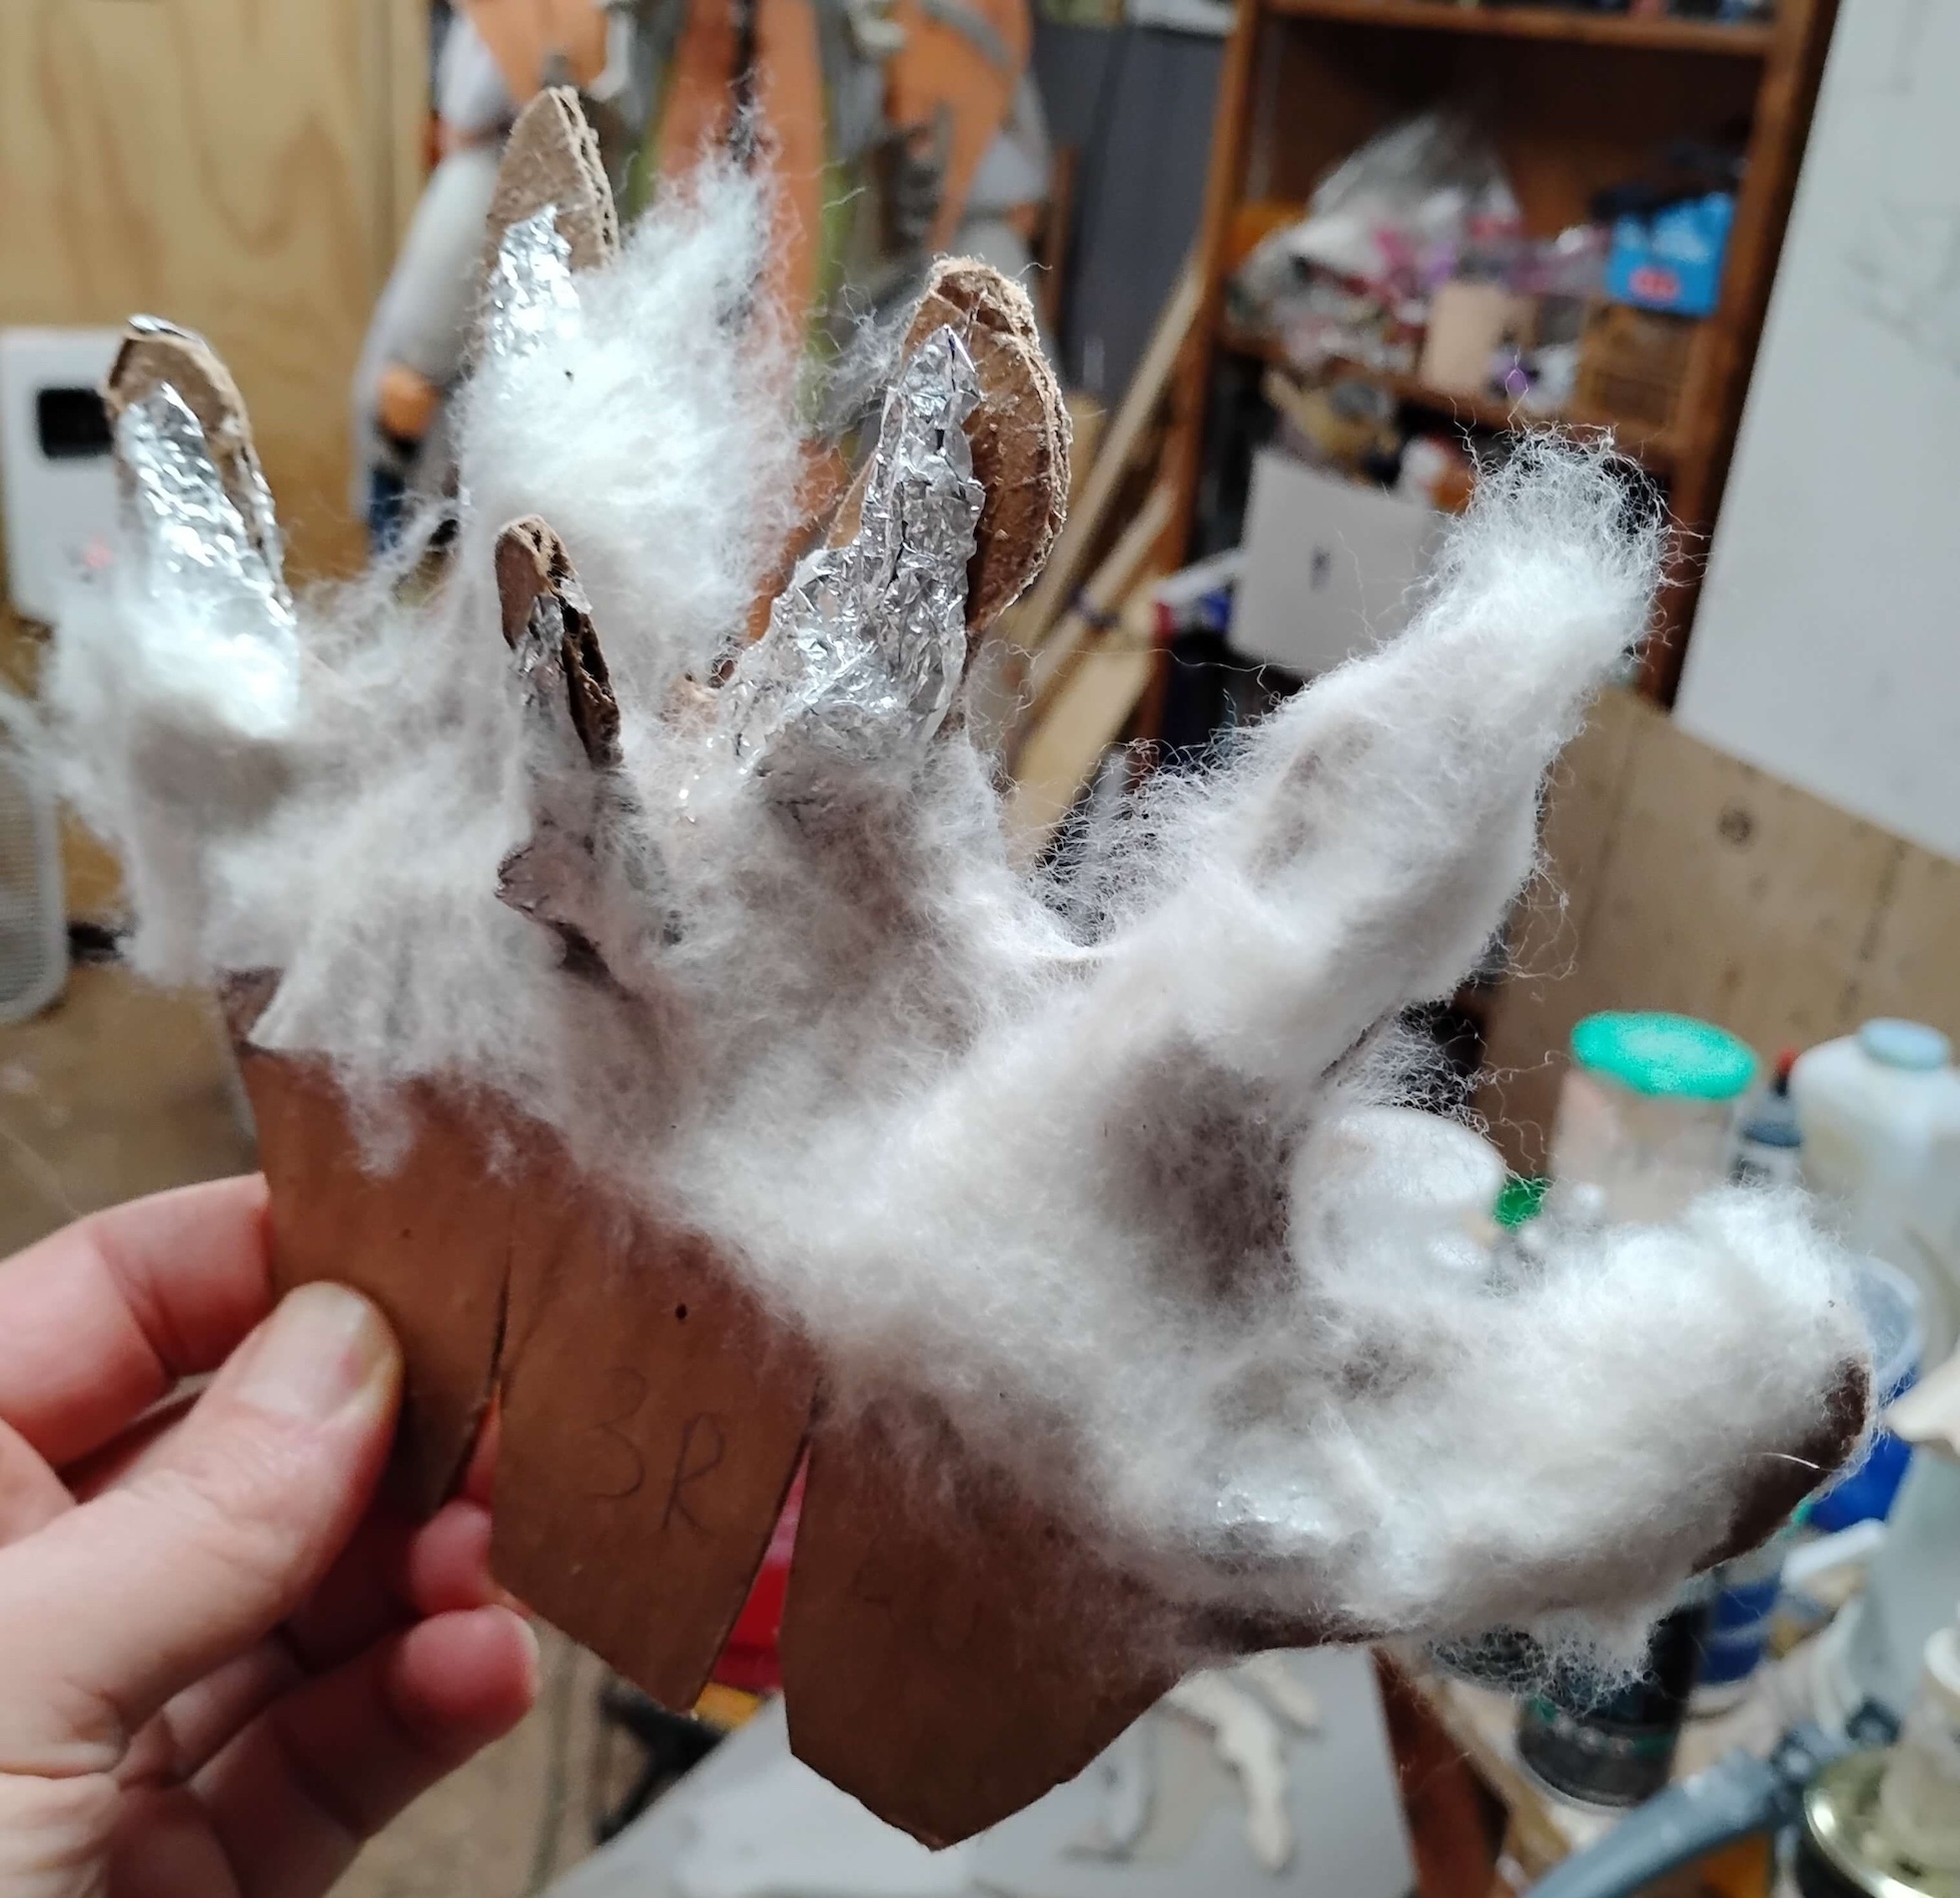
Dorsal Fins
- I made several test pieces to practice texture.
- I tried caulk on the latex but it wouldn’t stick very well. These early tests help to work out those problems.
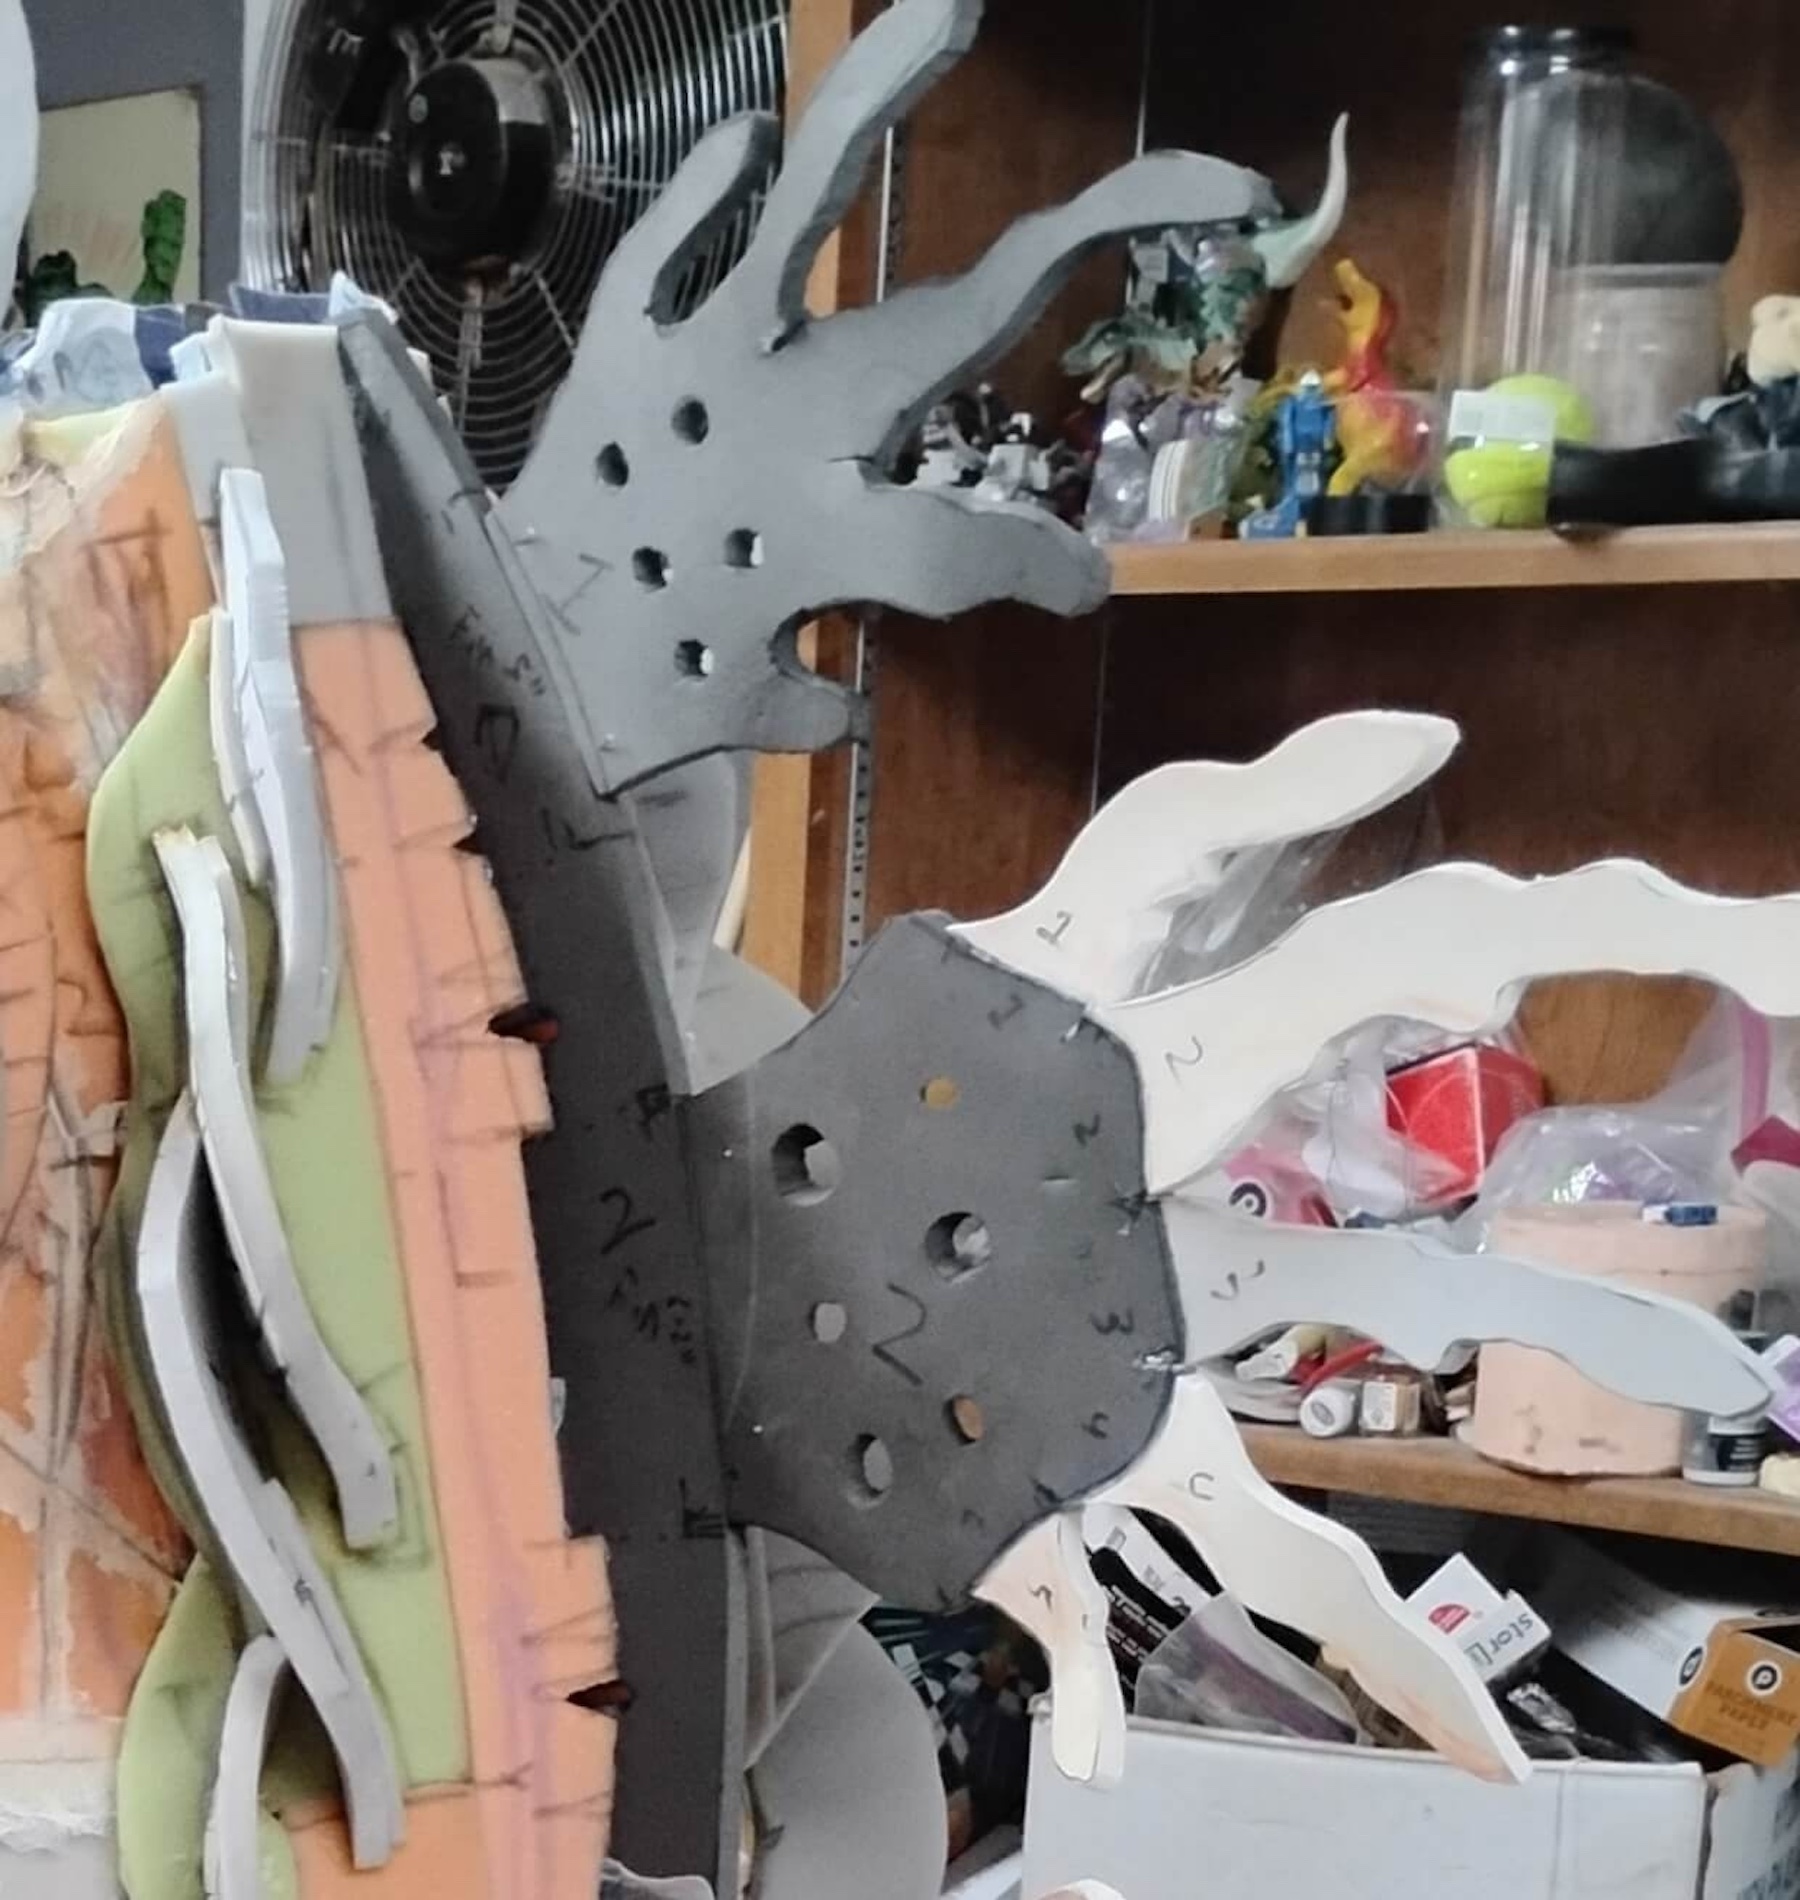
- Smaller fin/spikes started as cardboard and foil. A thin cotton quilt batting was layered on that
- A fin in progress. I use spray adhesive and damp fingers to fix this mess into place.
- Some really small baby fins were just upholstery foam
- A fin before latex coating
- This is the second largest fin, the largest being 17” tall.
- The larger fins were EVA foam covered in quilt batting.
Hands and Feet
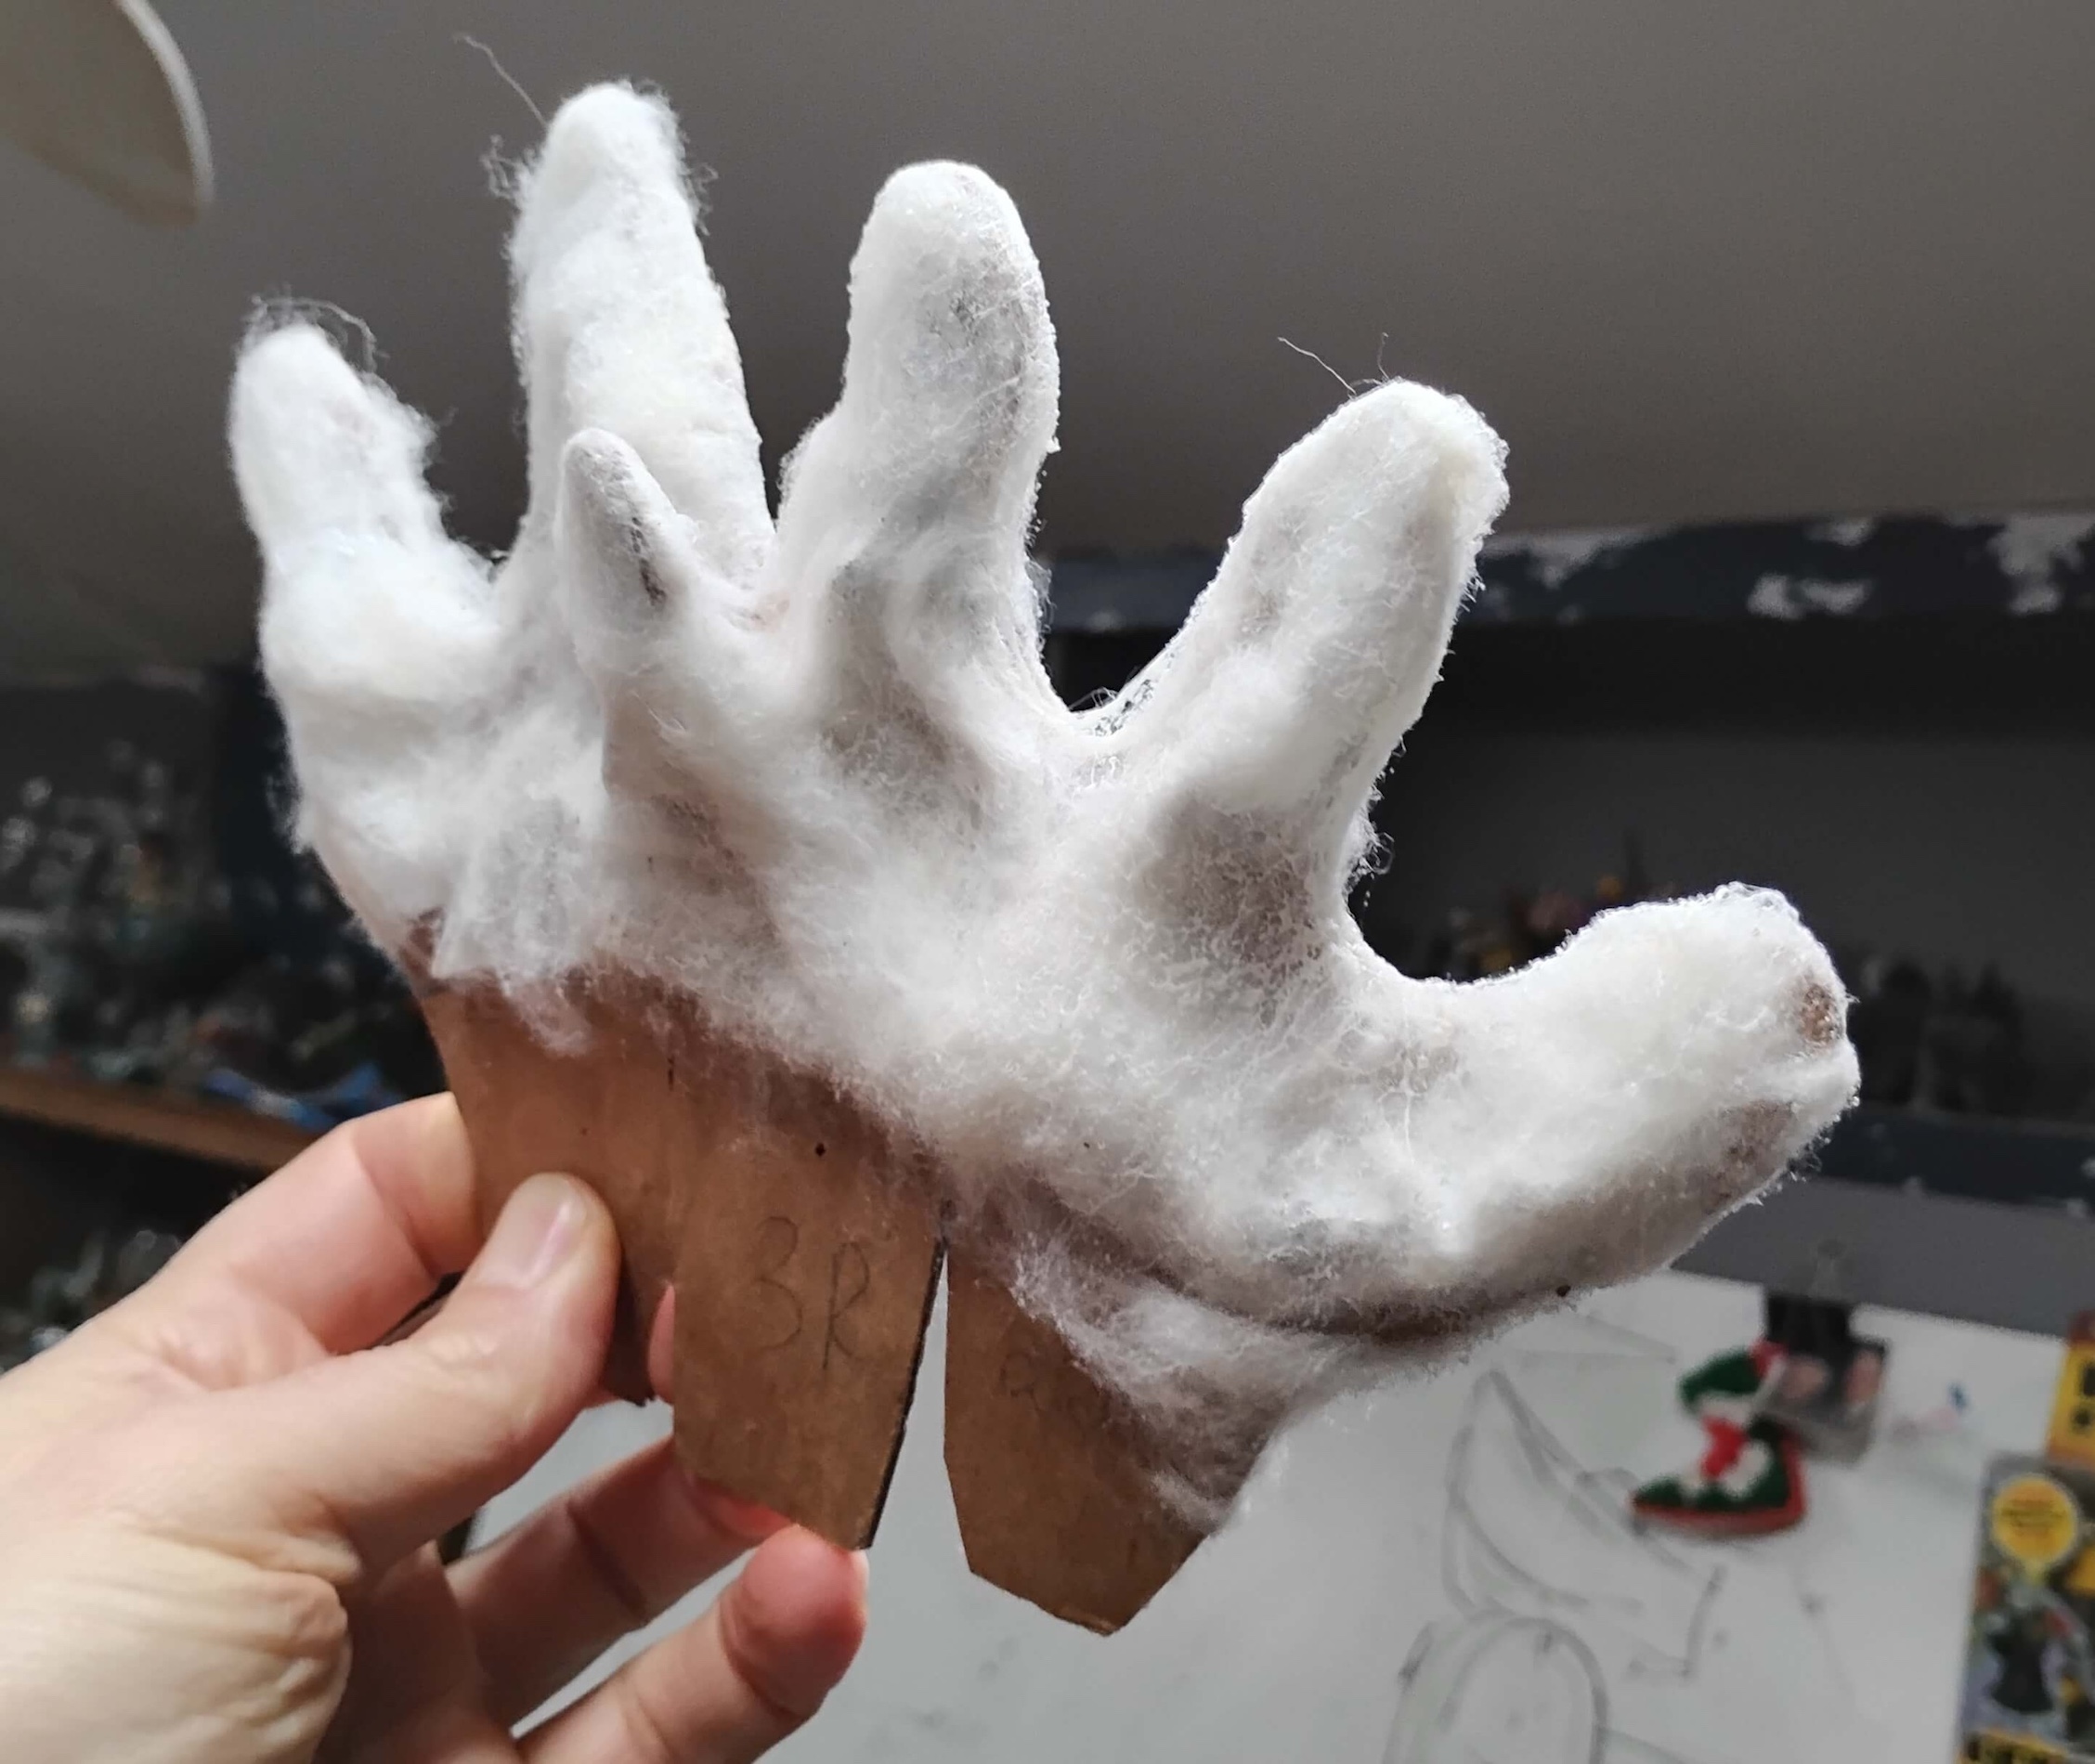
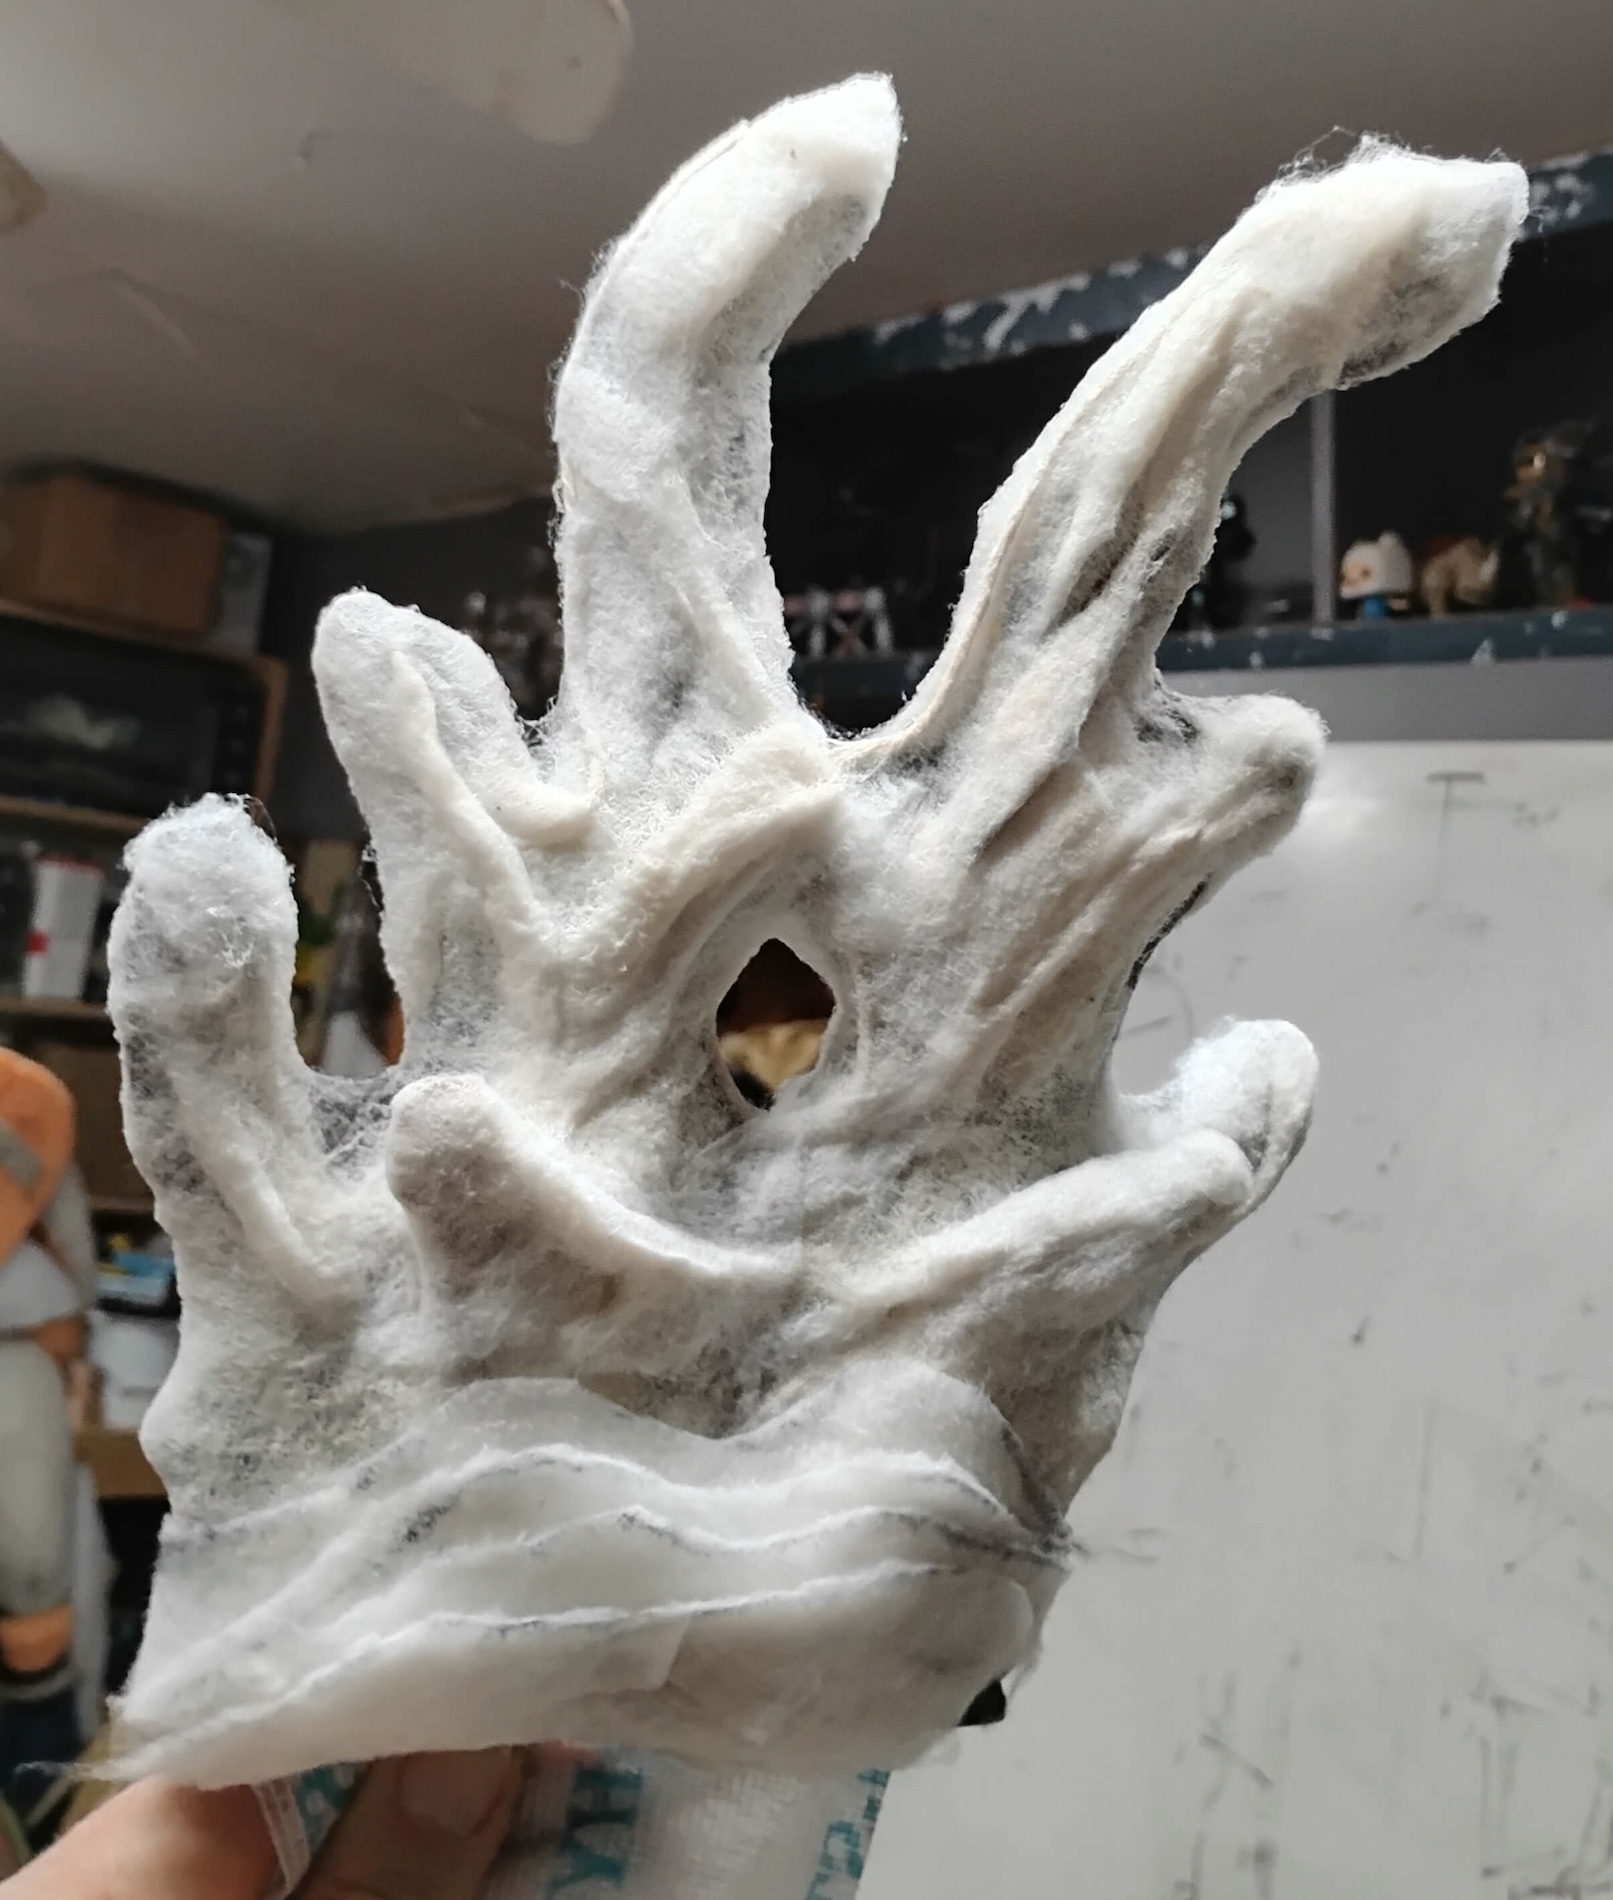
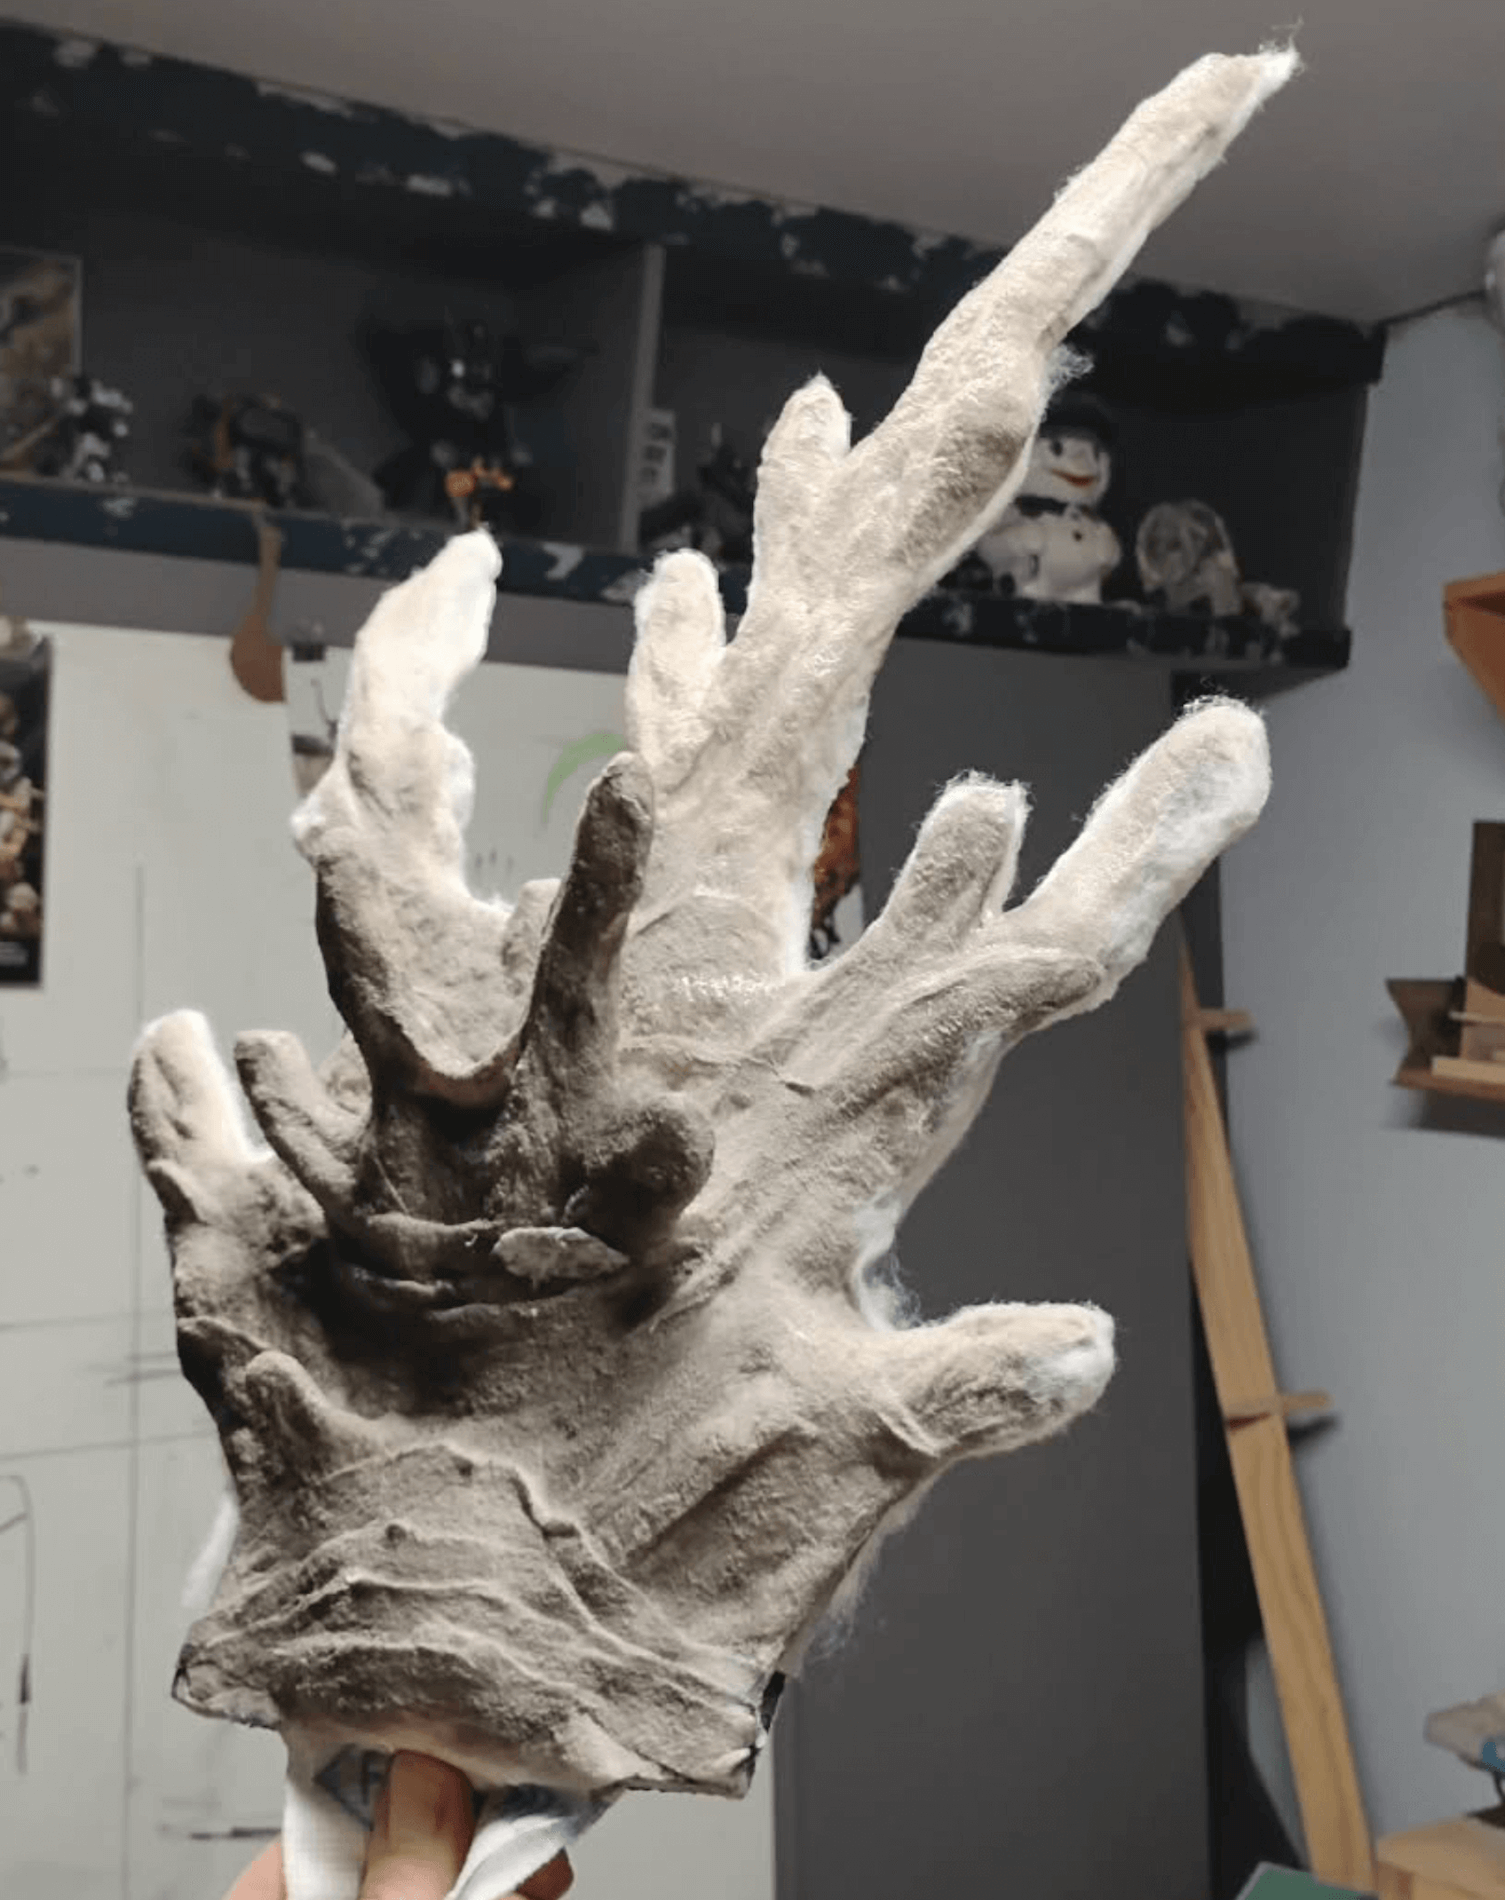
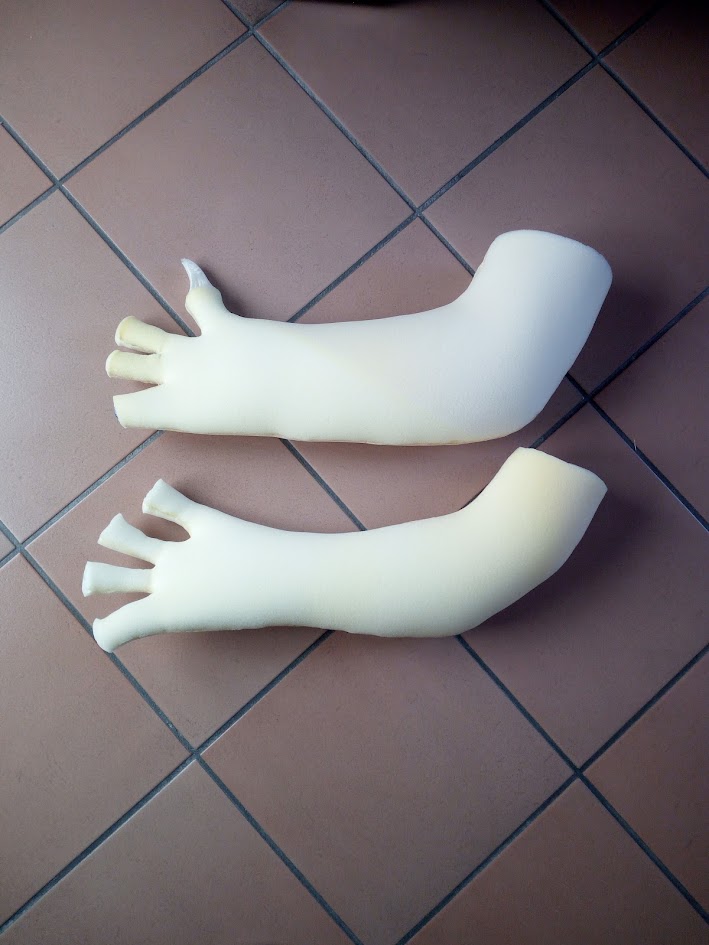
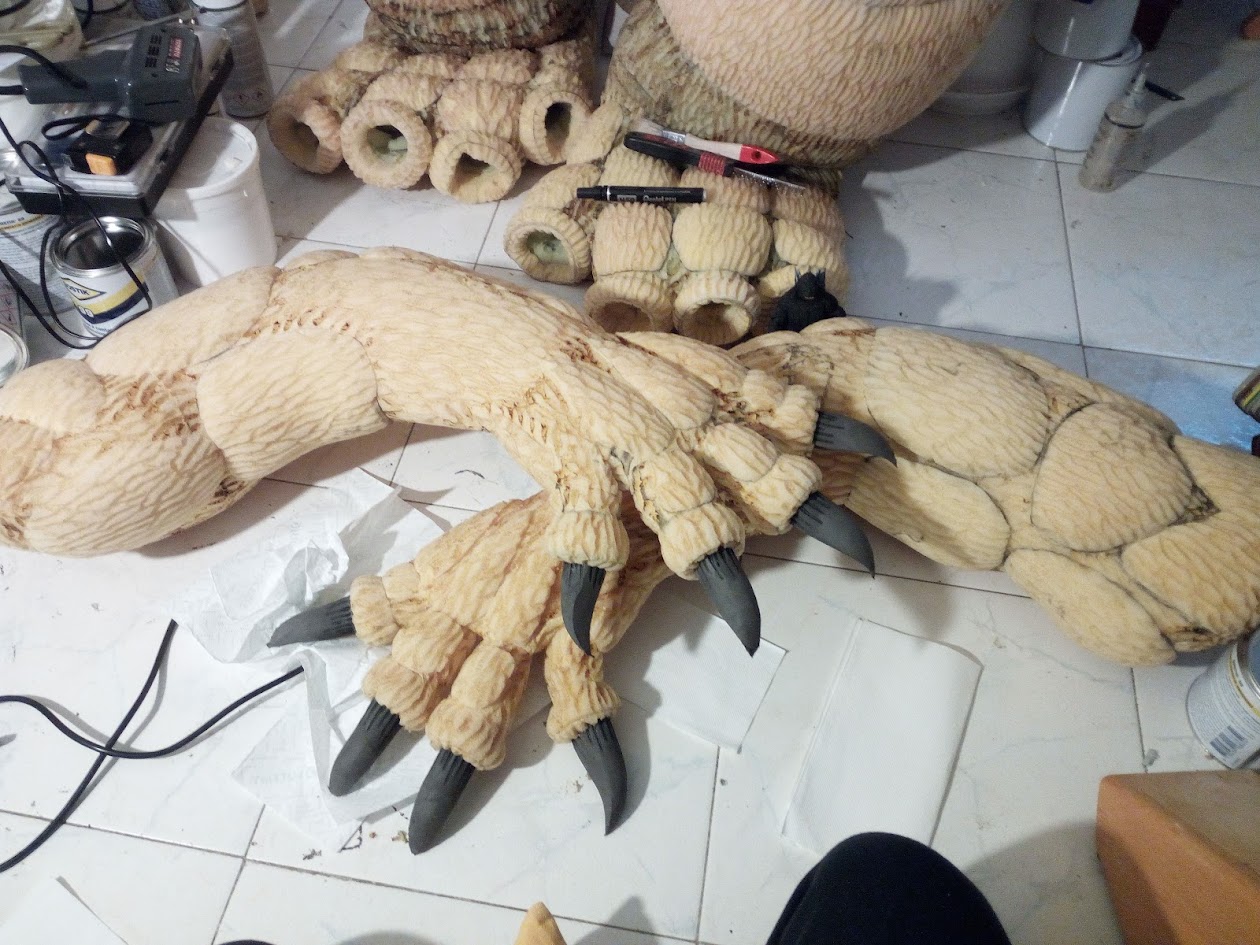
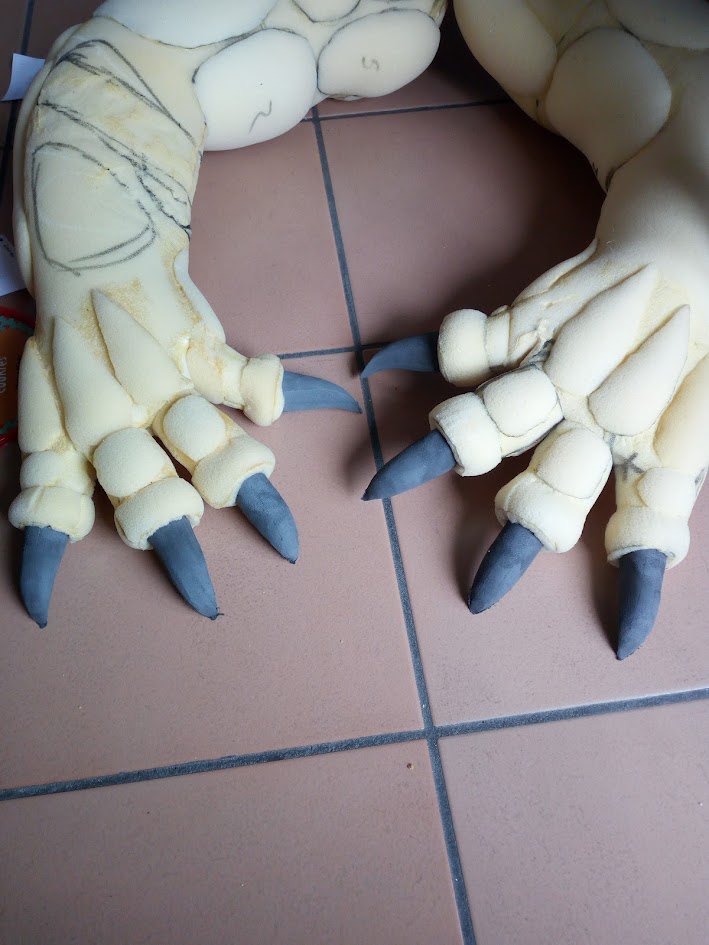
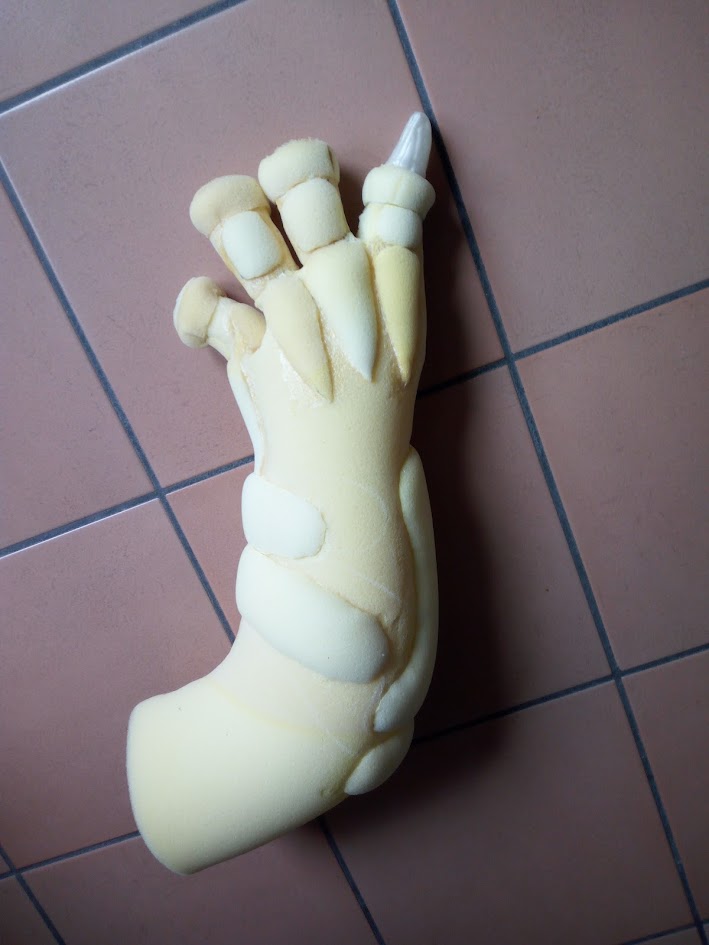
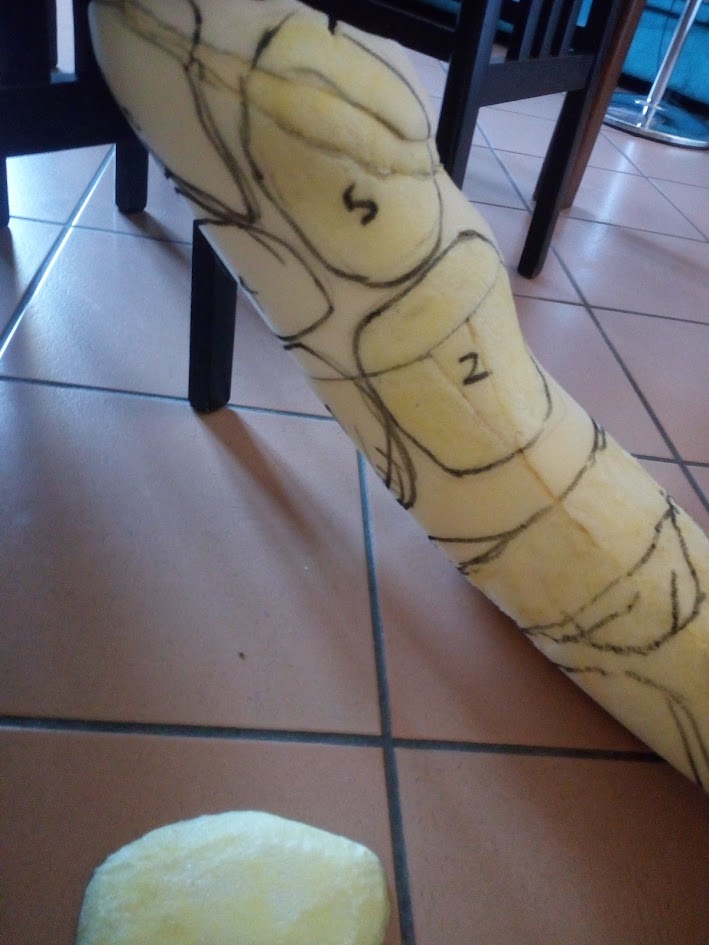
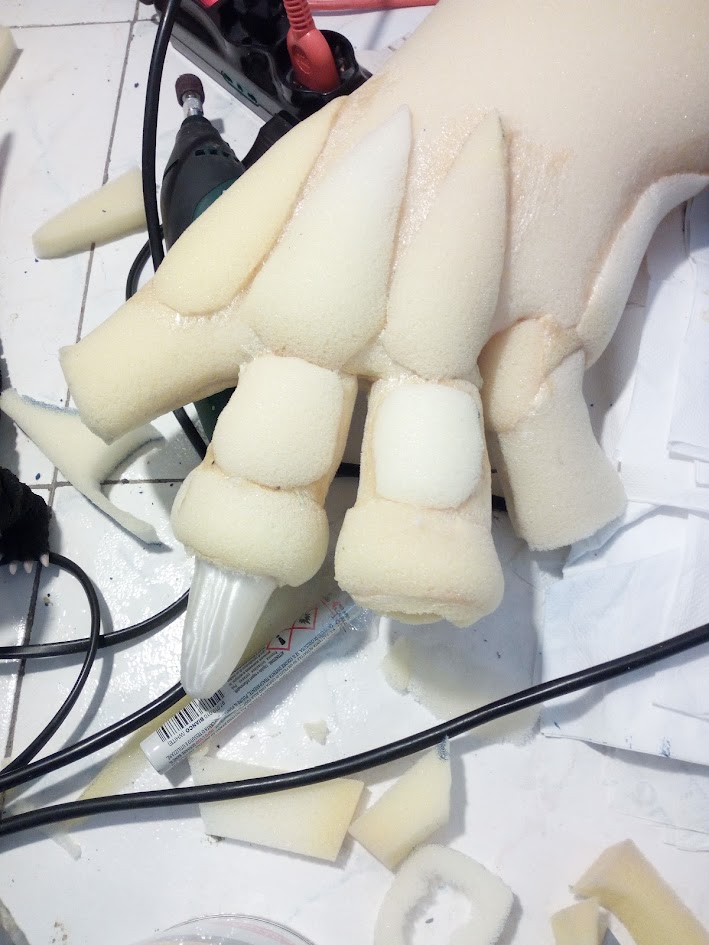
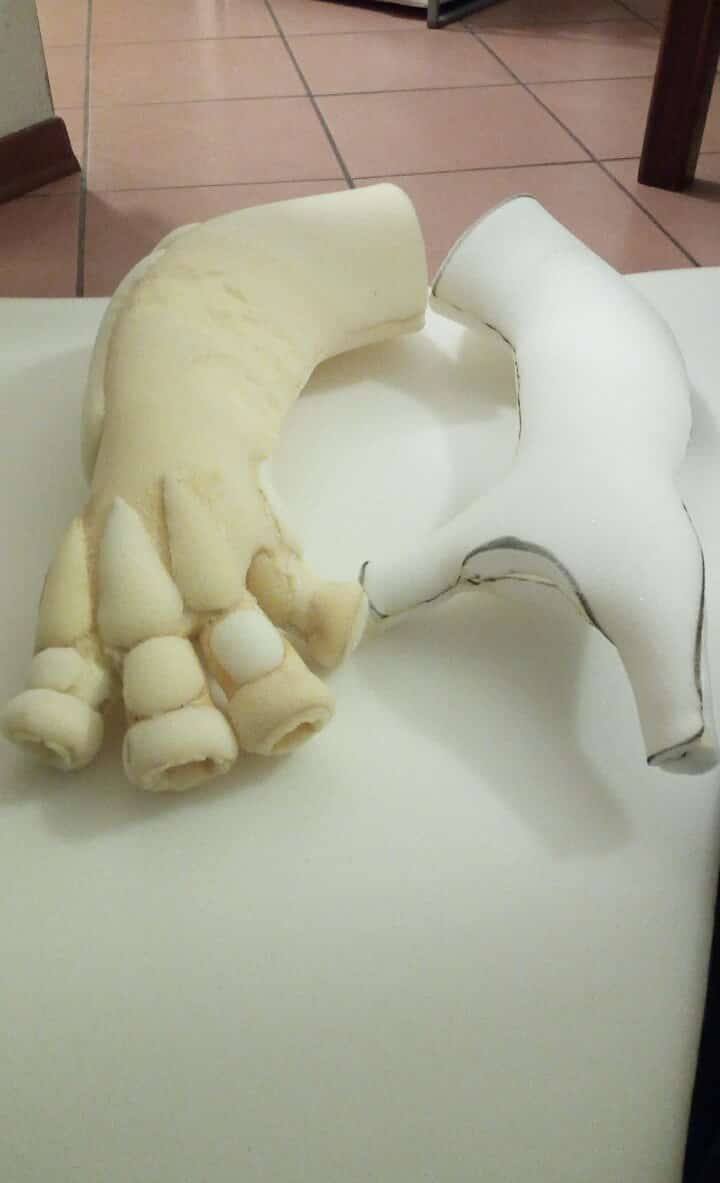
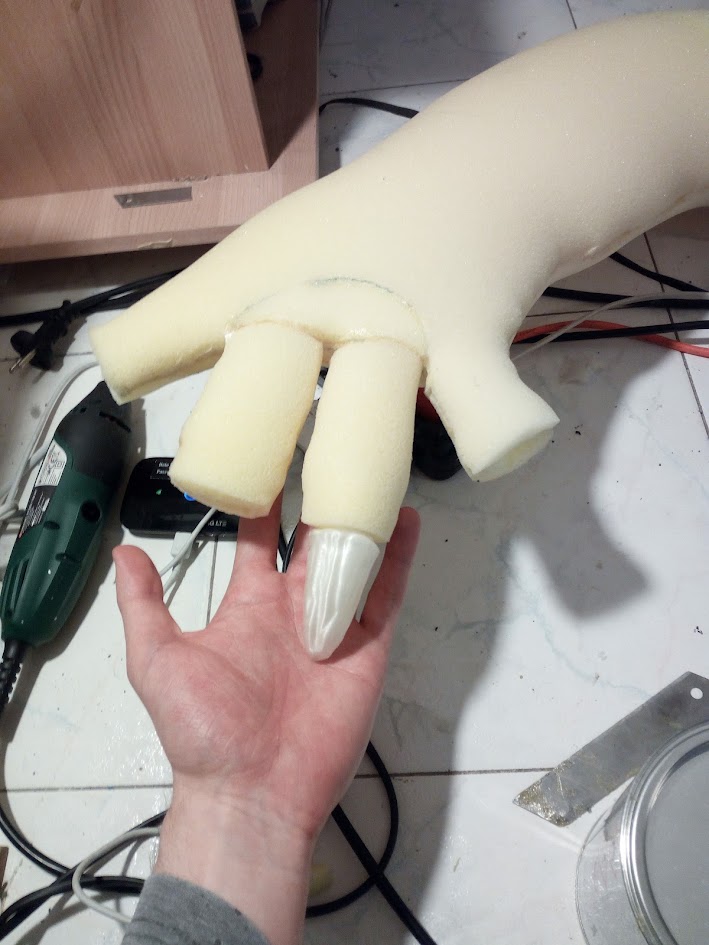
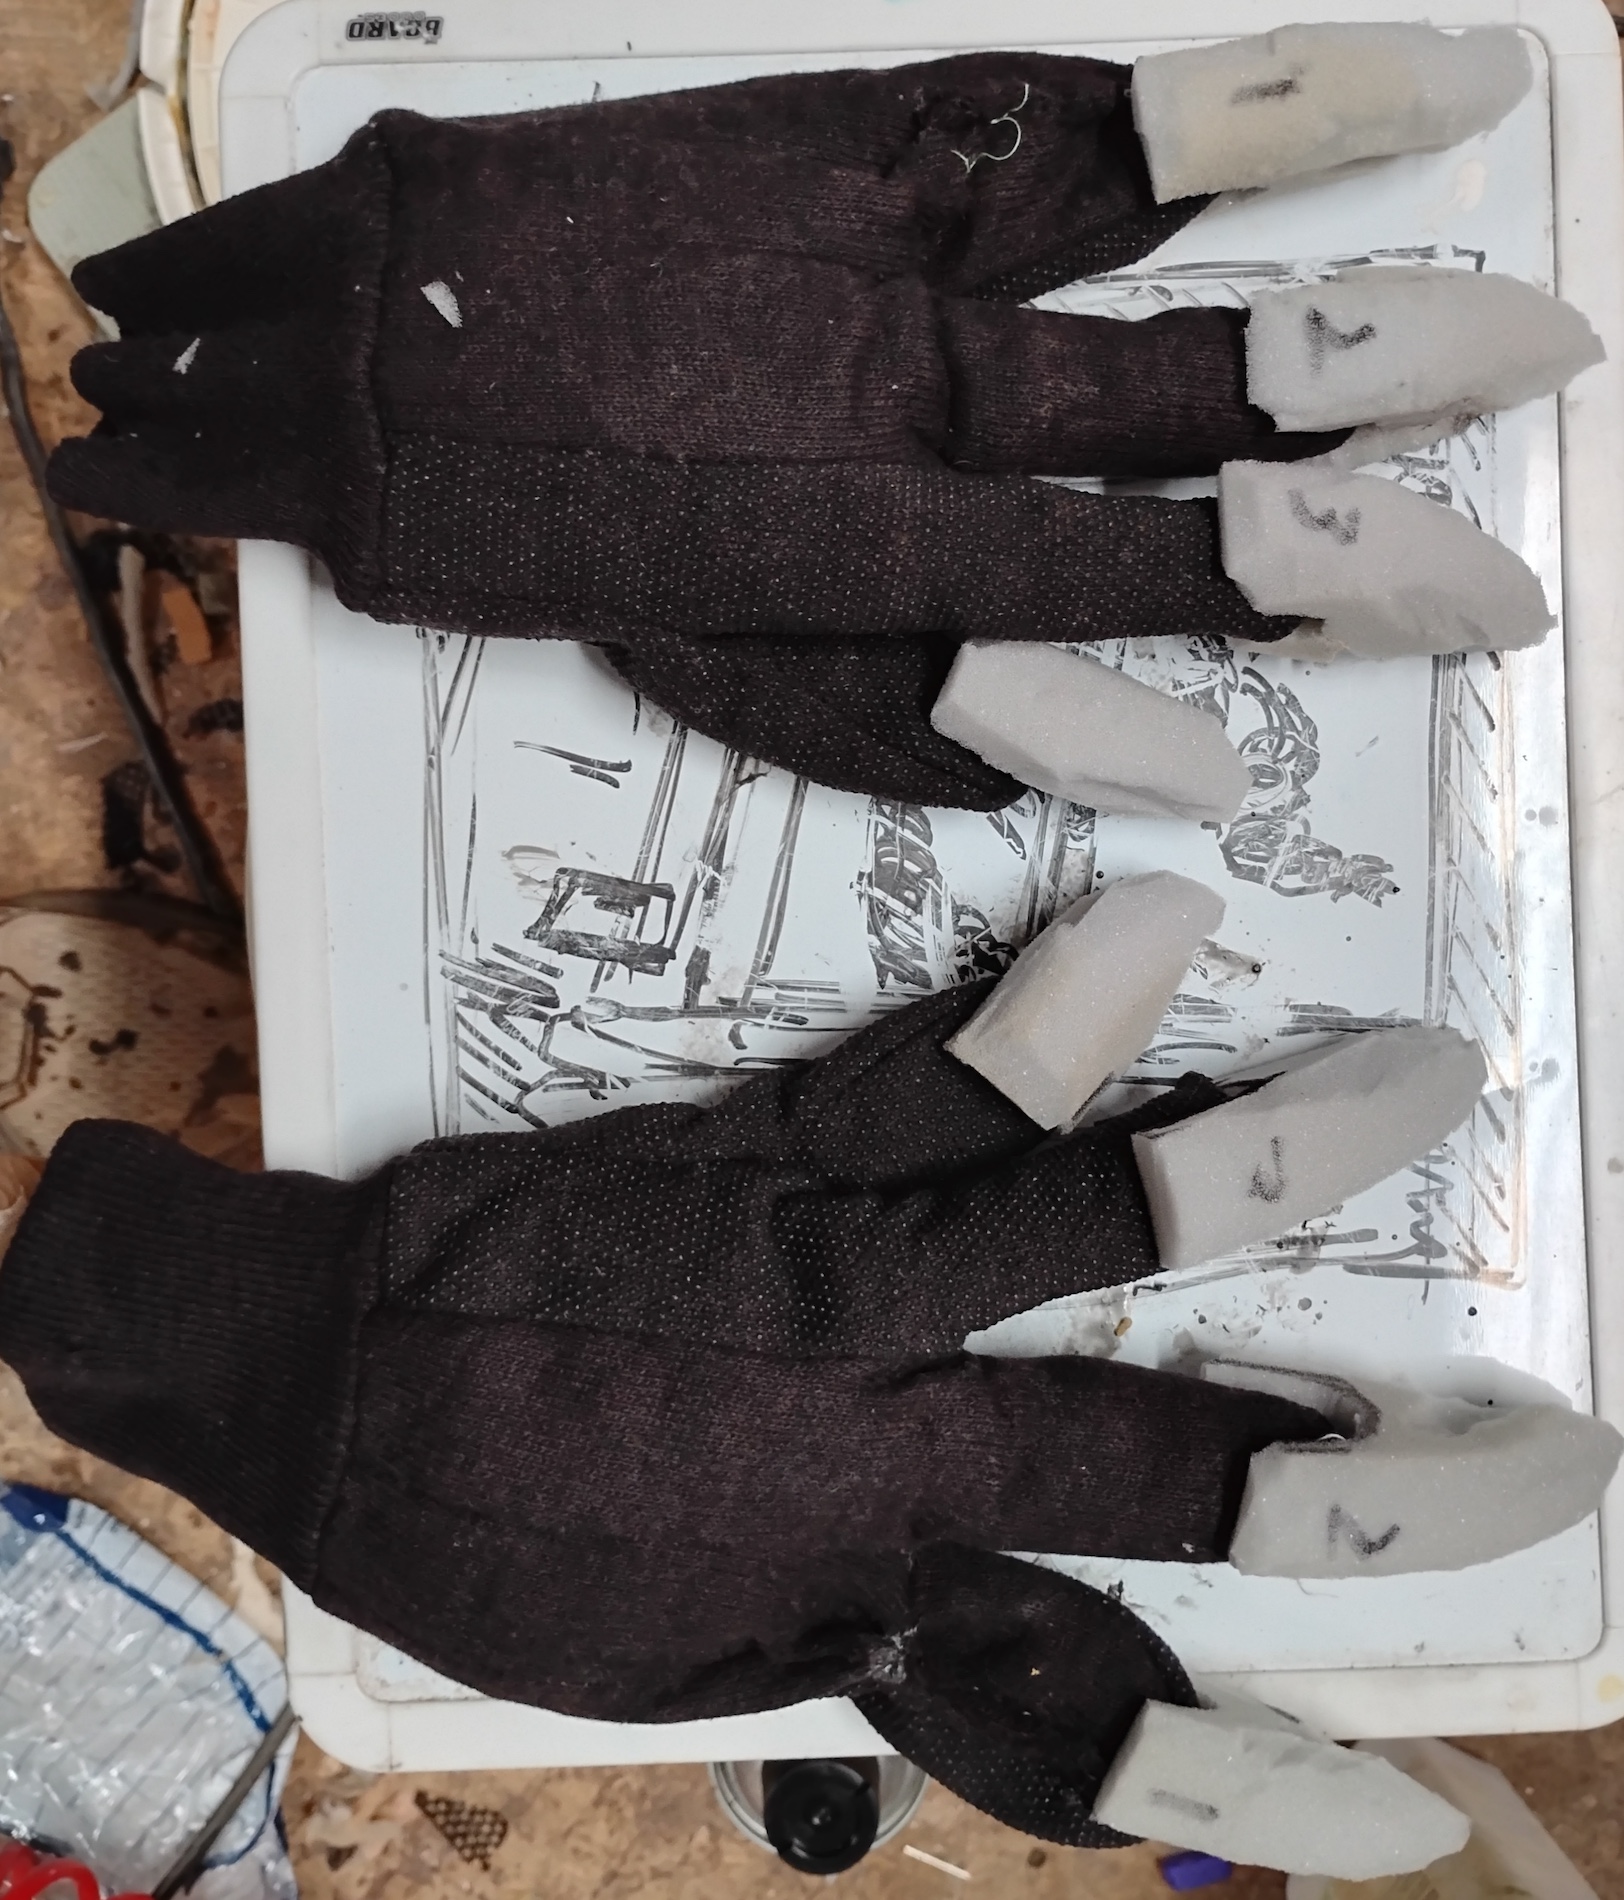
- Humble beginnings of a hand: garden gloves and upholstery foam
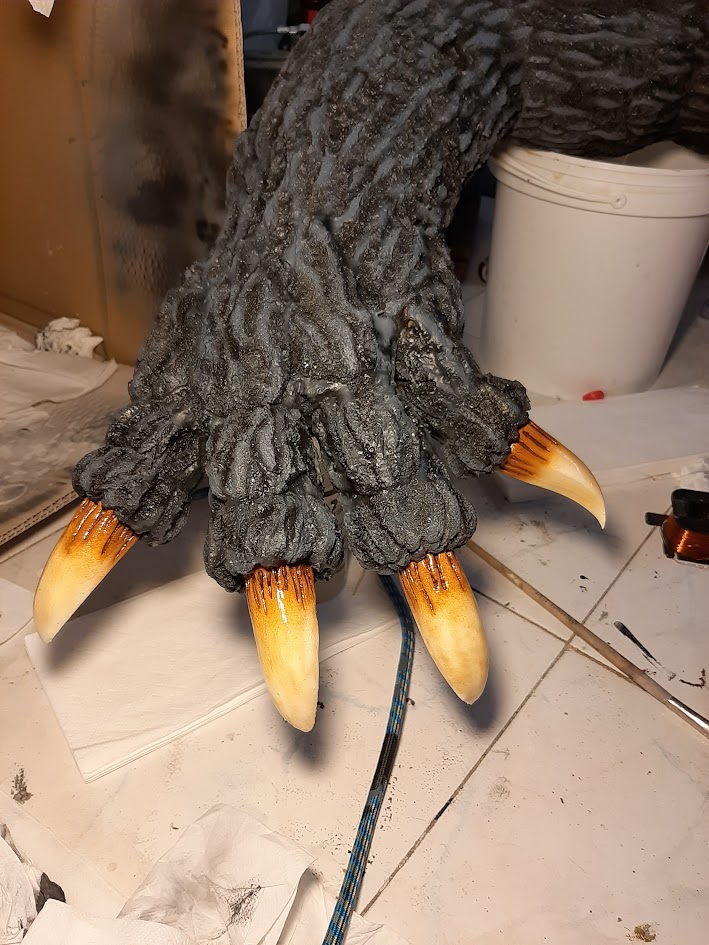
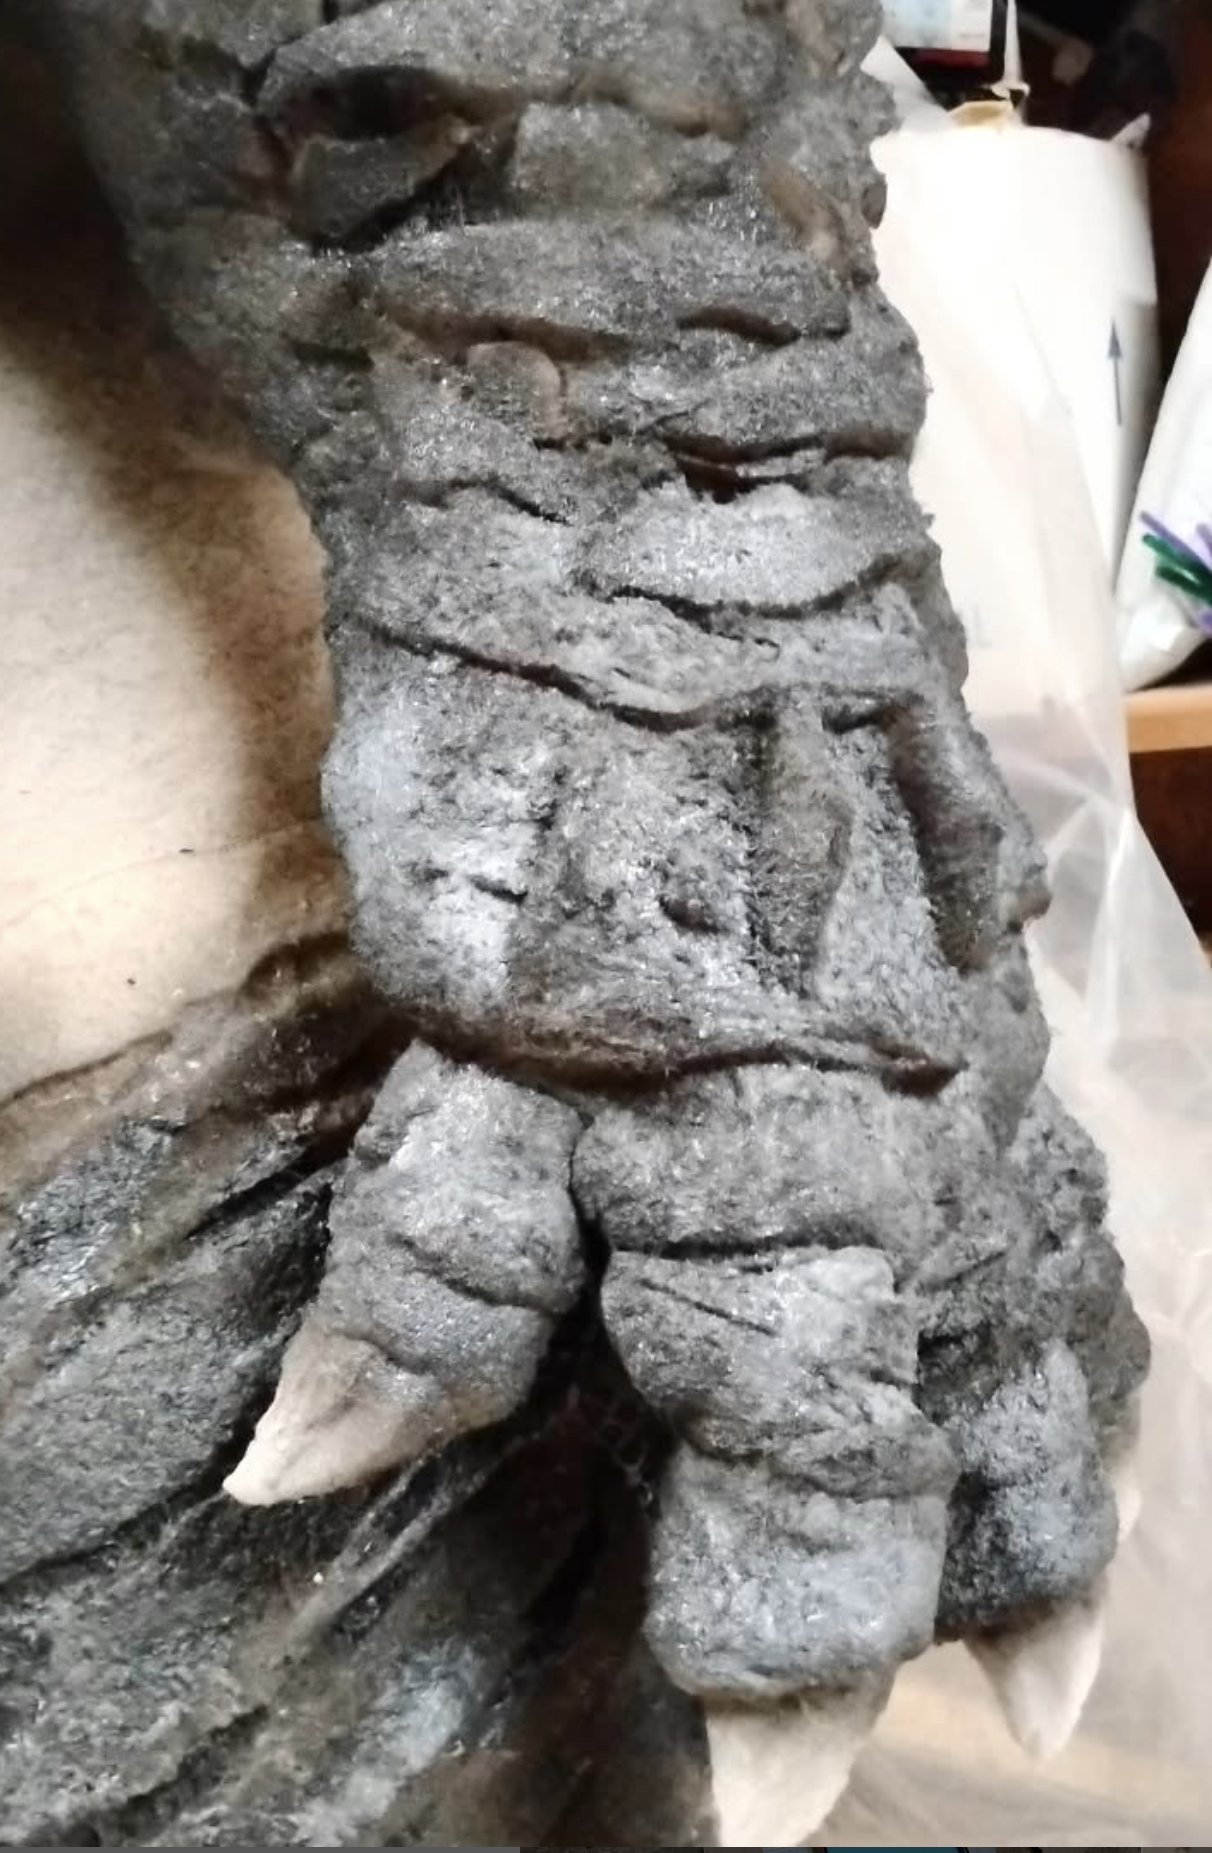
- A hand after quilt batting build up and a couple of layers of latex
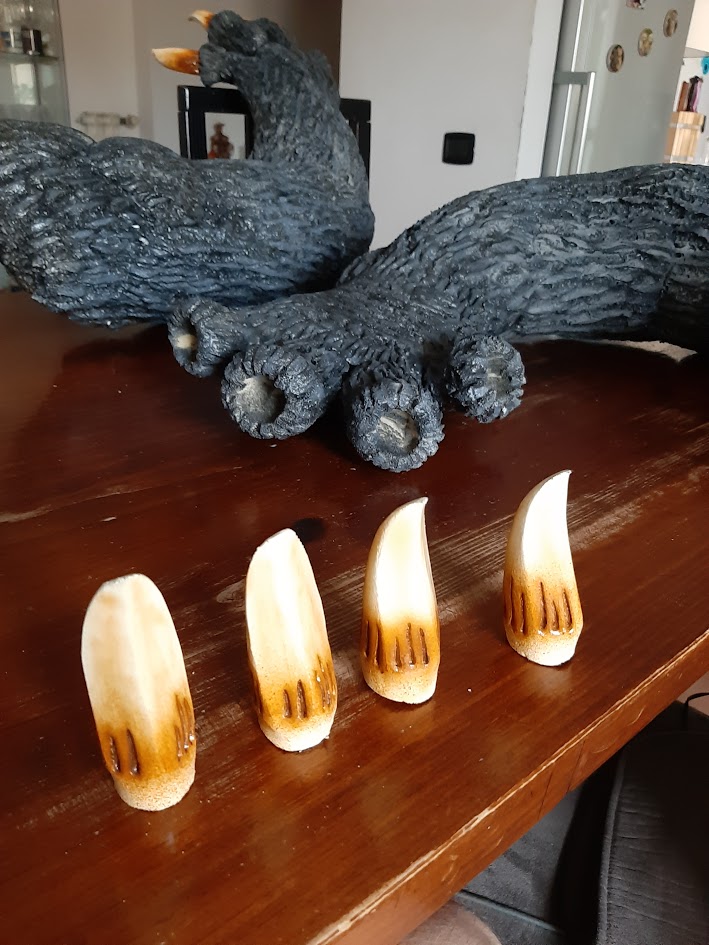
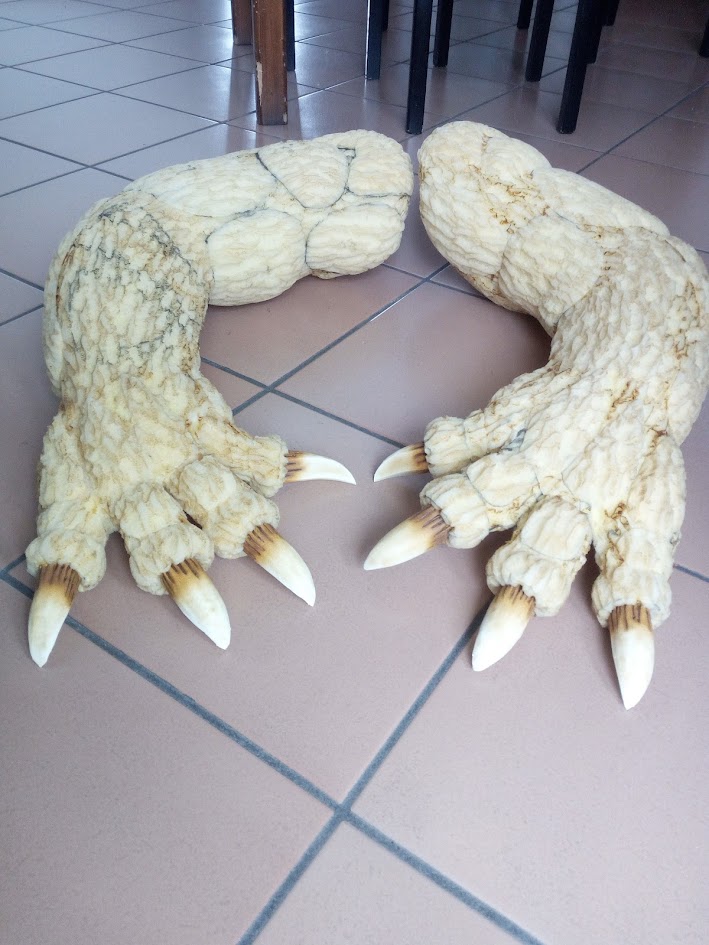
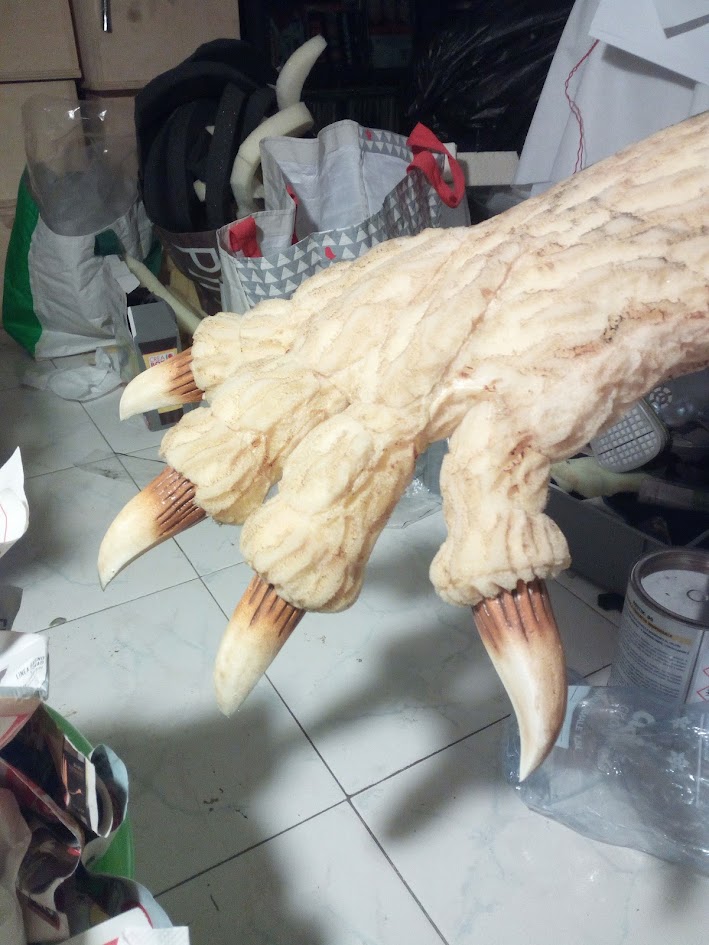
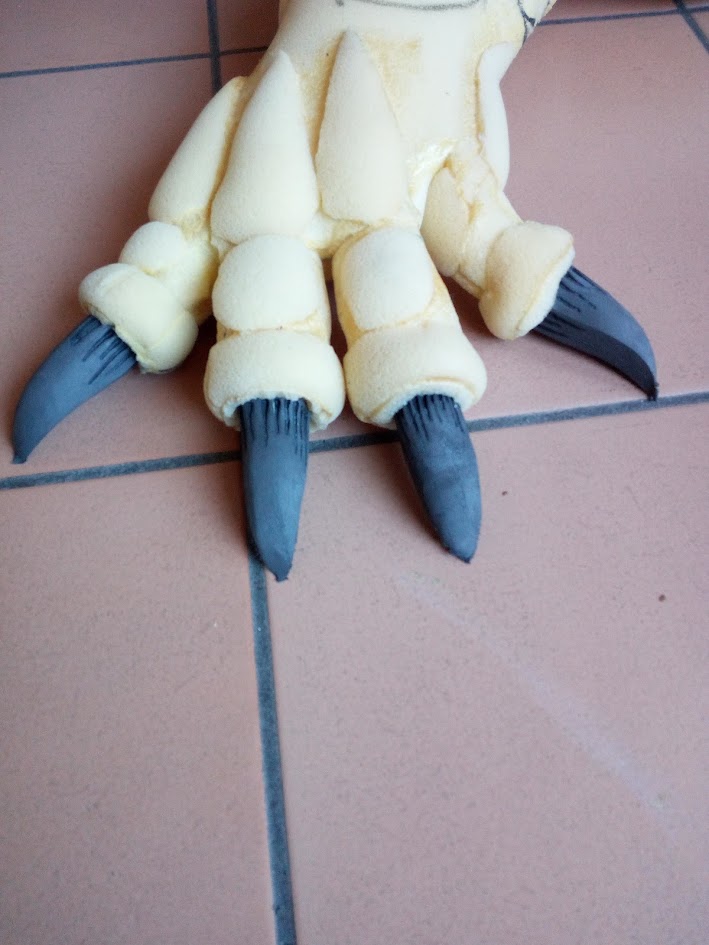
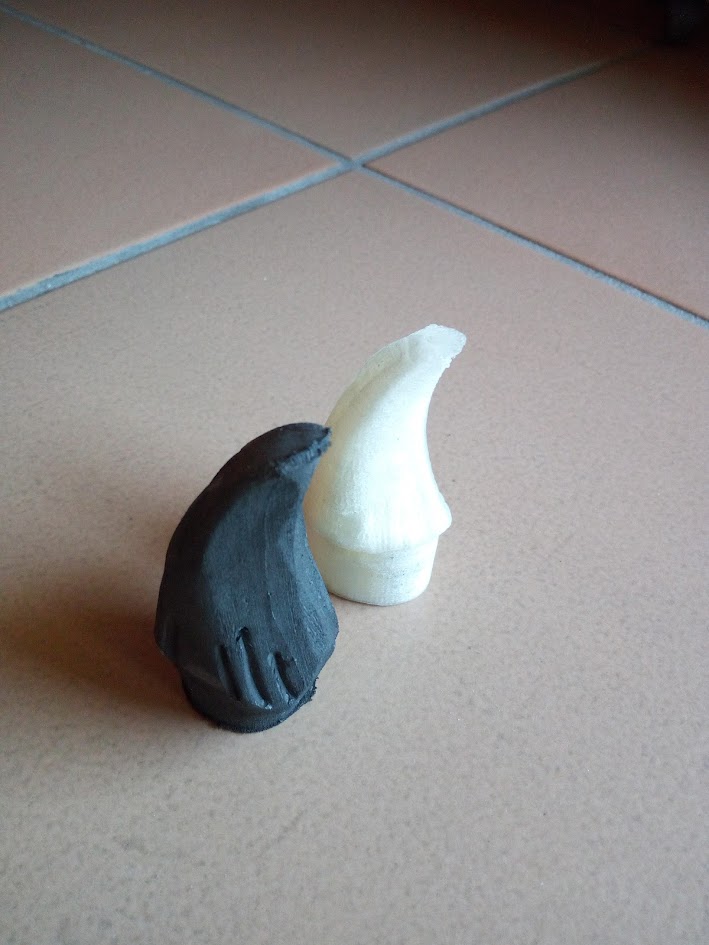
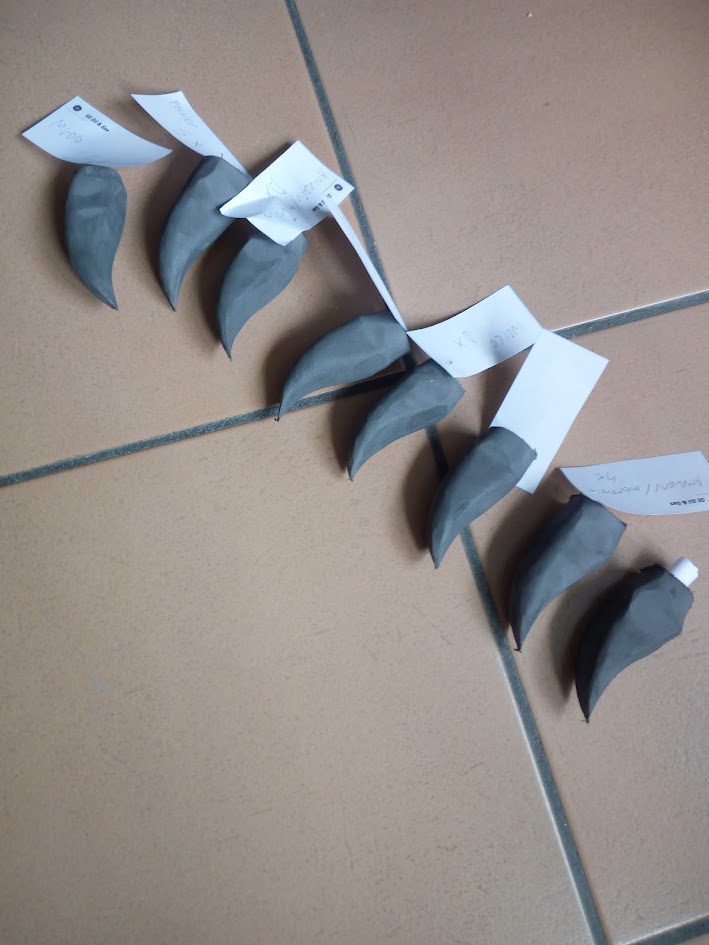
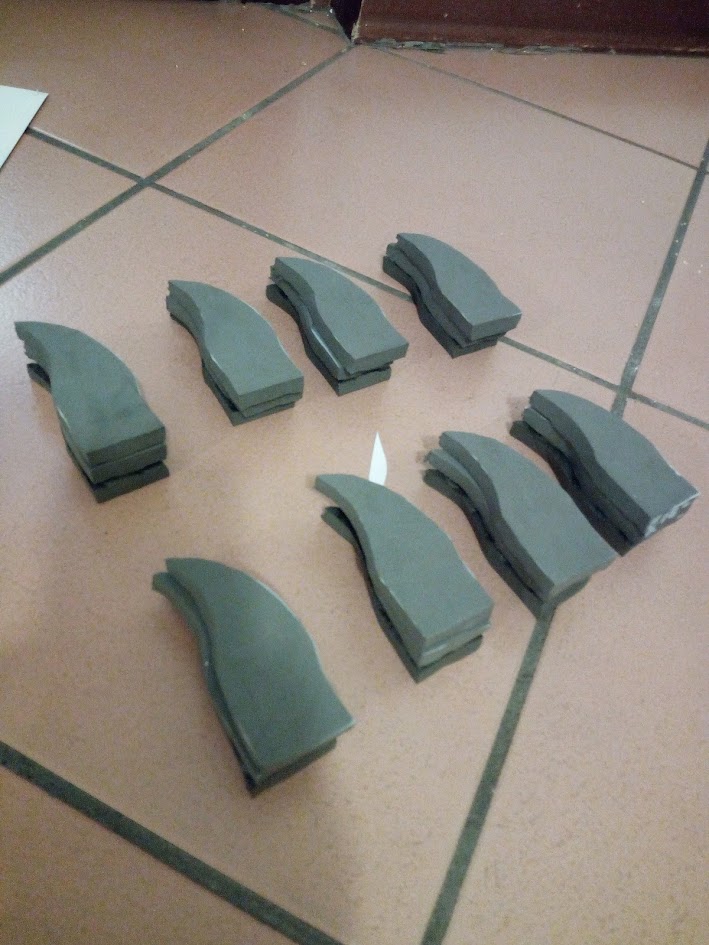
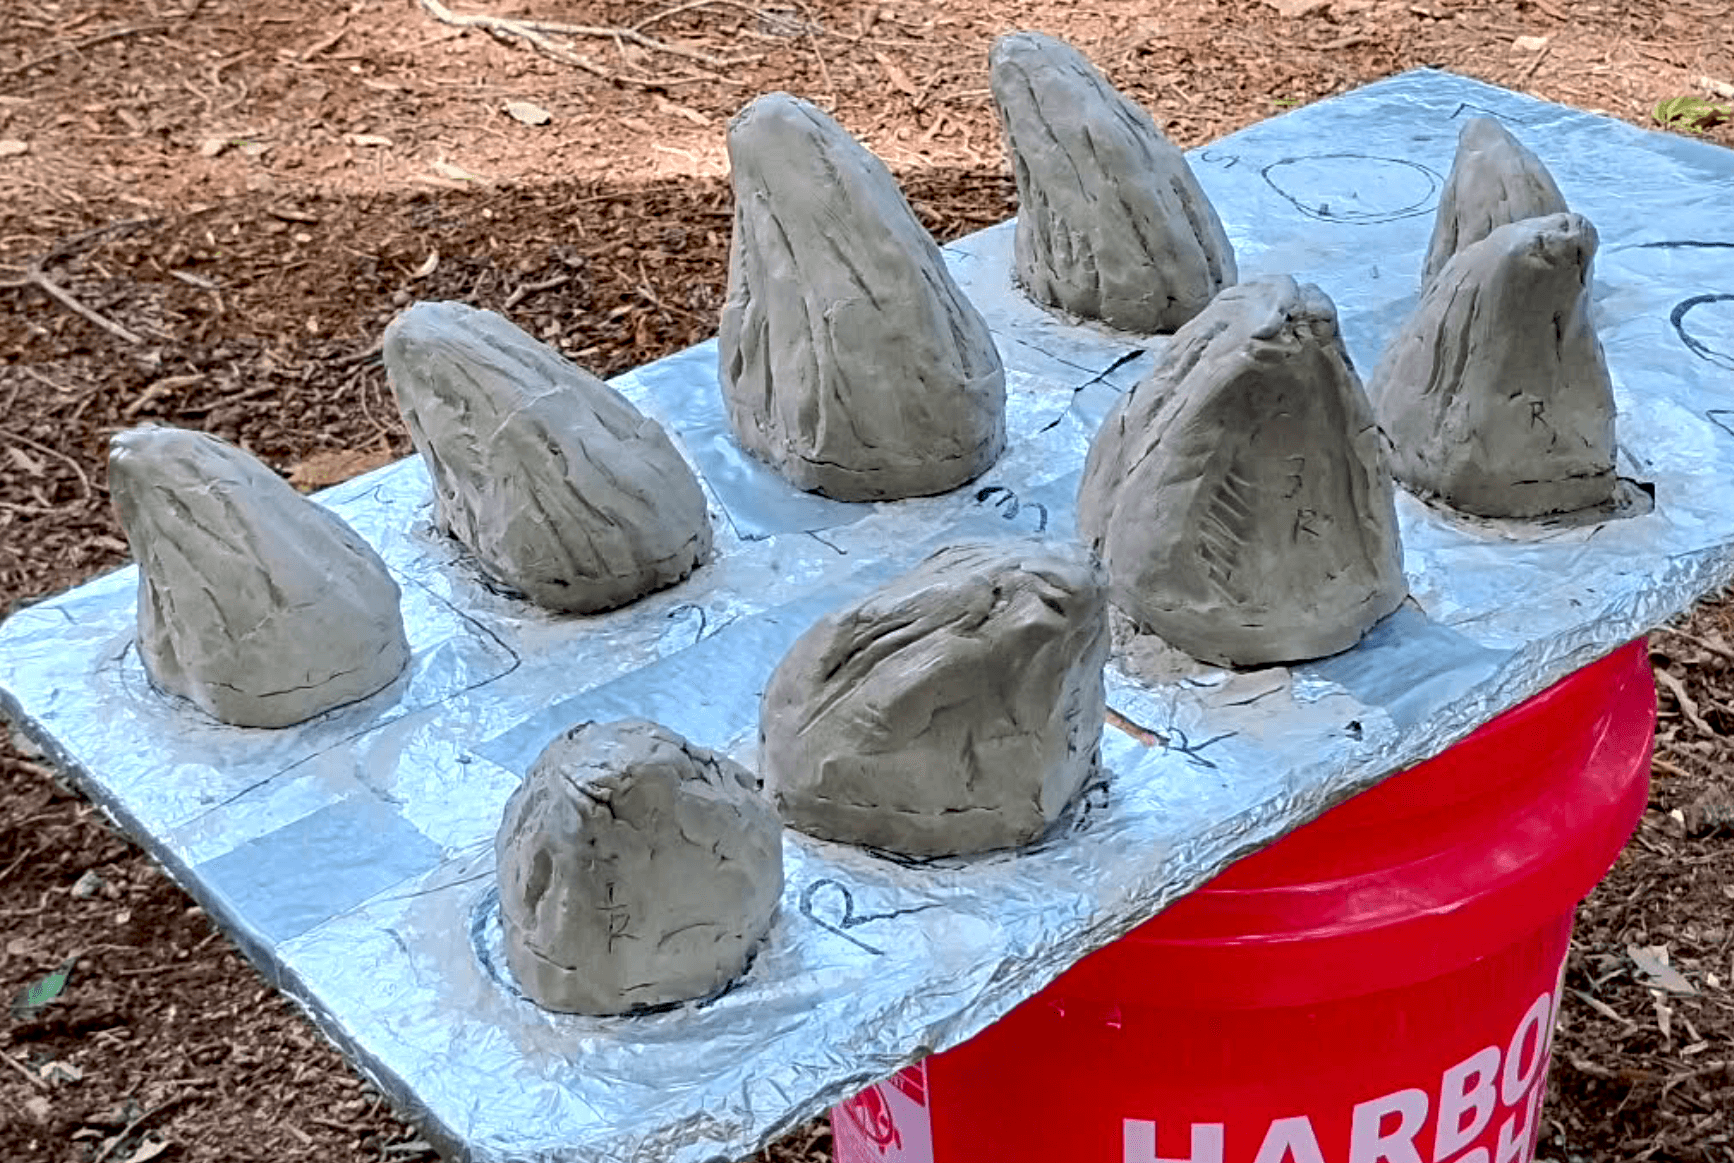
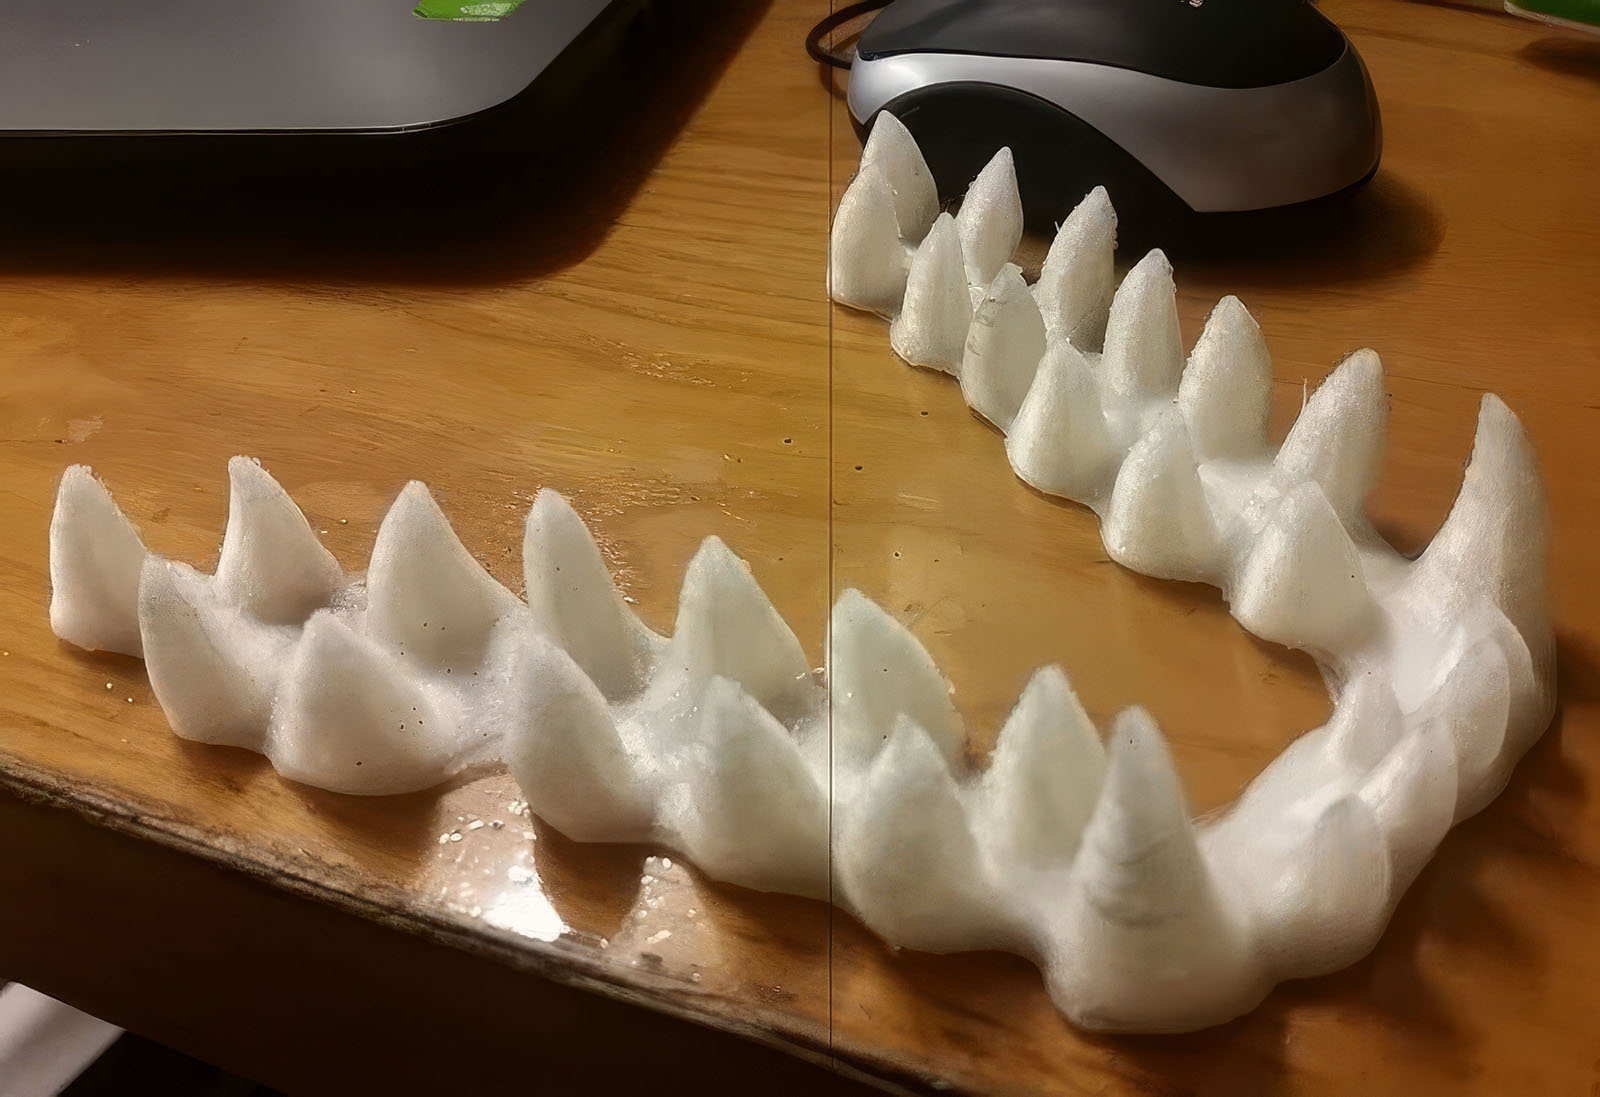
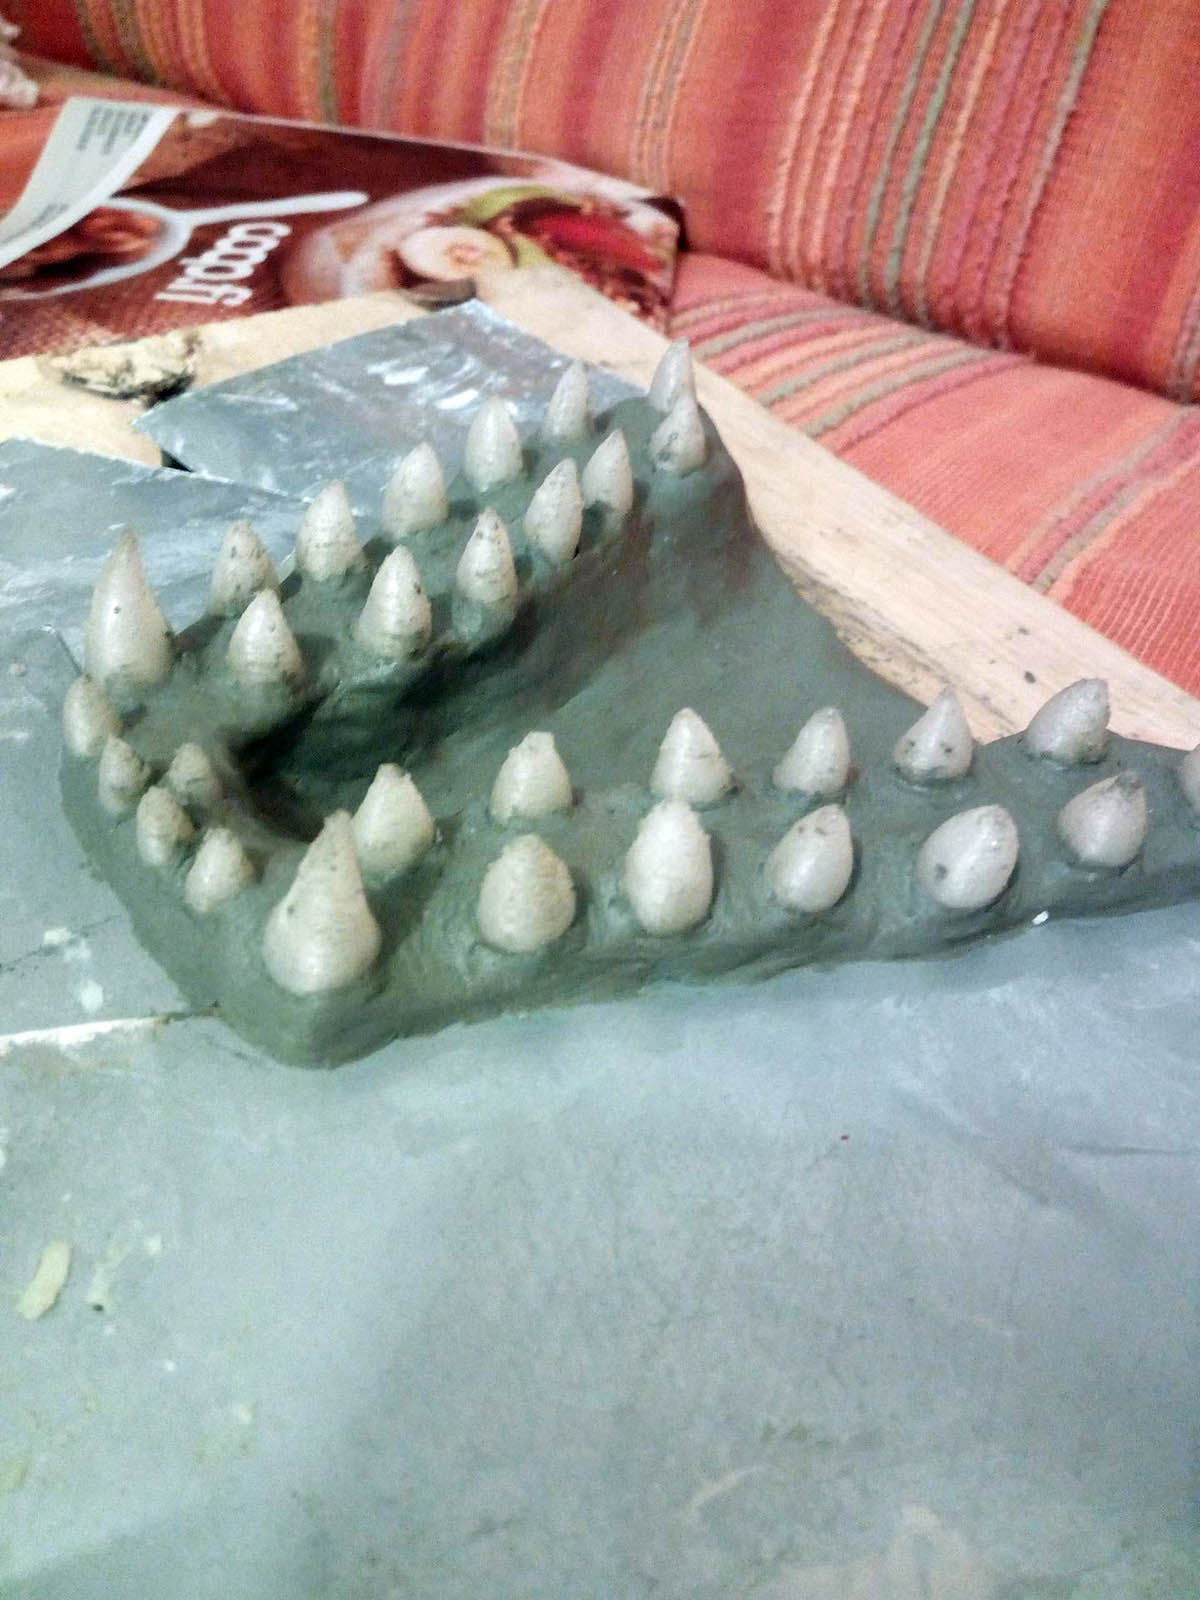
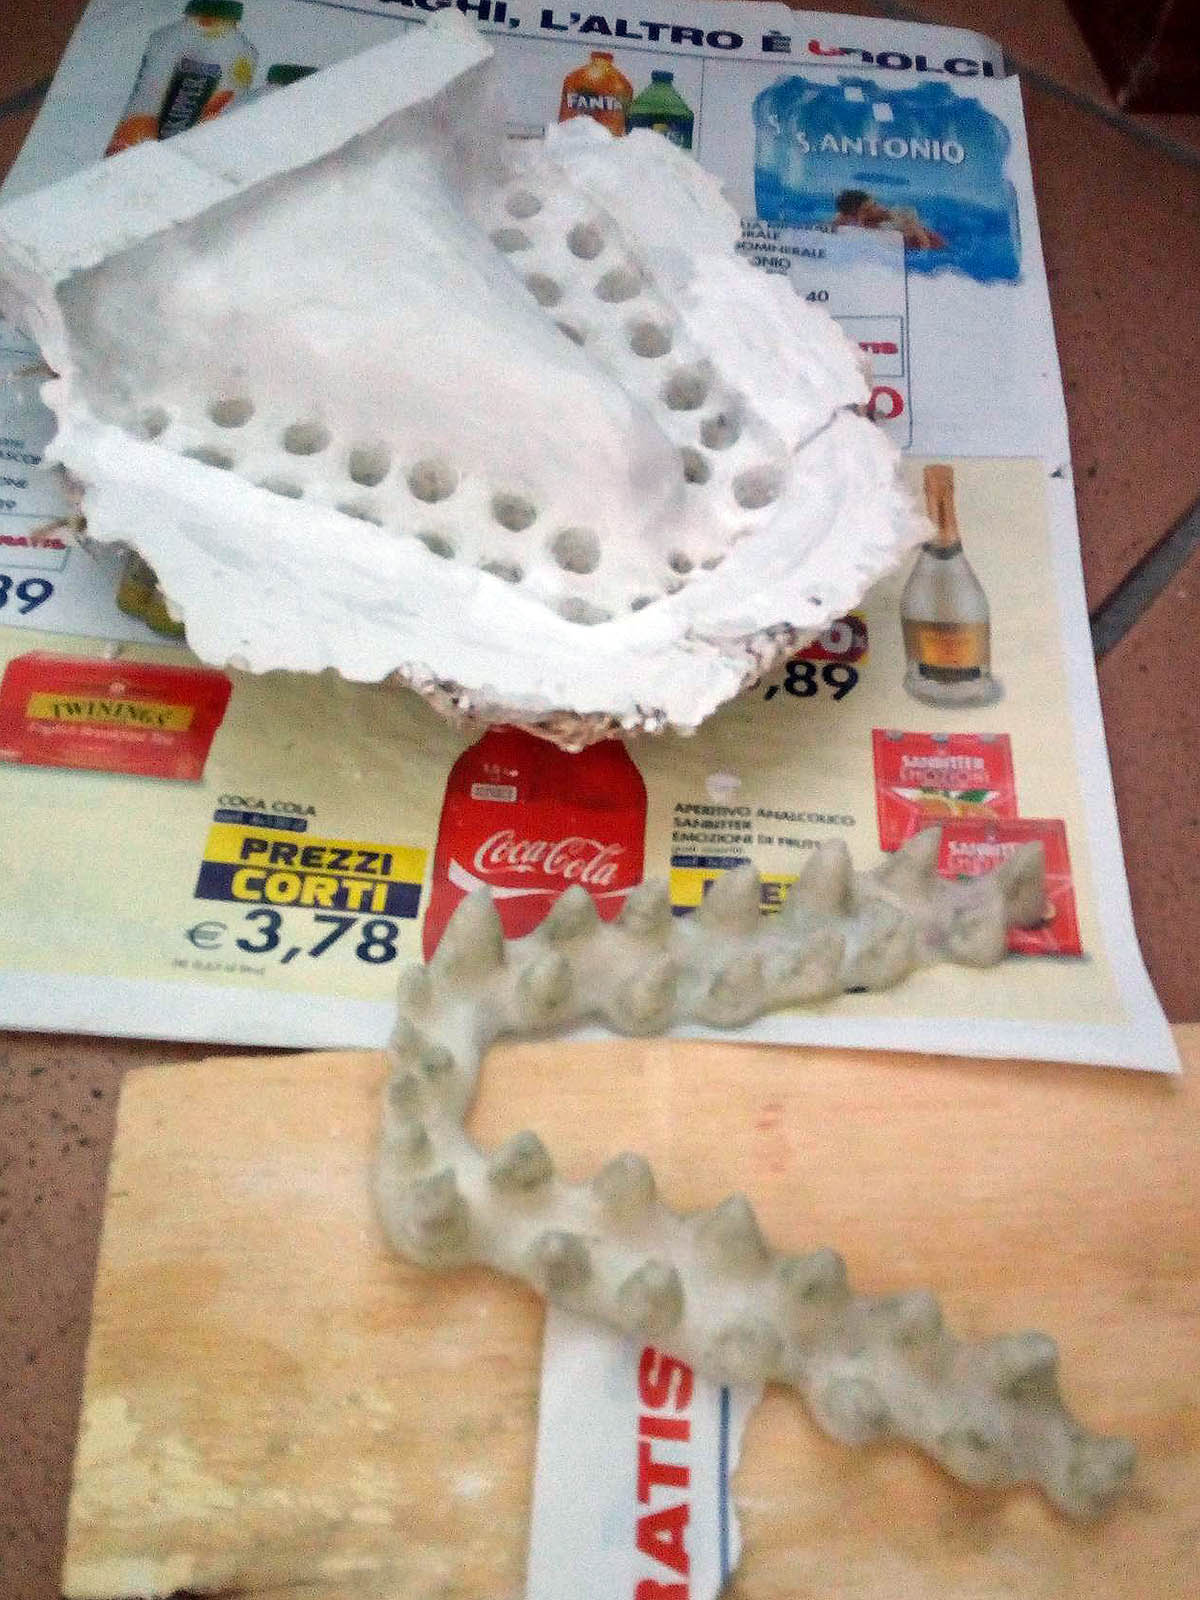
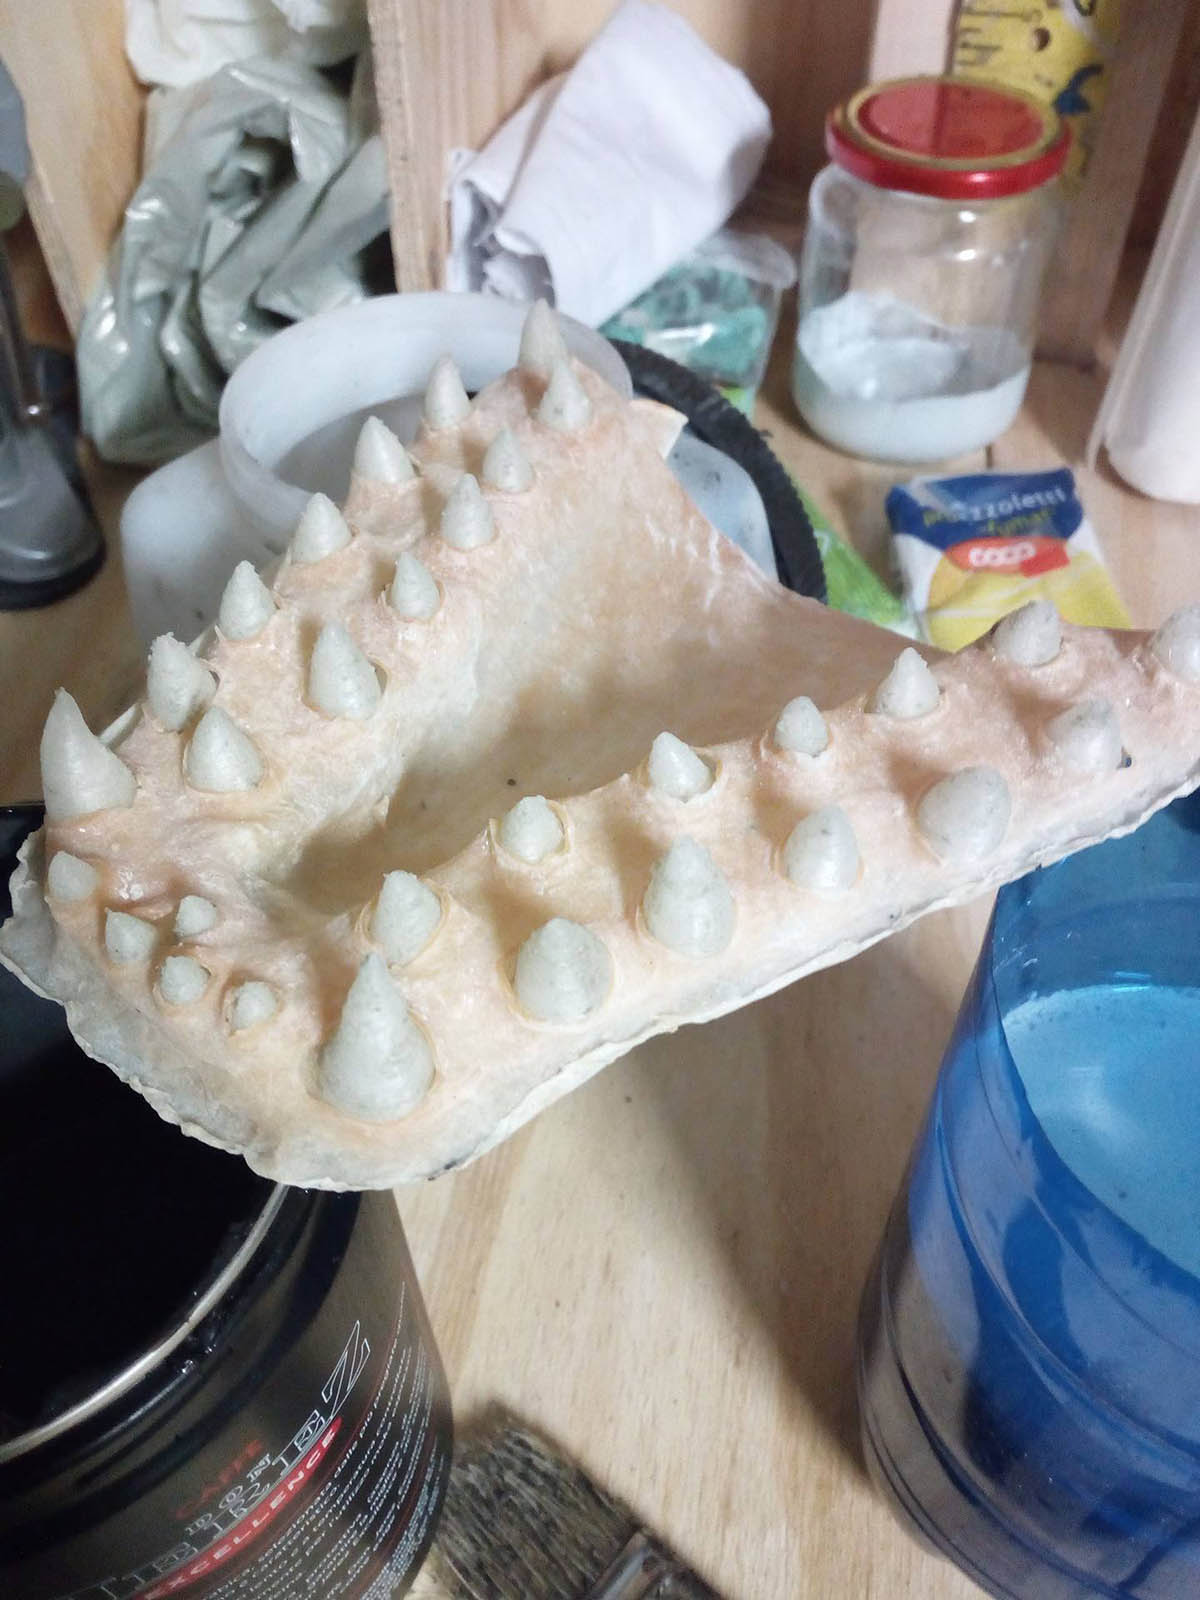
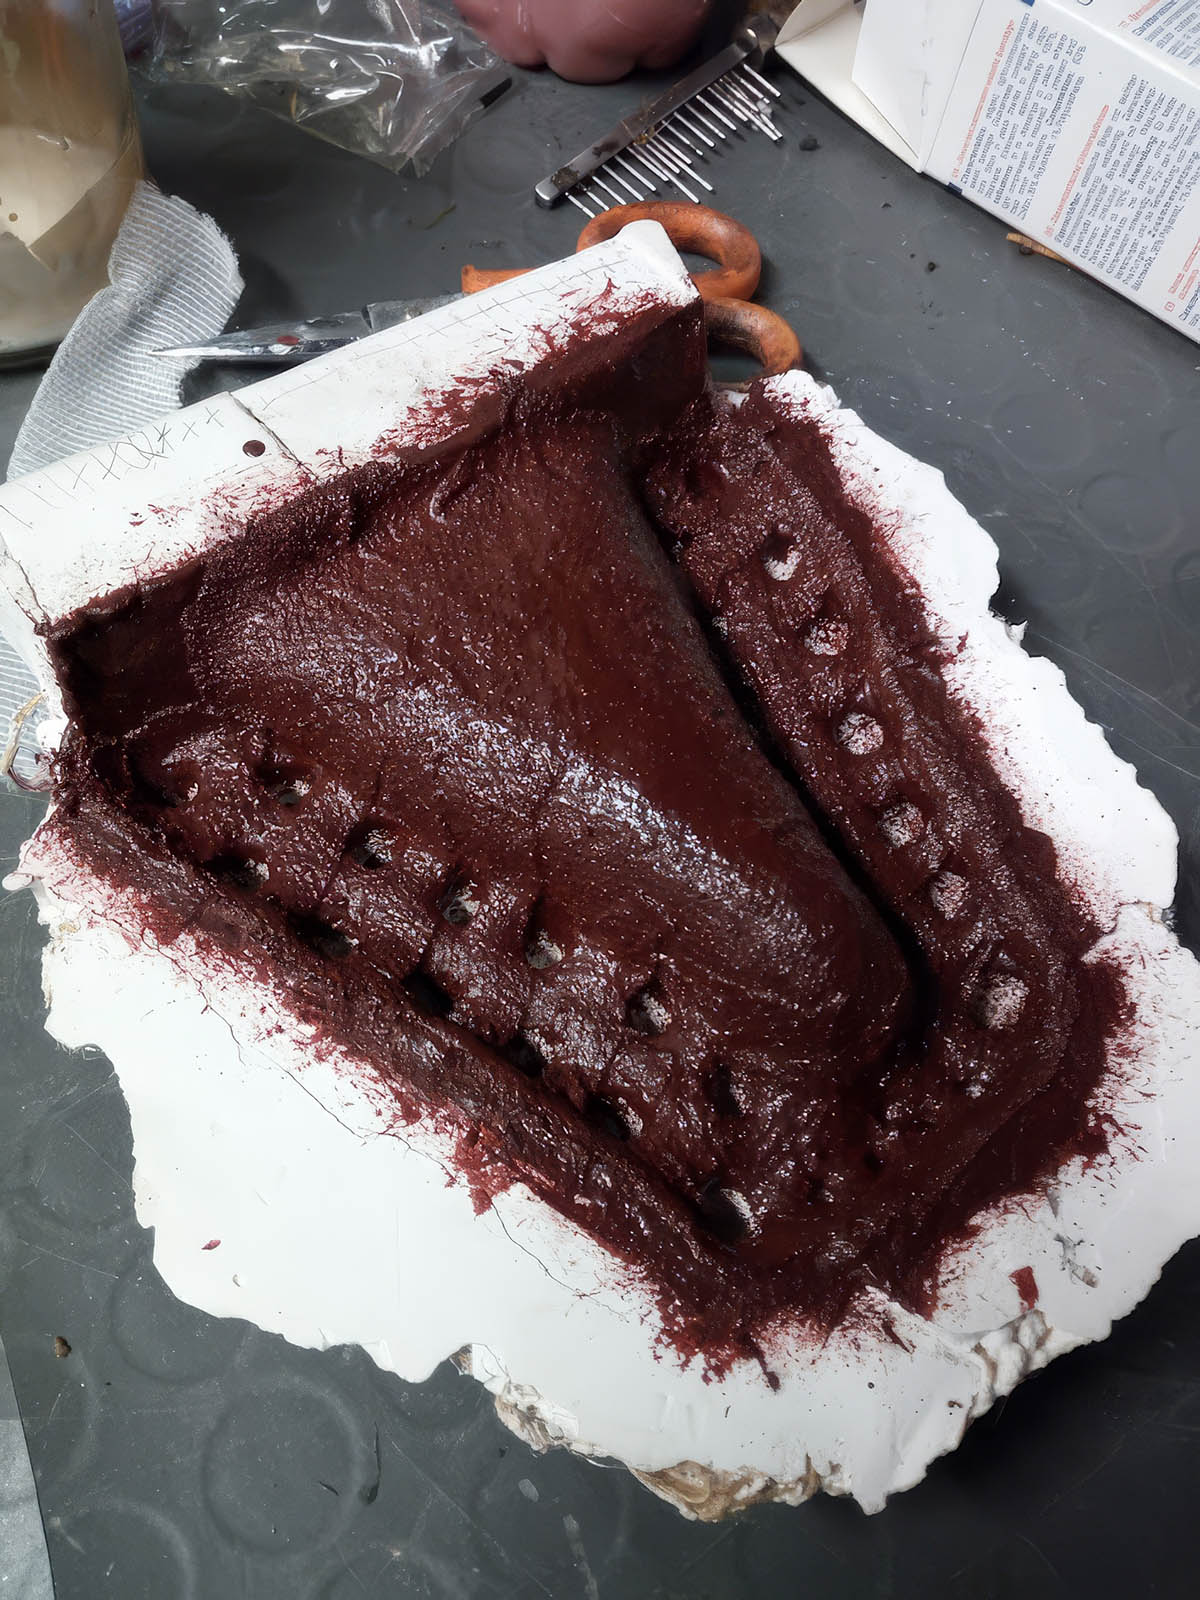
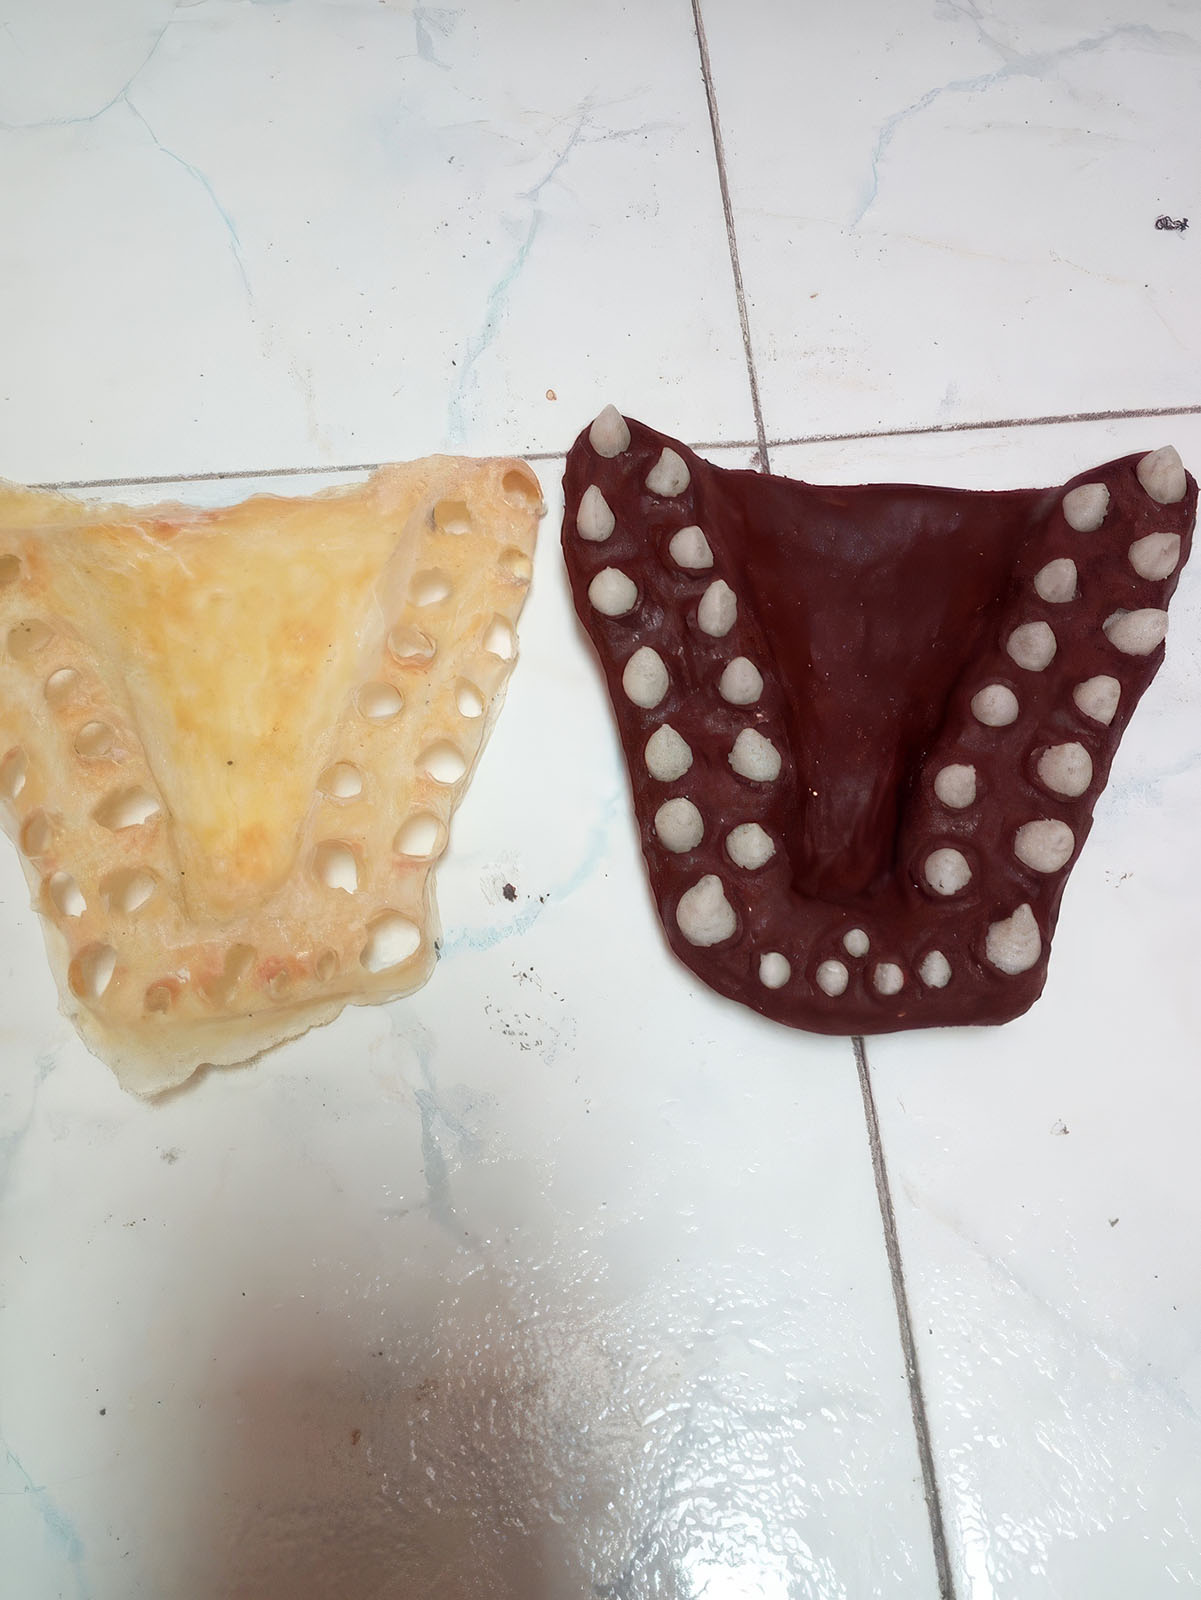
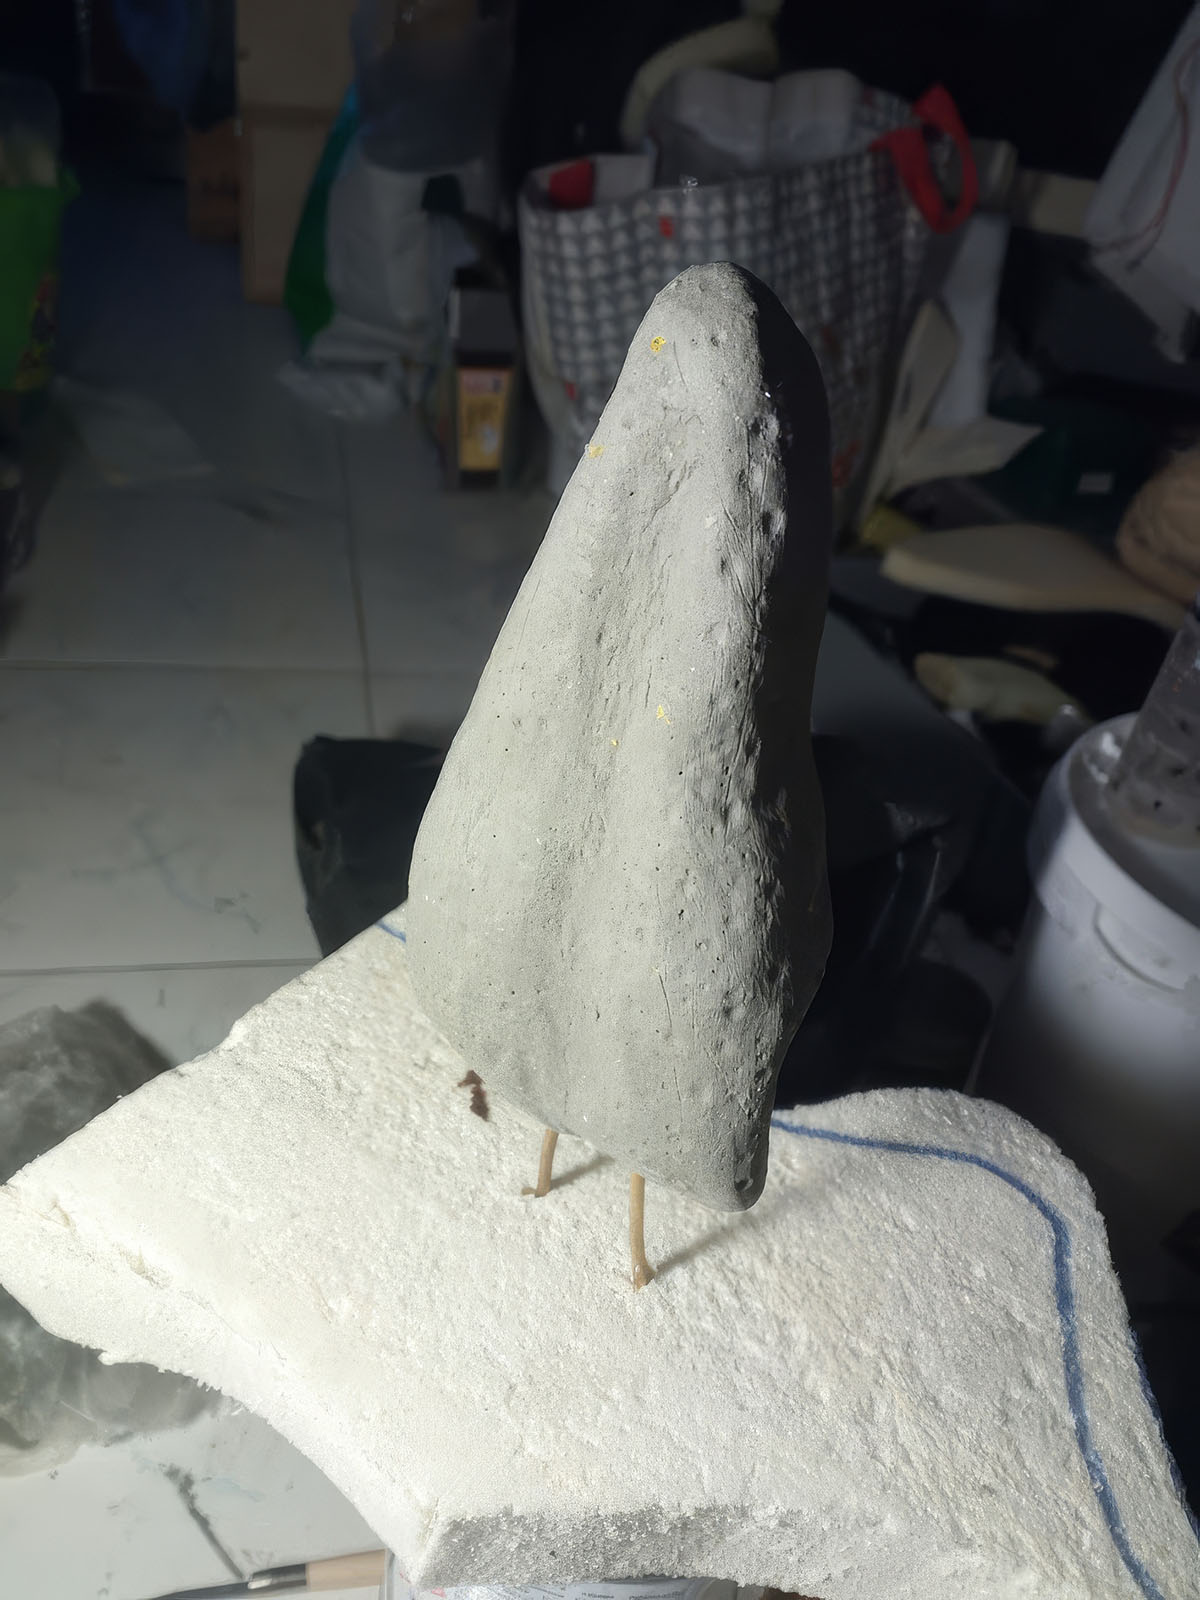
- I made the toe claws out of WED clay and made plaster molds. I cast them in latex rather thick knowing the abuse they’d take while walking.
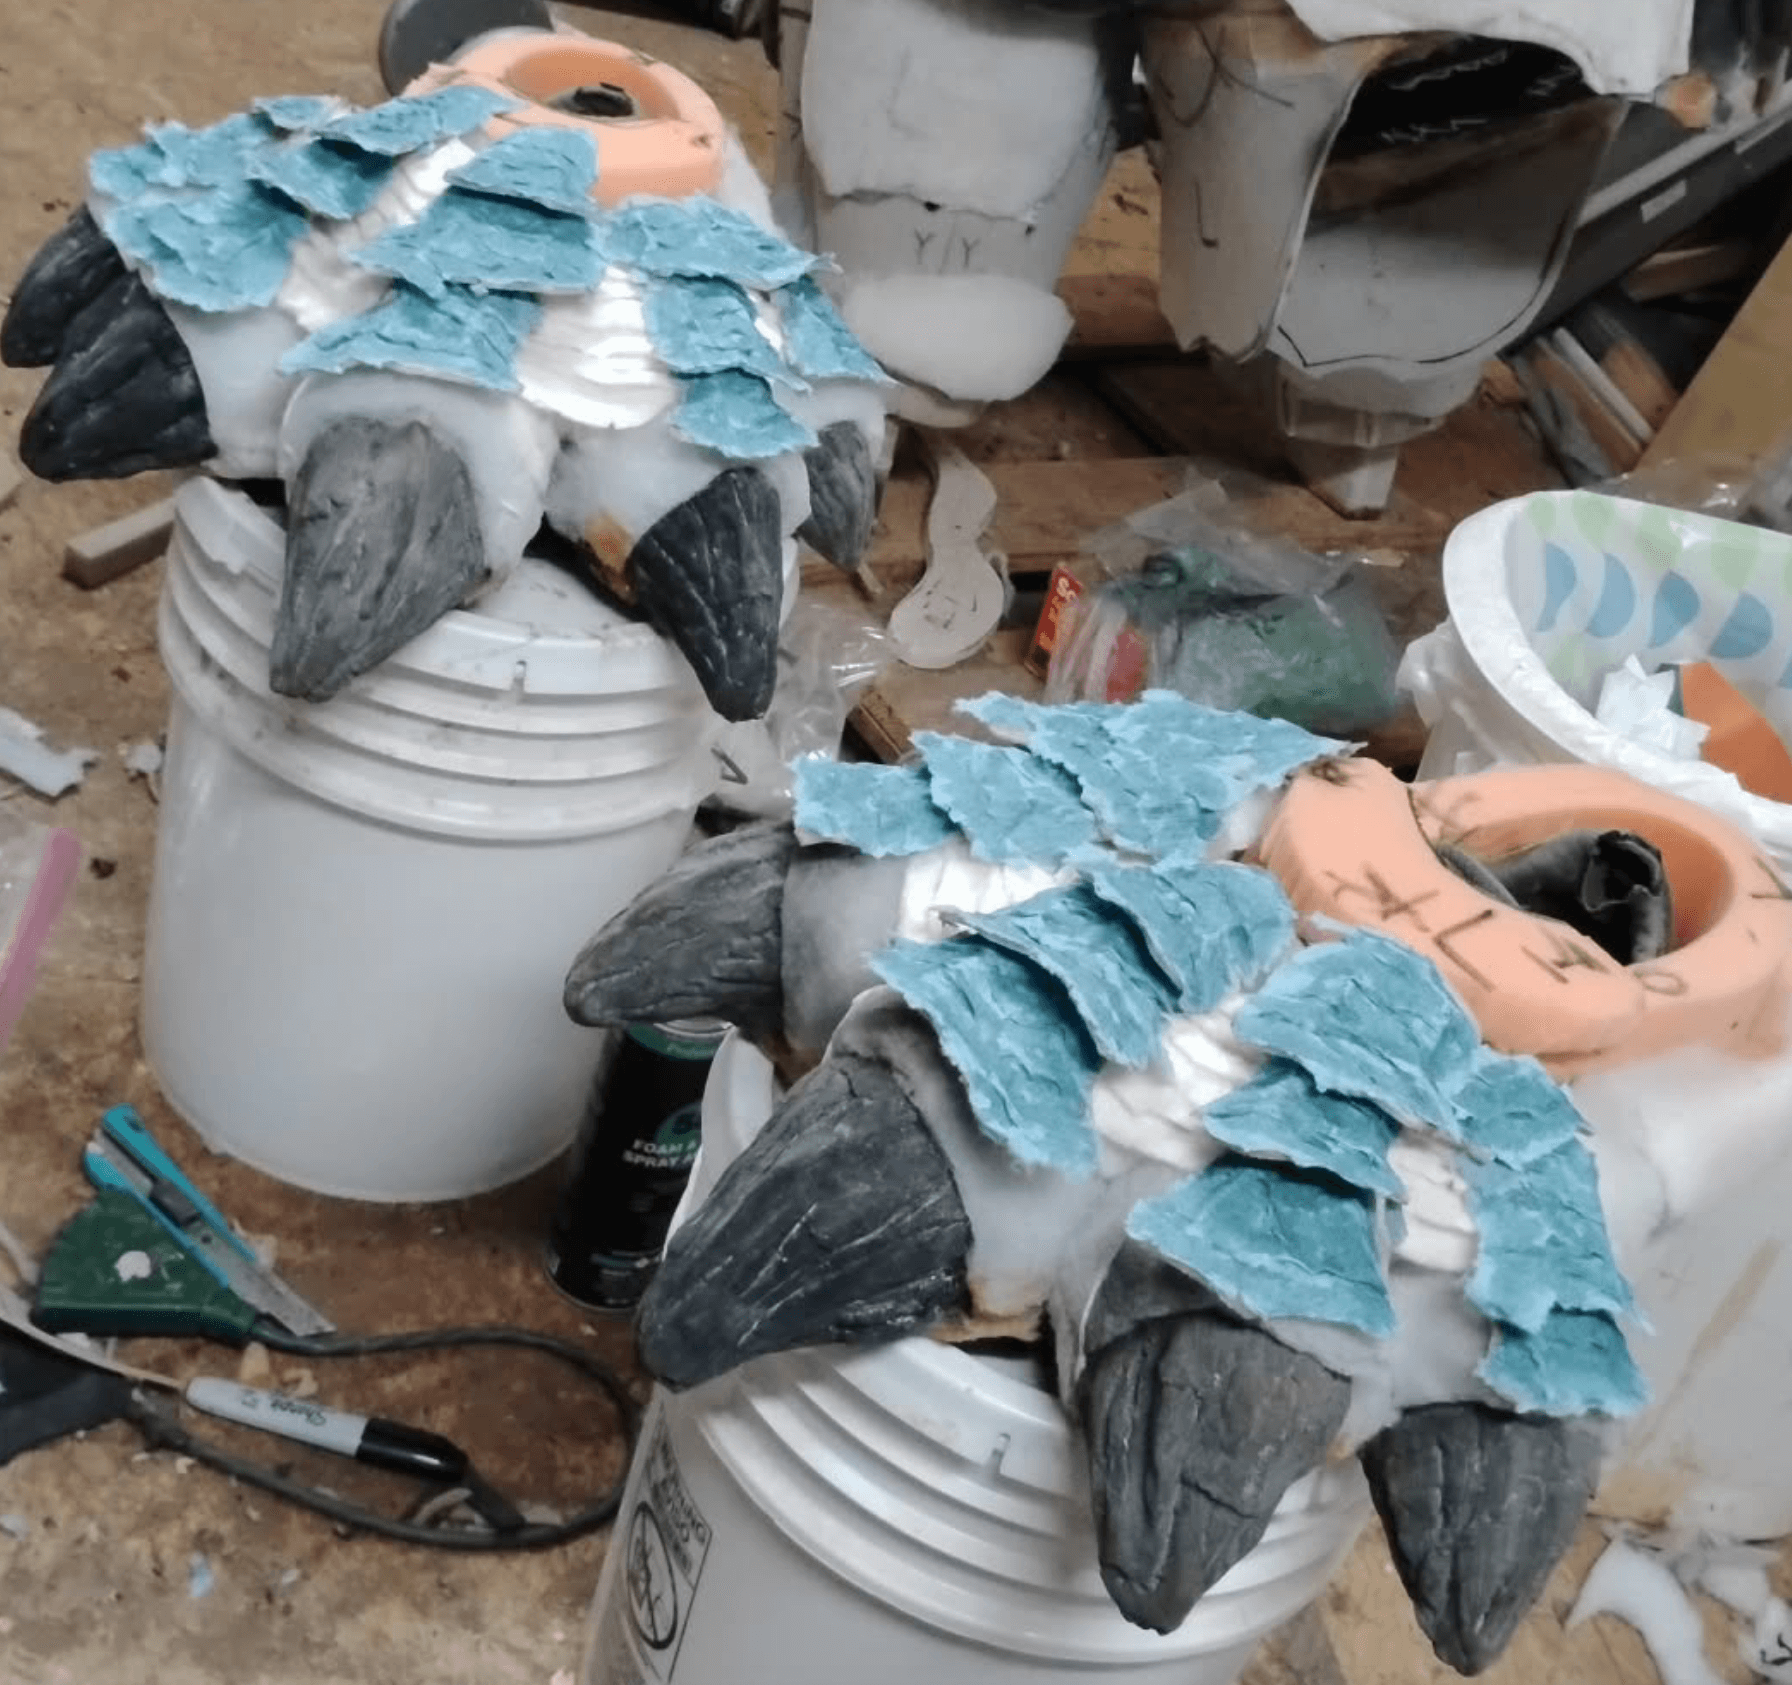
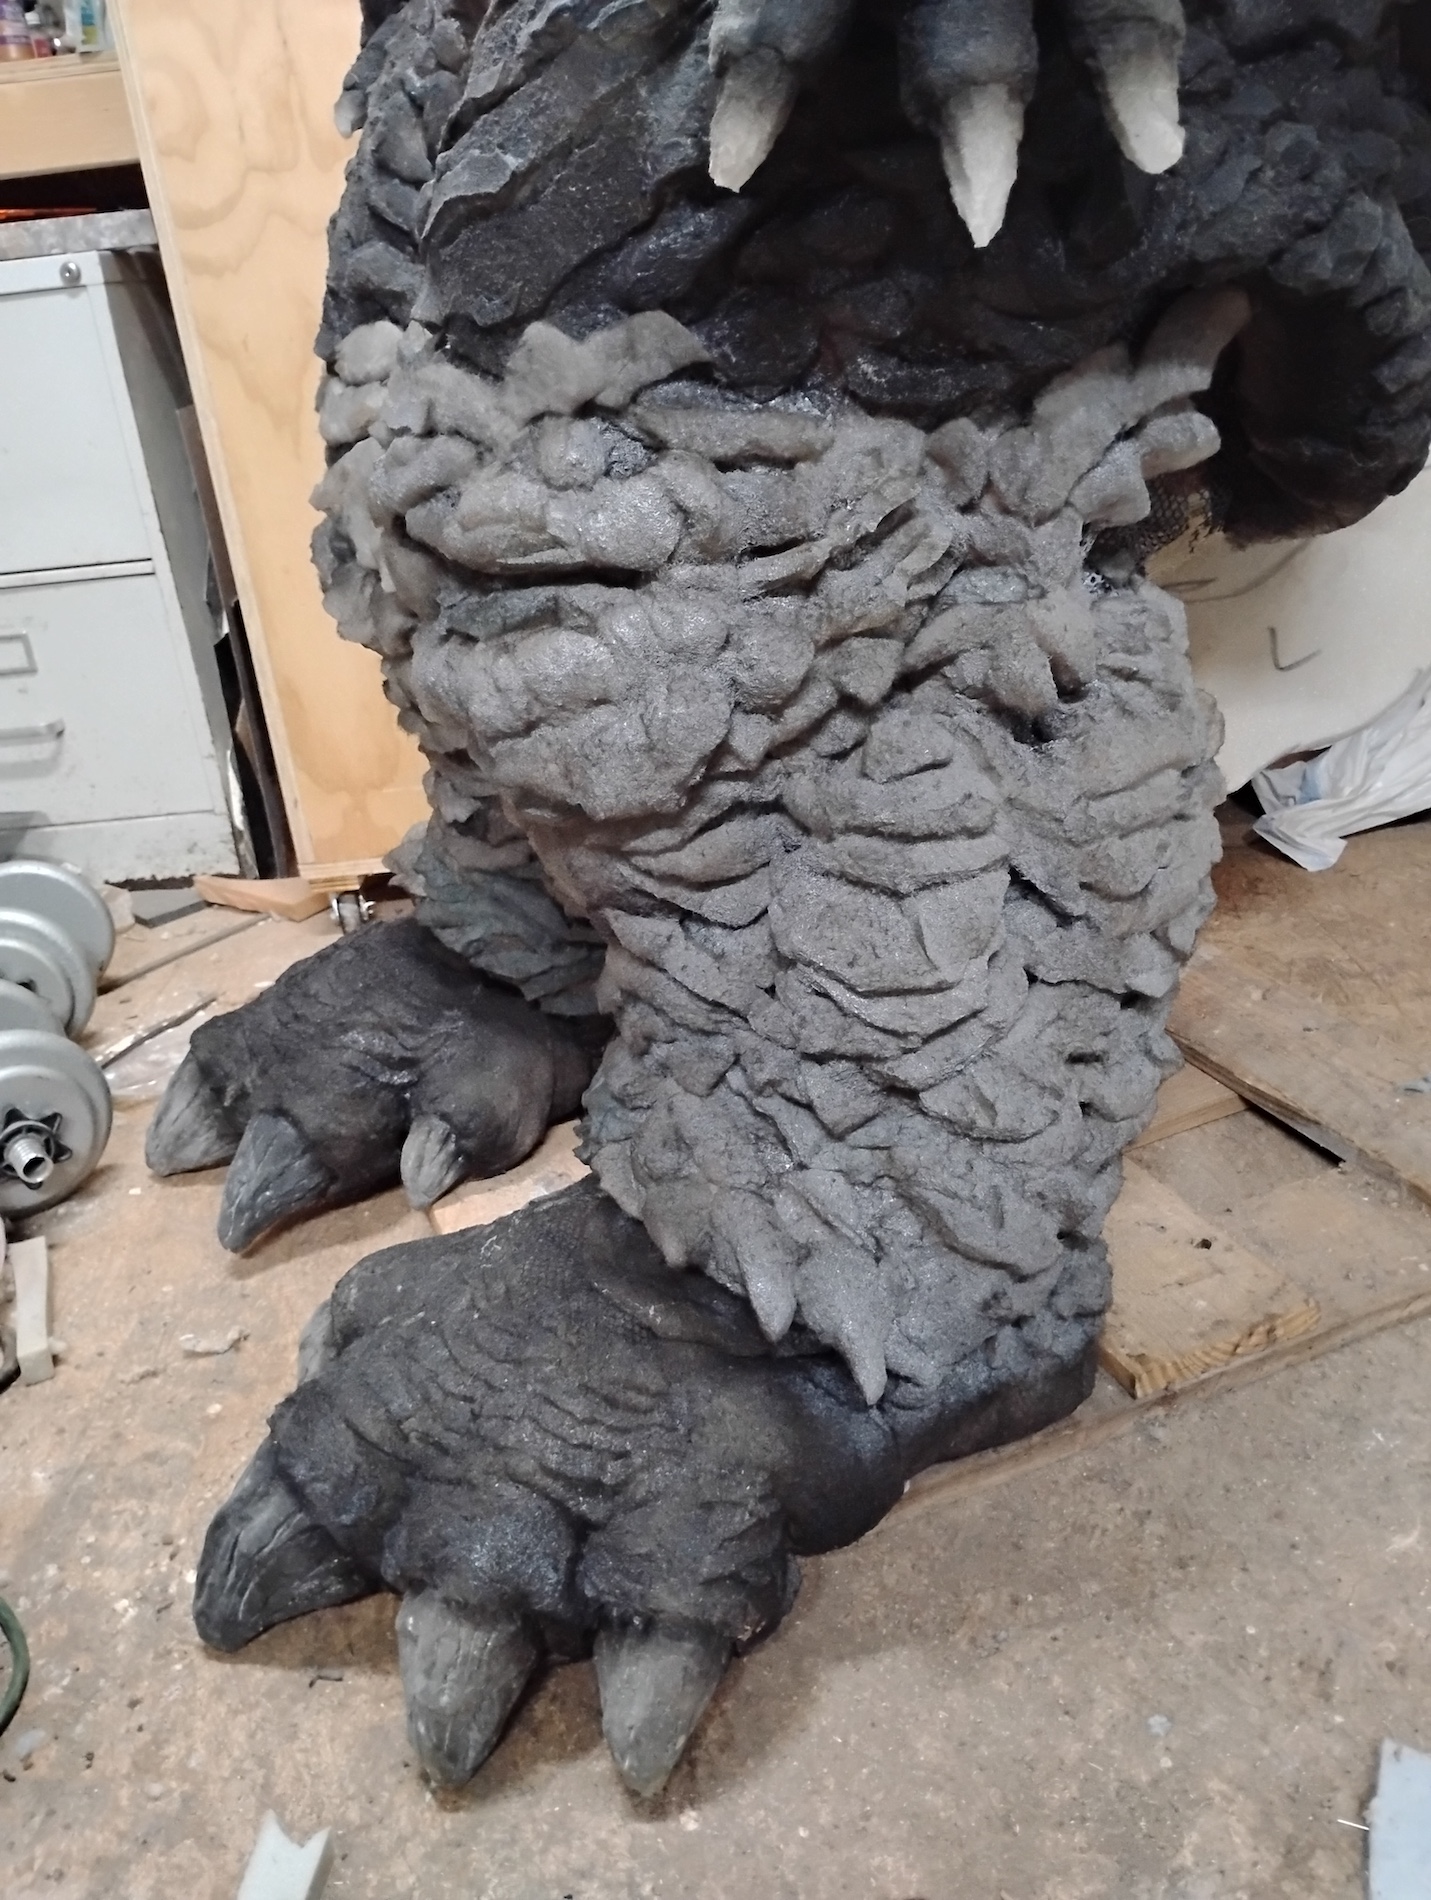
- The feet were built over old sneakers. Upholstery foam was added to form the rough shape with quilt batting to round it out. I socked the latex to the feet for durability.
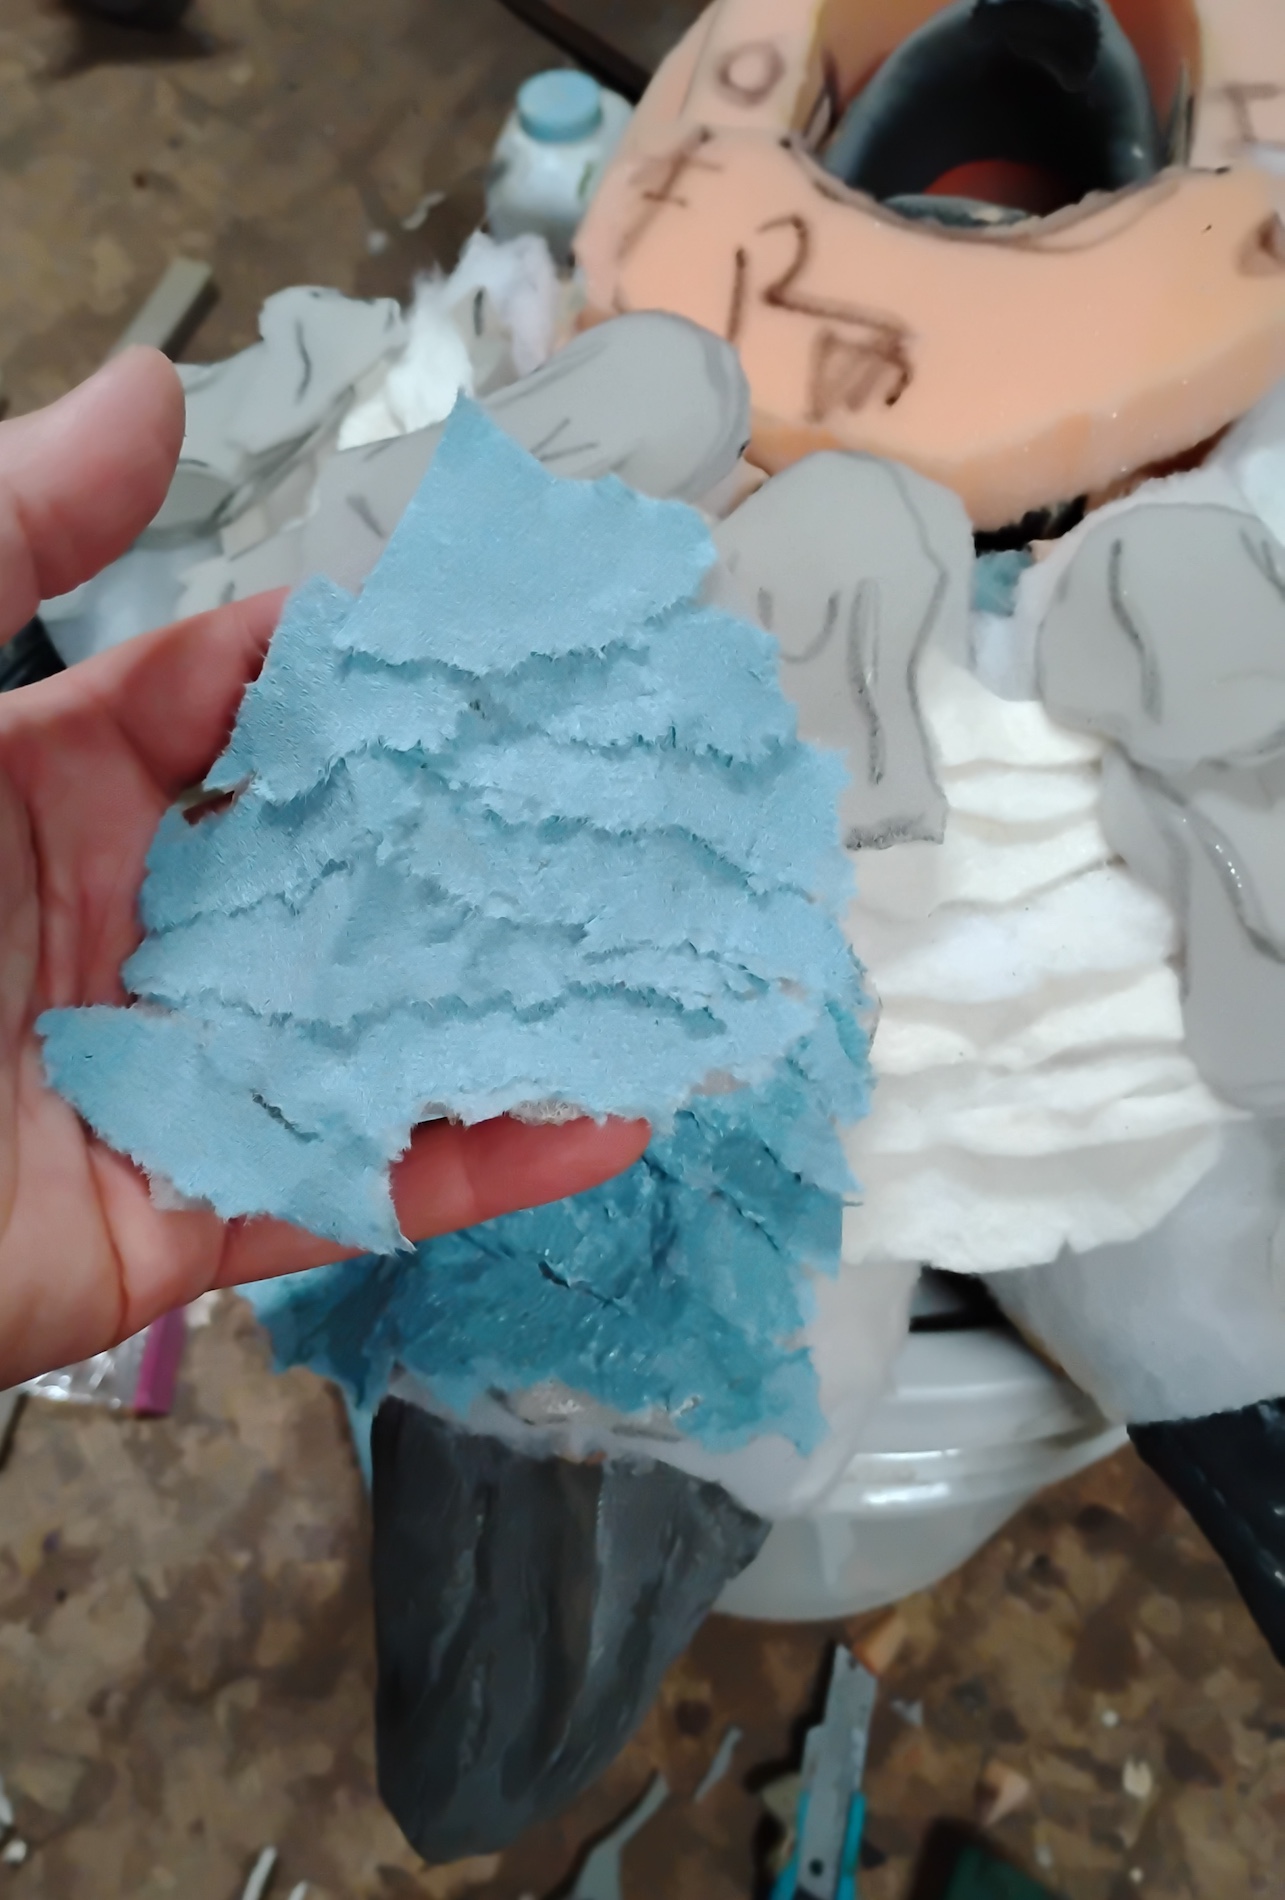
- The toe scales were ⅛” upholstery foam cut and tacked into shape with hot glue.
- The texture was elmers glue and heavy duty paper towels.
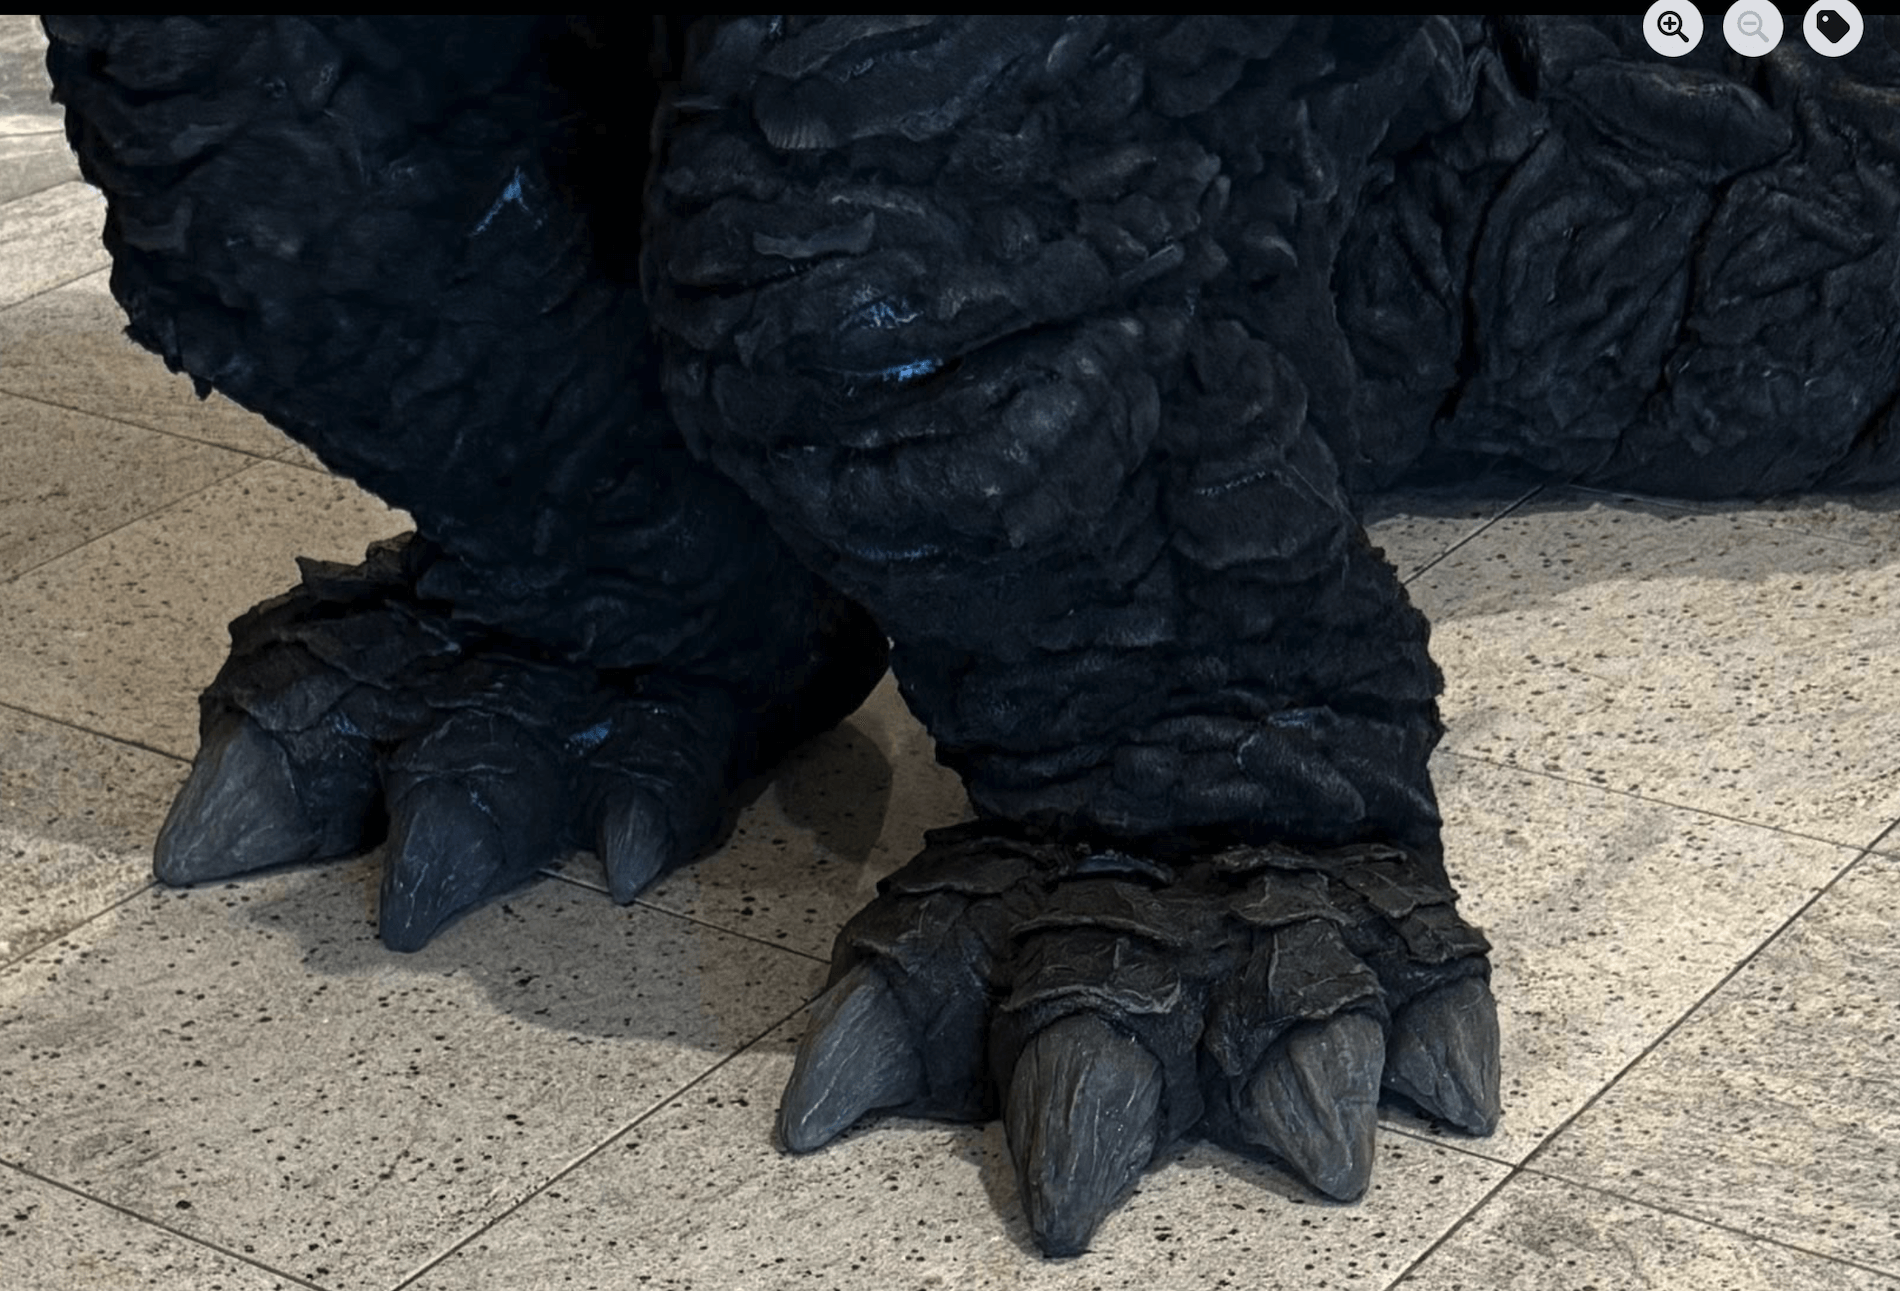
- Finished feet. All the “weathering” on the toe claws came courtesy my dirty shop floor. Not a drop of paint on them
Texture
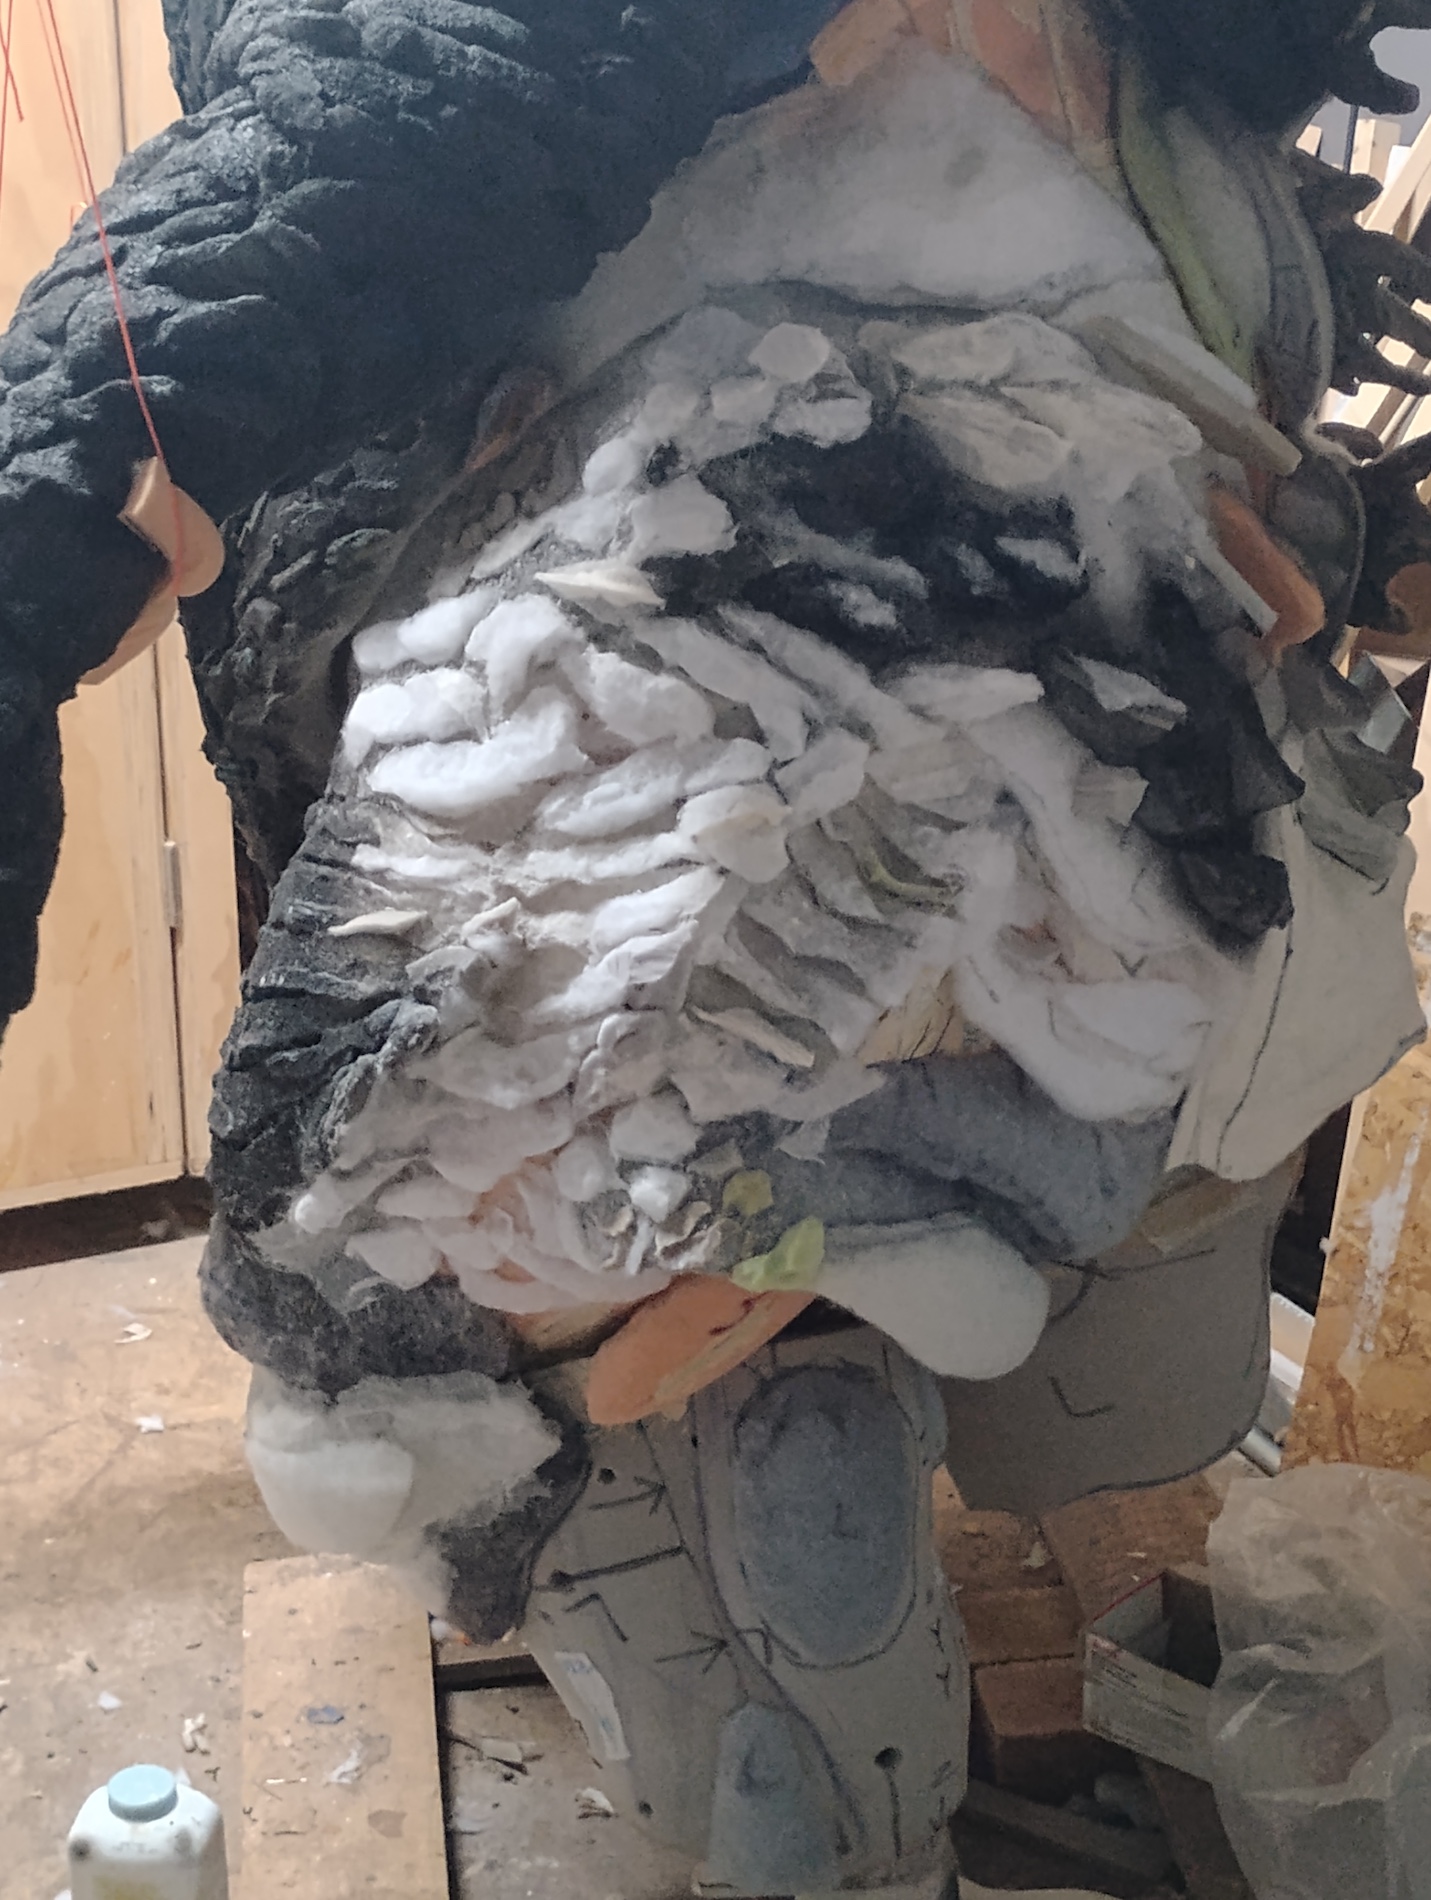
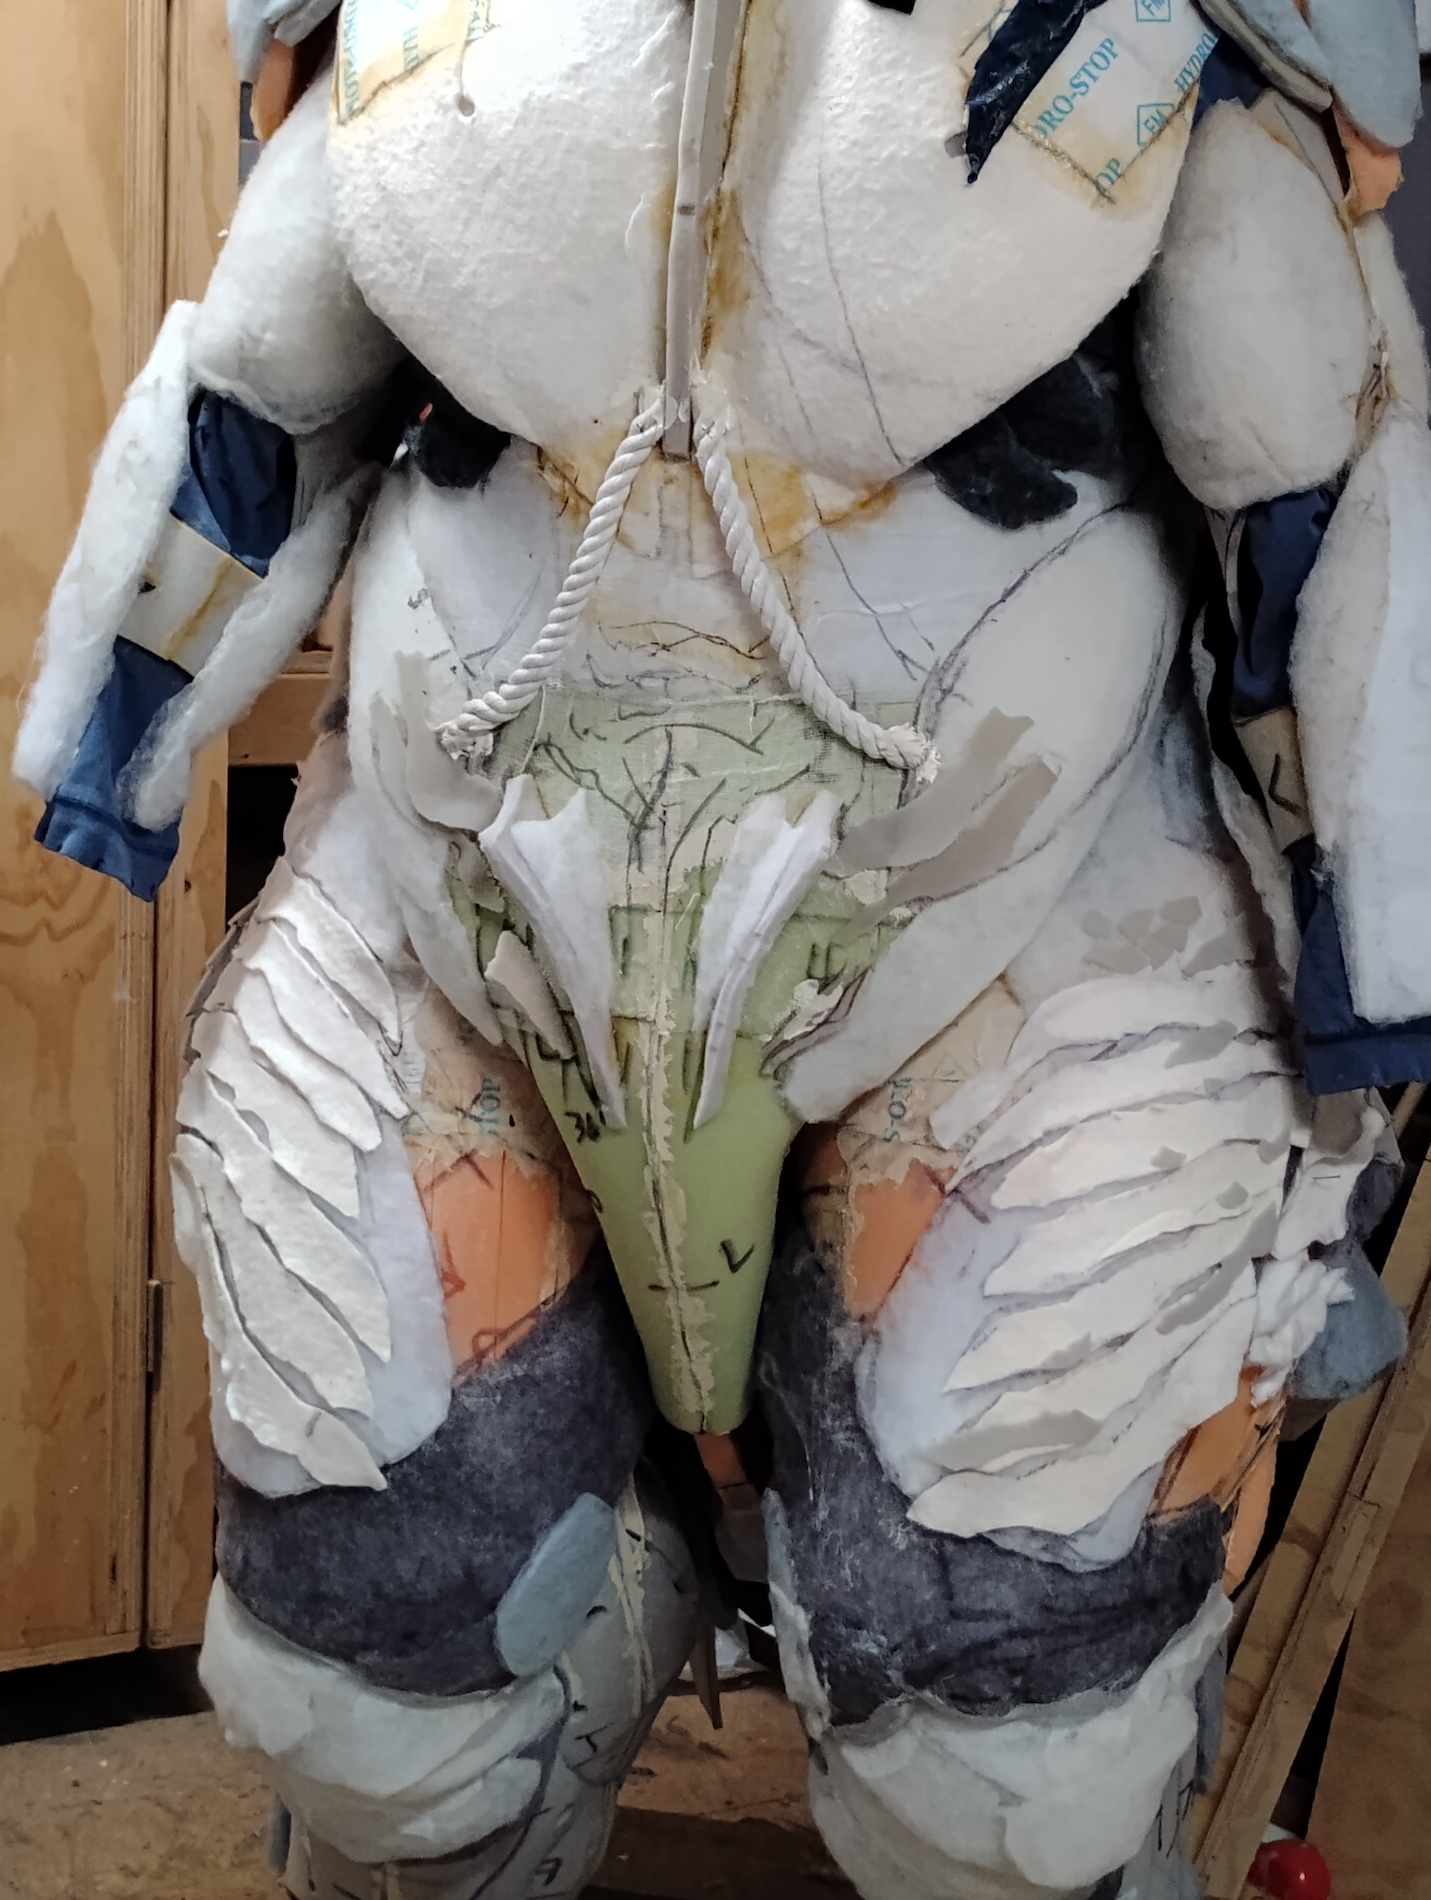
- Step 1 of a thigh.Texture is always the icing on the cake so you need to address primary and secondary forms before the detail. It starts out ugly.
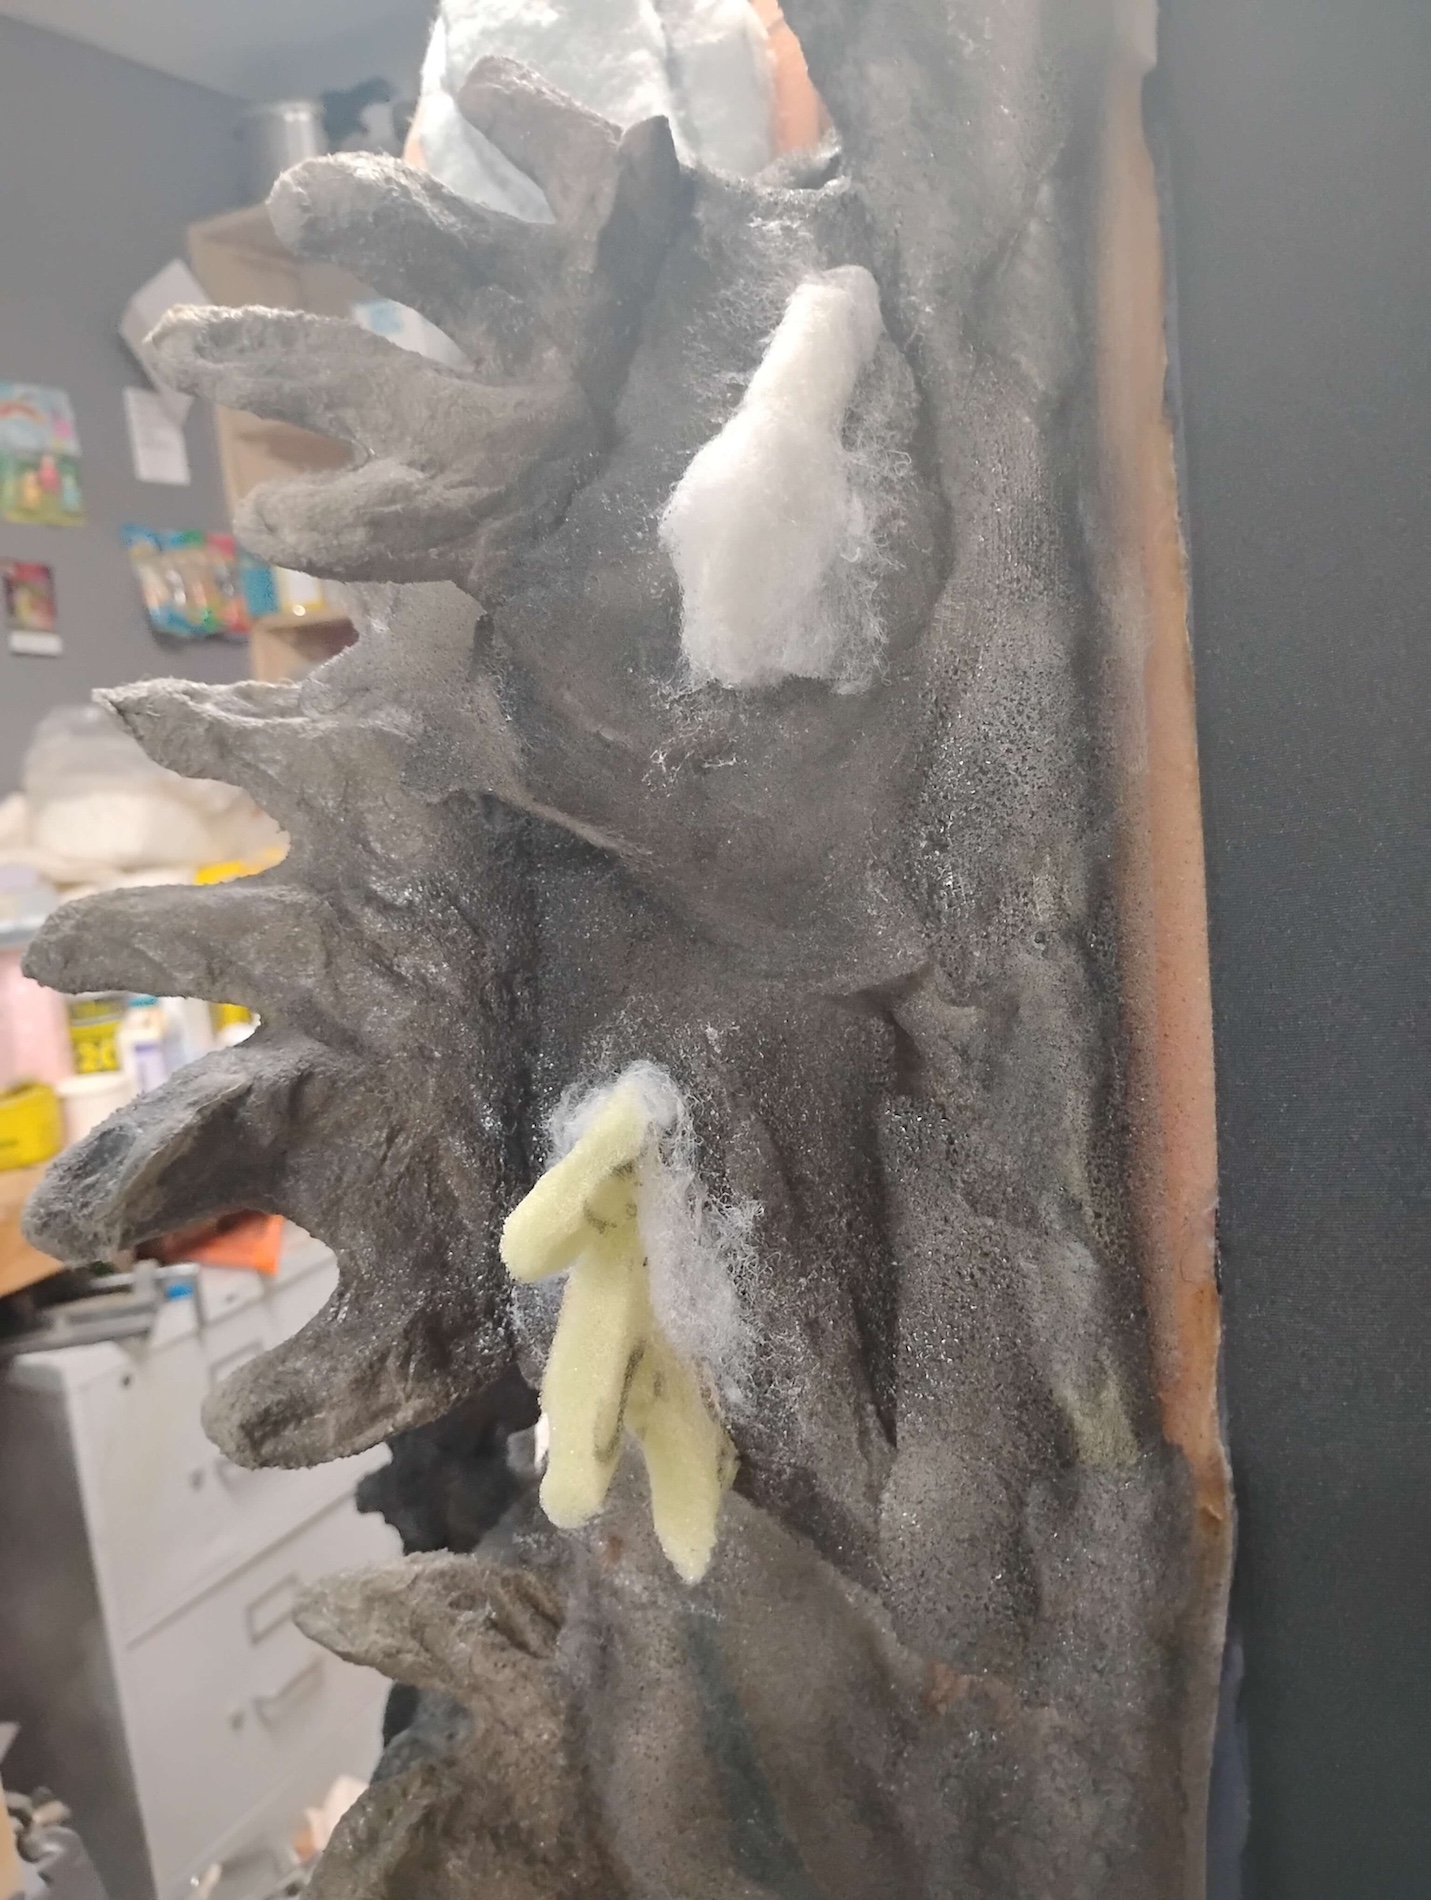
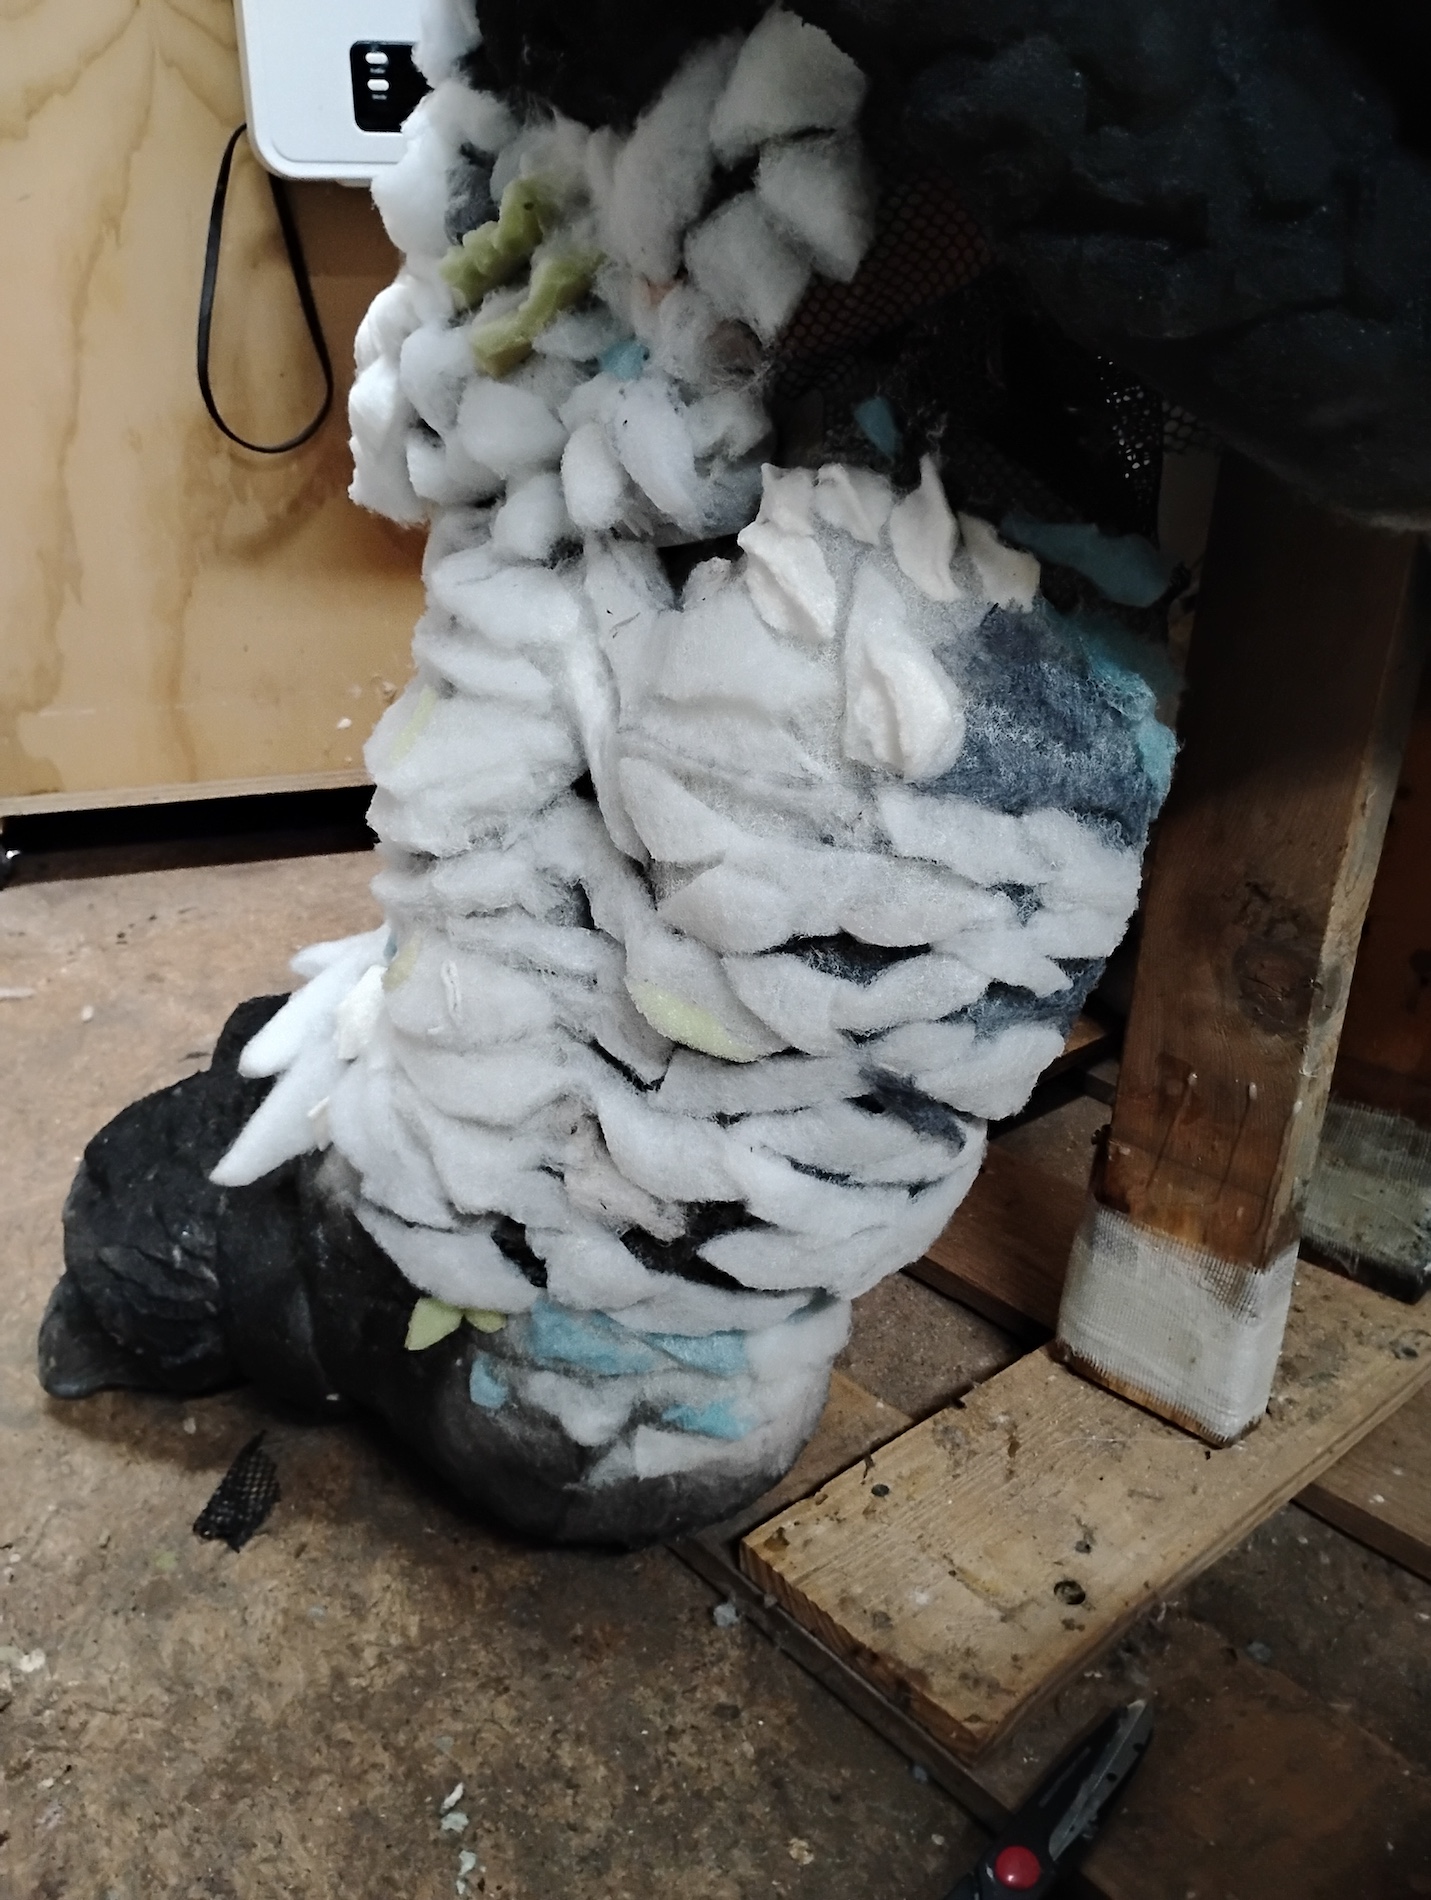
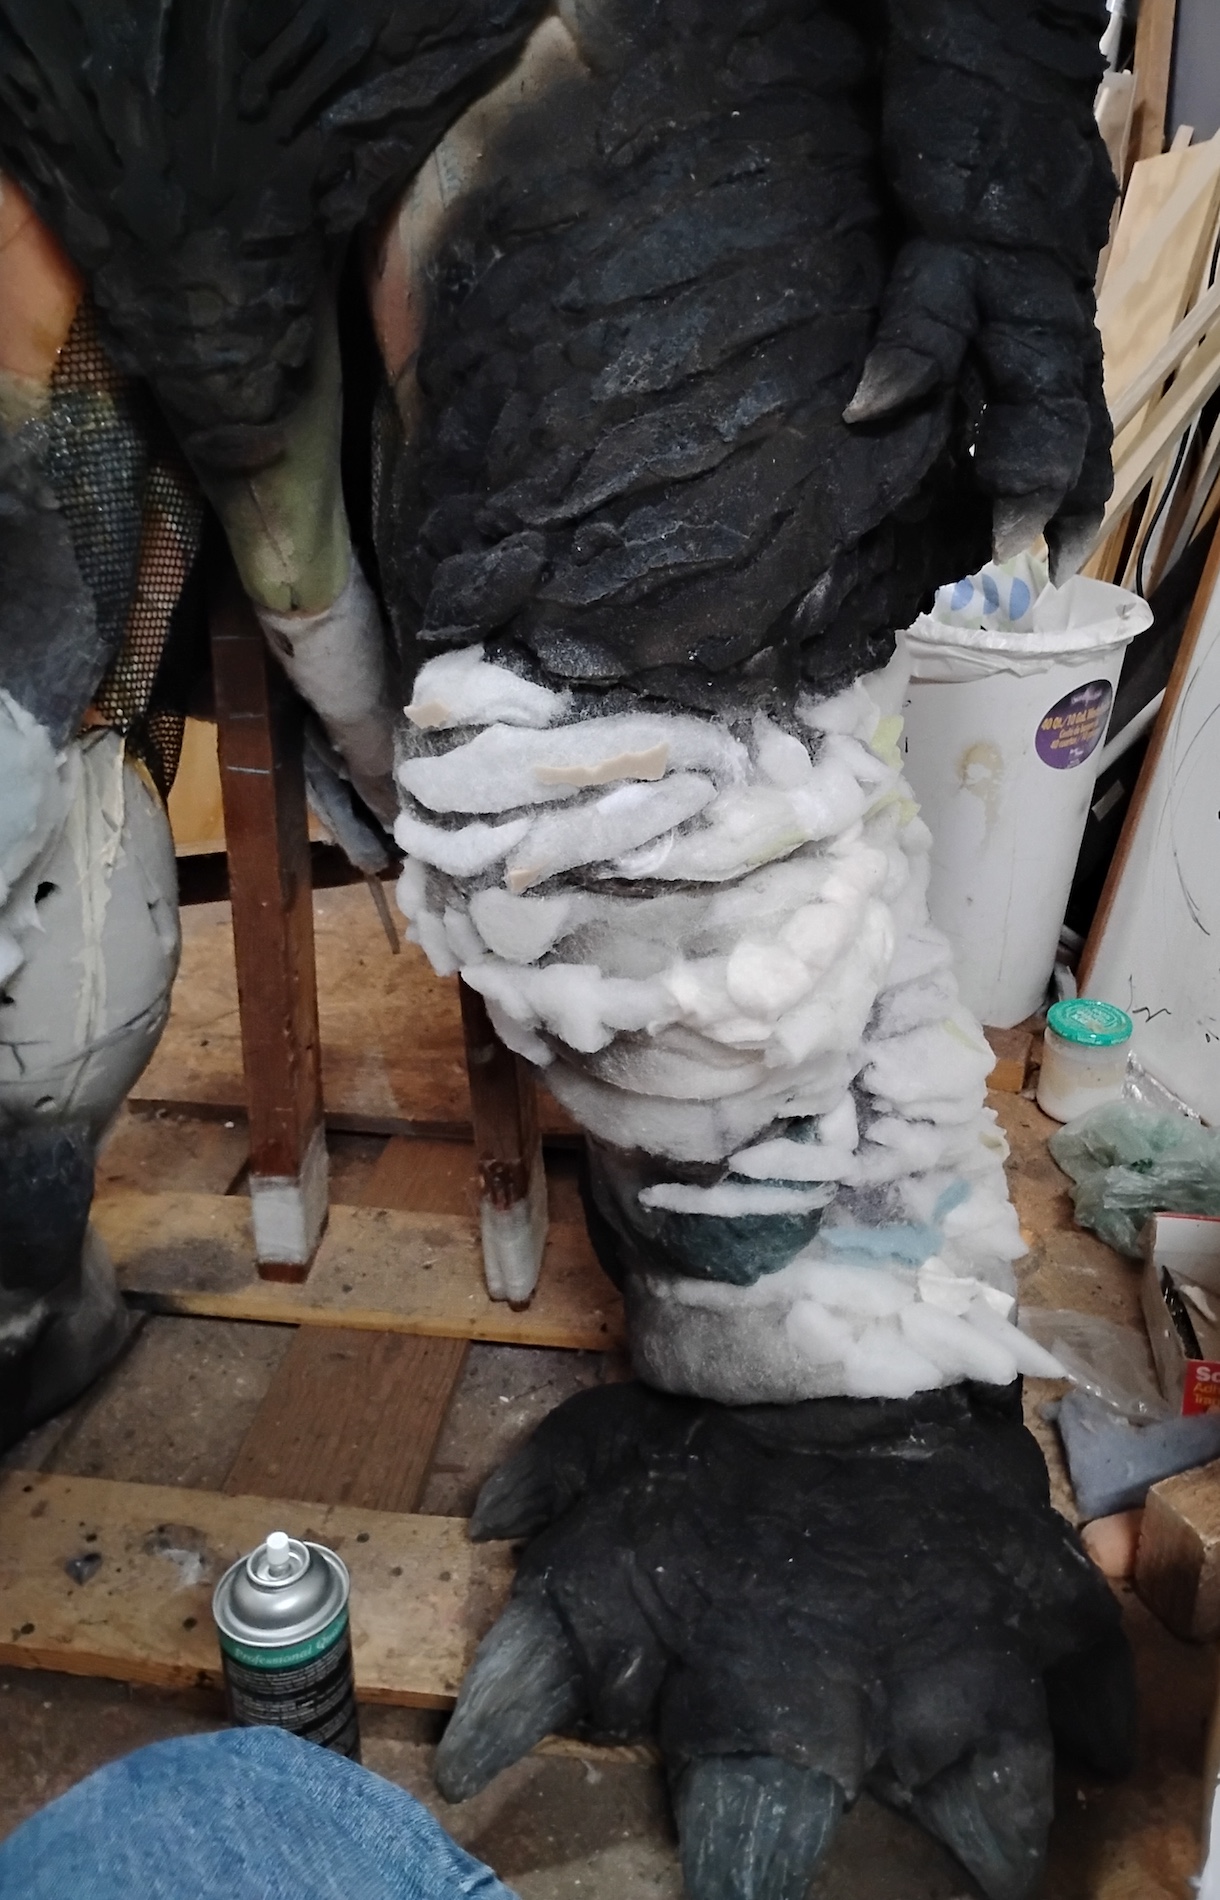
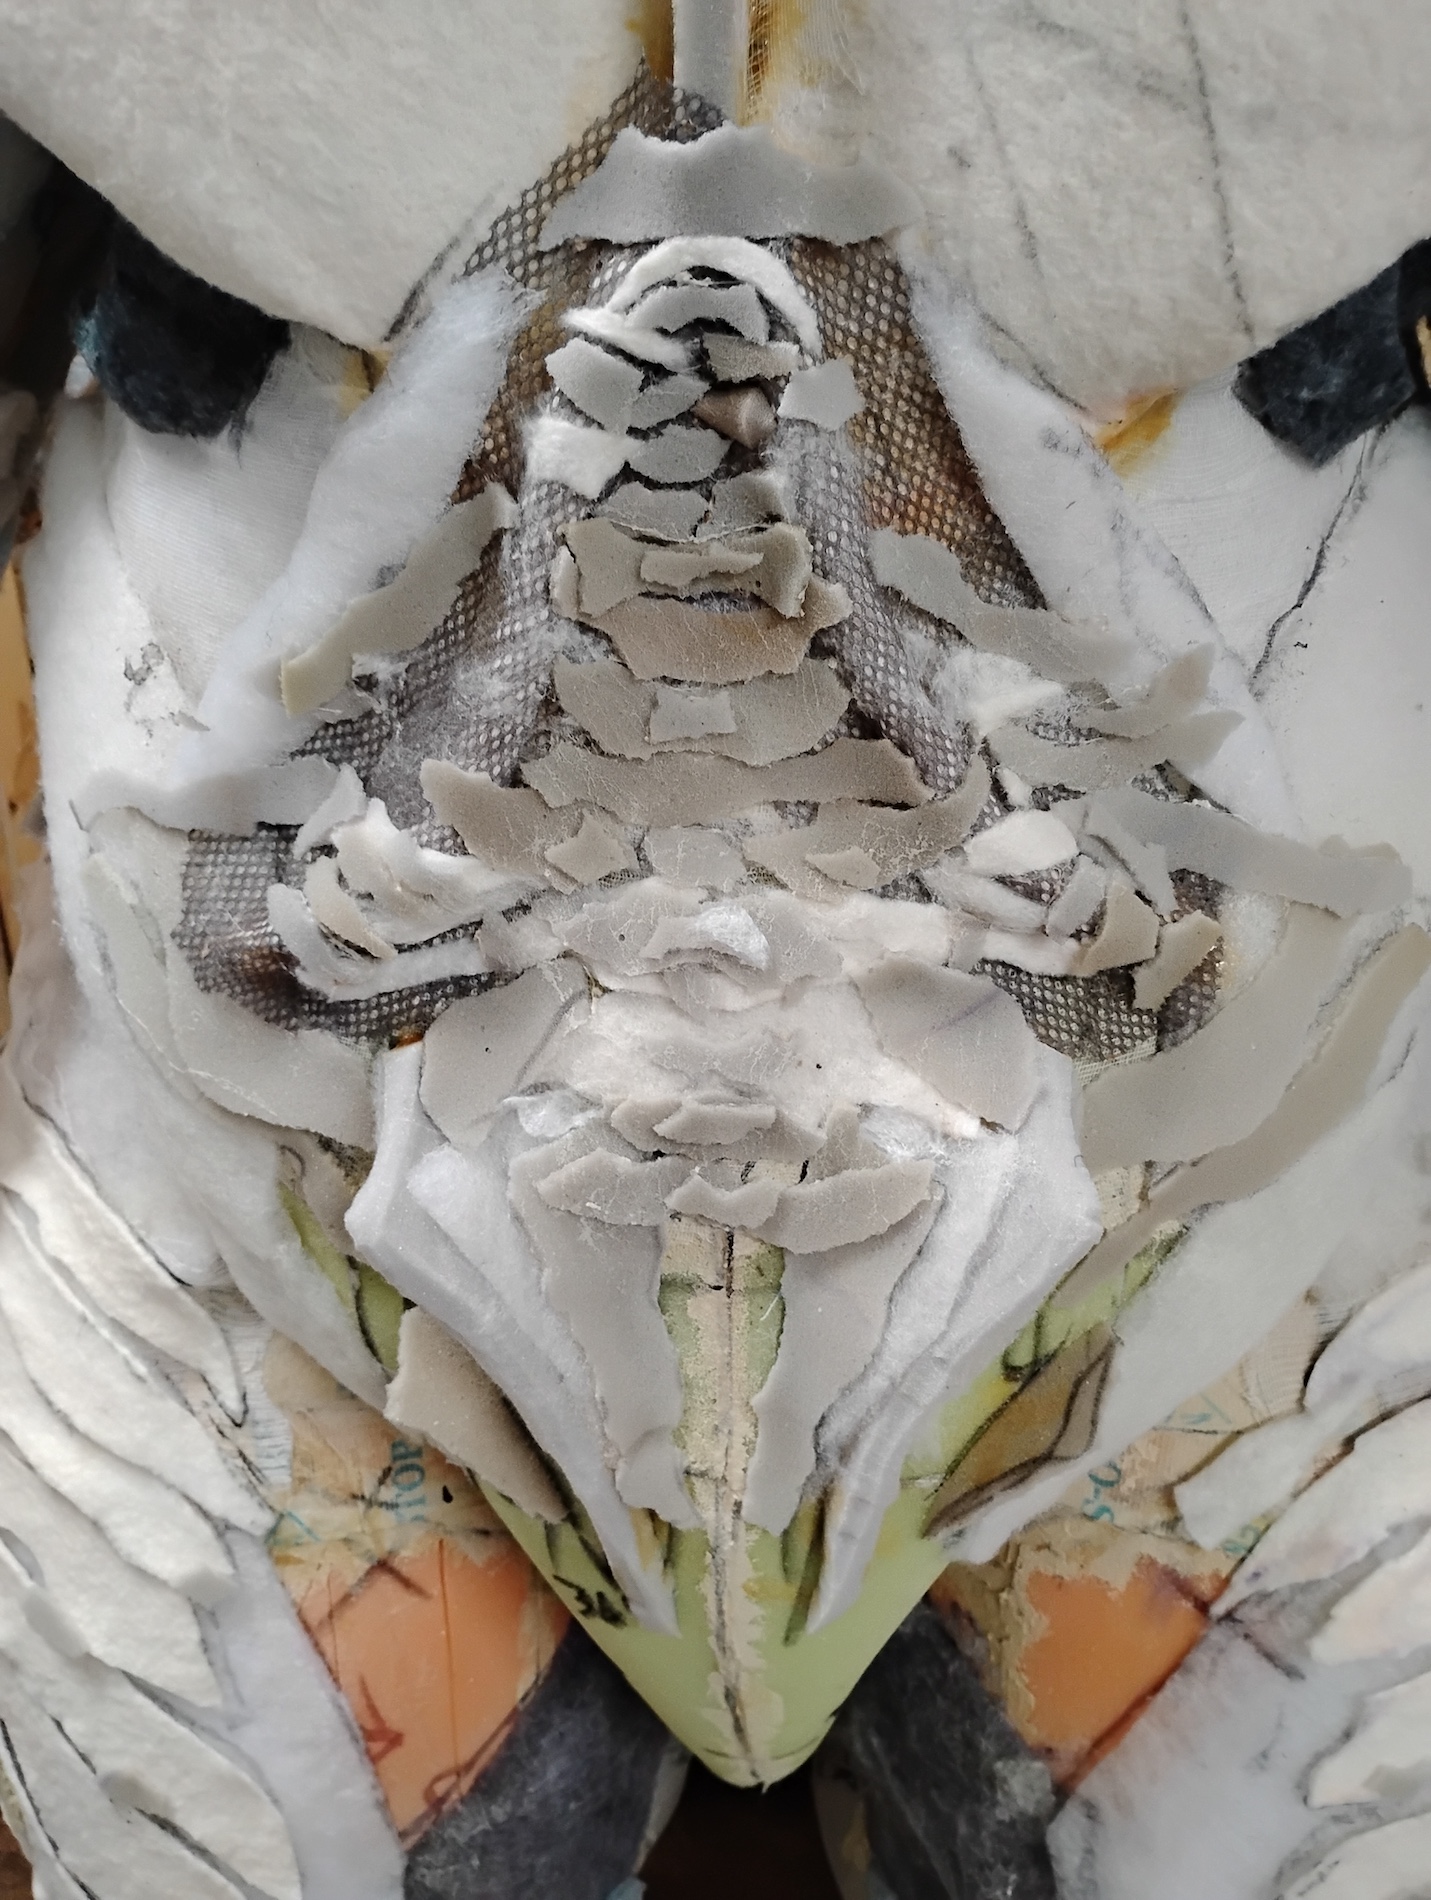
- Step 2 of the same thigh. The texture is almost entirely made of different types of quilt batting. I HATE carving foam and like the direct build up of quickly trimming and gluing down batting.
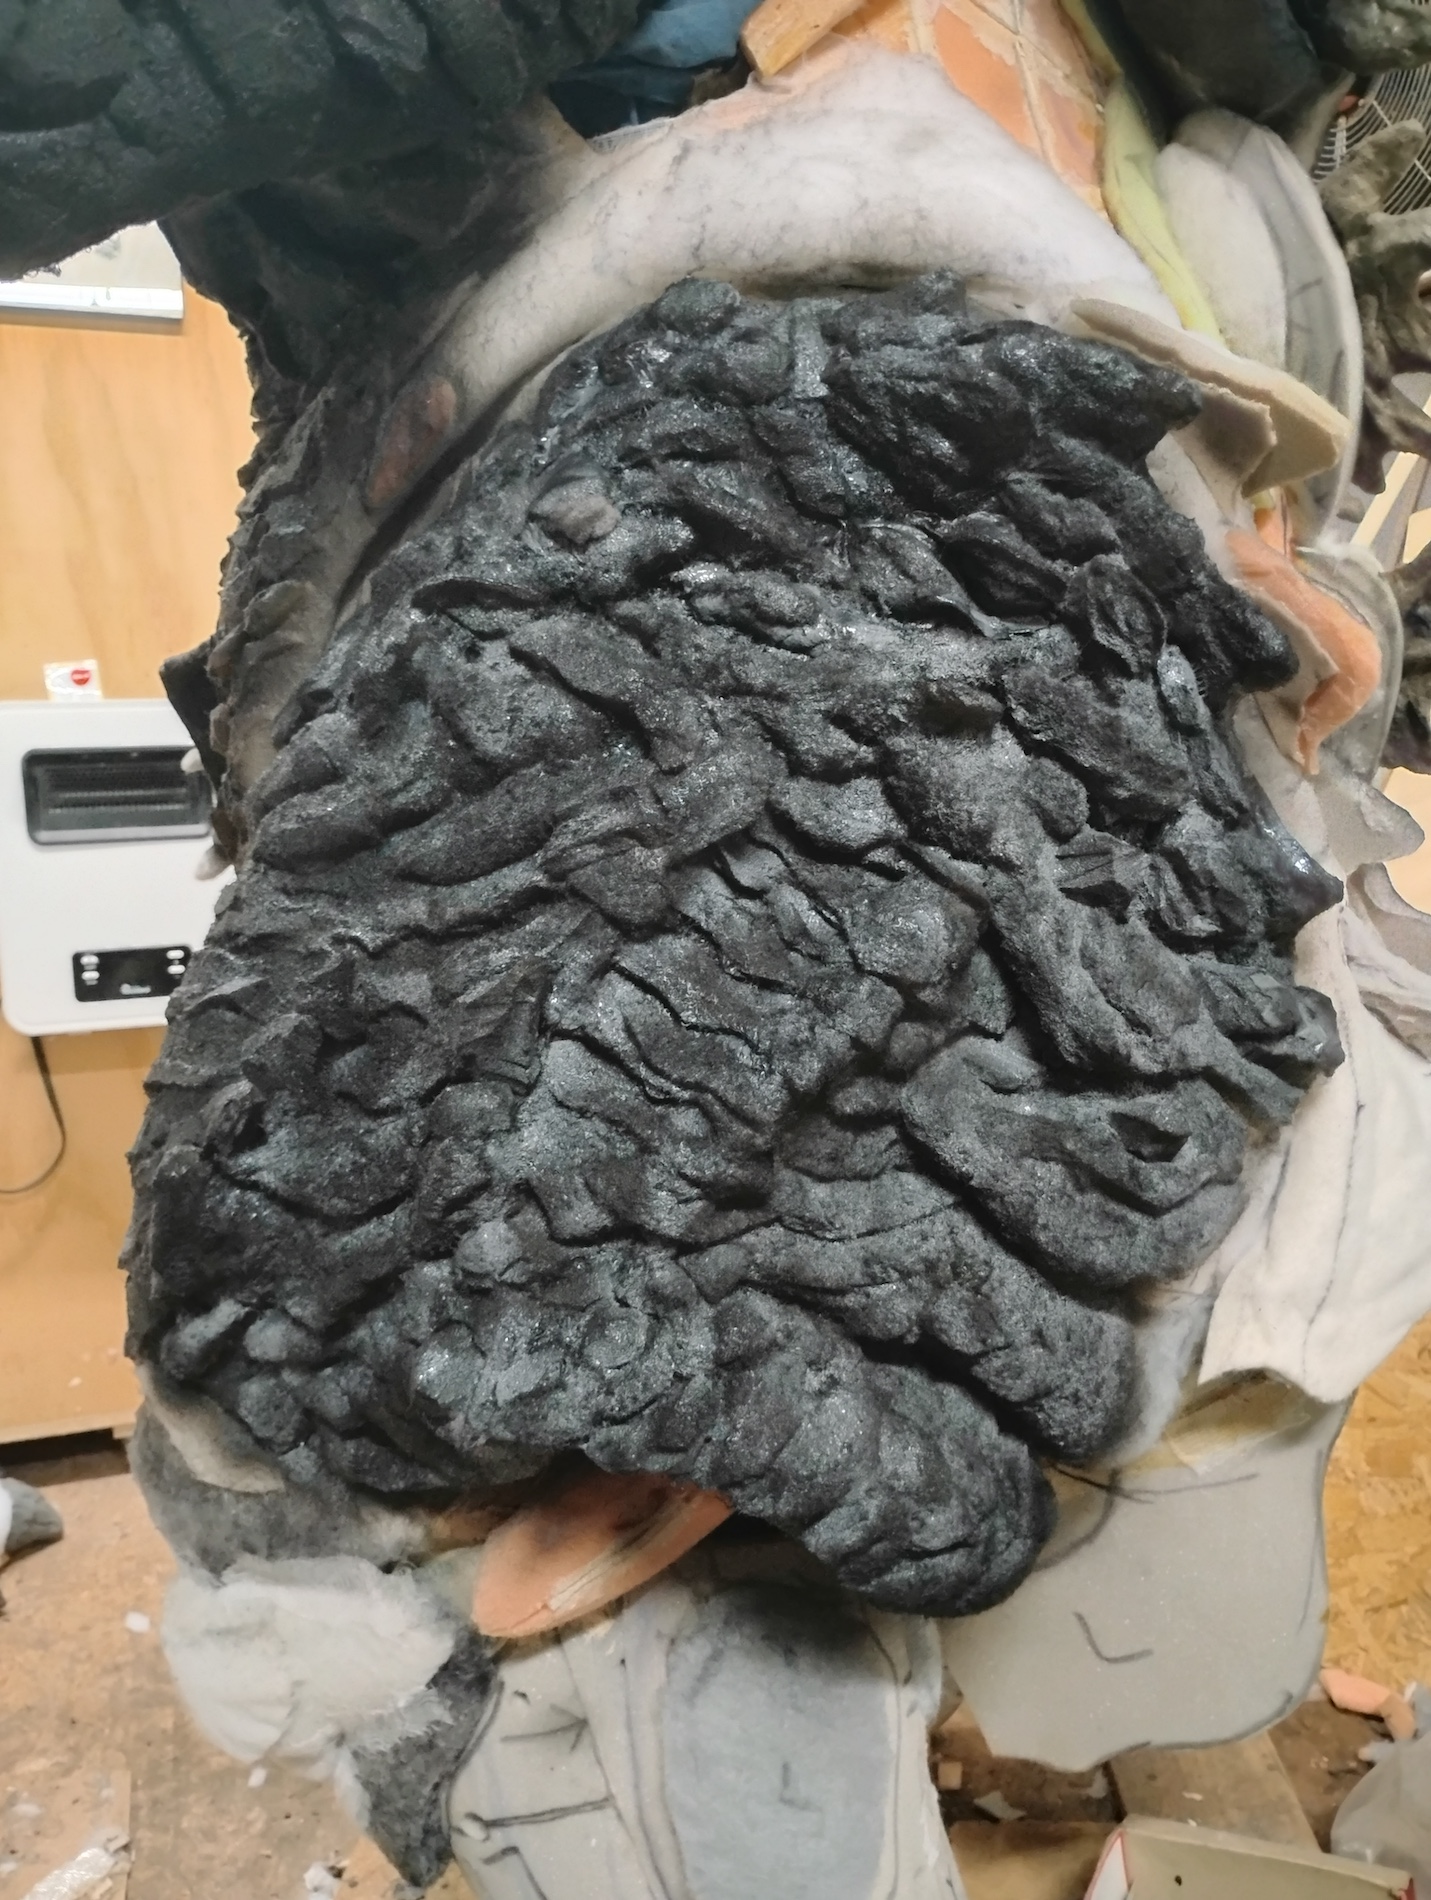
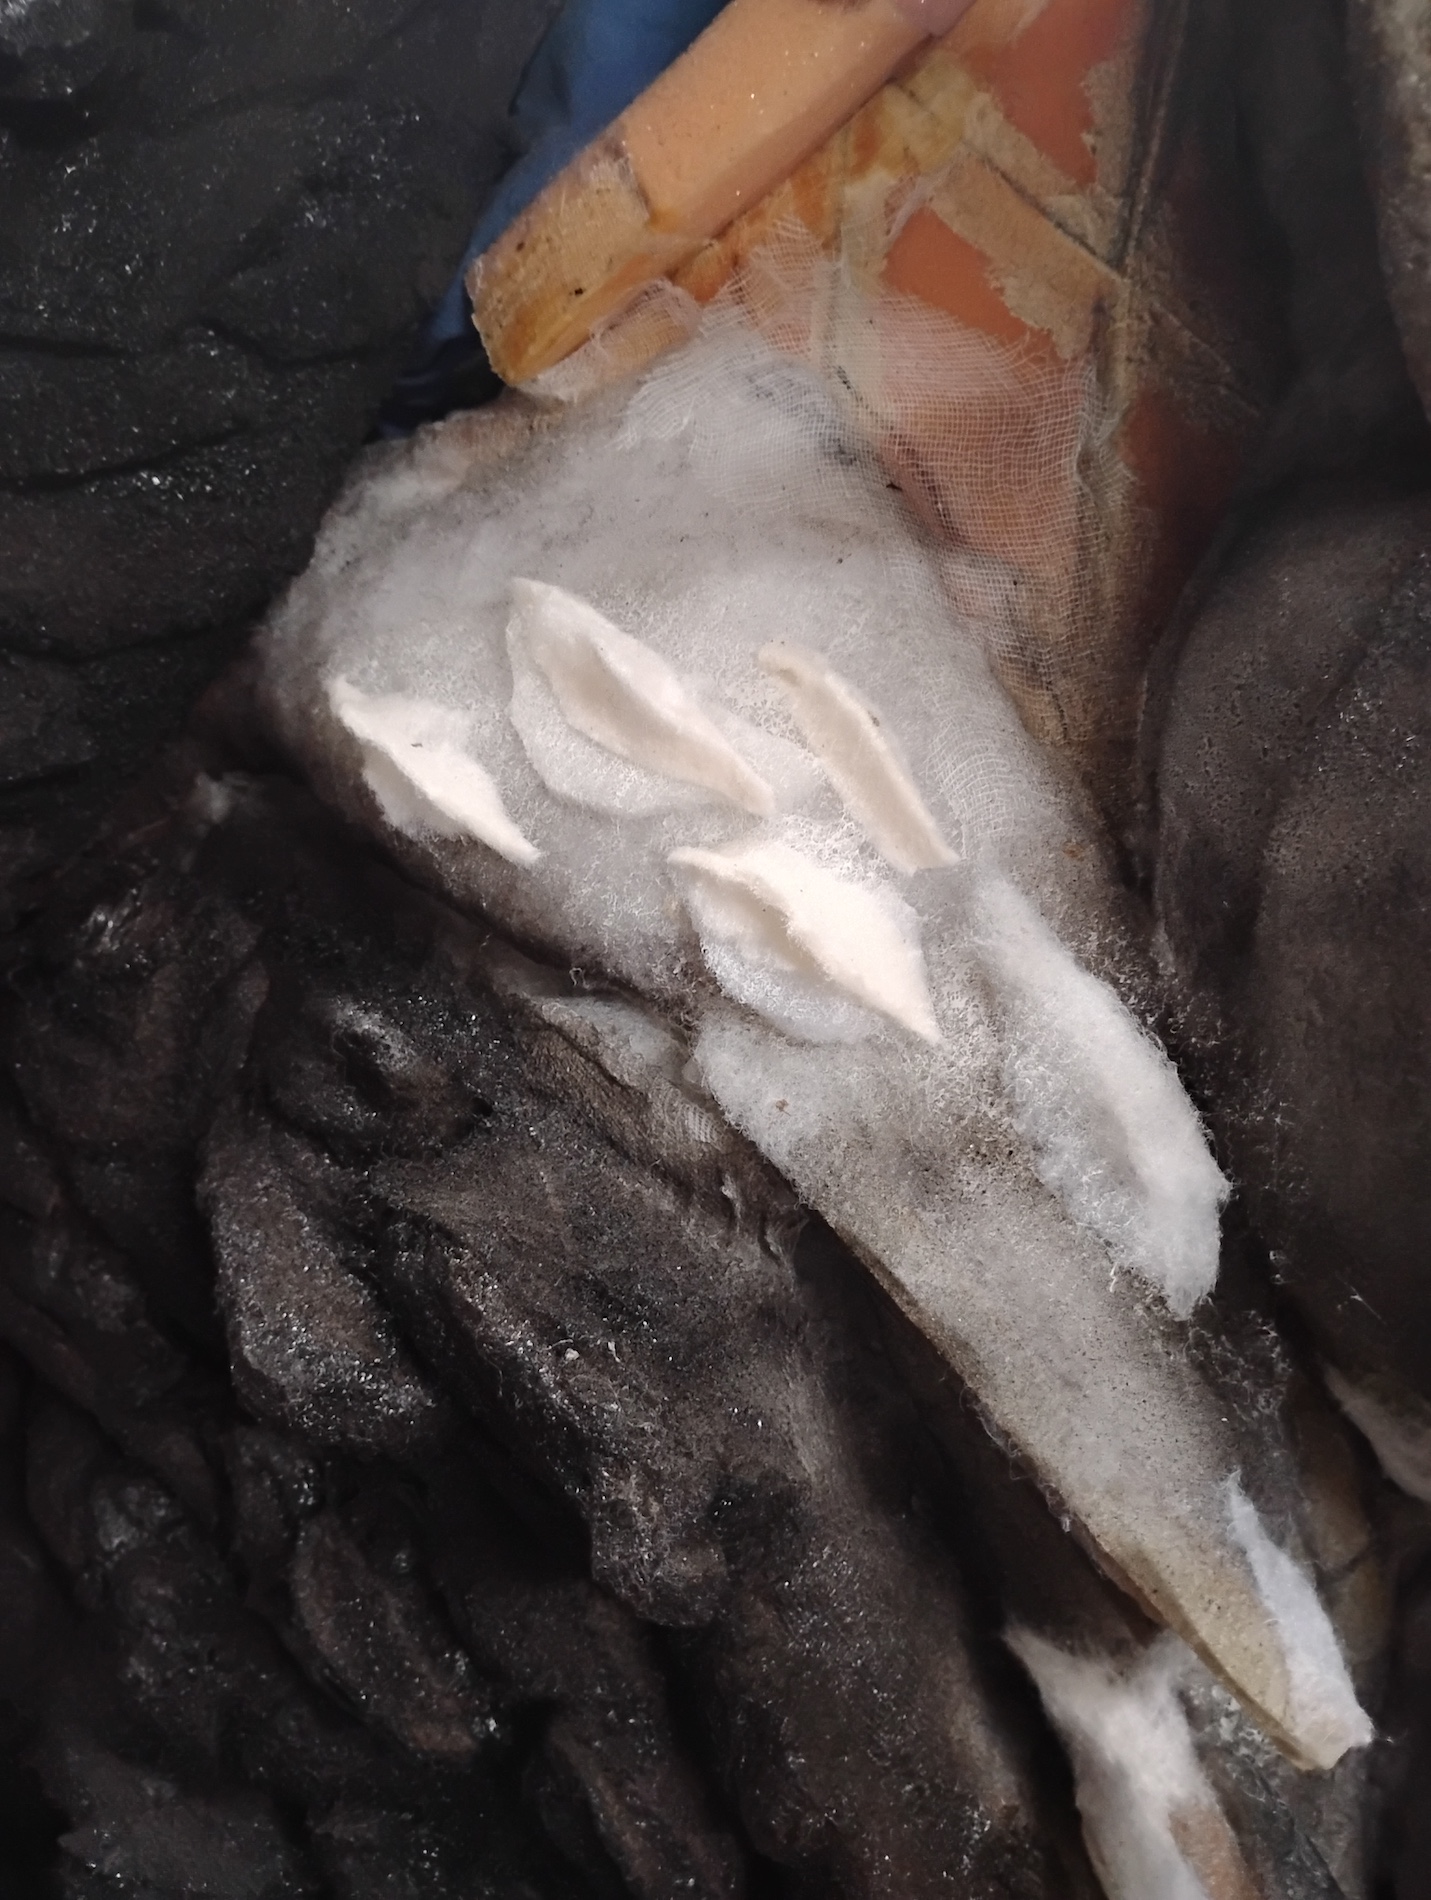
- Step 3. This has been rubber coated. I’m 100% sure the “carved foam” approach is much more durable. The batting has its issues. If the rubber doesn’t coat it entirely, it can peel apart if snagged. I like to use the thinner batting ( and even certain types of dryer sheets) to “close off” the edges of the batting prior to applying the rubber. Don’t be stingy with the spray adhesive.
- You can see green and grey upholstery foam used as texture here and there. Sometimes it made sense to use as detail.
- These lower areas are easy to neglect when rubber coating. I had to remind myself to be thorough.
- A freshly applied rubber coat.
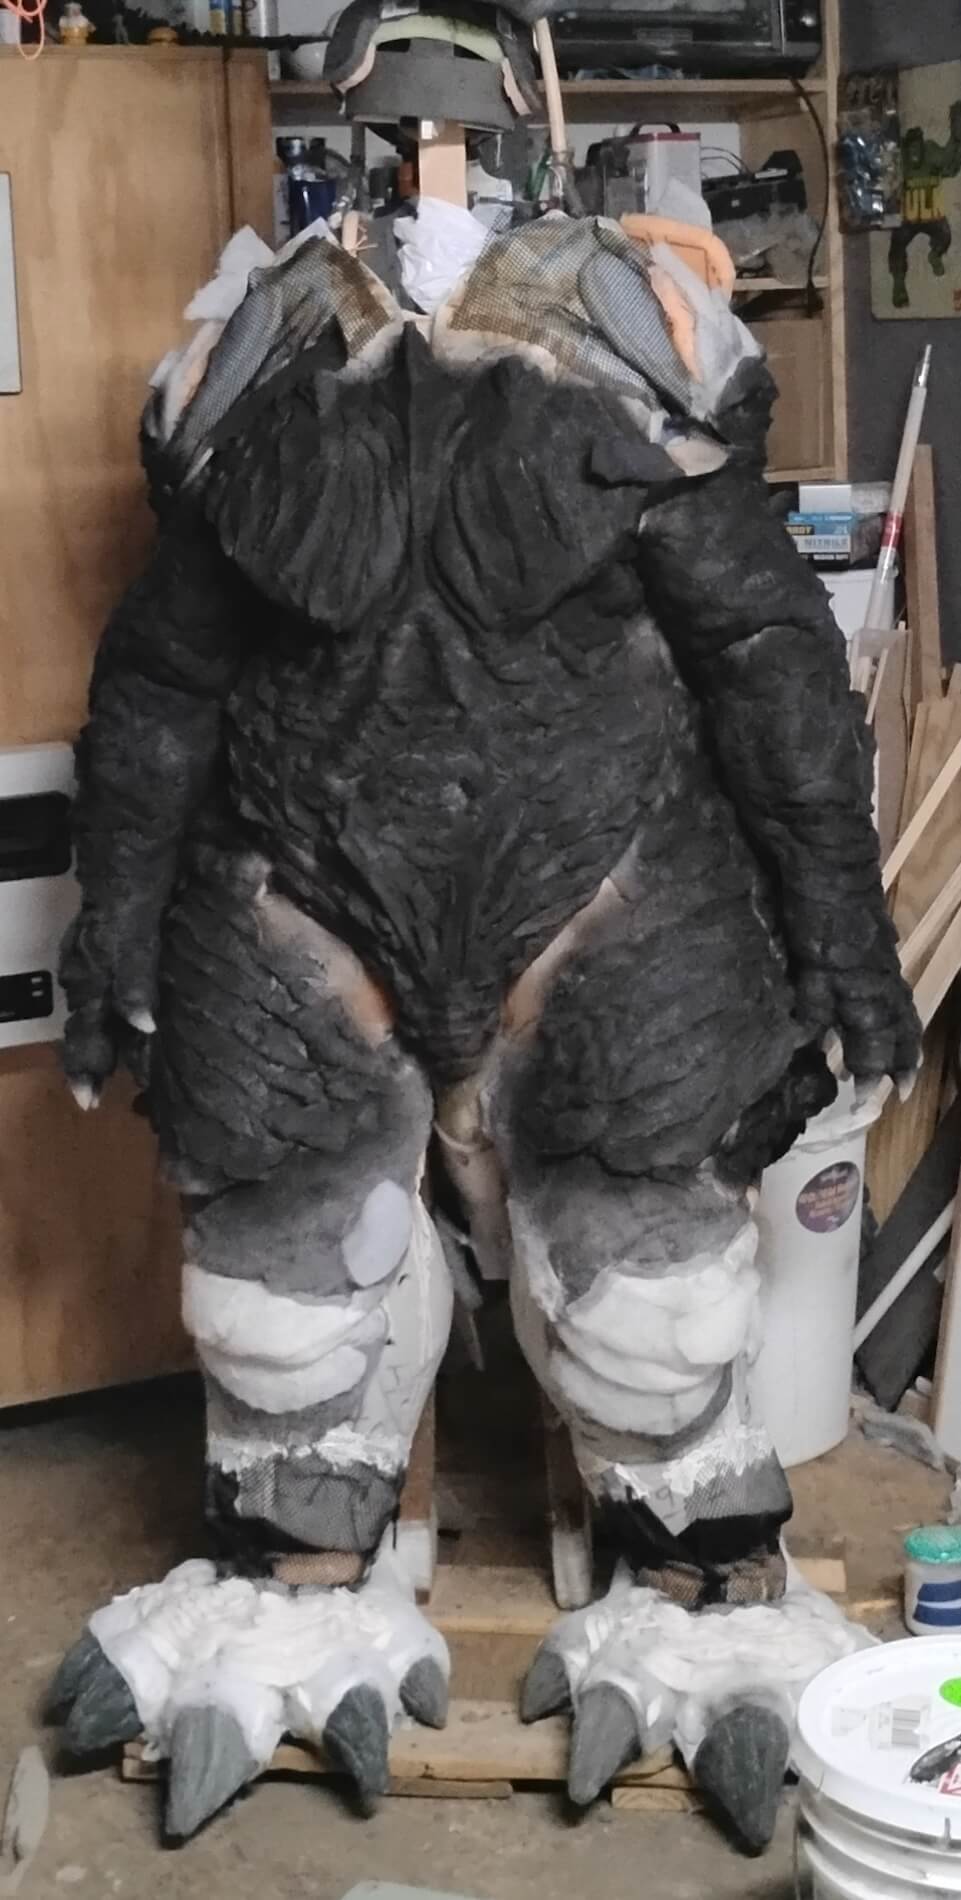
- It starts off as an ugly looking, visually disjointed mess but the rubber binds all.
- The stomach details after a first pass with the foam. Ultimately, with some tweaking, this turned out much better. It’s an earlier attempt at texture and one of the visually weaker areas of skin texture overall. The dark rubber really helps.
- Some of the scutes were just thin quilt batting cut to shape and then partially peeled in half forming a peak. After rubber coating, it works.
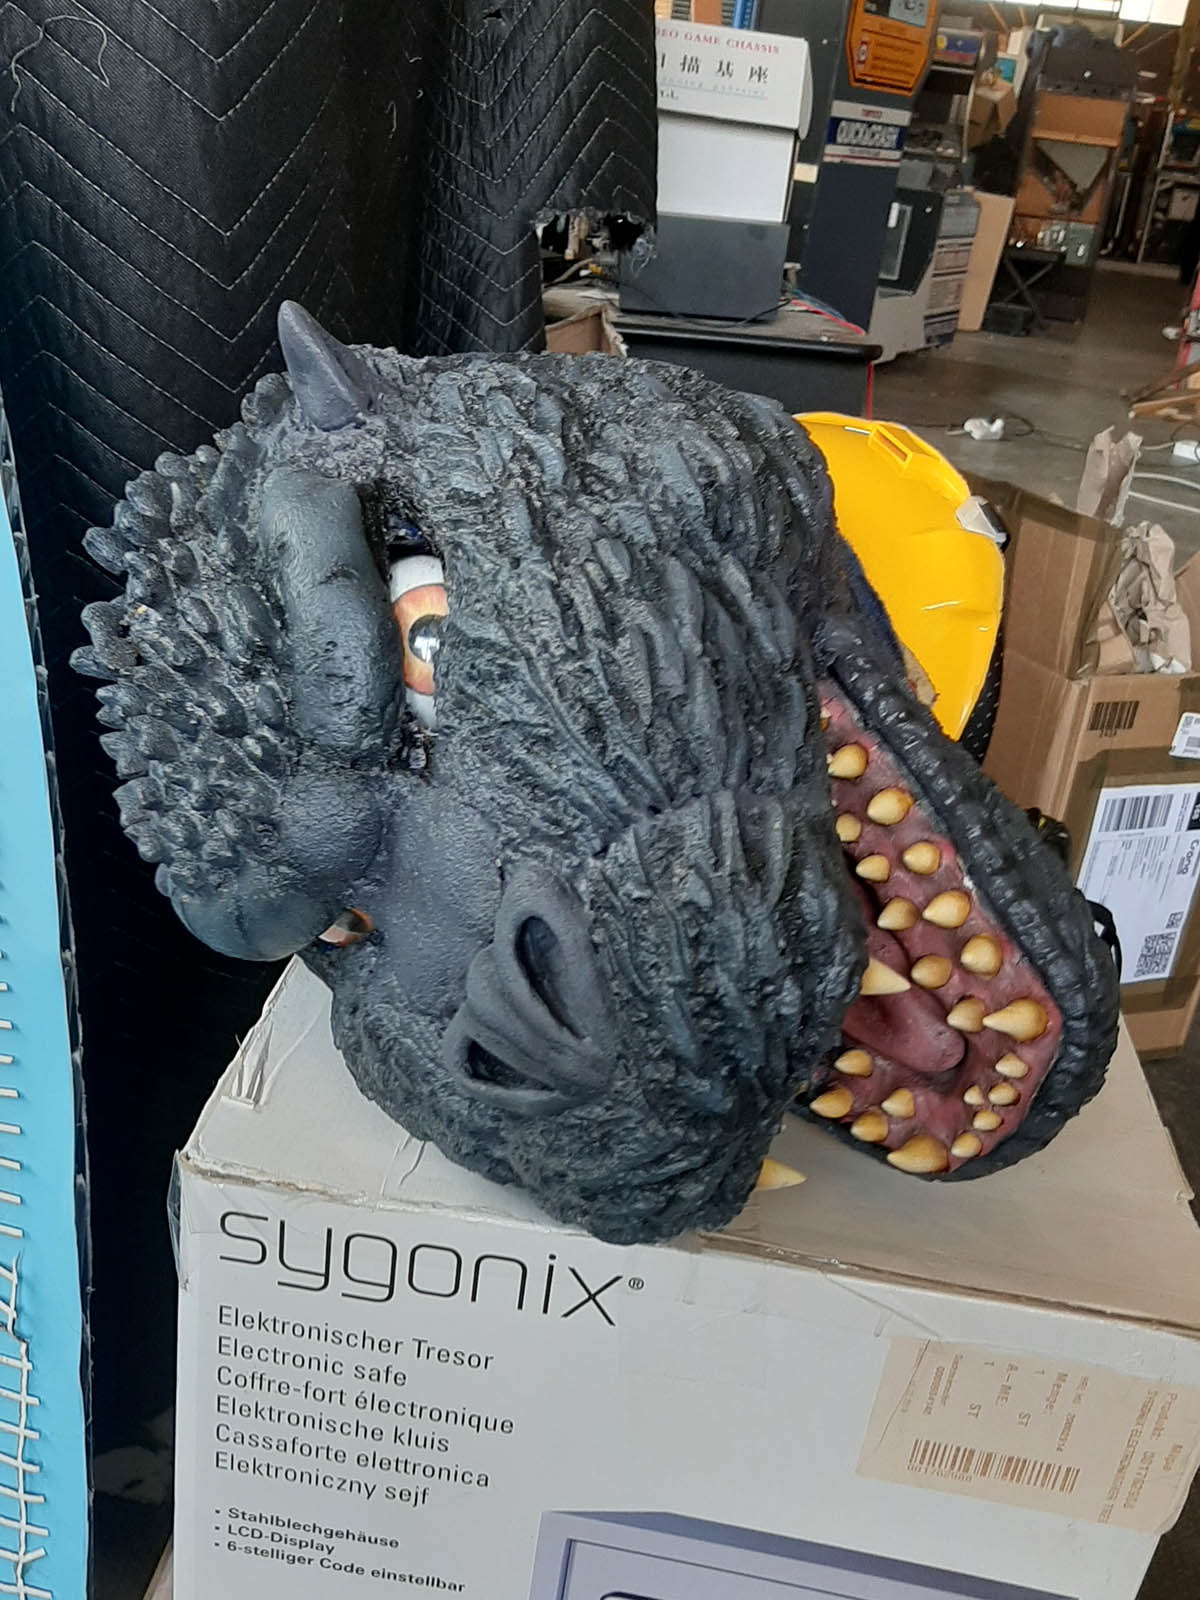
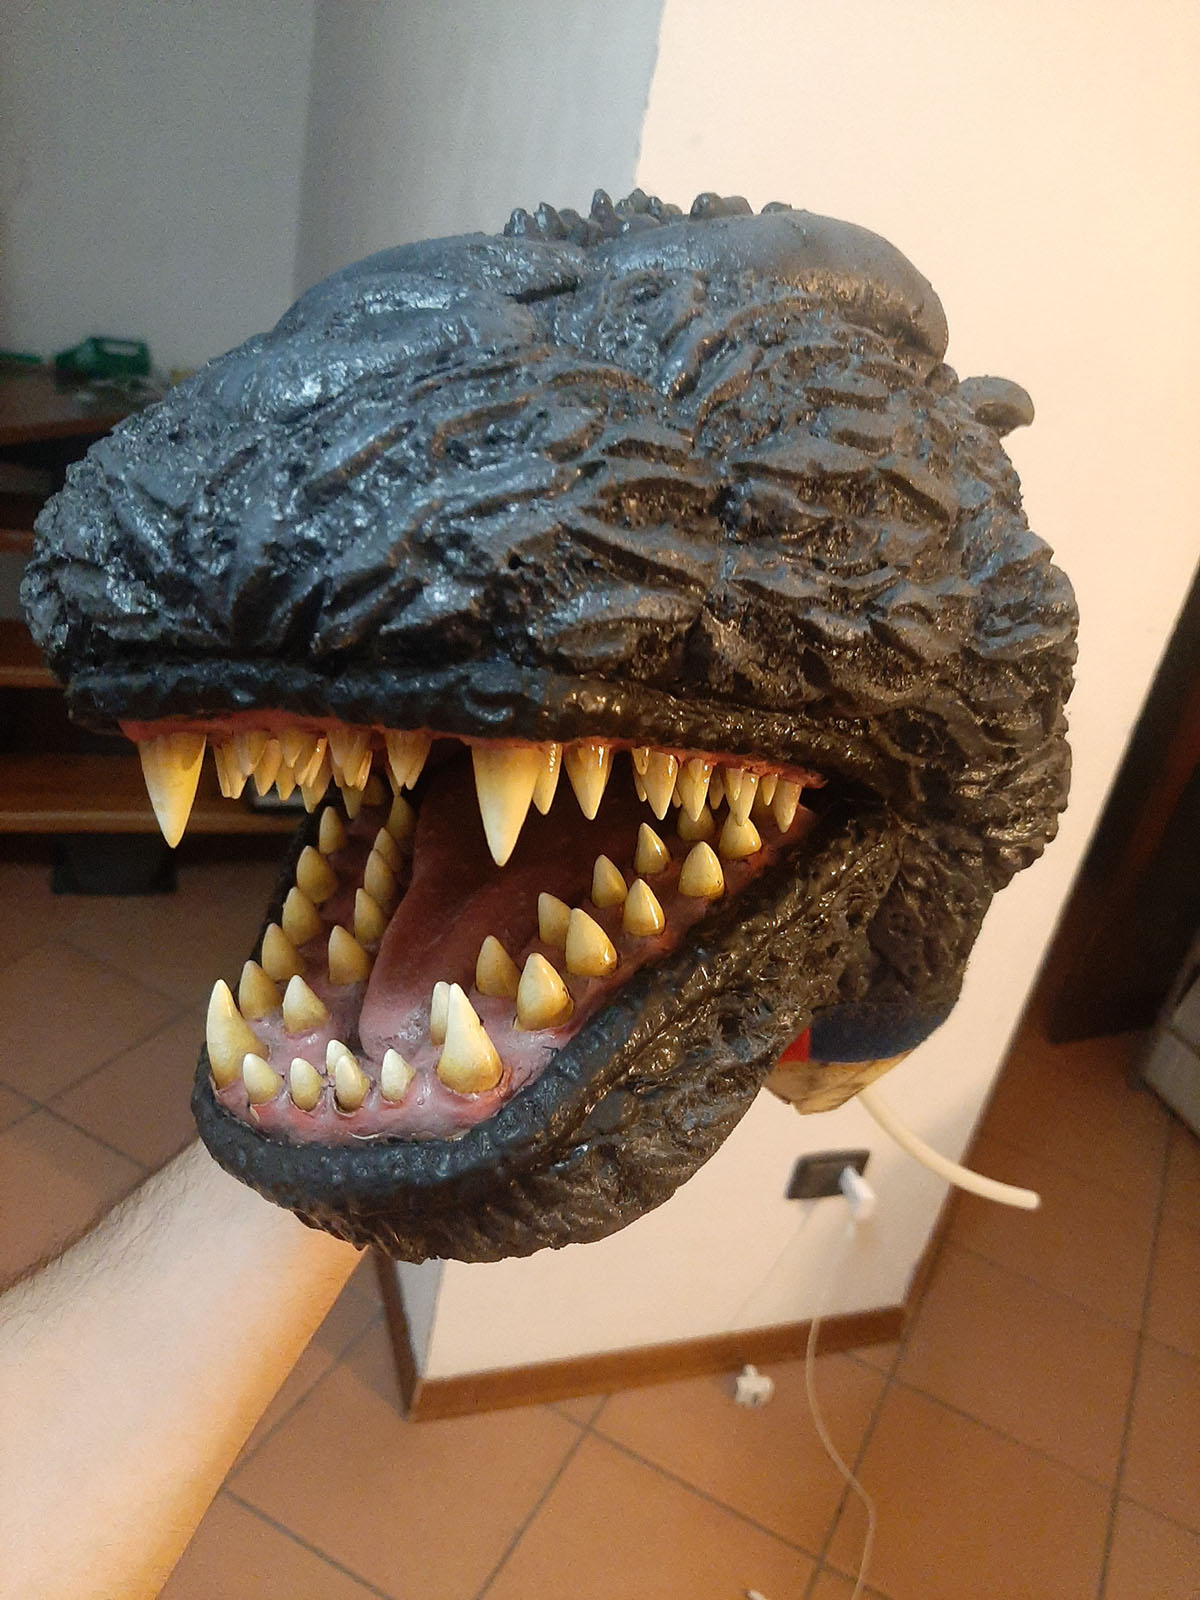
Rubber Coating
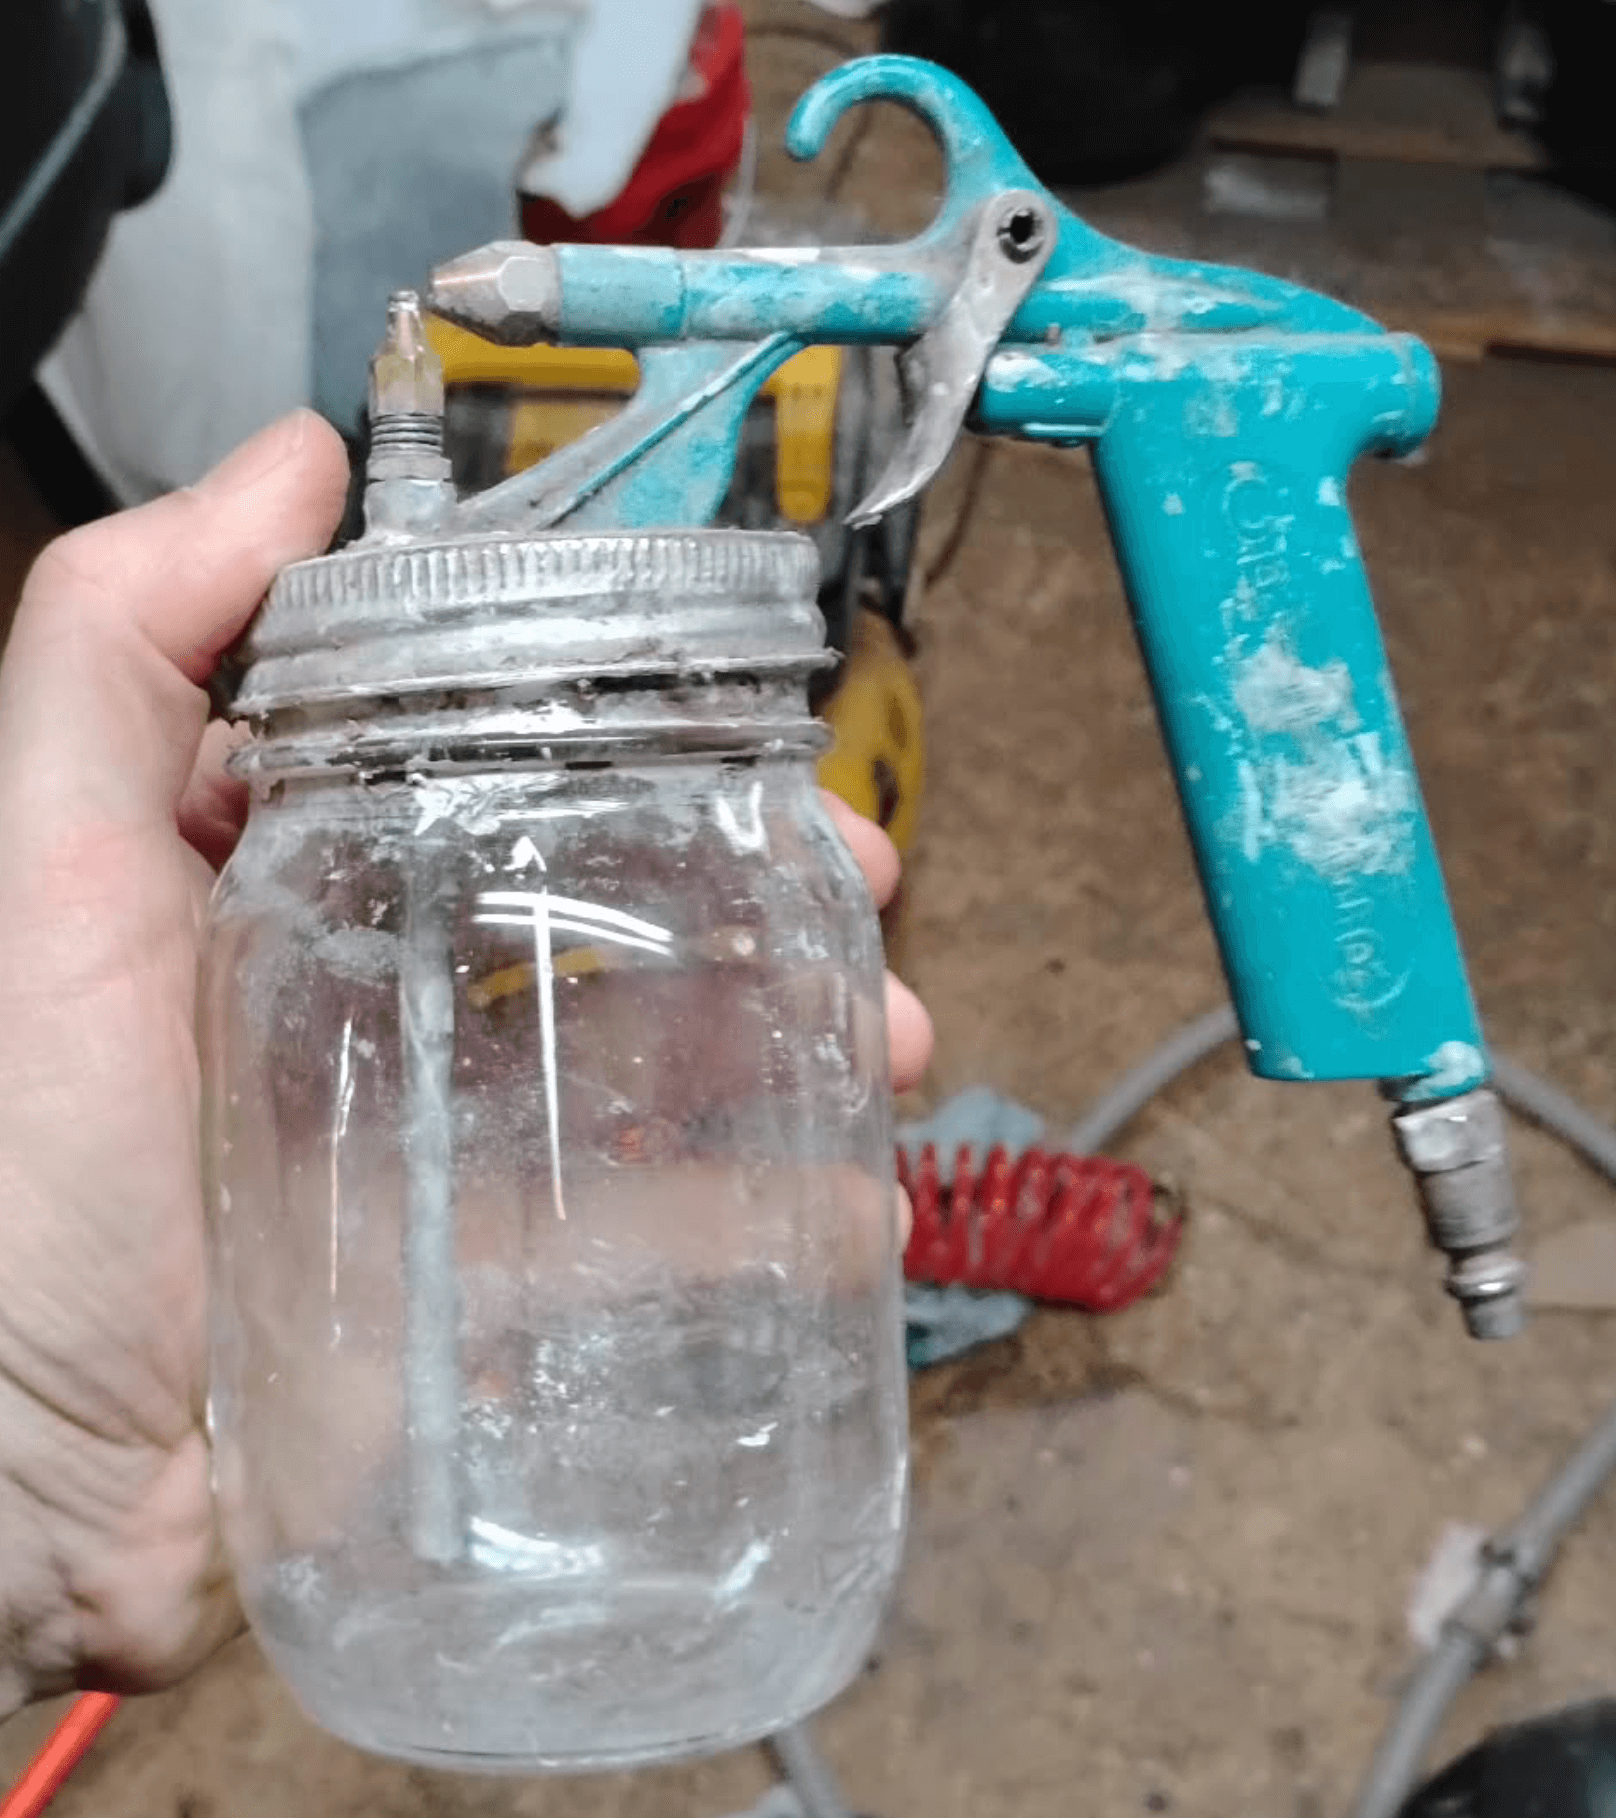
- A “critter gun” or a 118 syphon gun made by Critter to be precise. You can move some rubber with this. I found spraying is better than brushing initially. It builds on the quilt batting or foam surface without soaking really far in. This keeps weight lower and maintains flexibility.
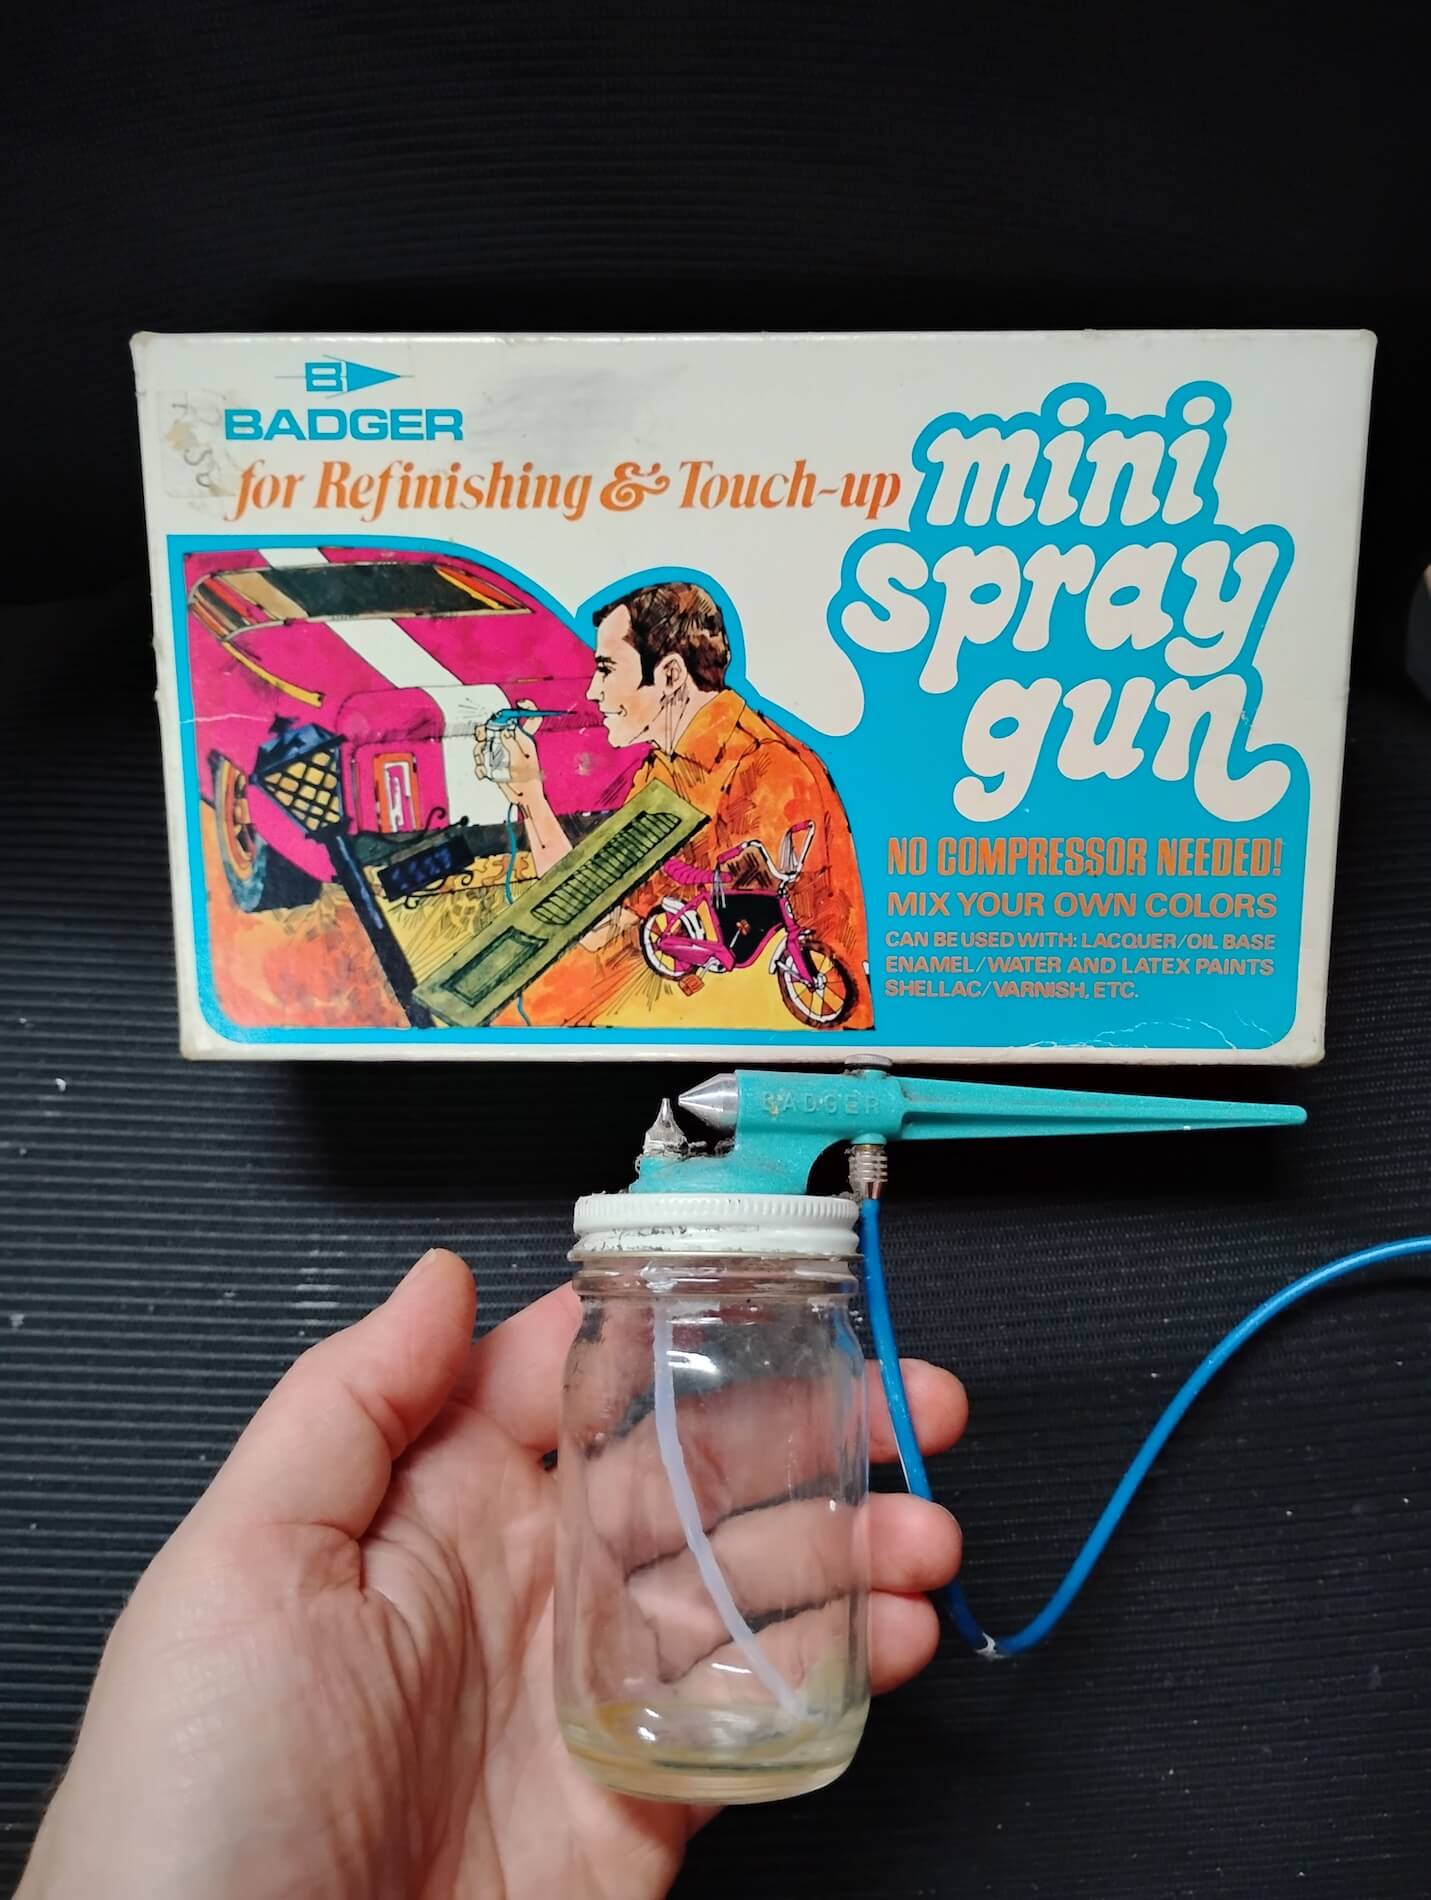
- I call this my “baby critter “ gun. It’s not really an airbrush but smaller than a paint gun. The majority of Godzilla was initially coated with this. It was made in the 70’s and one great Ebay find. If you try this, WEAR A MASK. It creates really fine rubber “dust” which can’t be good for you.
- I coated as I went. I wore a mask and would frequently evacuate the air in the studio with a wall mounted exhaust fan.
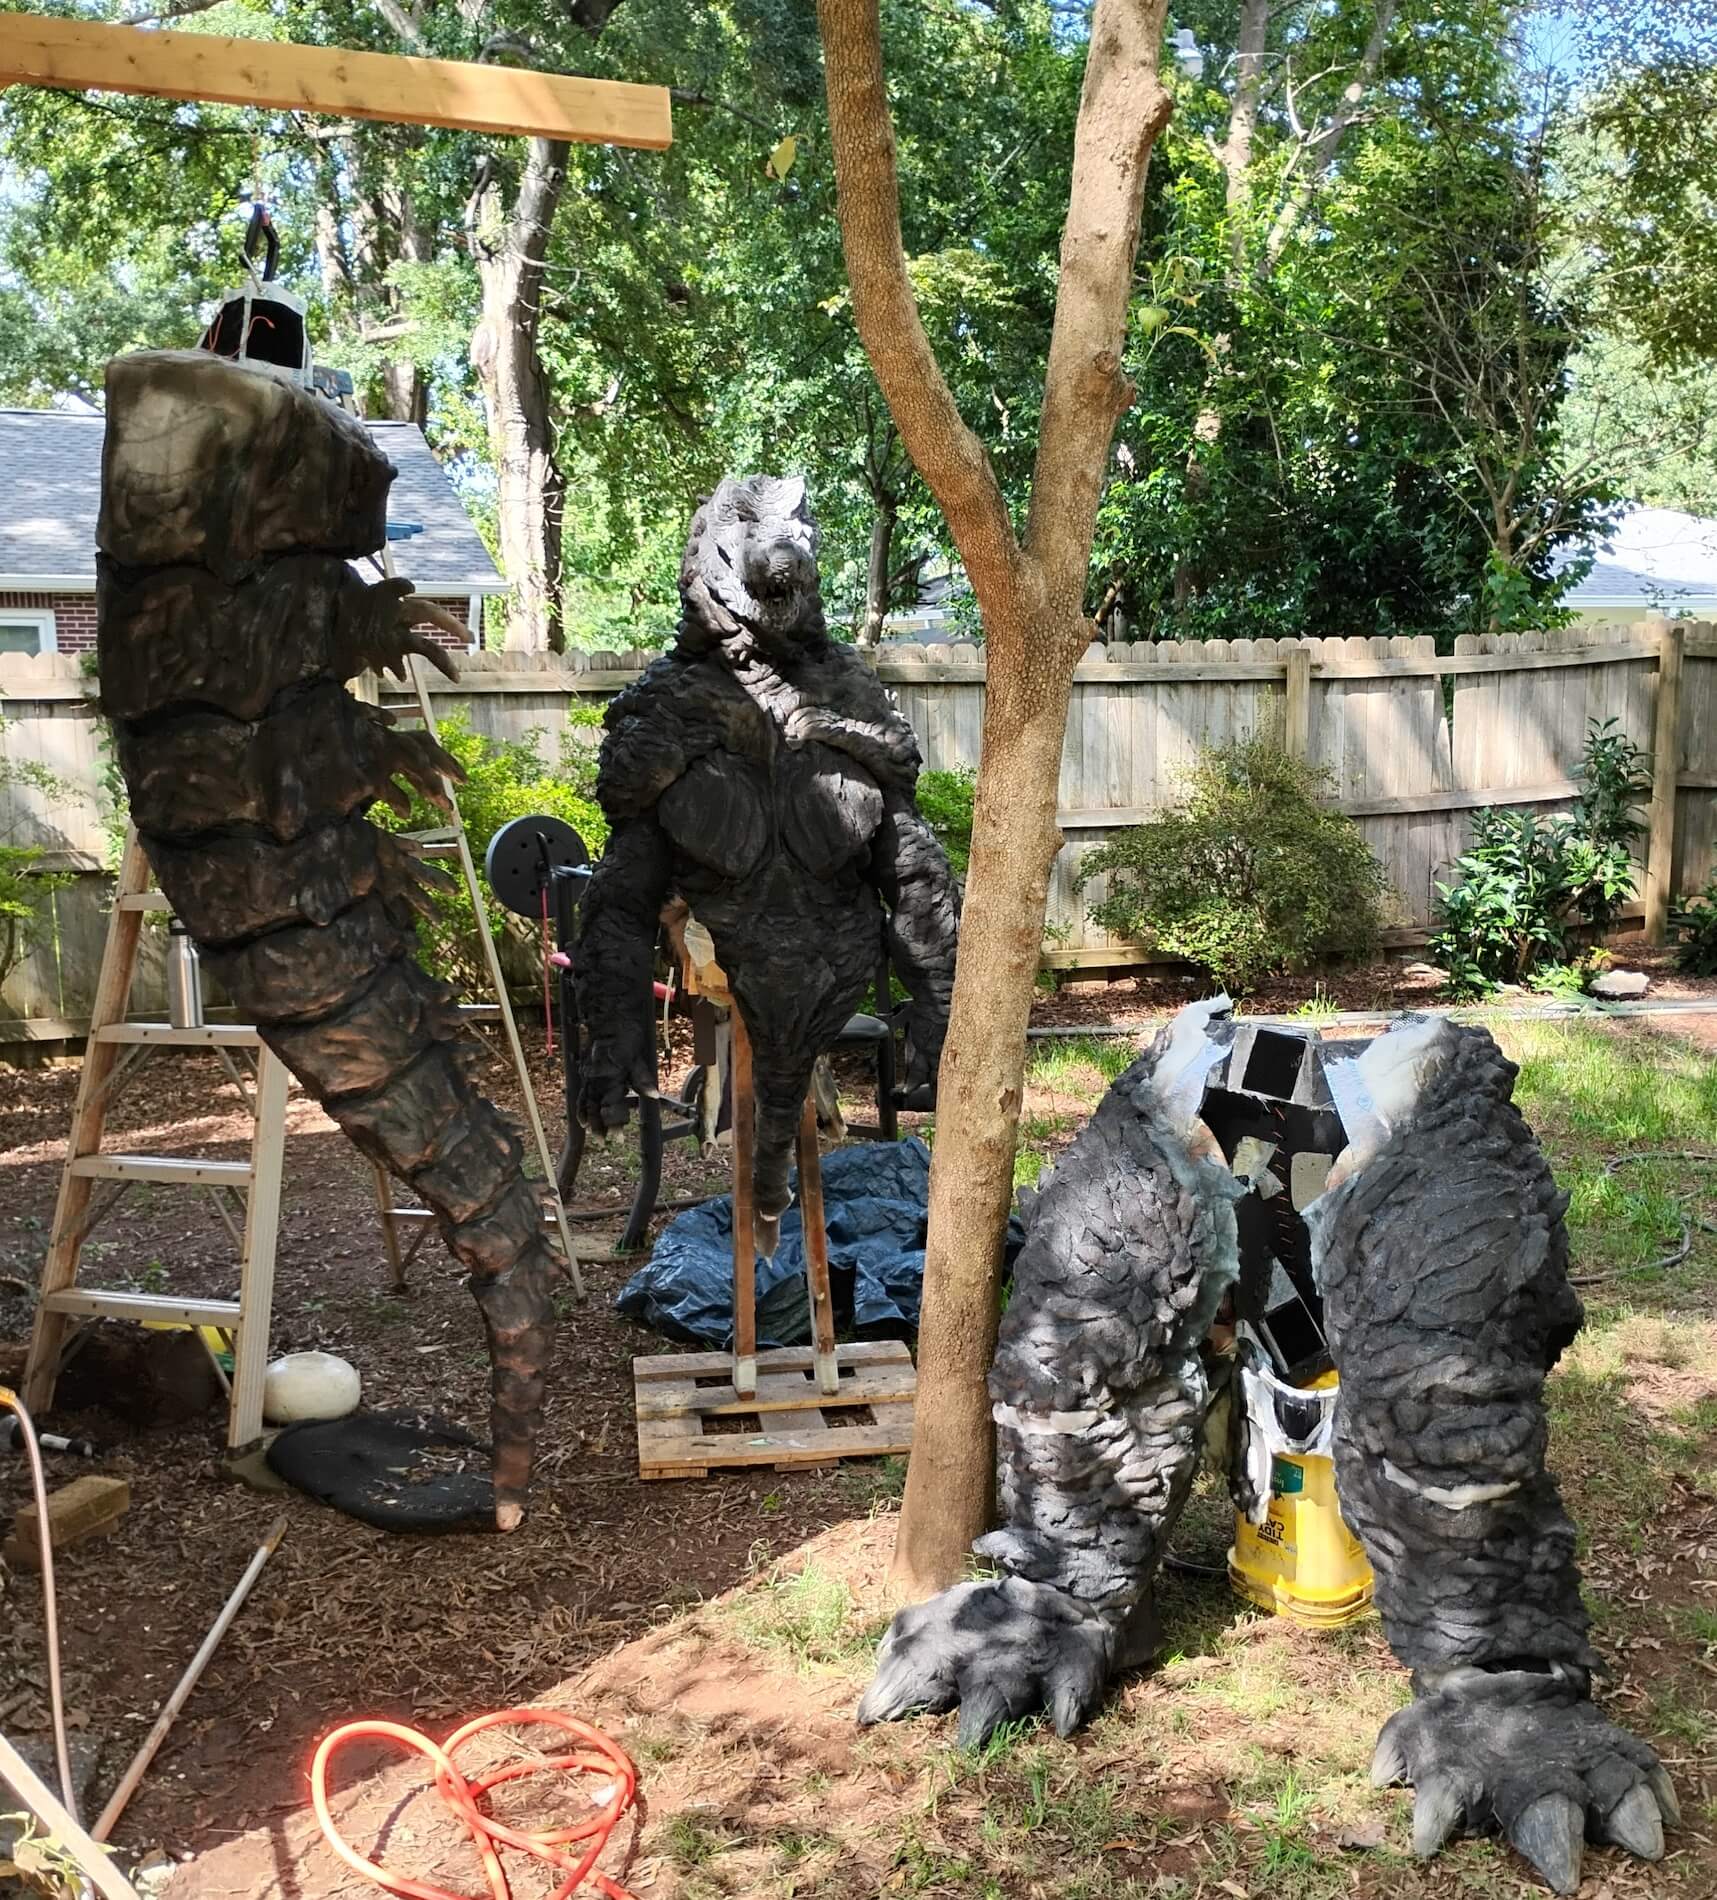
- The time of year when my neighbors are reminded I’m a weirdo. I broke out the Critter gun for the heavy lifting. I missed lots of areas on the initial pass with the “baby critter”. Daylight reveals all. At times I used a brush and worked over problem areas by hand.
- Believe it or not, I can see out of the neck. I had to be careful not to slop too much rubber on the eye hole mesh.
- Ultimately, this suit is much more durable than my last creature. The extra effort to spray and then hand brush areas made a huge difference. I airbrushed some lighter warmer gray on areas of the skin and hand brushed in a blue into some of the cracks. He’s mostly rubber coated in color so I didn’t paint much.
Train
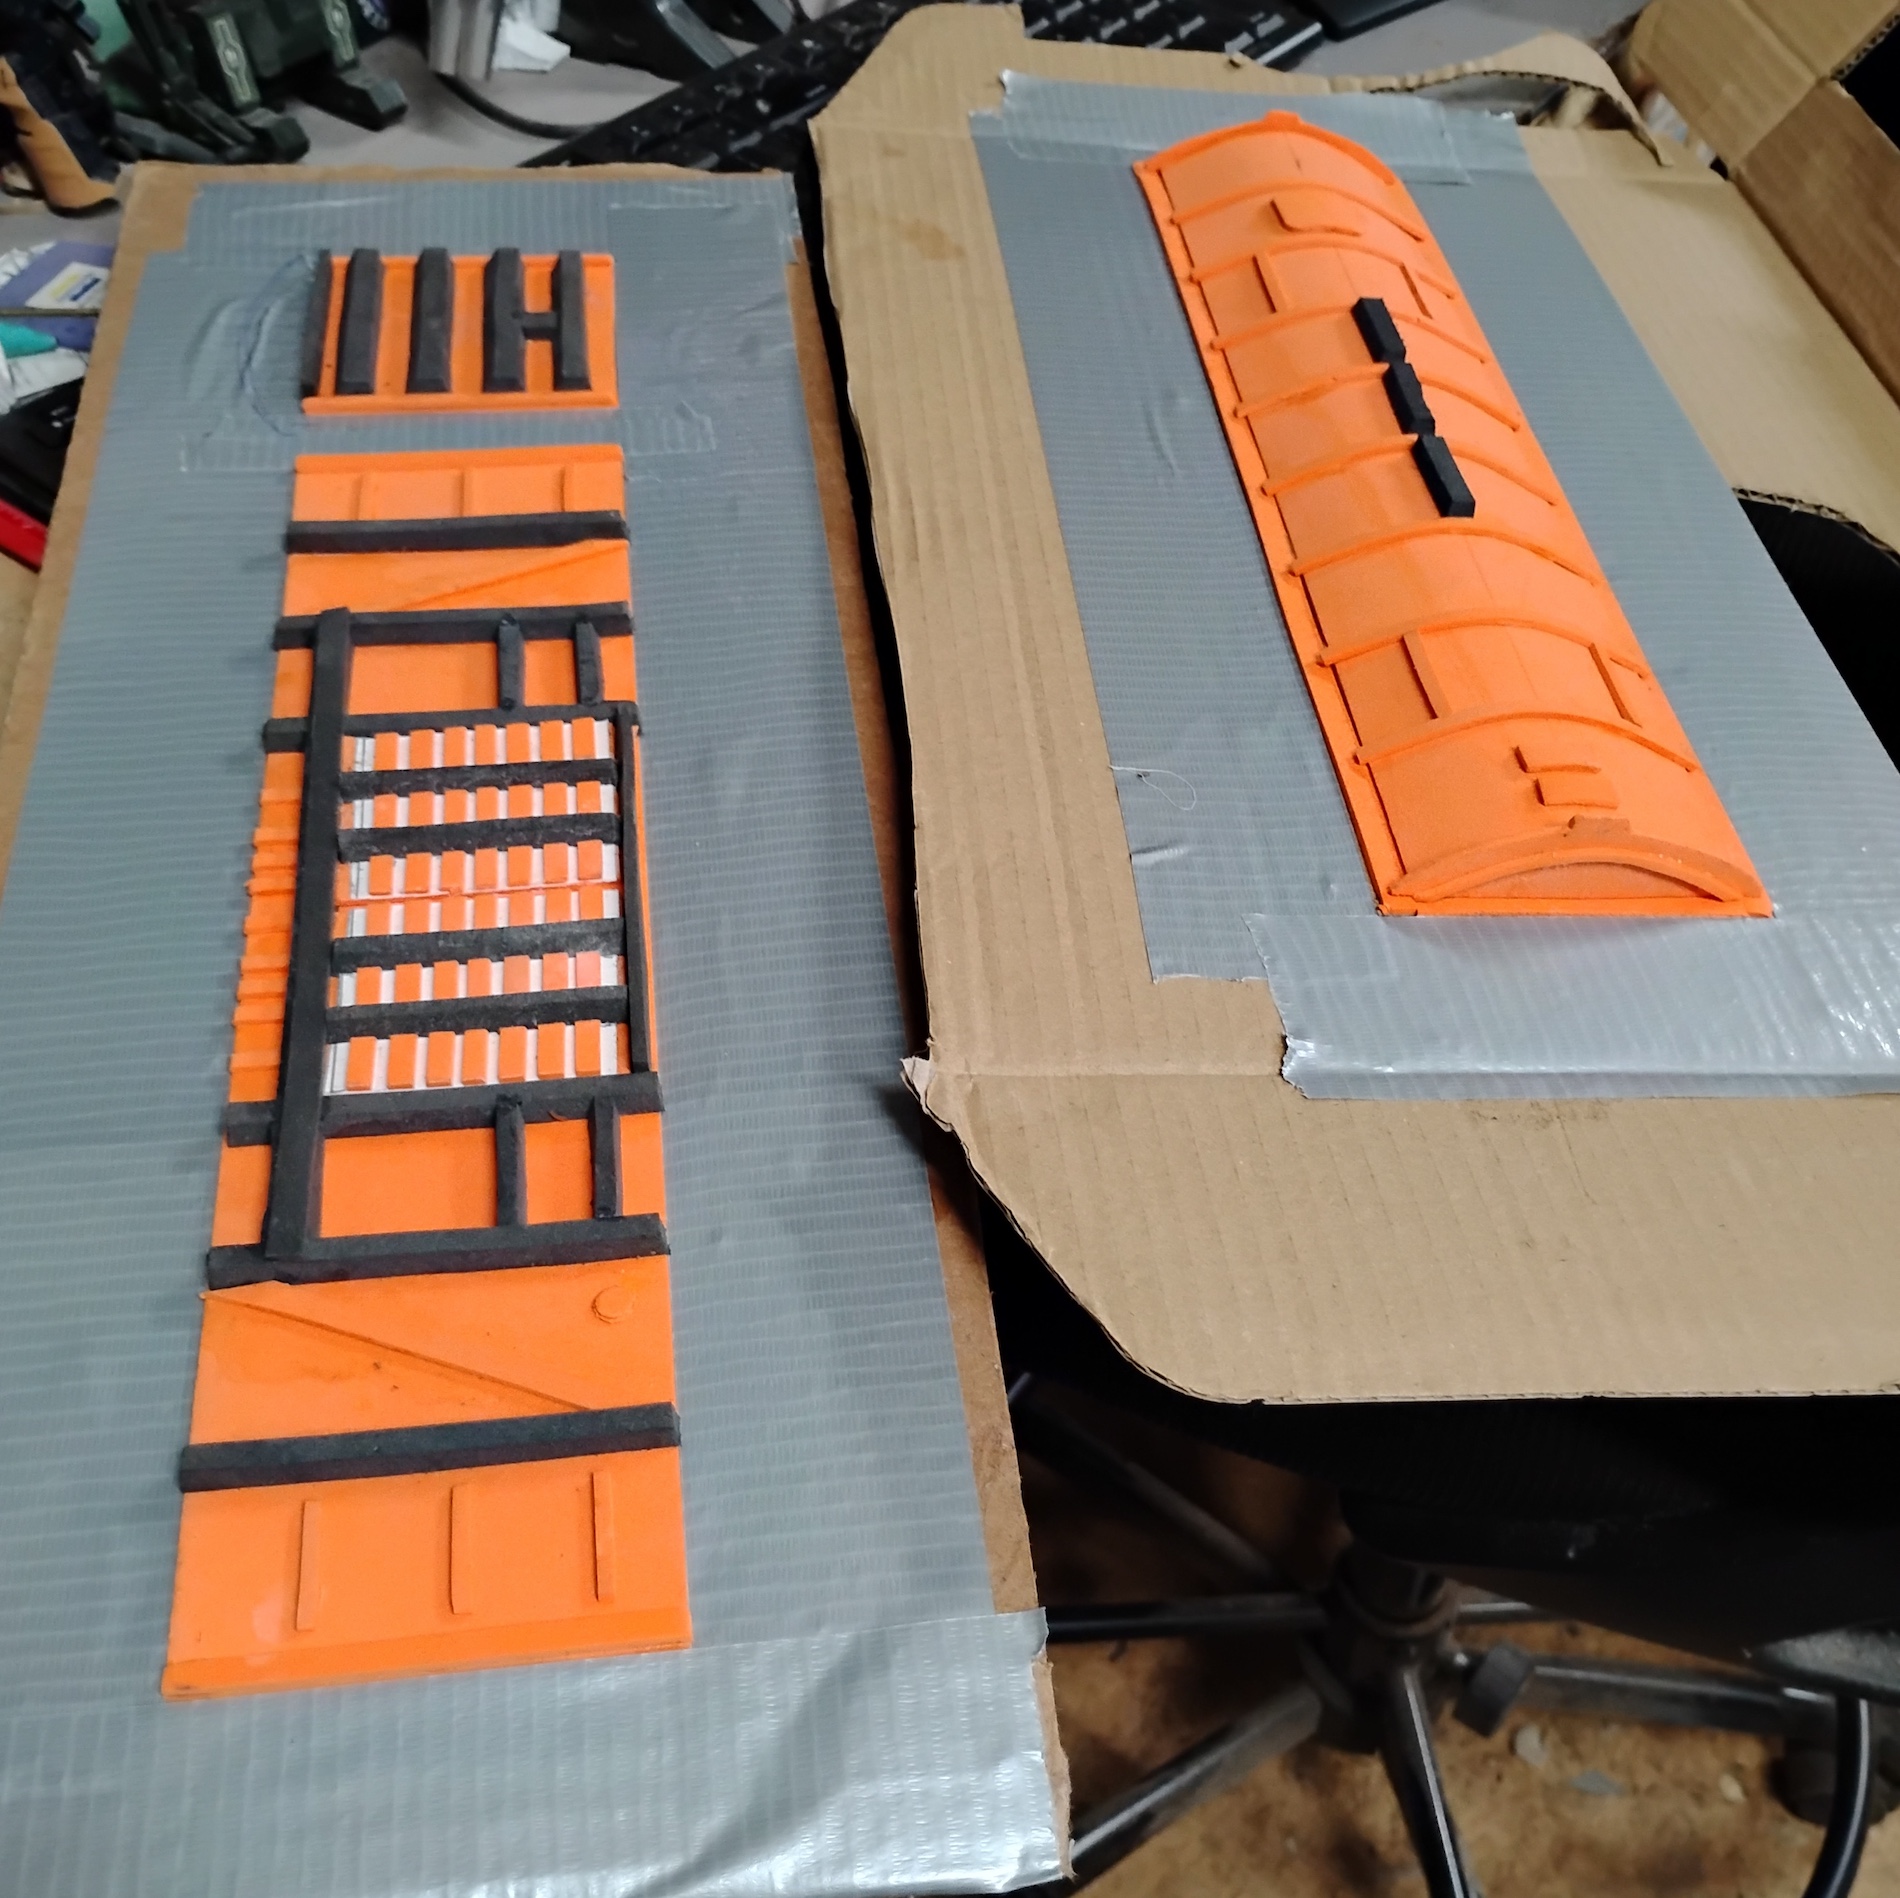
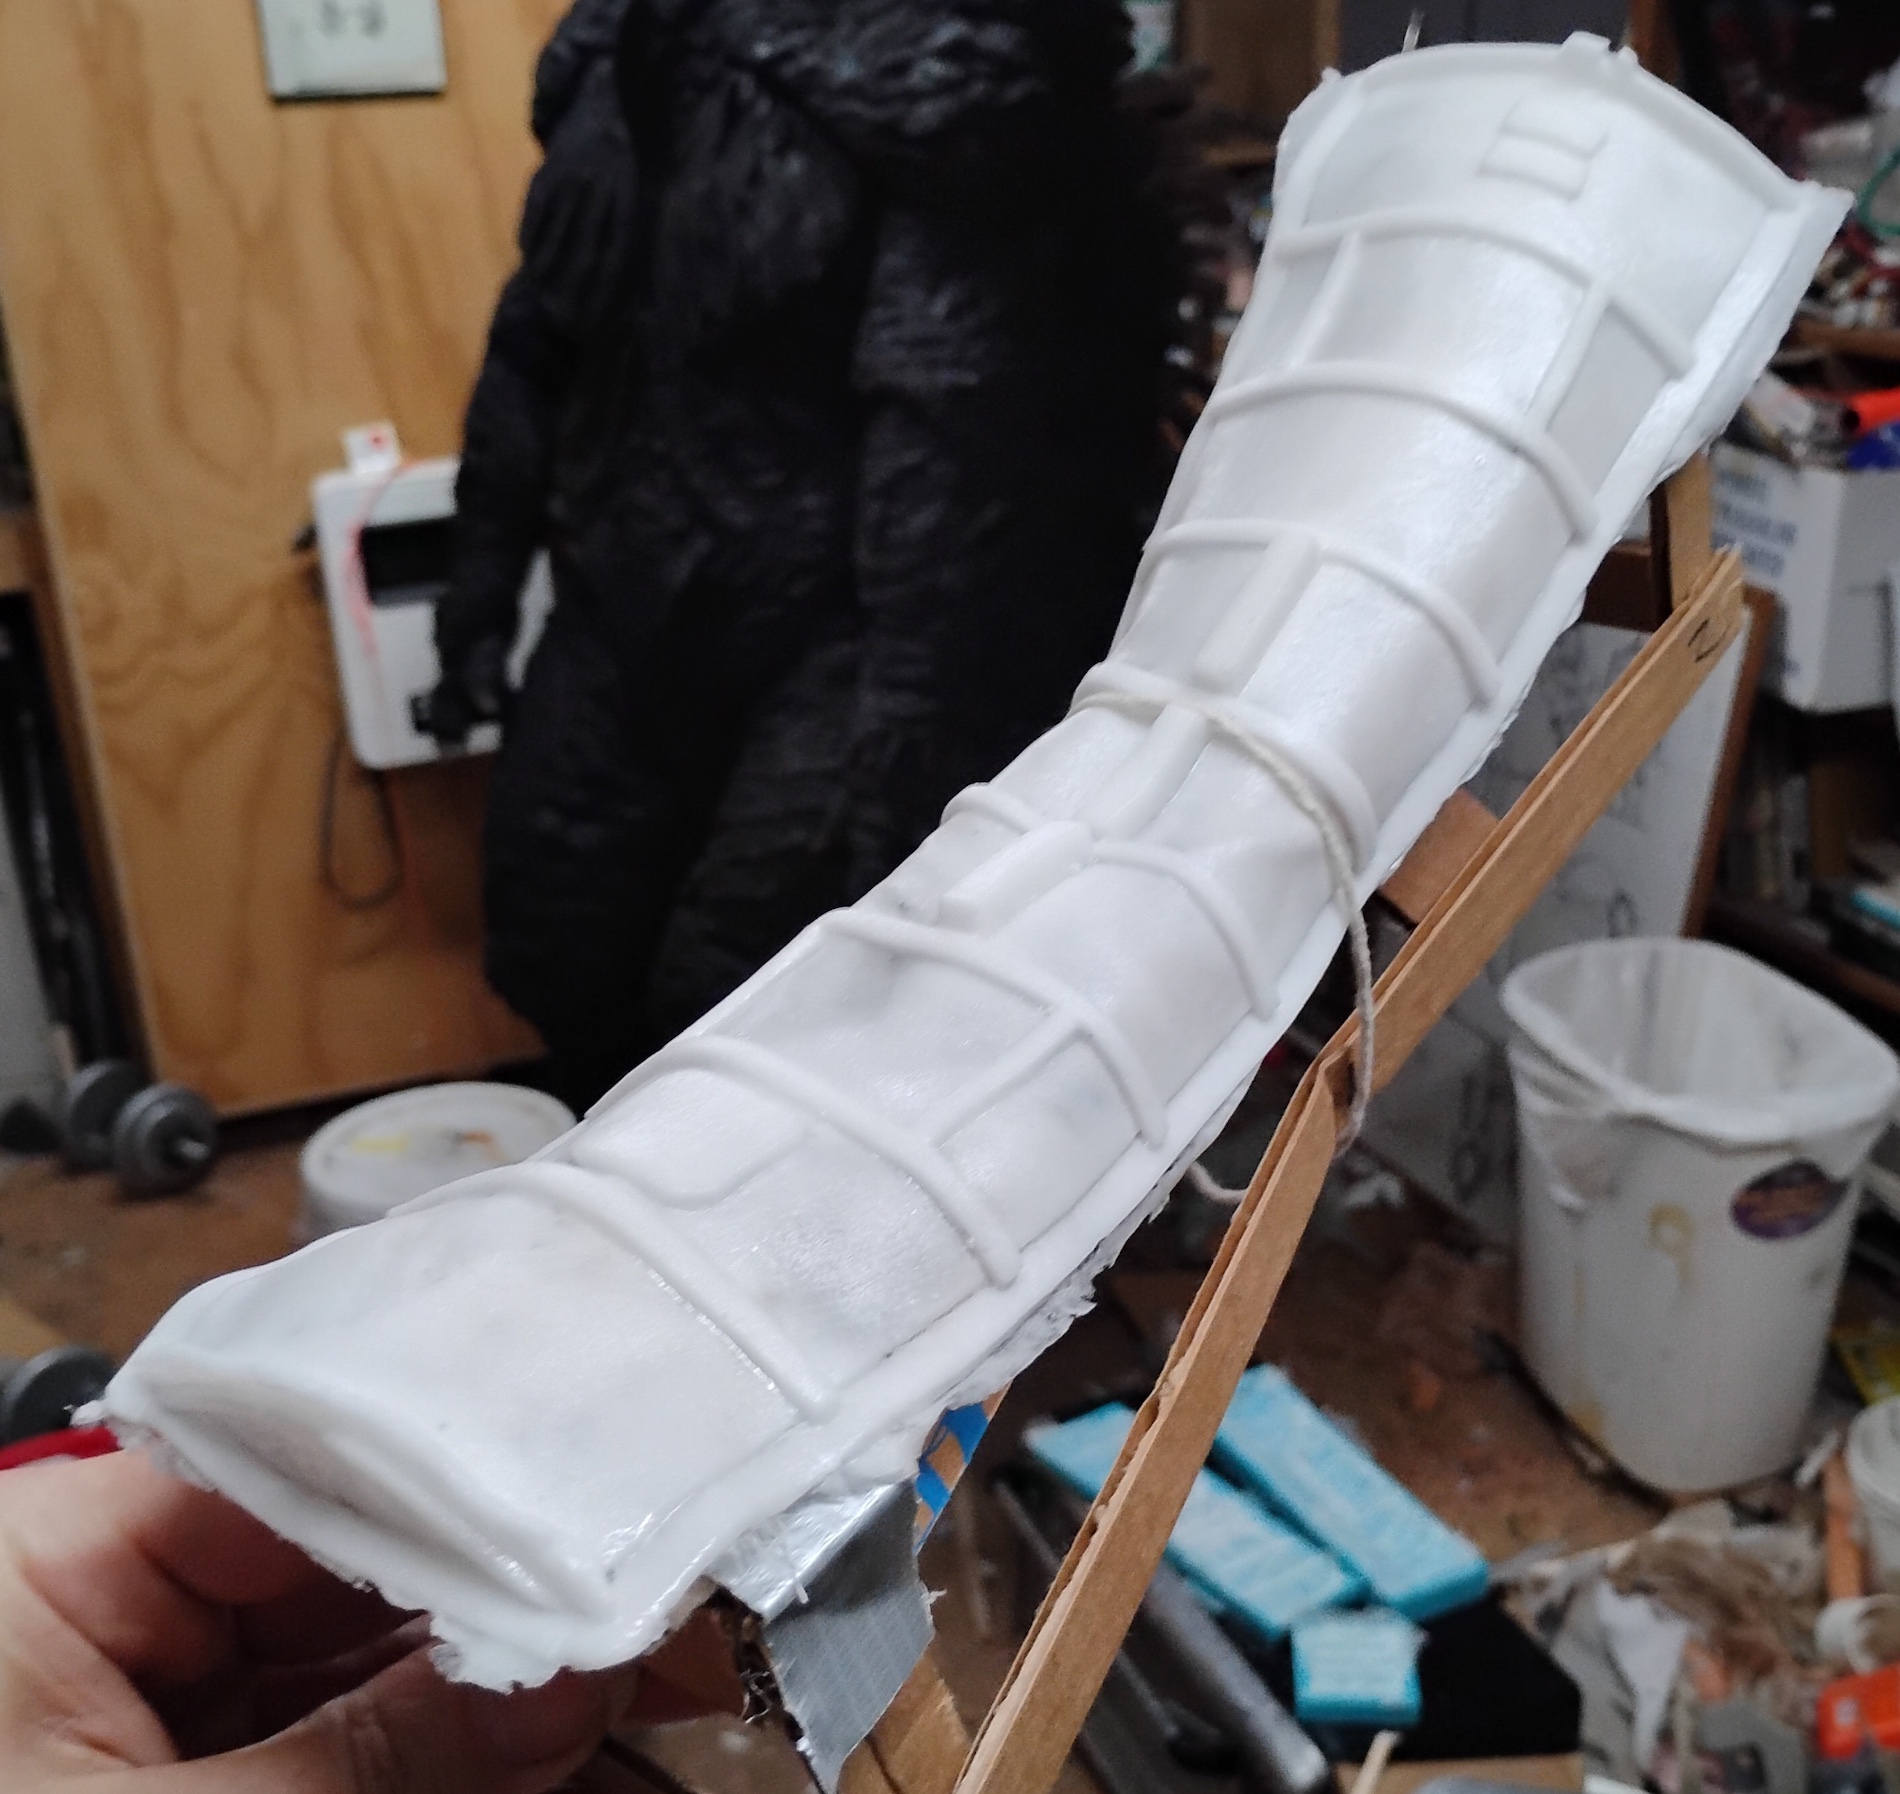
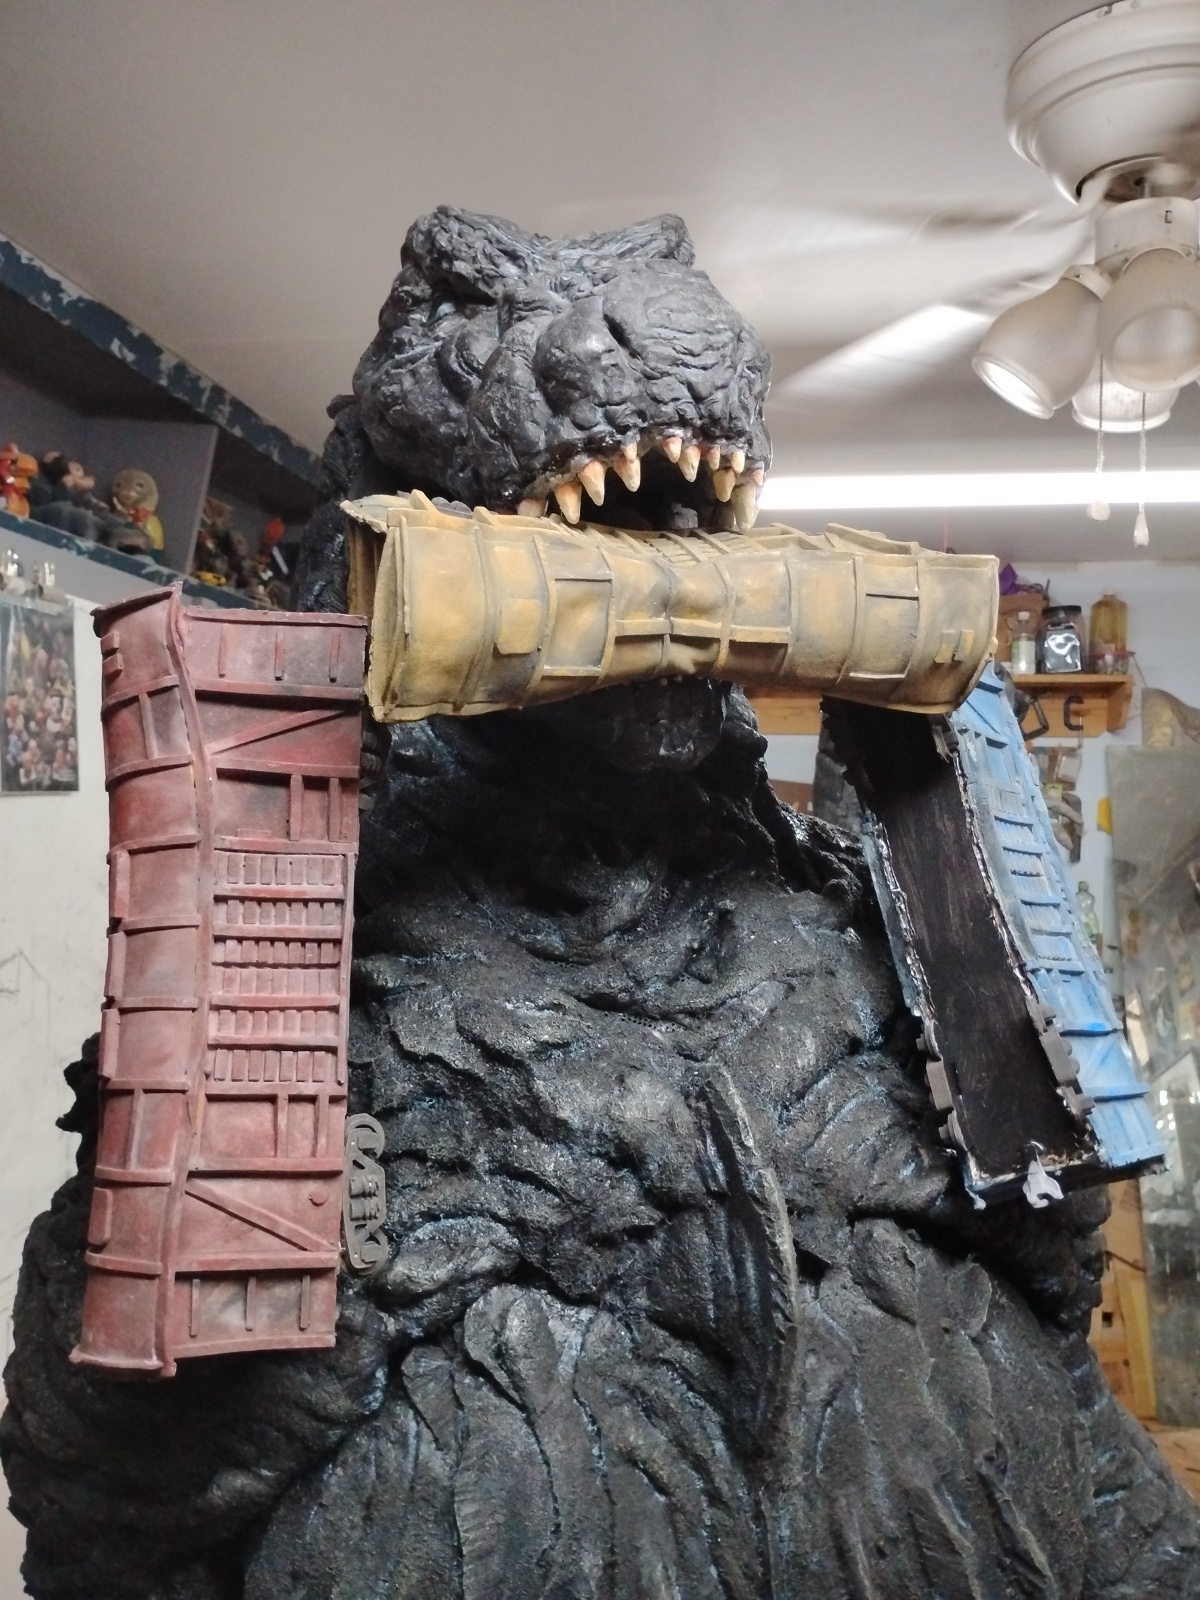
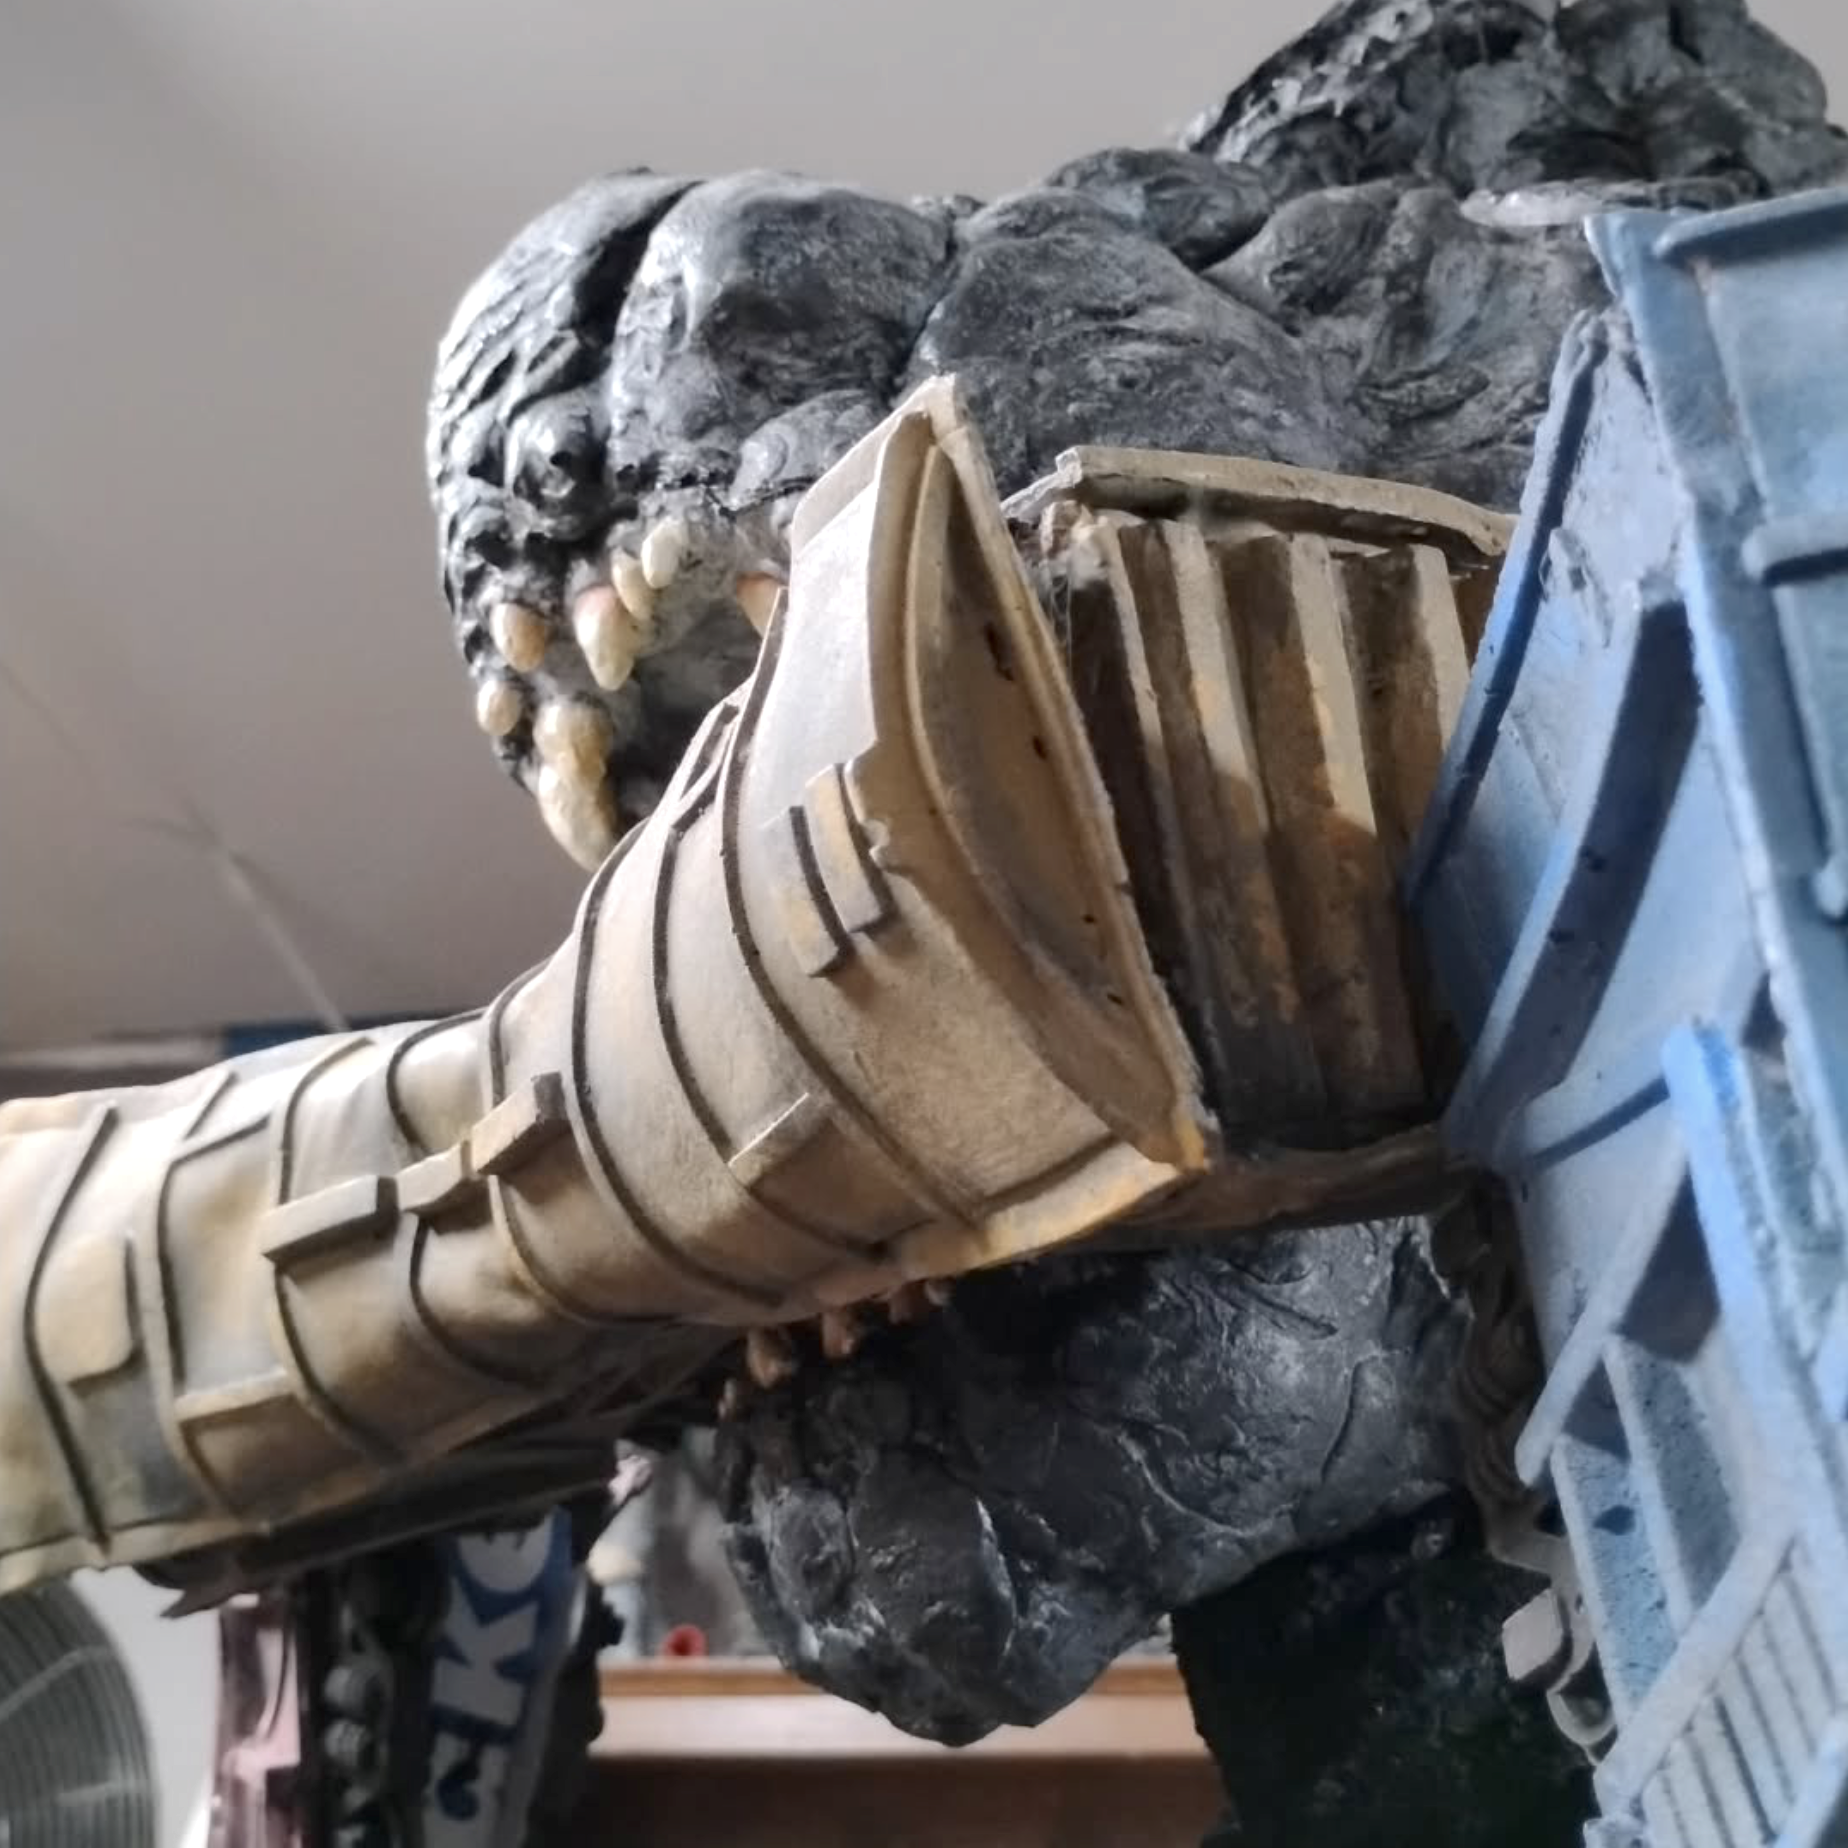
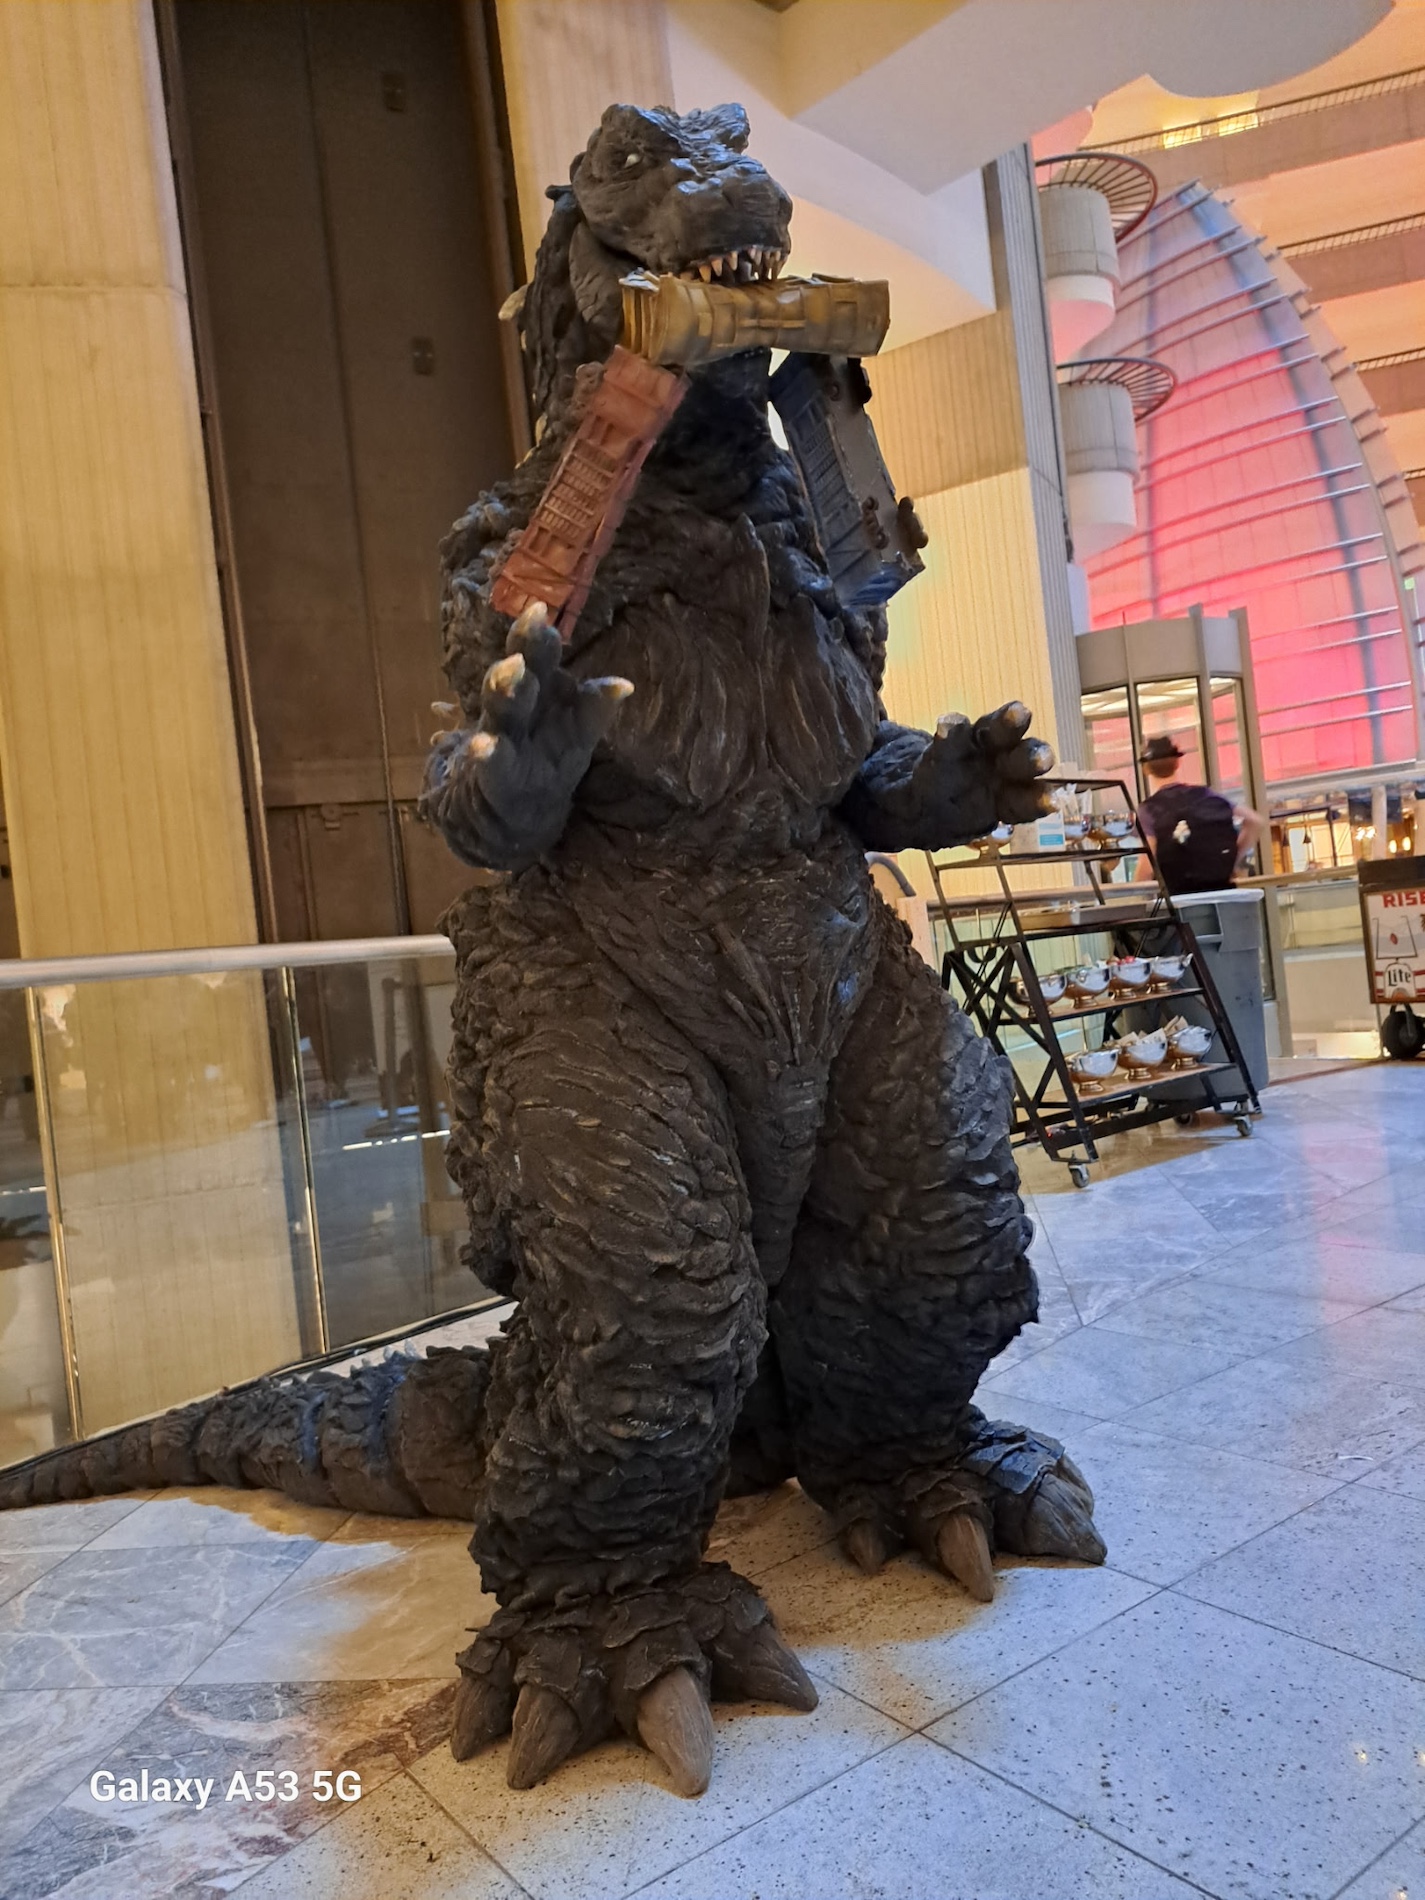
- When I started this project, an early goal was to have a train I could carry in the mouth. I made one side, one end and the top out of thin EVA/ craft foam.
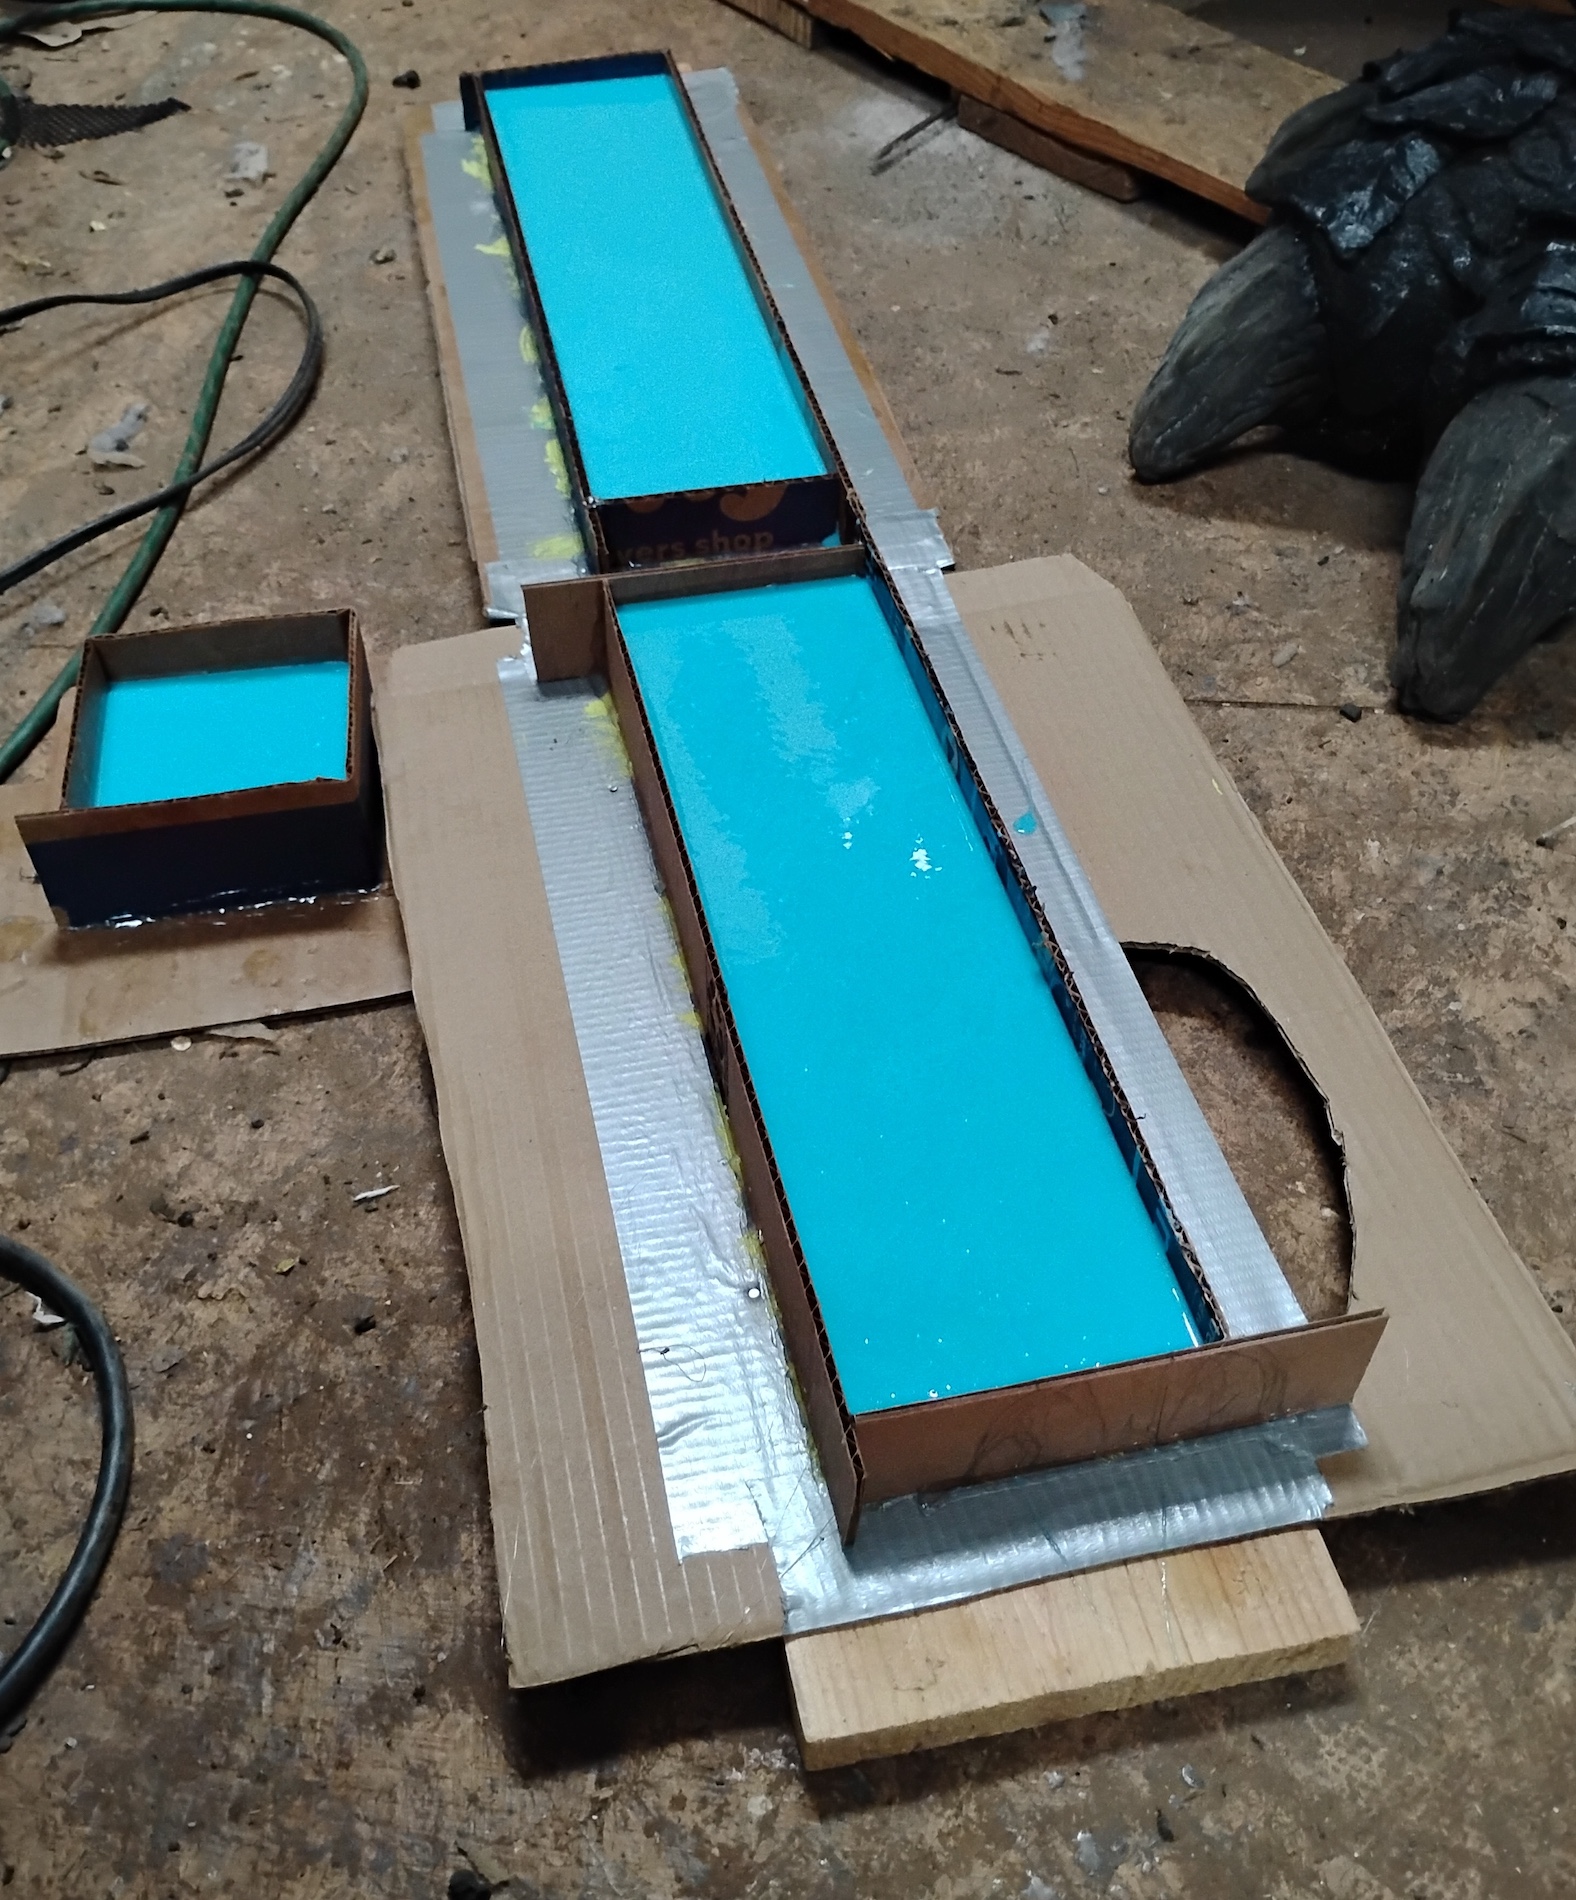
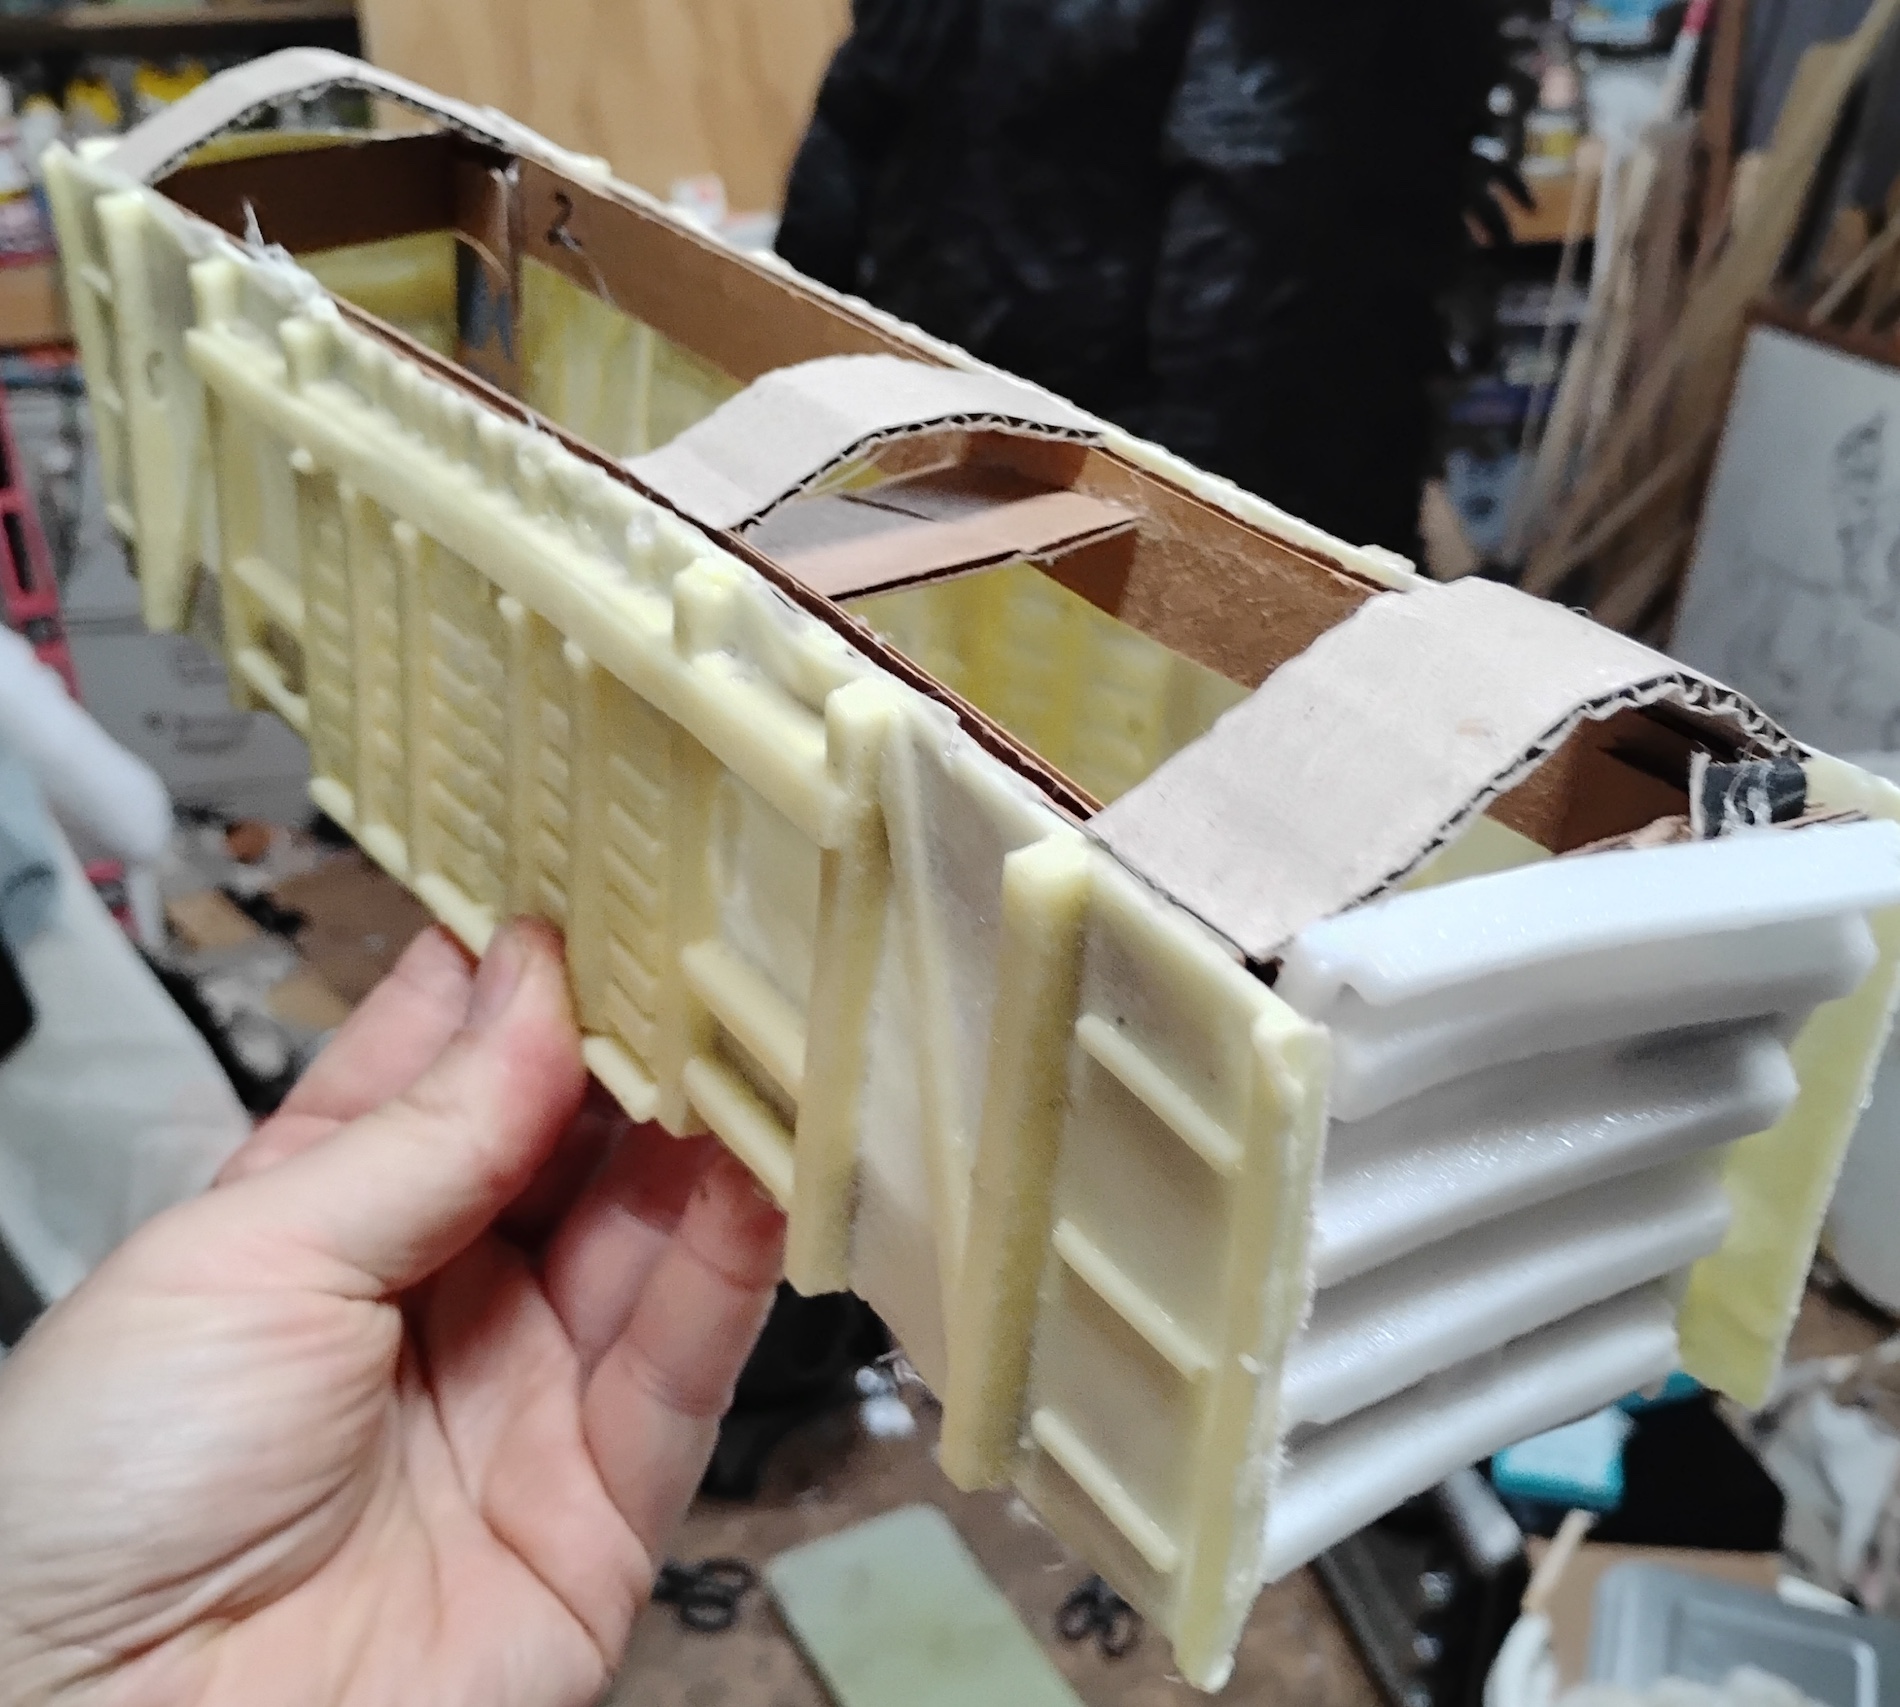
- Using some ancient MoldStar 16 from Smooth on, I made molds of the foam parts.
- I made cardboard frames that I crushed to simulate Godzilla Grip/ bite. I poured Smoothcast 326 into the mold and pressed cheese cloth into that. When the resin started to gel, I’d pull the casting out and drape it over the crushed cardboard frame. Hot gluing held it in place until the resin cured in that deformed shape.
- My first run of train parts were fiberglass and epoxy… the Smoothcast was a lot easier to work with and fairly fast. Lighter too.
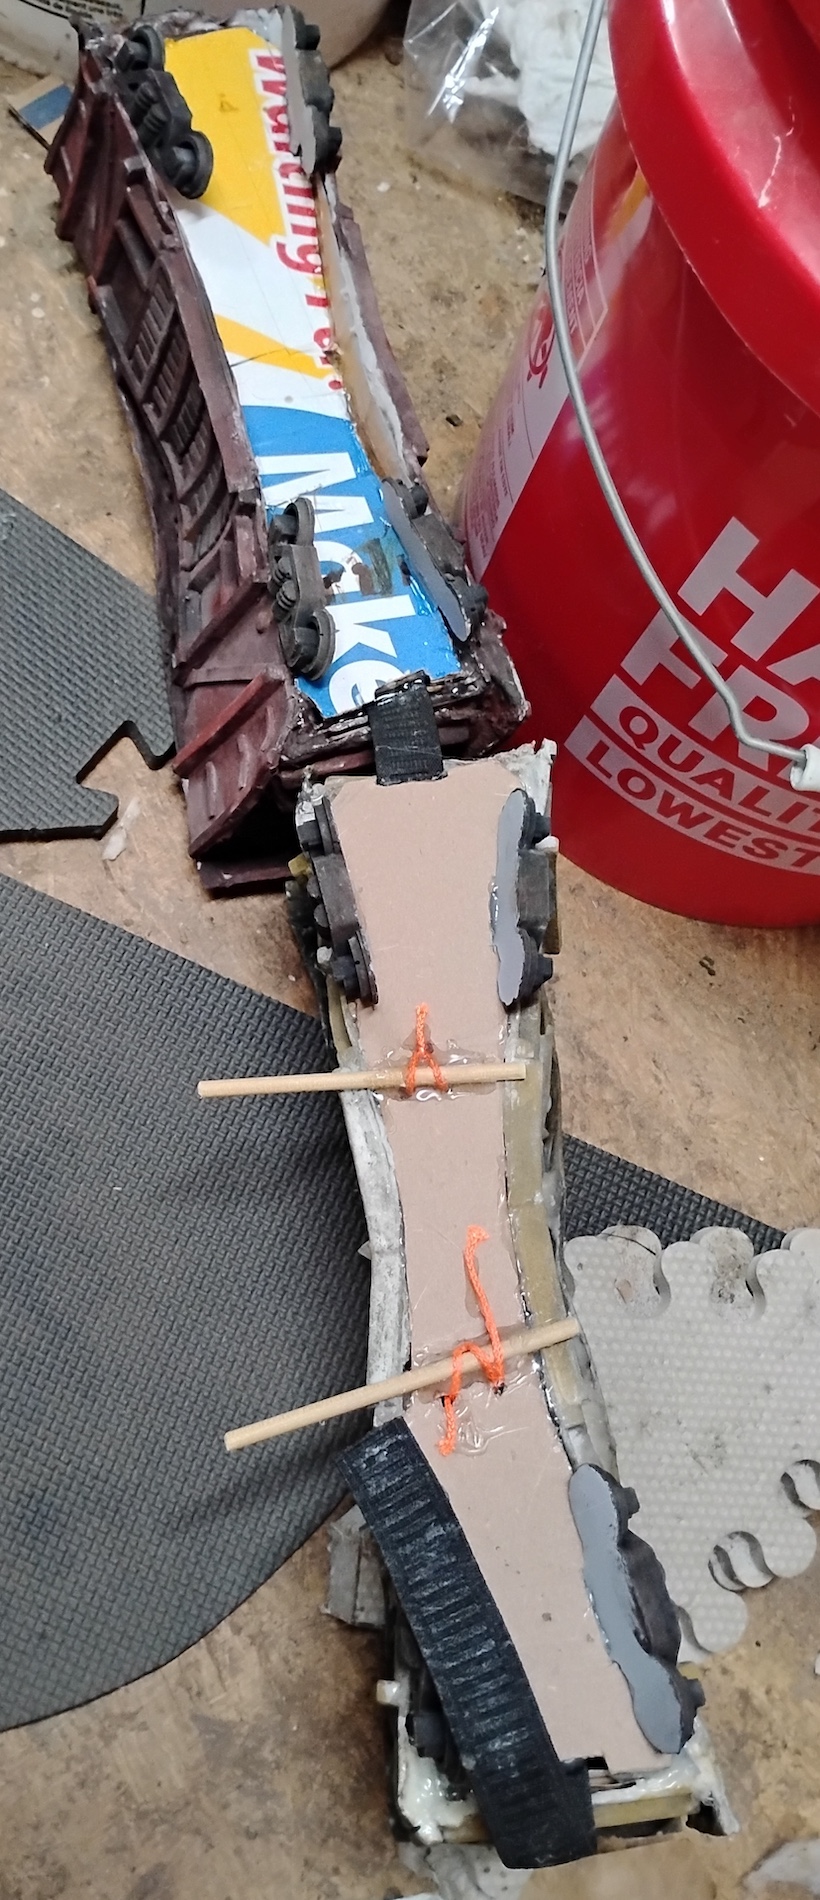
- The bottoms were just cardboard which I may jazz up later. I did 3D model and print wheels that were later molded and cast. The dowels seen on the train bottom interact with holes in the roof of the mouth to keep it in place.
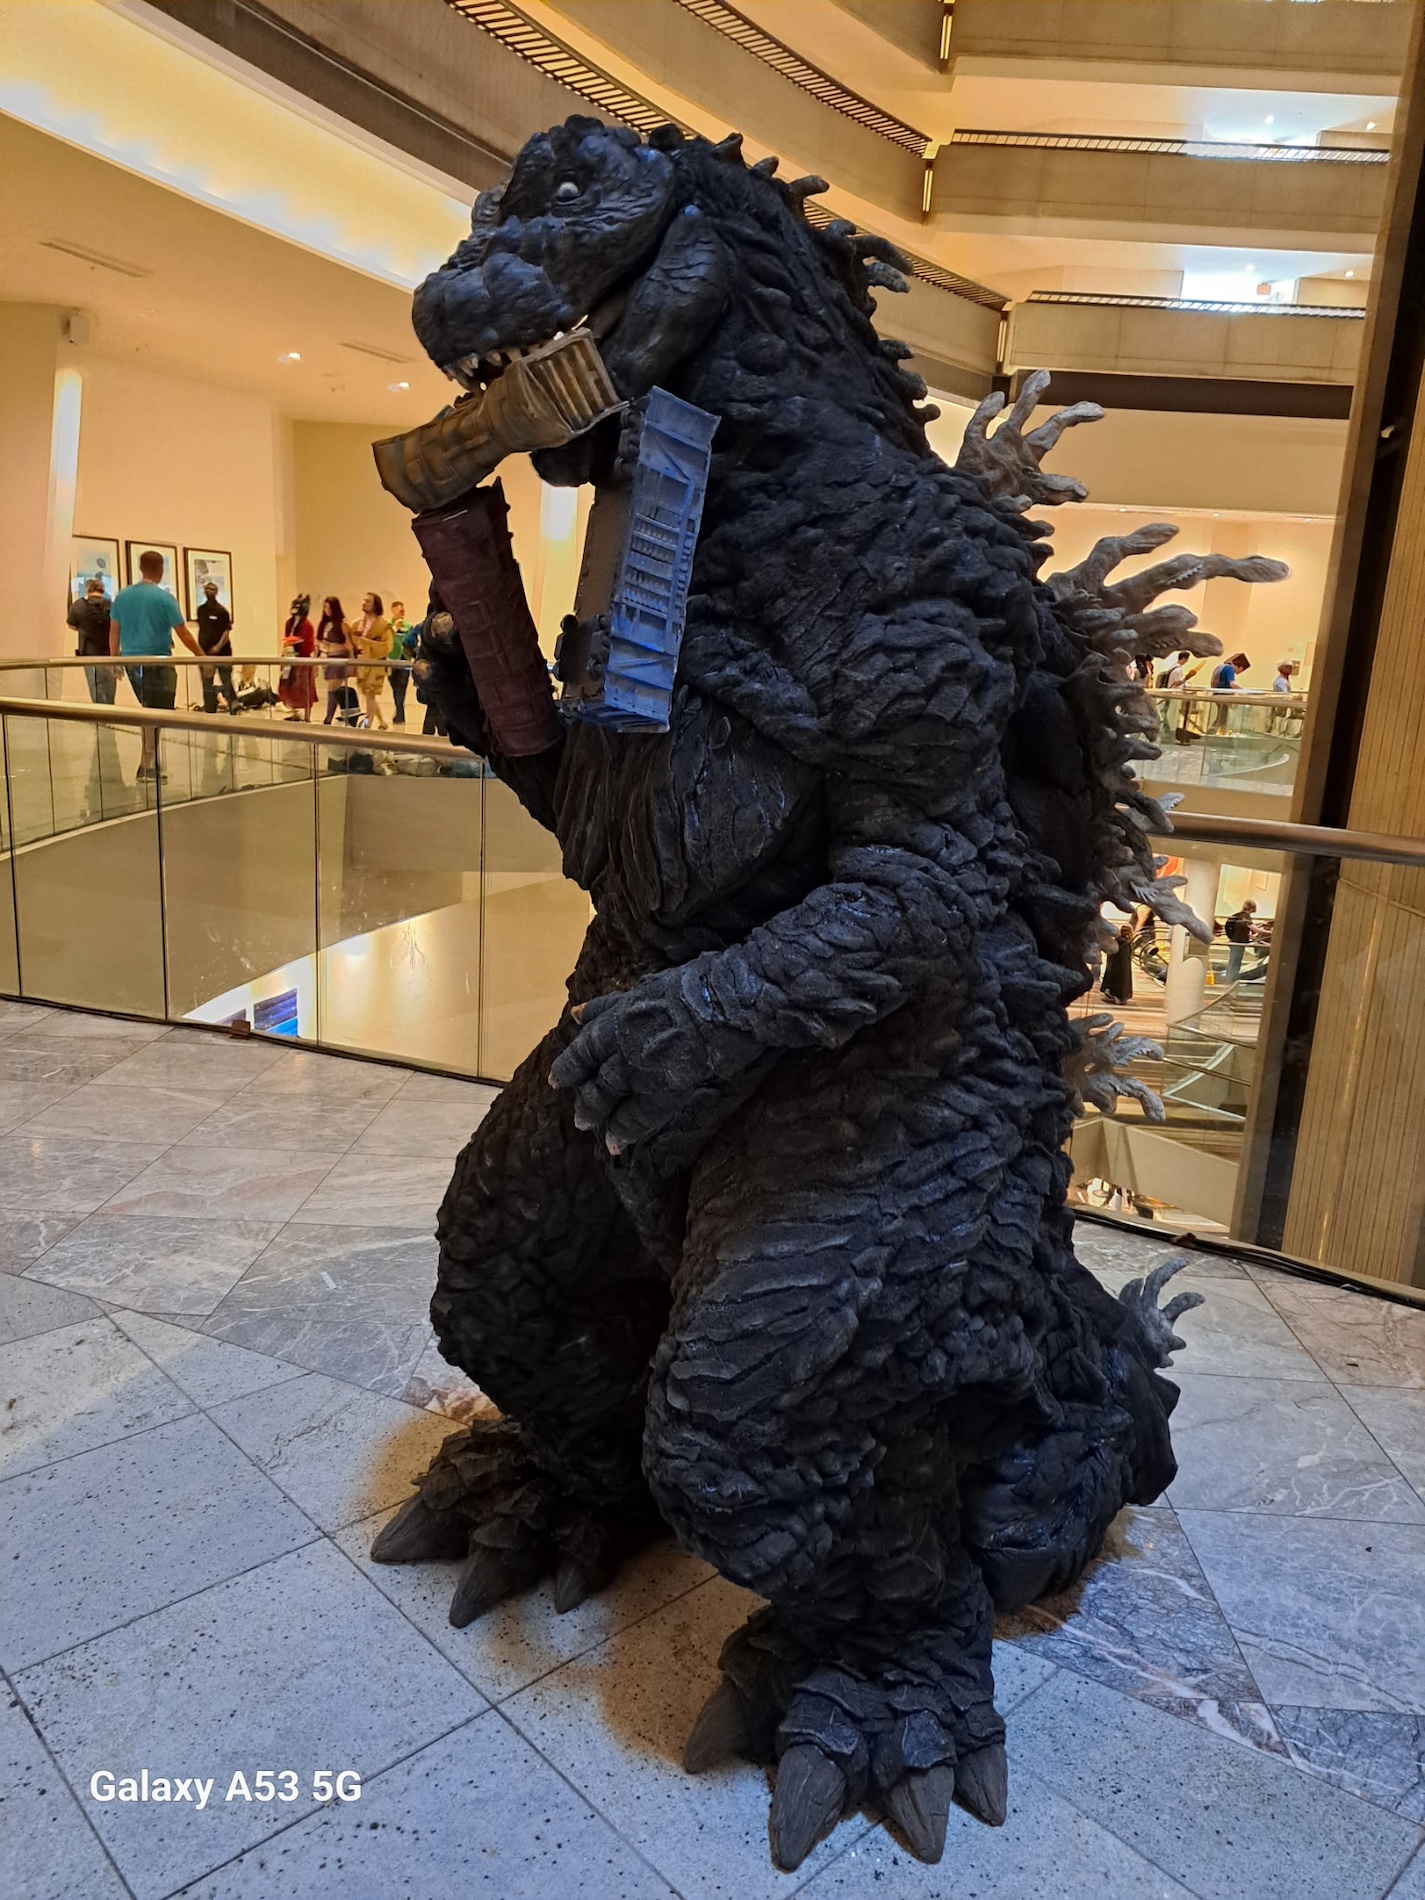
- If I shrugged my shoulders, the train would fall out despite the pins in the roof of the mouth. There are also holes in the yellow car that align with the lower jaw teeth. The dangling cars can snag on the shoulders/chest and push up. It works well if I don’t gesture too much.
- I’m as proud of this dumb train as I am of the suit. It was good for couple-minute sessions of picture-posing but the weight would add up over time.

Links
Contact
Have you already completed your own Godzilla costume and want to feature it here? Then by all means contact me and we’ll work together to add your costuming experience to this site.