Head & Neck
Head & Neck
AUSTIN & ALEX BENNETT’S GALVERA (Inspired by Godzilla)
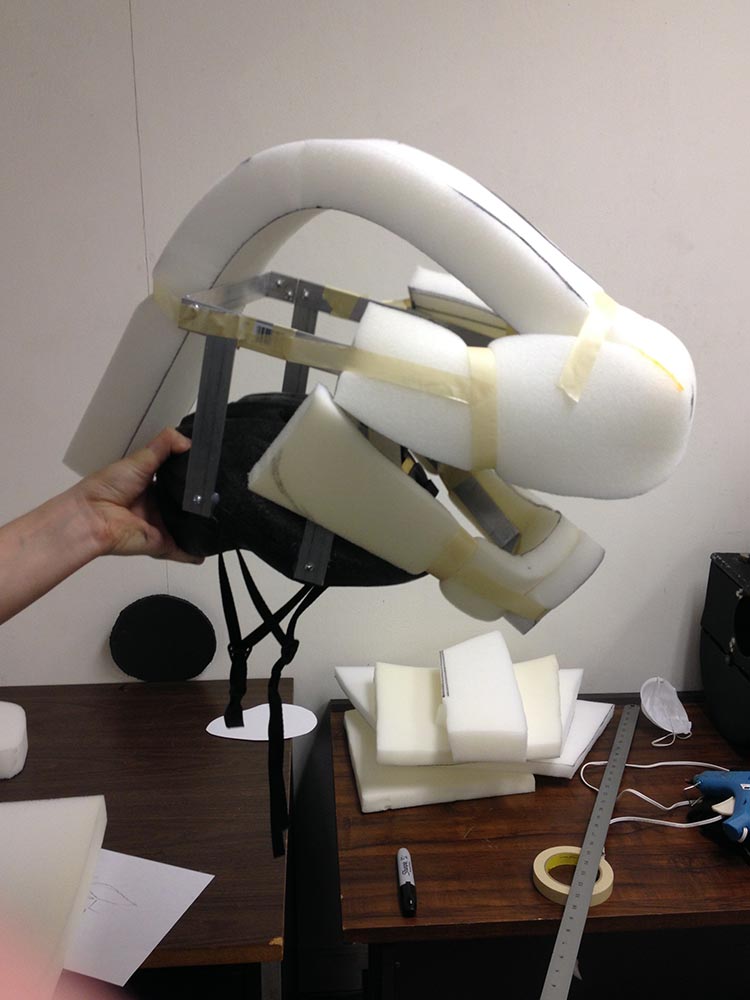
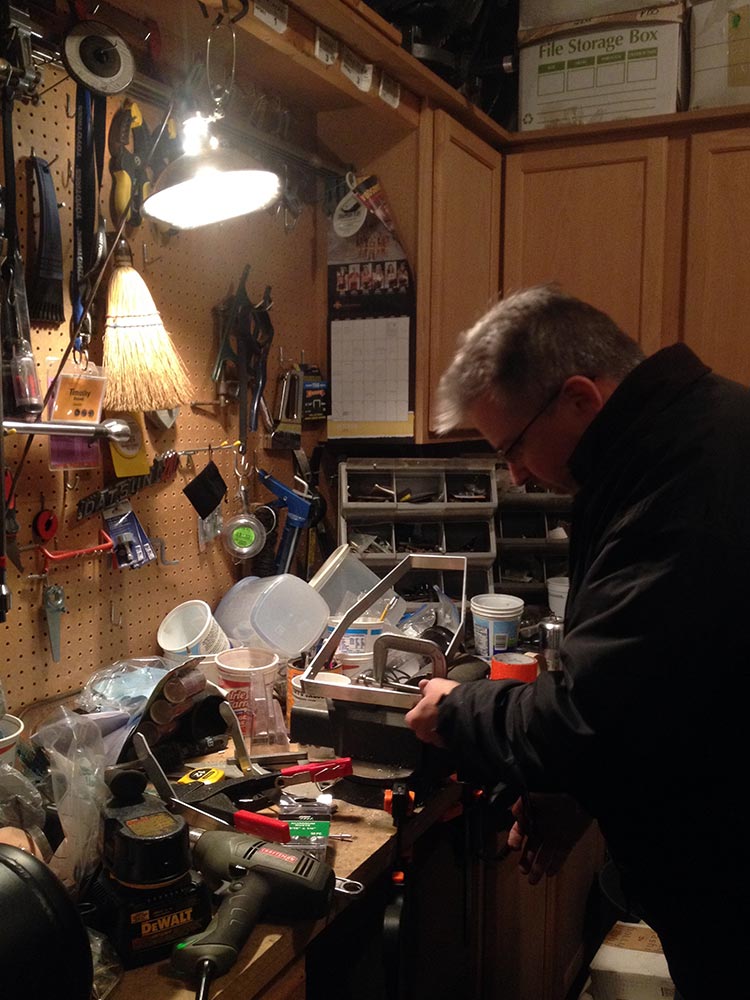 Our dad wanted to help us so he cut a metal frame so we could form pieces of the head around a skeleton. It did prove to be quite heavy, however!
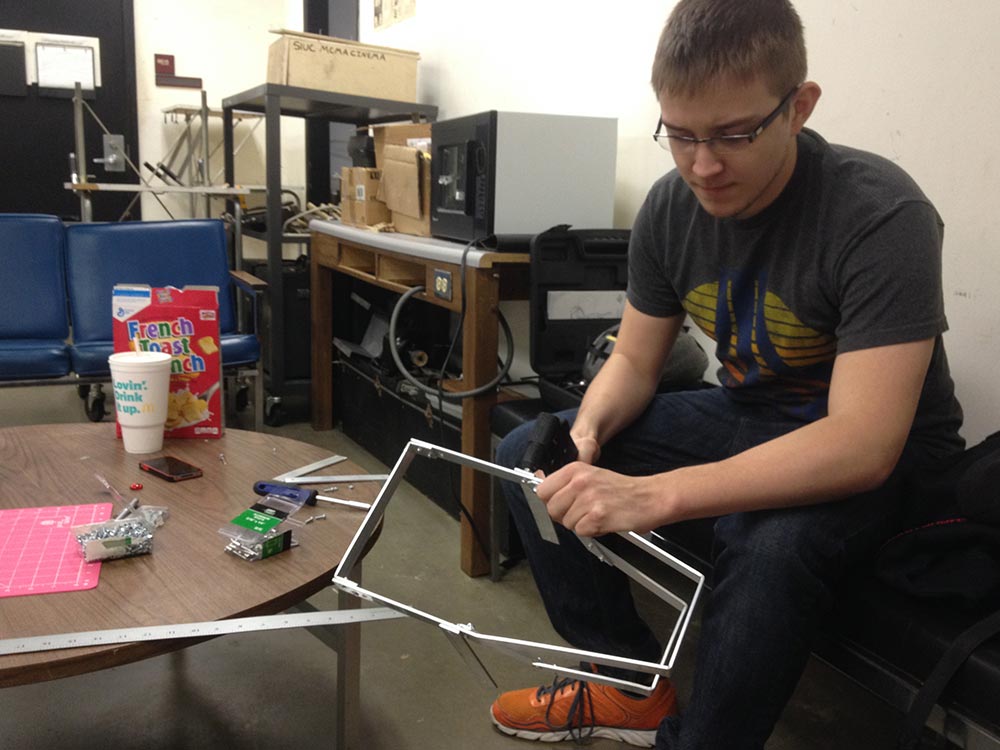 I riveted the pieces together with a rivet gun, and they were still loose enough to move around (with a little bit of force).
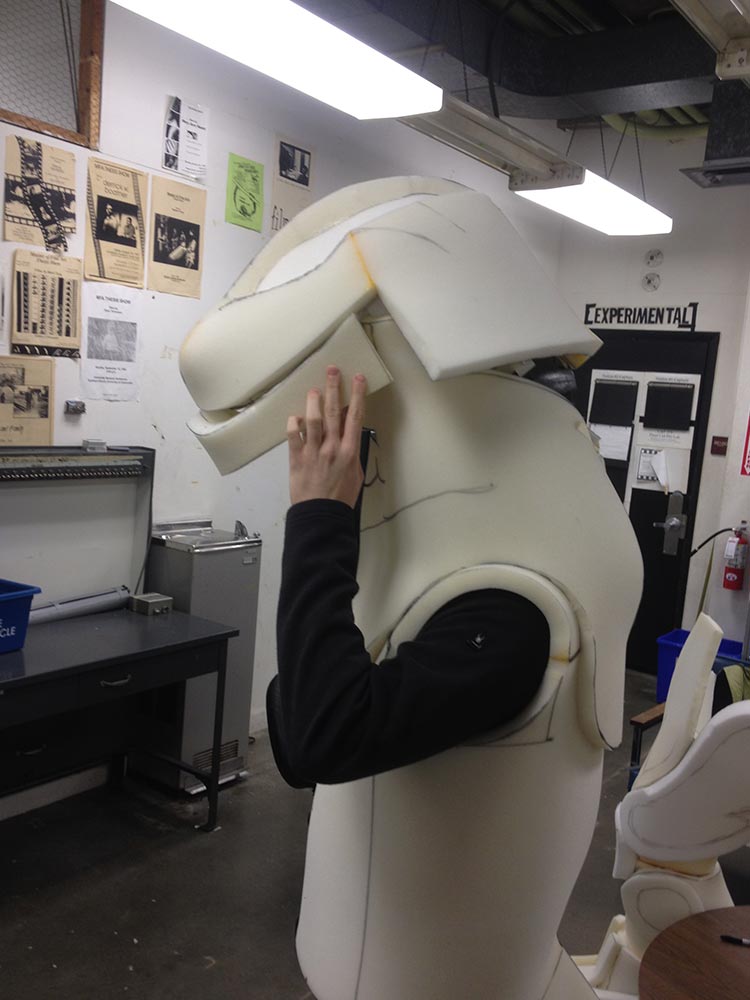
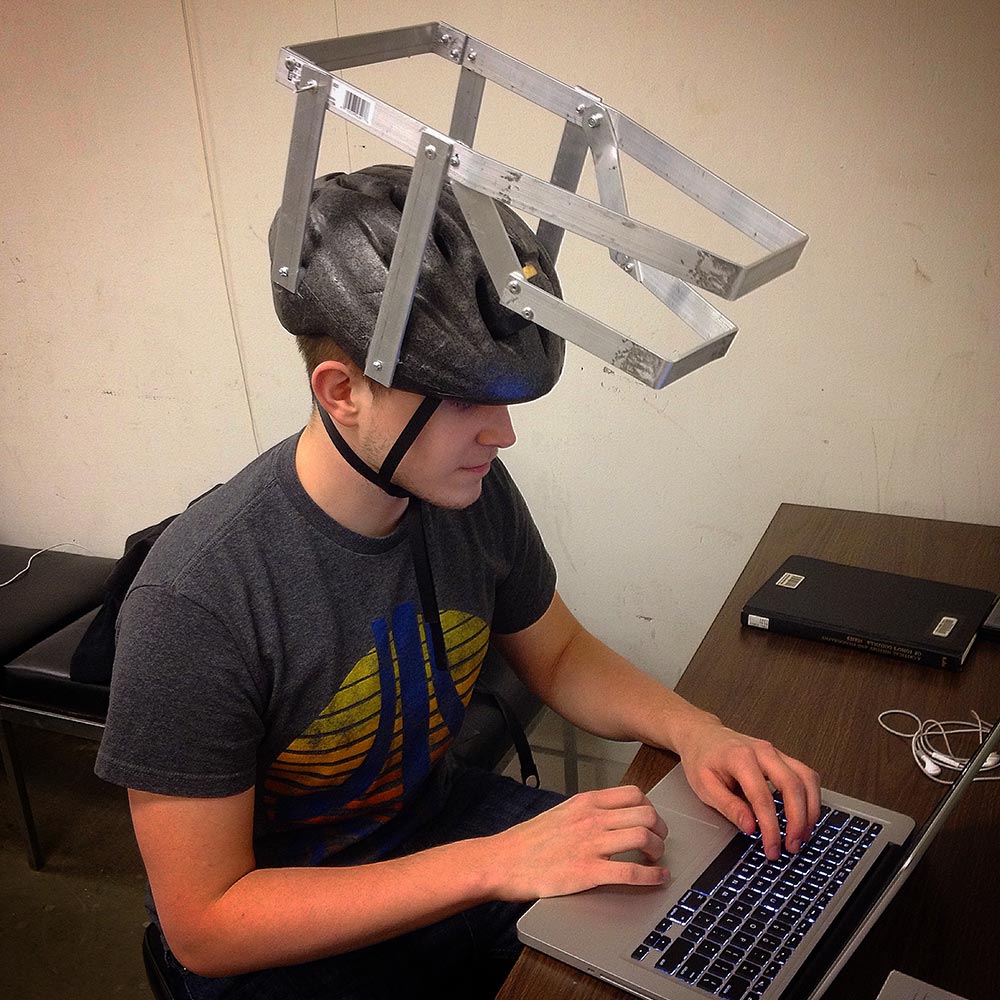 The first configuration had the connecting supports at a right angle with the top frame. This didn’t give us enough room to move the jaw, so we rotated the supports and the new setup proved a little too far forward. What we ended up with was a sweet spot between the two. The supports were also nailed into the helmet and sealed with hot glue, but screws would word just as fine.
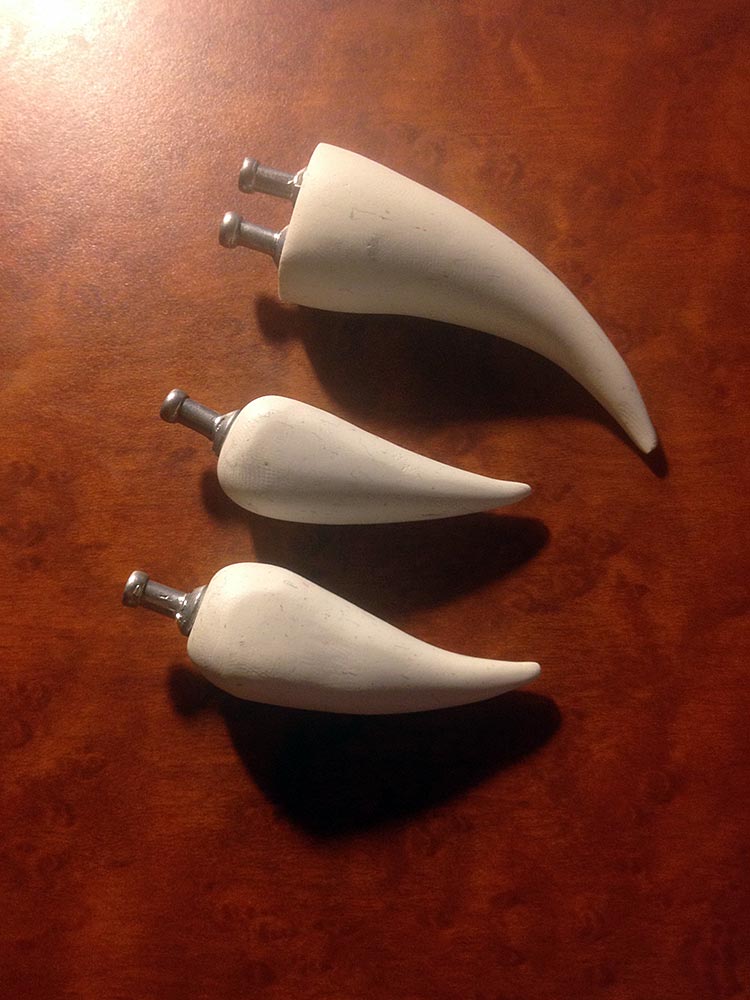 For the teeth I molded a few different sizes out of oven-bake clay-
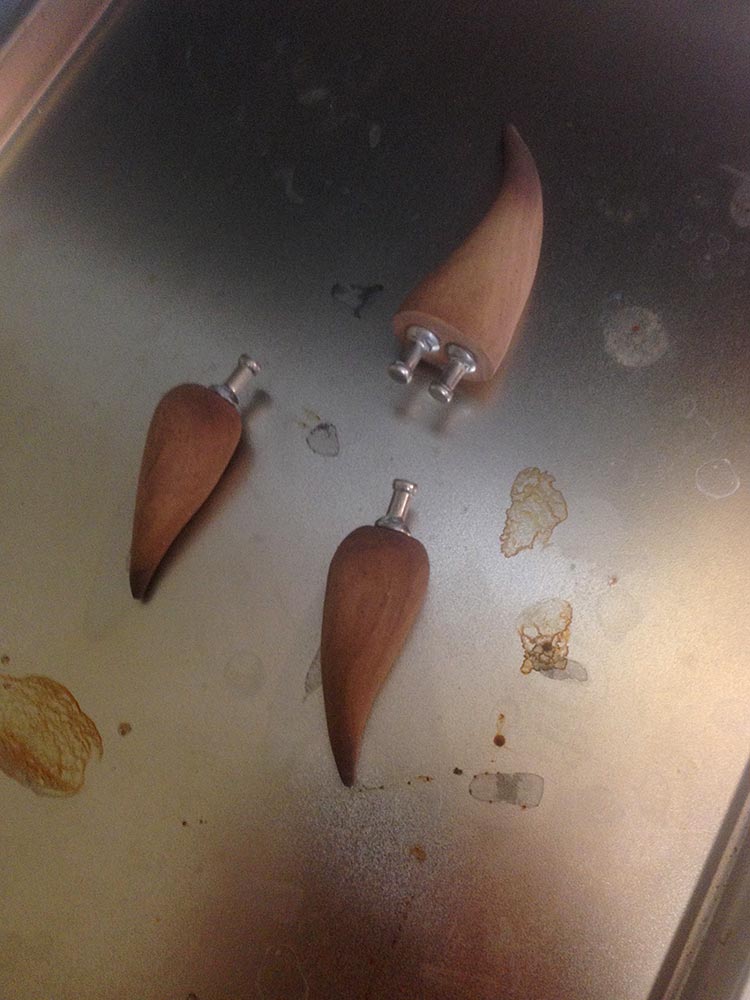 -and baked them til they hardened. They may have burned a little…
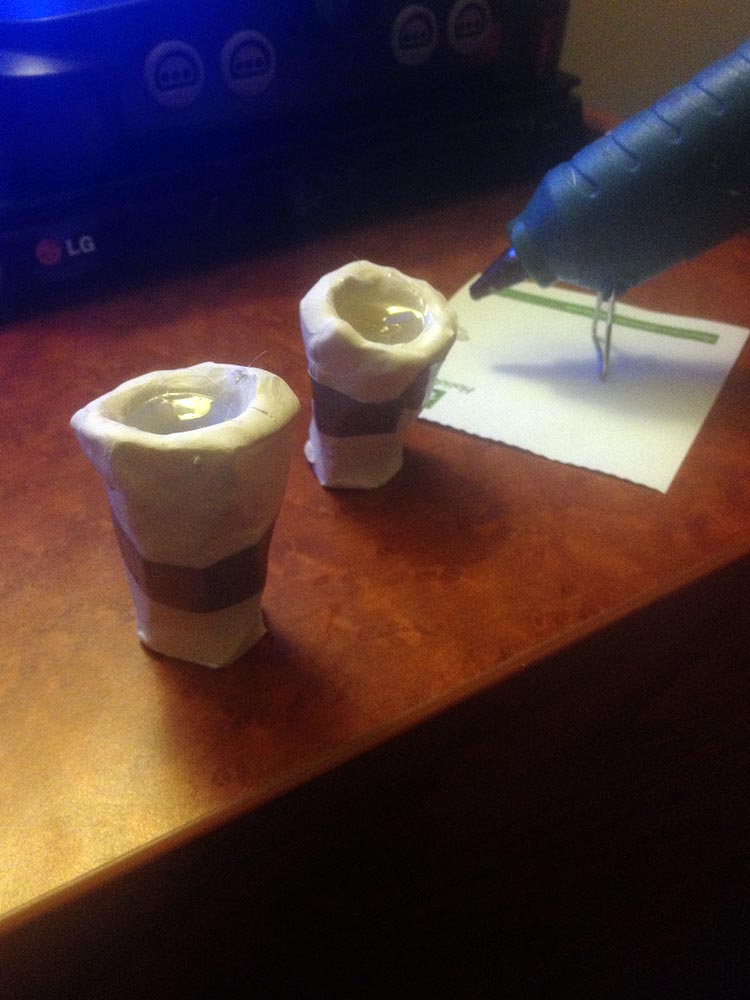 I then pressed the hardened “teeth” into more oven-bake clay, cut away the excess, and removed the tooth to make a imprint and thus a crude mold. Then I coated the inside with vaseline (this is VERY important so it does not stick) and let the tooth/claw cool.
 I cut the mold in half with a blade and pulled out the new tooth. The mold is then reusable, but it may chip here and there, creating deformities in the tooth. To remove these I simply sliced them off the glue tooth, but after a few uses I’d make a new mold to also give some uniqueness to each tooth.
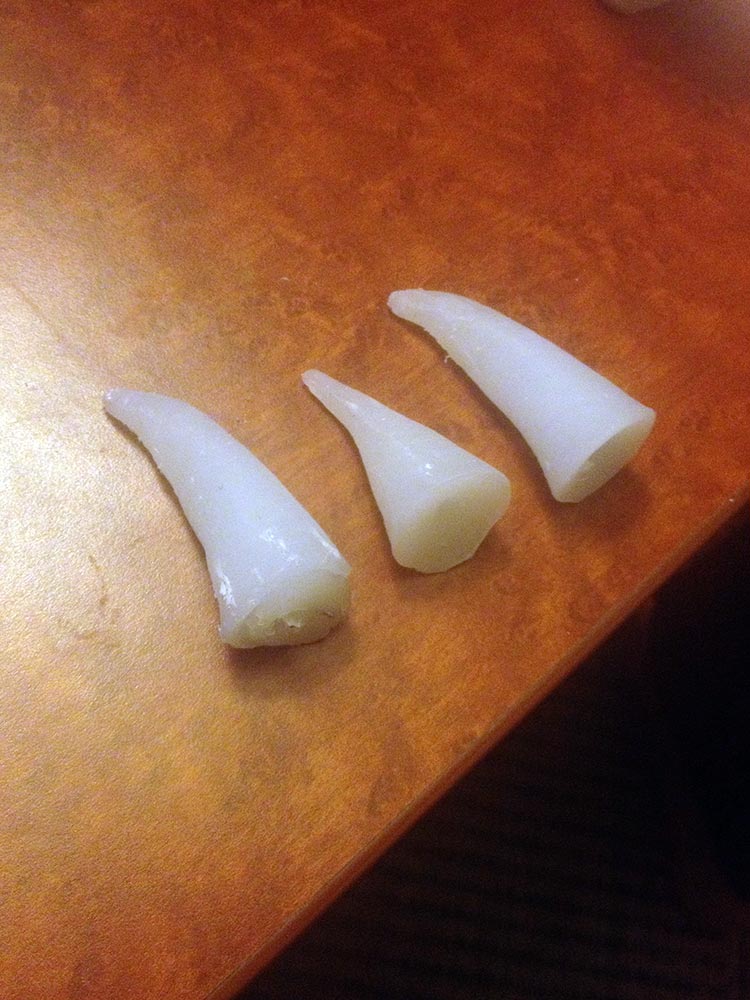 5-6 molds yielded 30 teeth and 8 claws.
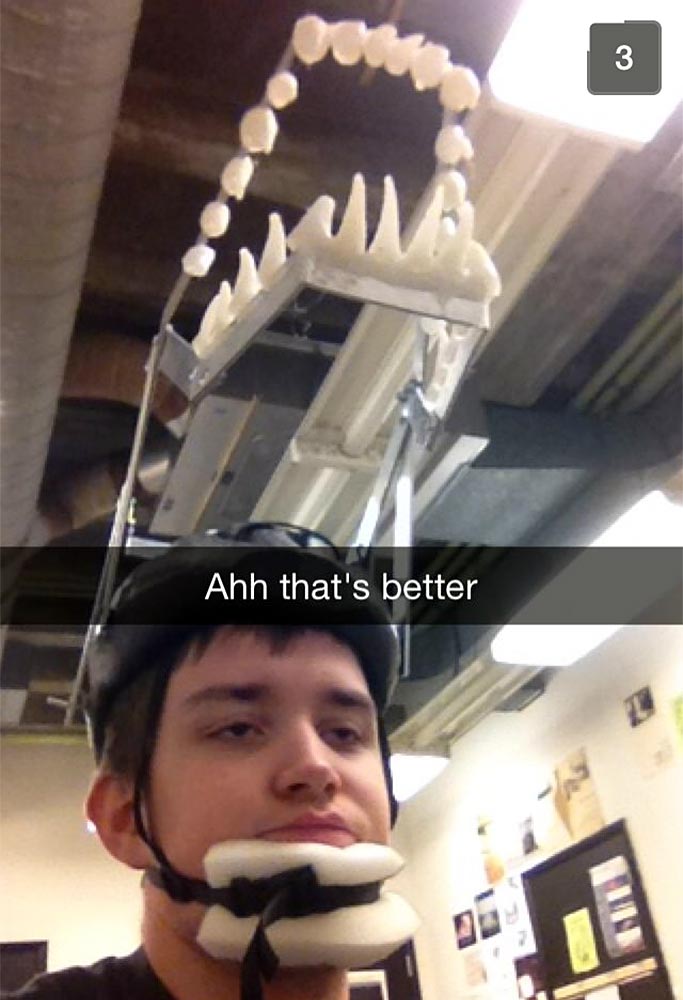 To fasten them to the metal frame I simply glued them to it, also forming gums for the monster at the same time. The helmet was getting quite heavy at this point, but once inside the neck the extra foam support took all the weight.
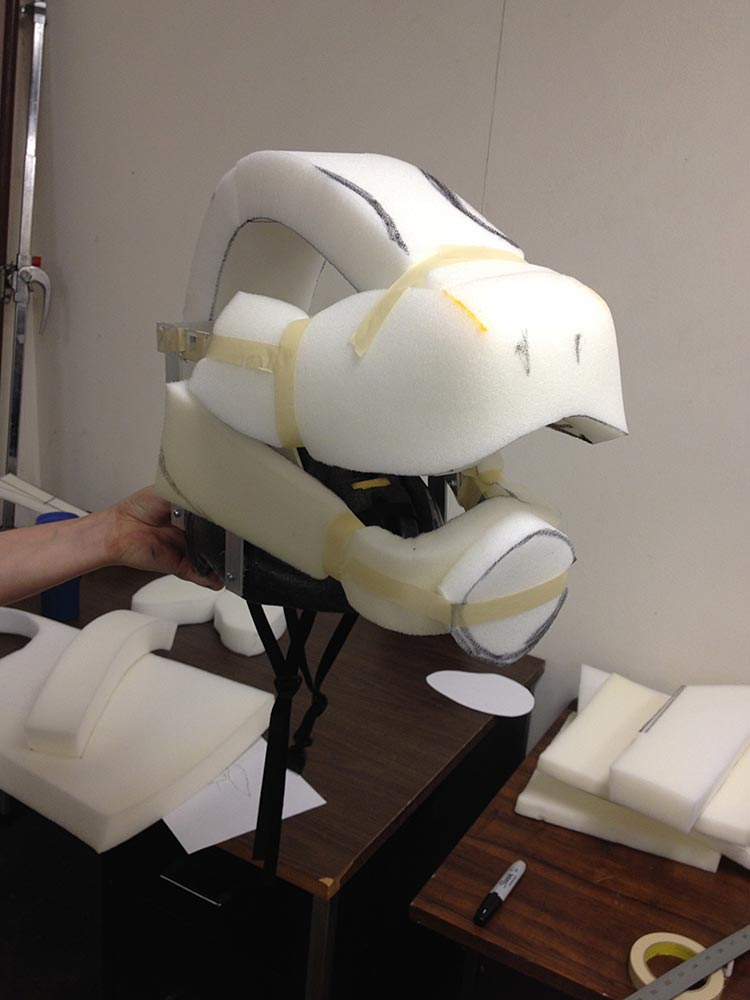
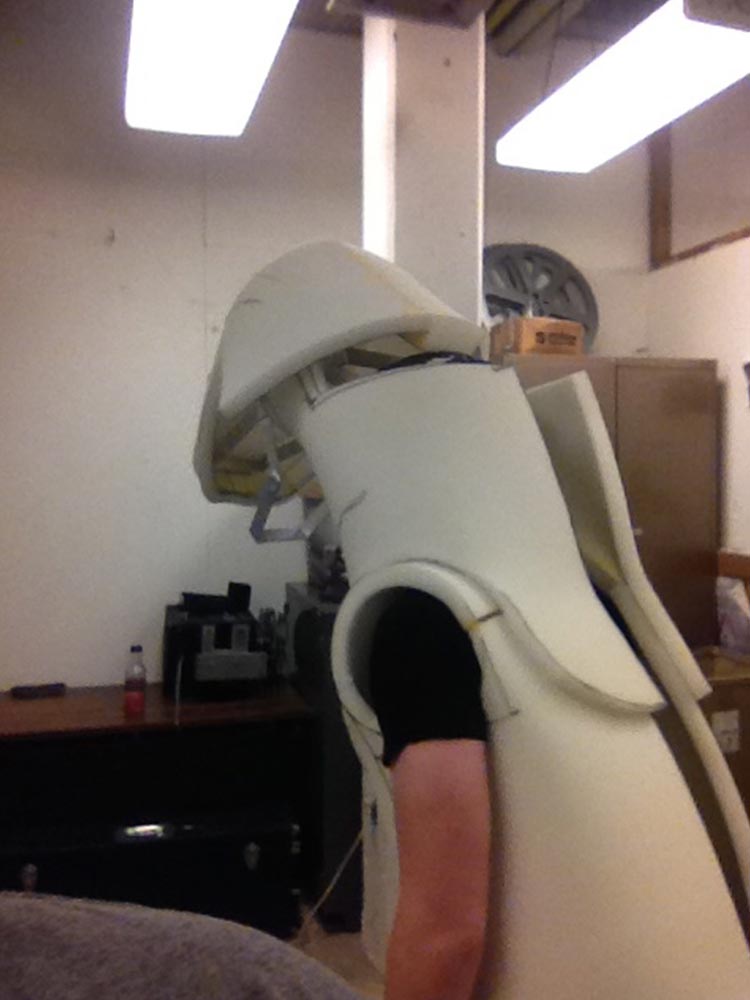
 A crude assemblage of the facial pieces. The snout is one piece, and the arch that leads to the neck is another. This was also not our final configuration of the supports, and you can see elsewhere how we made the head tilt forward to allow the jaw to have some room.
 It’d be nice to see…
 These next three pictures are of the head a little too forward. Shortly after this we found our sweet spot.
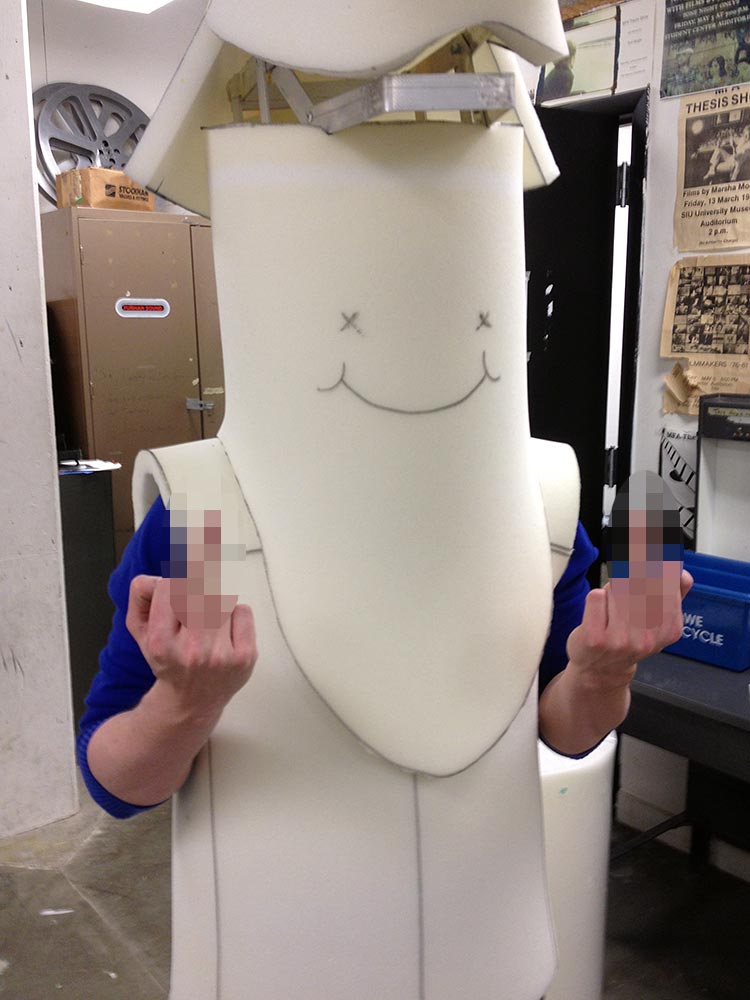
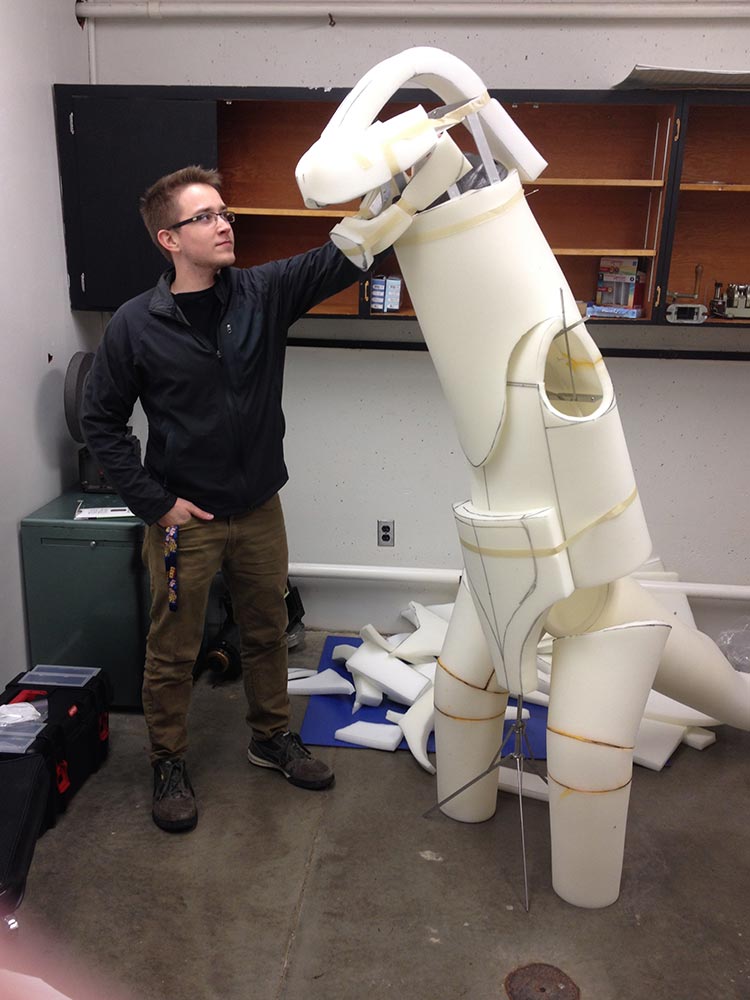 Height check.
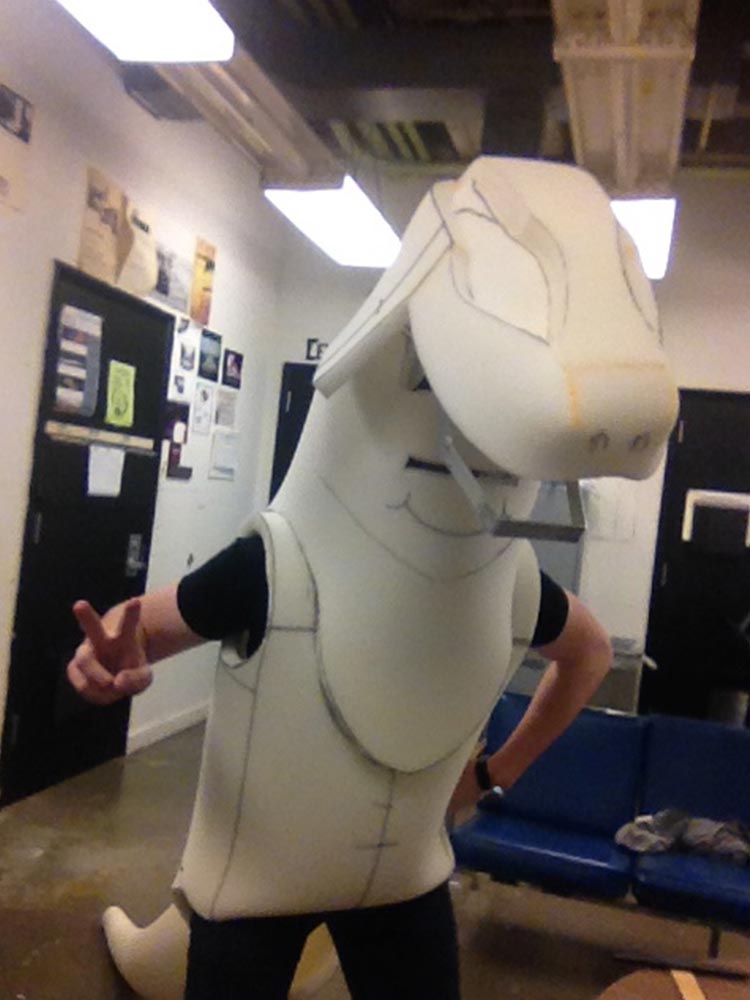
 Finally looking like a dinosaur. We remade the jaw from the previous pictures as well, and sealed the bottom of the jaw with a piece of foam that matched the curve of the jaw. Sometimes there is no exact way to calculate the shape of a piece and we’d just have to trace or eyeball it to make it fit the best way.