King of the Monsters
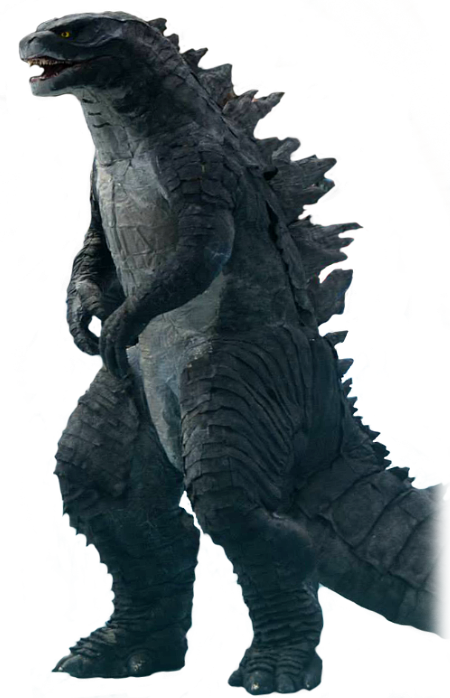
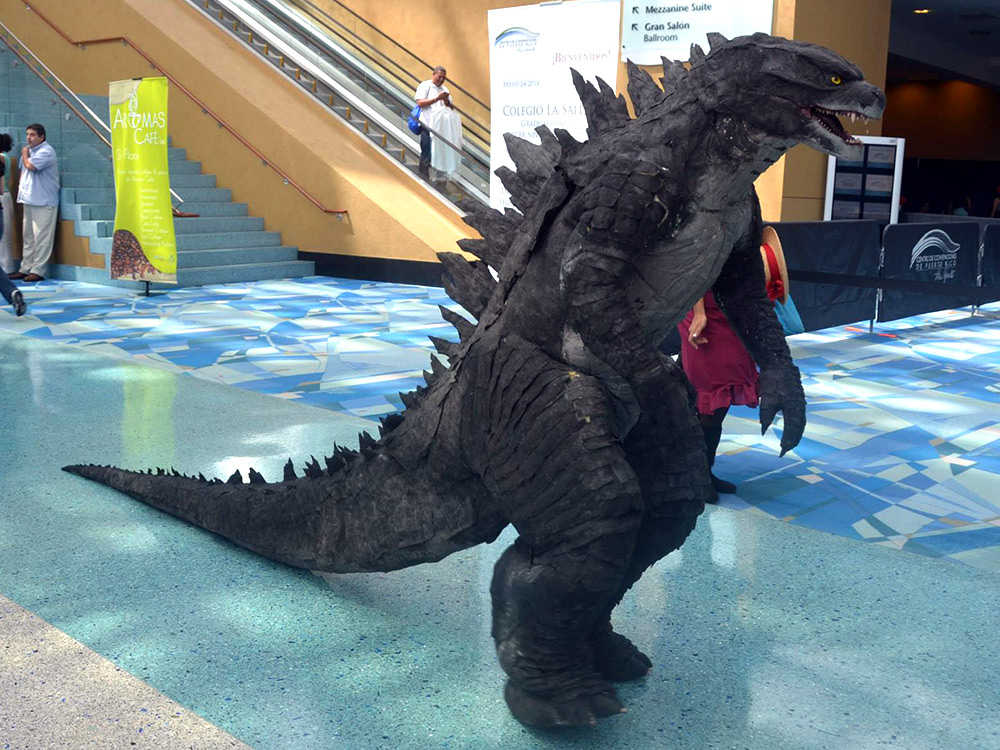
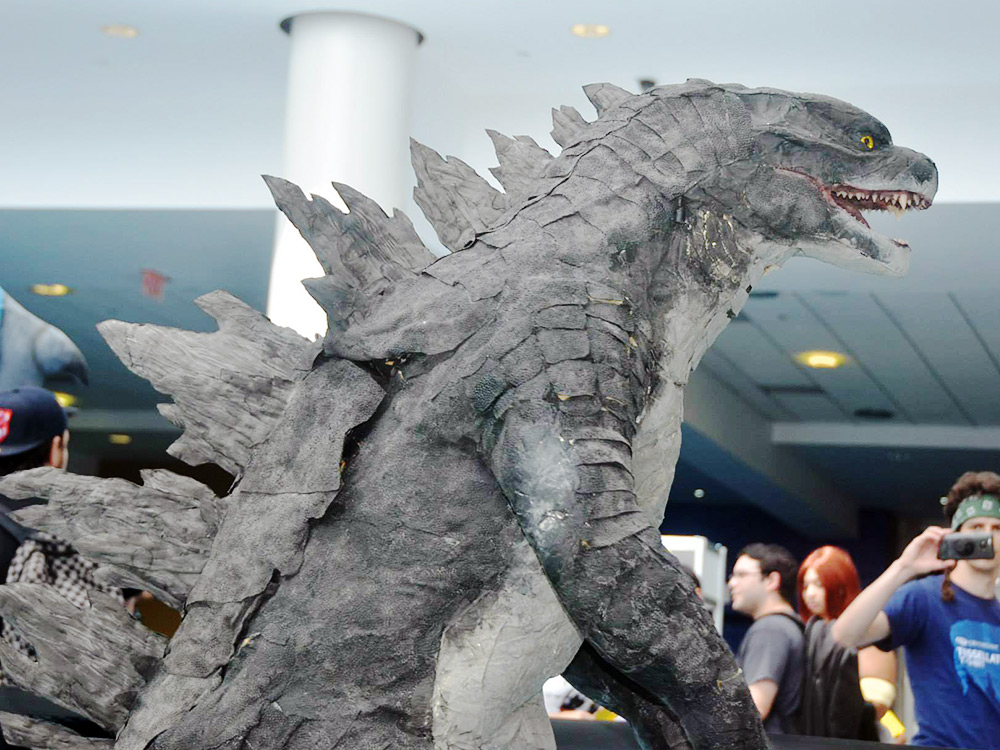
Sean Sumagaysay's Godzilla 2014
“When Legendary’s Godzilla was officially revealed to the public at Comic Con 2013, it then came to me: What better way to celebrate the return of the beast than to make my first costume based on the new flick? And so, Project: NAUTILUS was born.”
— Sean Sumagaysay
BUILDING THE COSTUME
Click the thumbnail image for the larger view, and below the large image you will see the description… enjoy!
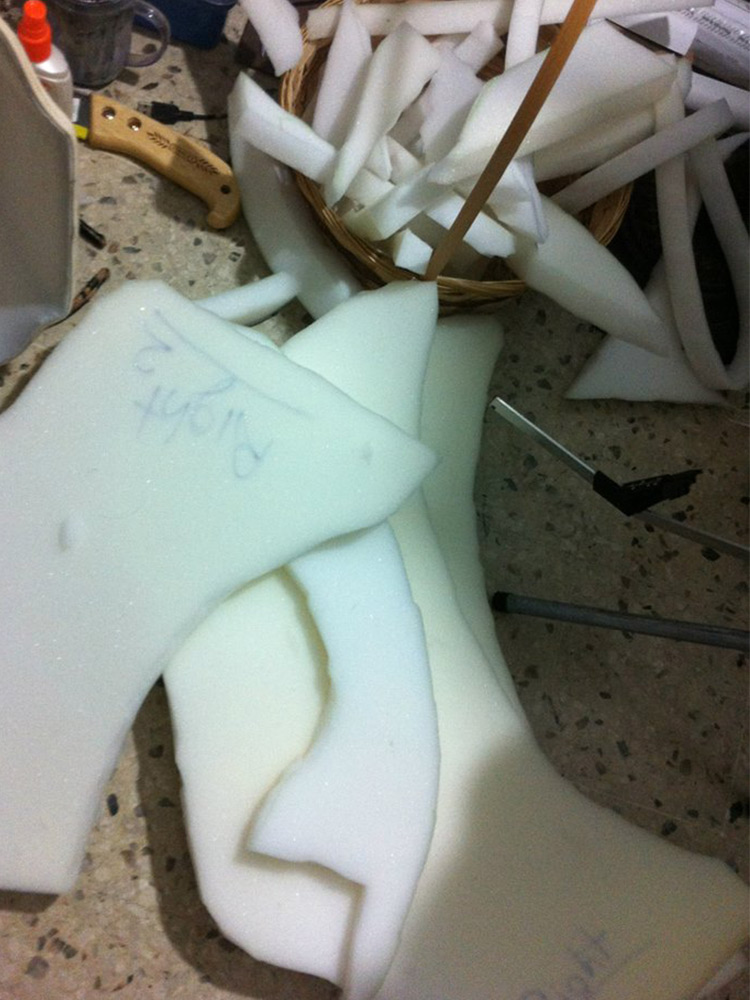
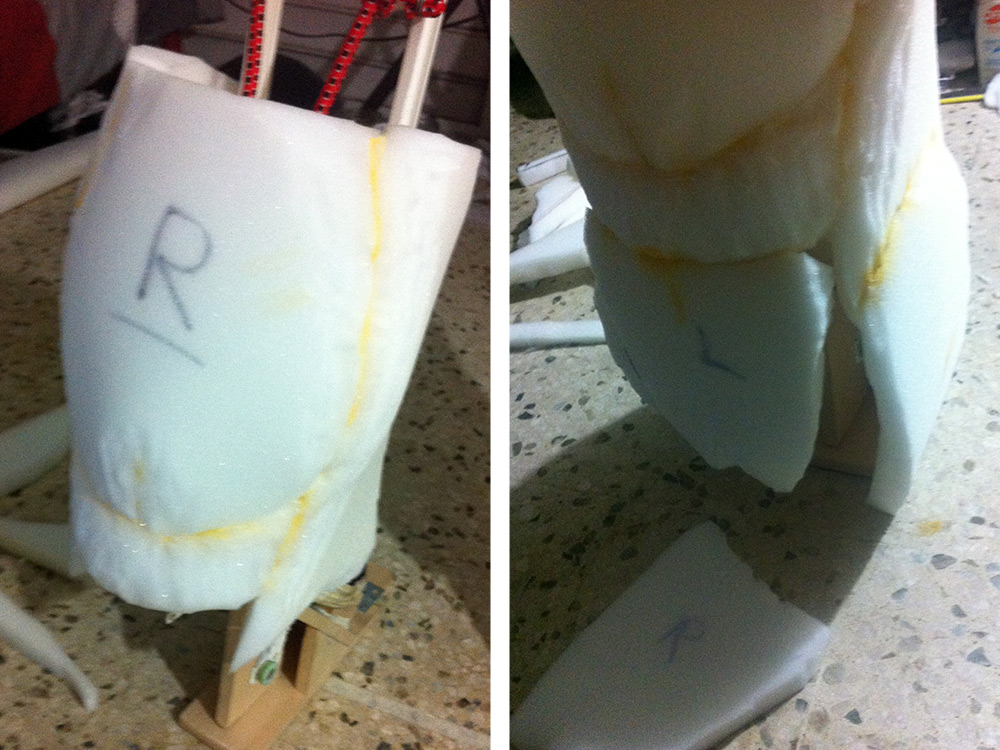
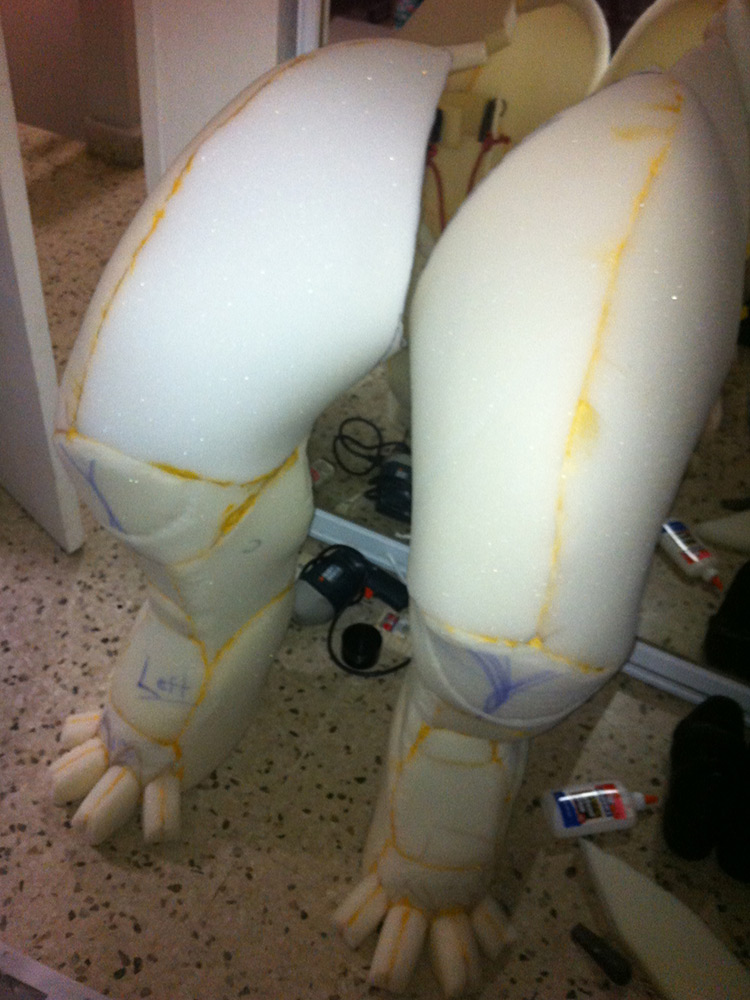
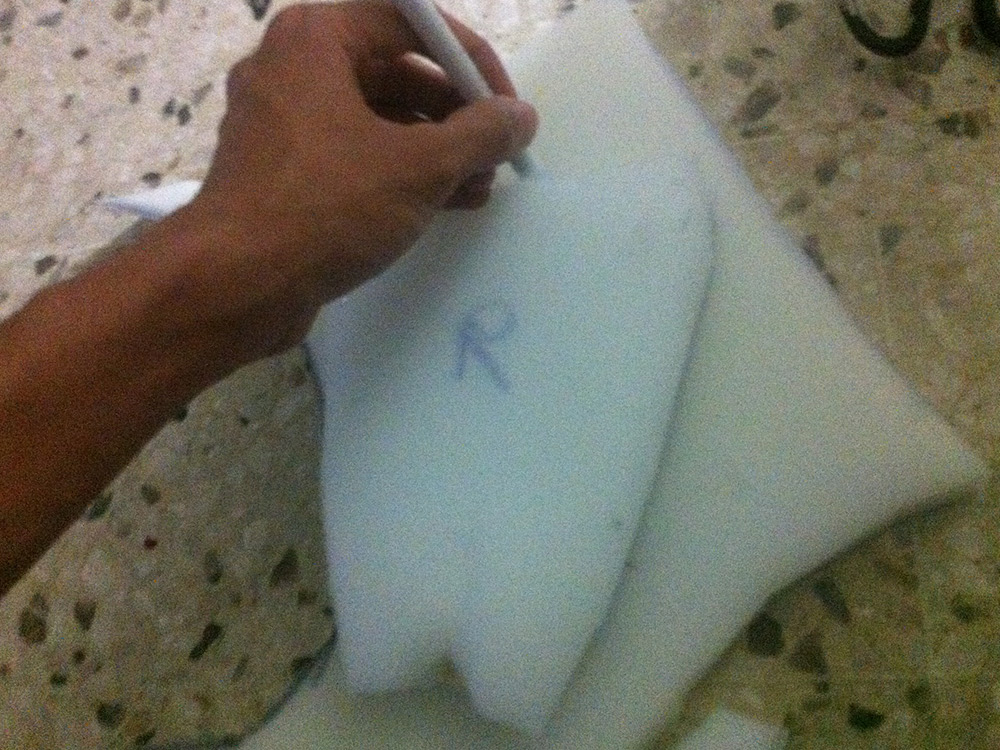
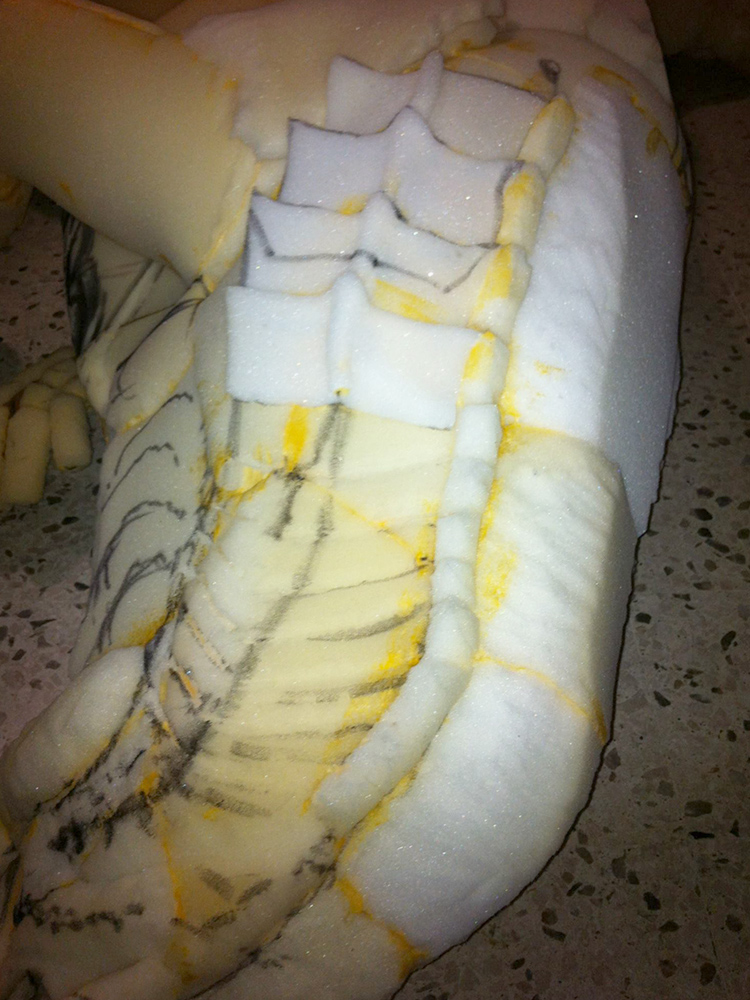
Patterns for Legs
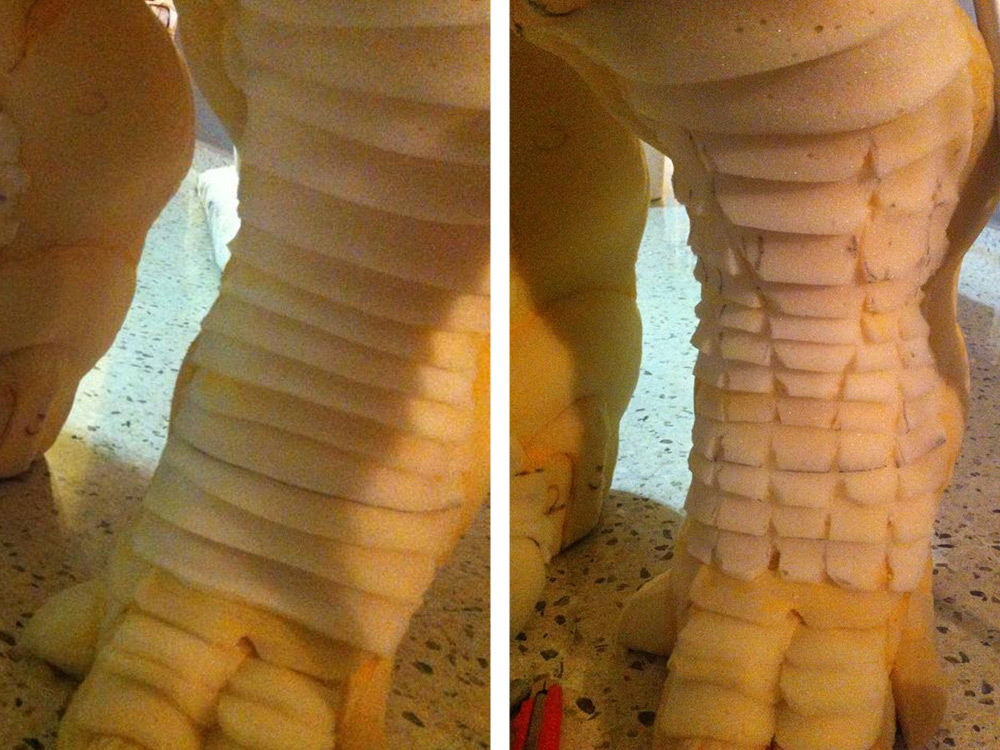
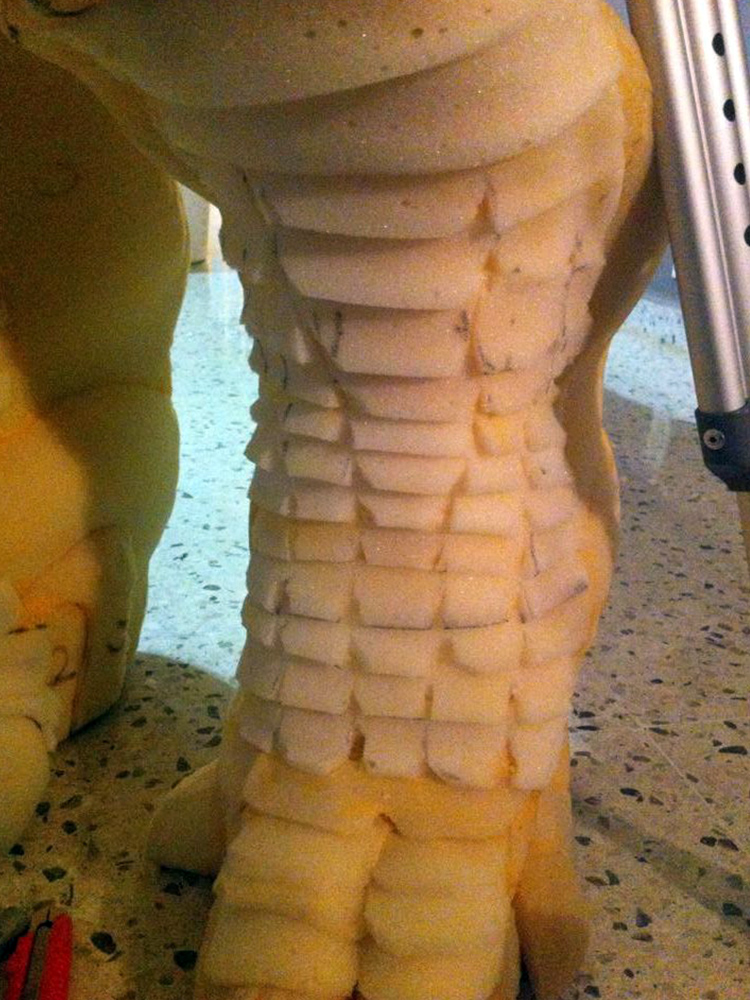
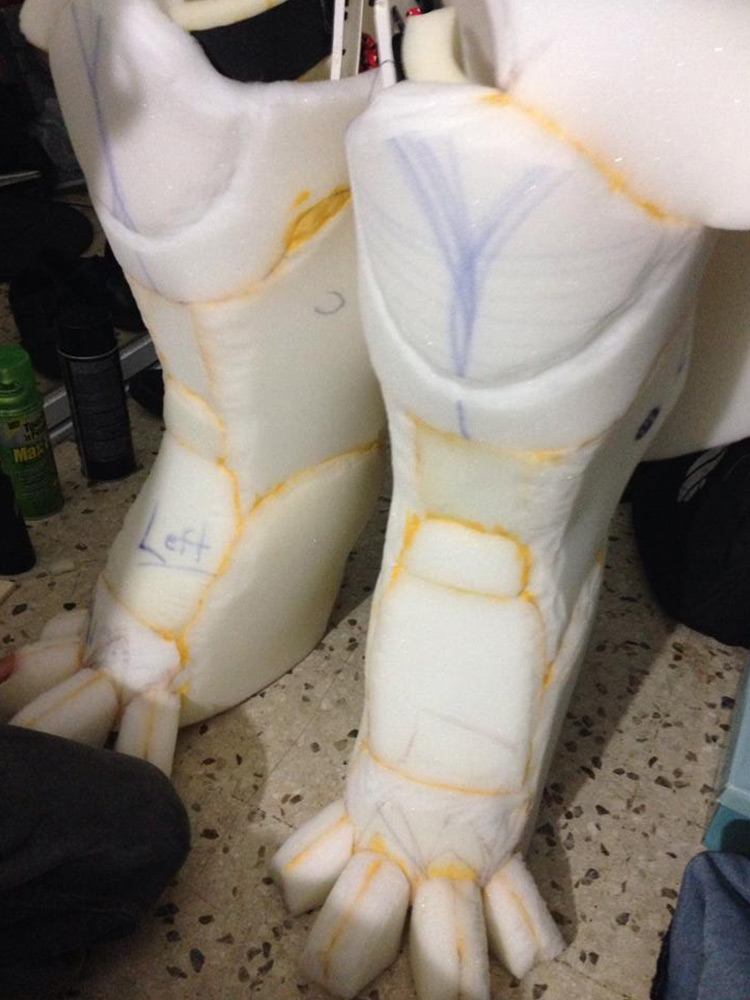
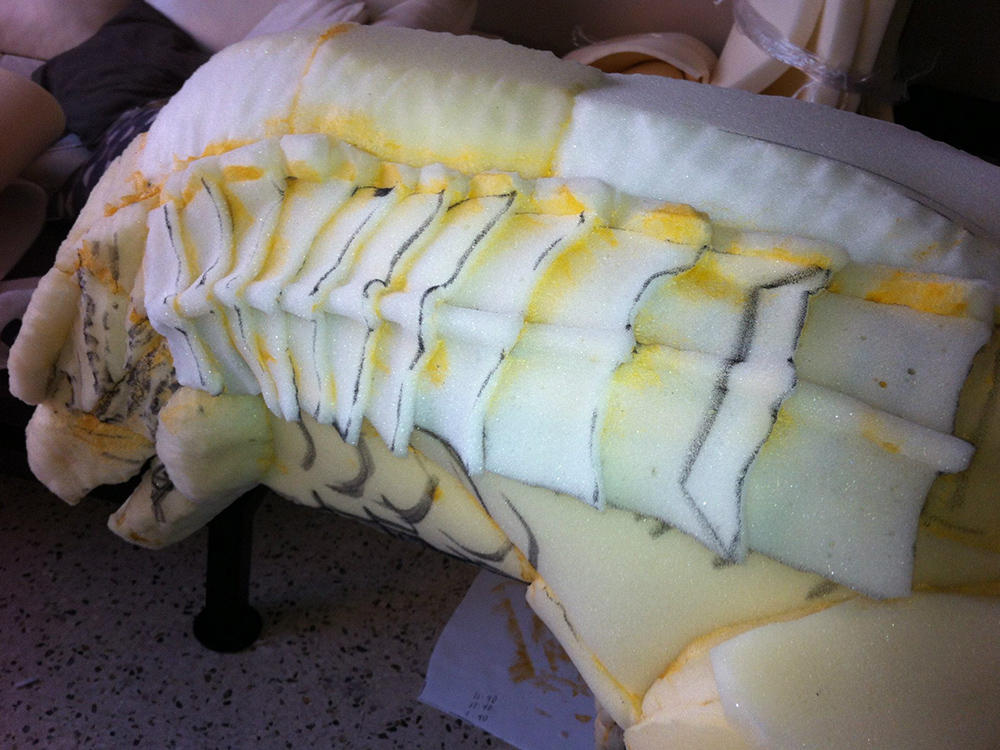
Scale Patterns Added
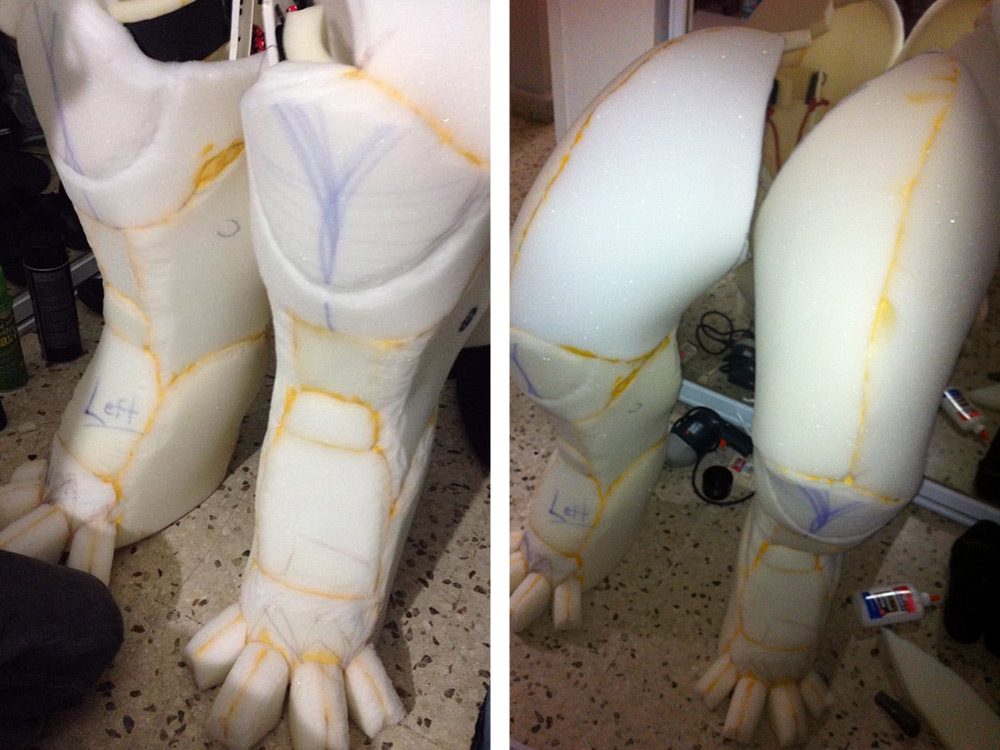
Attaching Legs to Thighs
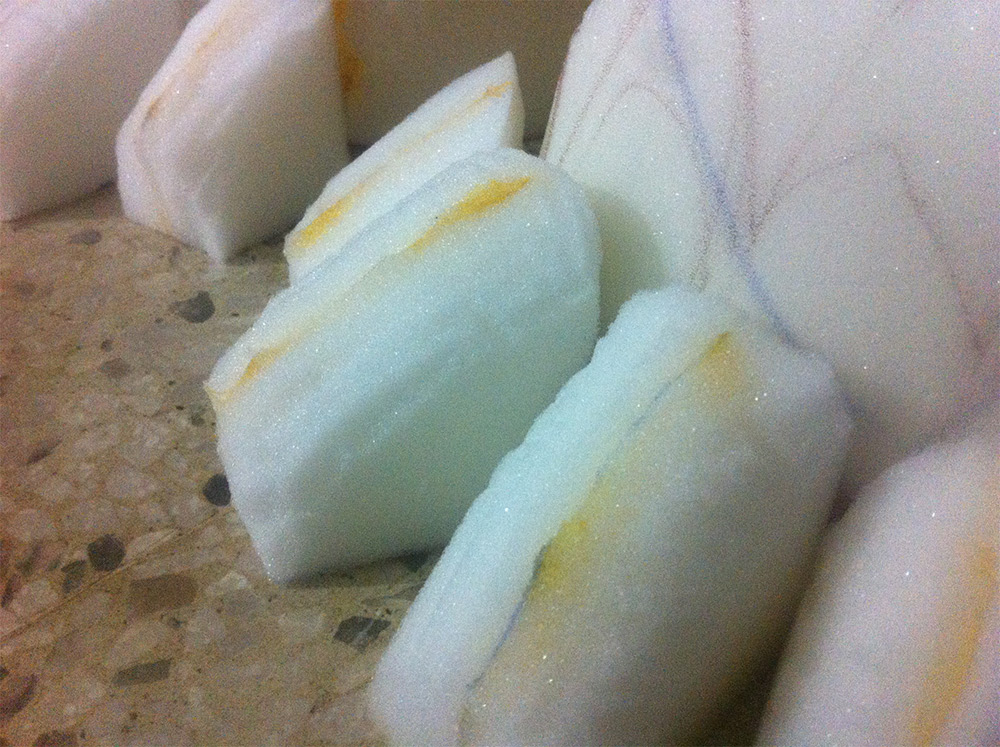
Cut, Trim, Glue
SeanSumagaysay_Godzilla_Feet_18
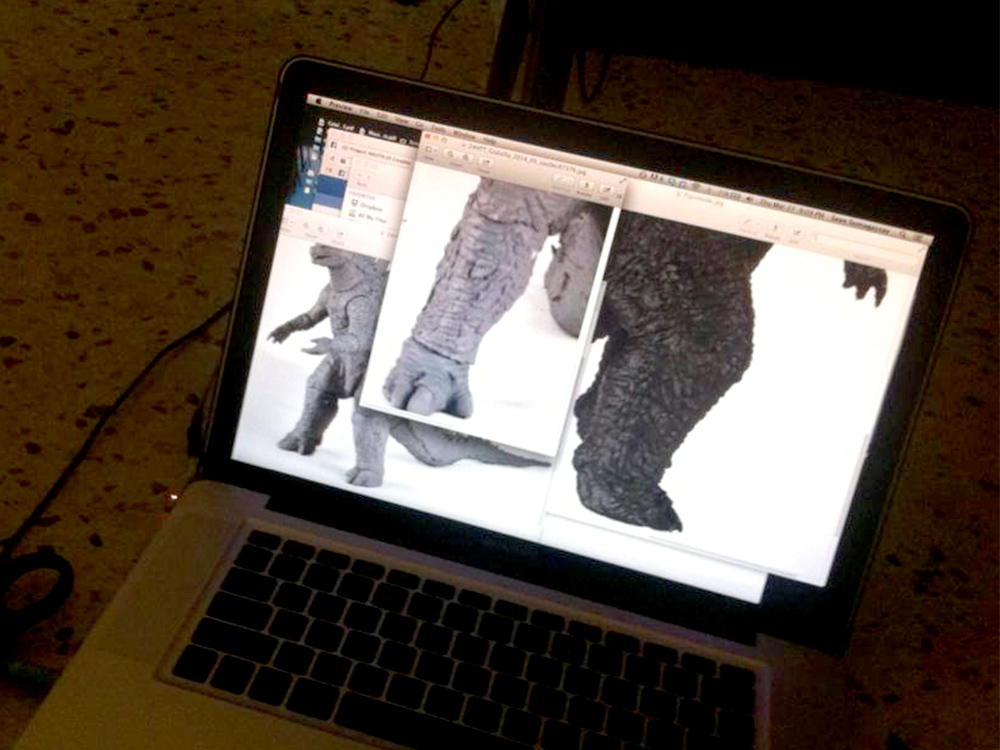
Reference Photos
SeanSumagaysay_Godzilla_Feet_17
SeanSumagaysay_Godzilla_Feet_15
SeanSumagaysay_Godzilla_Feet_14
SeanSumagaysay_Godzilla_Feet_13
SeanSumagaysay_Godzilla_Feet_12
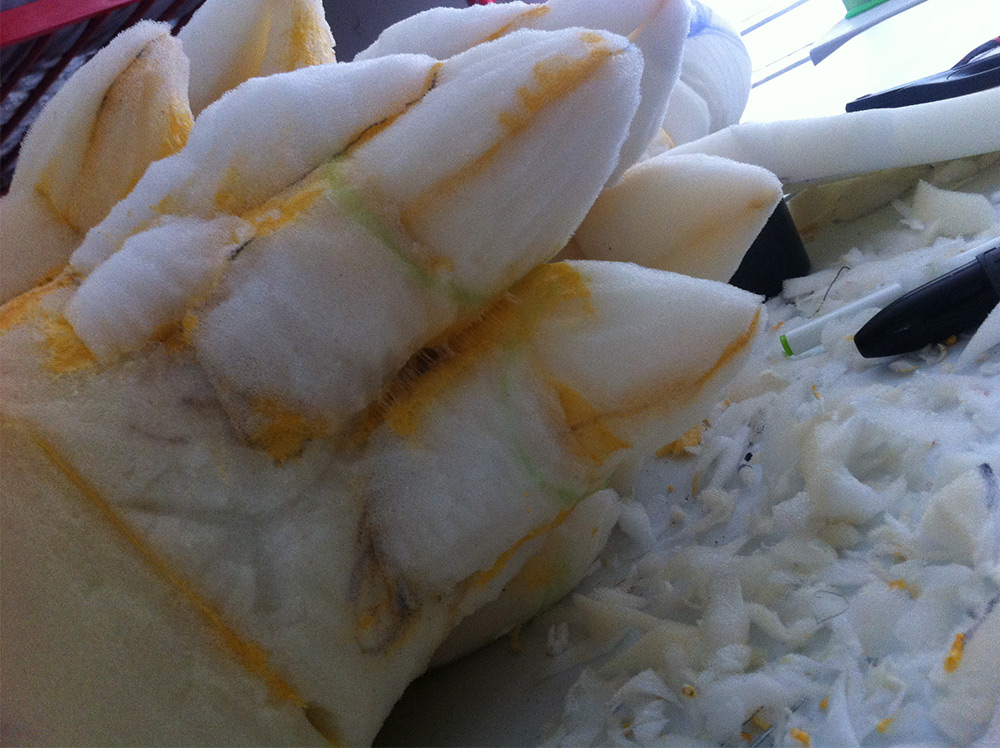
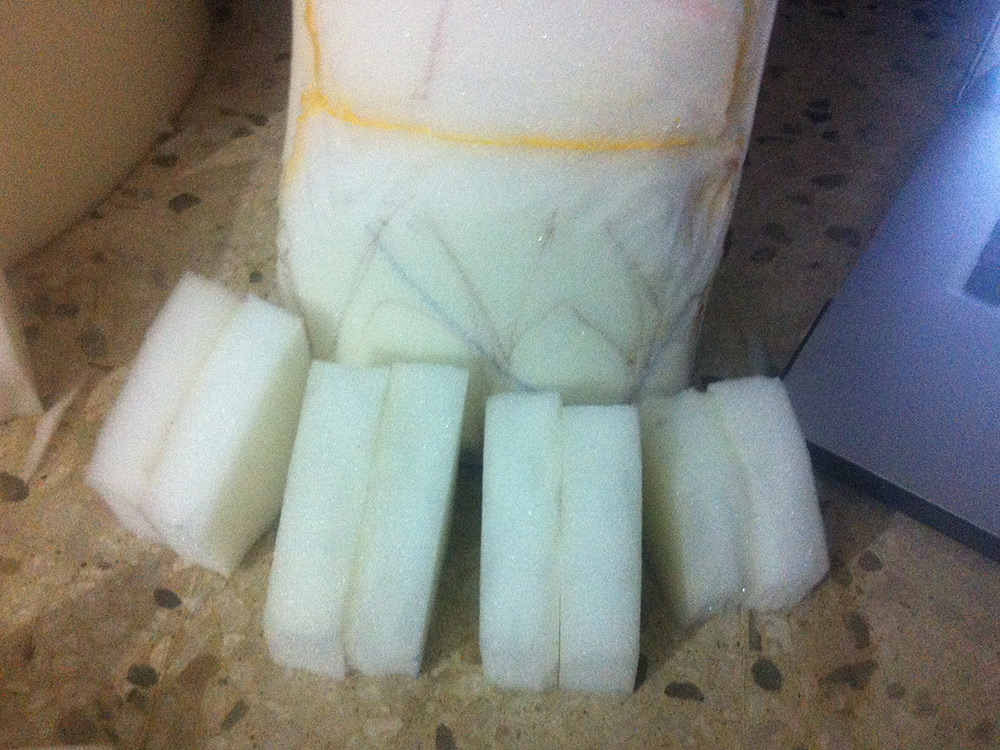
Attaching Rough Toes
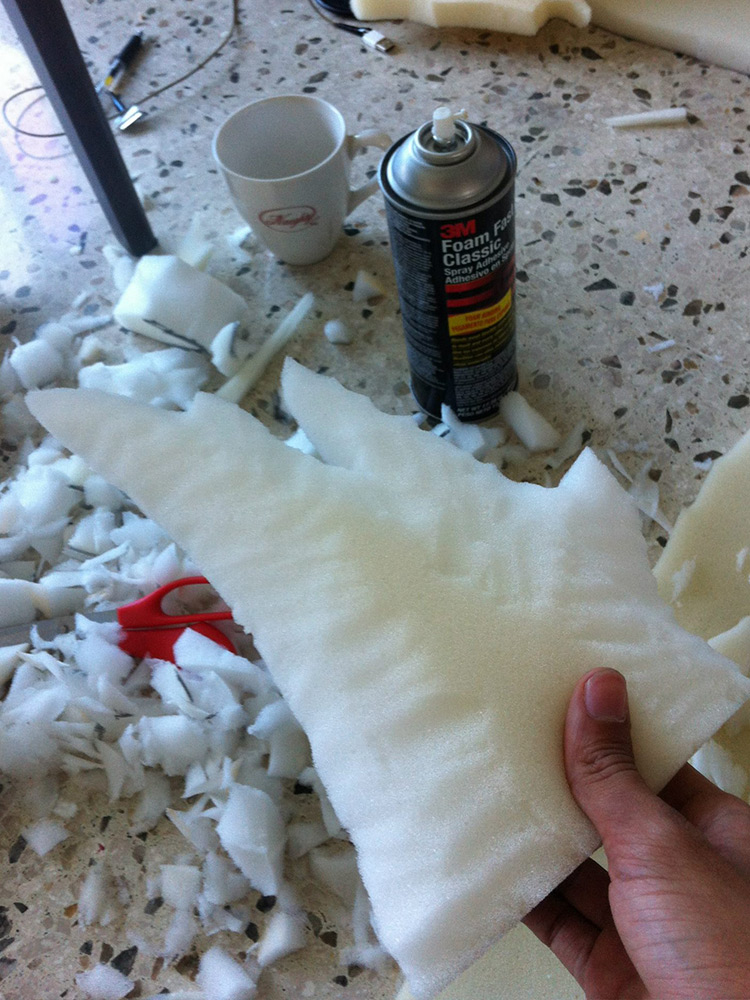
Cutting Up Toes
SeanSumagaysay_Godzilla_Feet_09
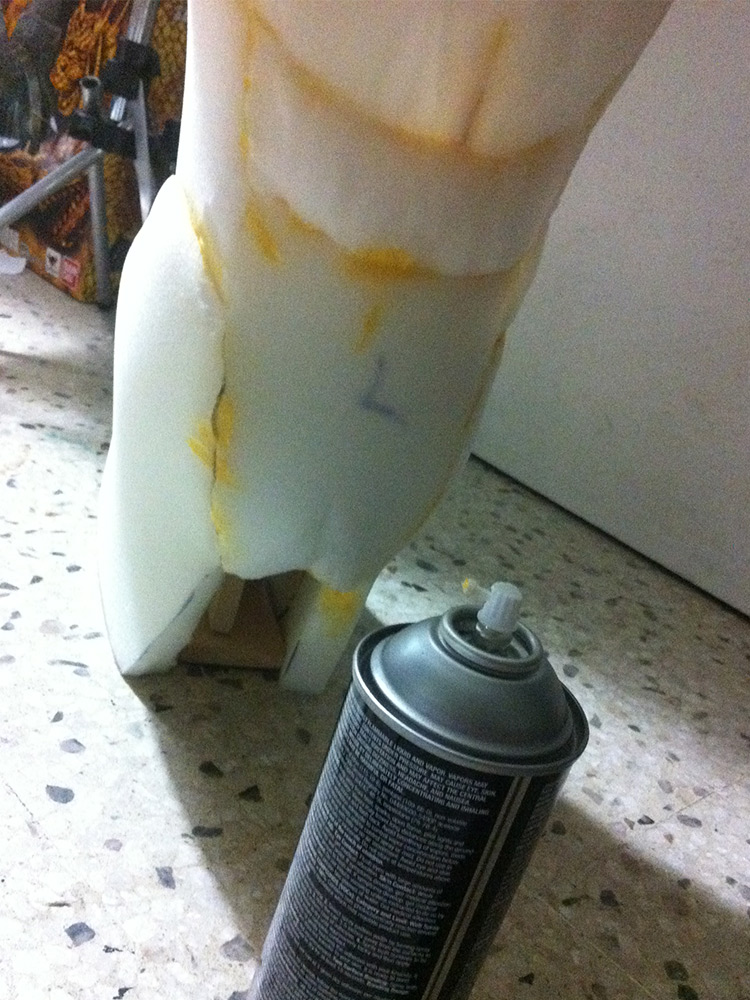
Spray Adhesive
SeanSumagaysay_Godzilla_Feet_07
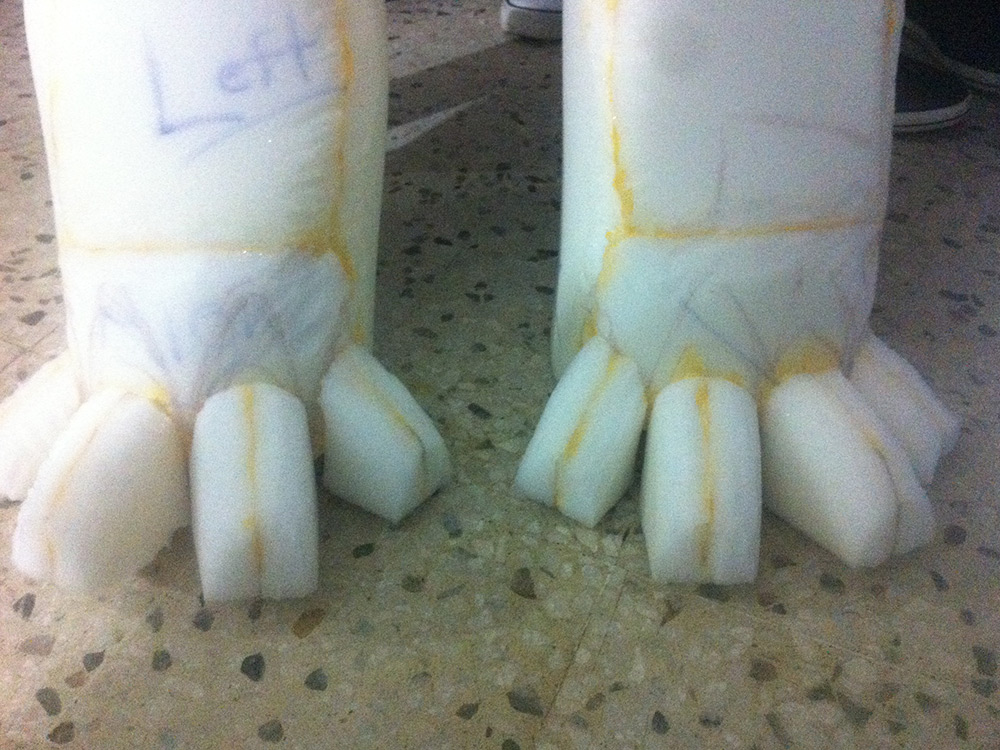
Taking Shape
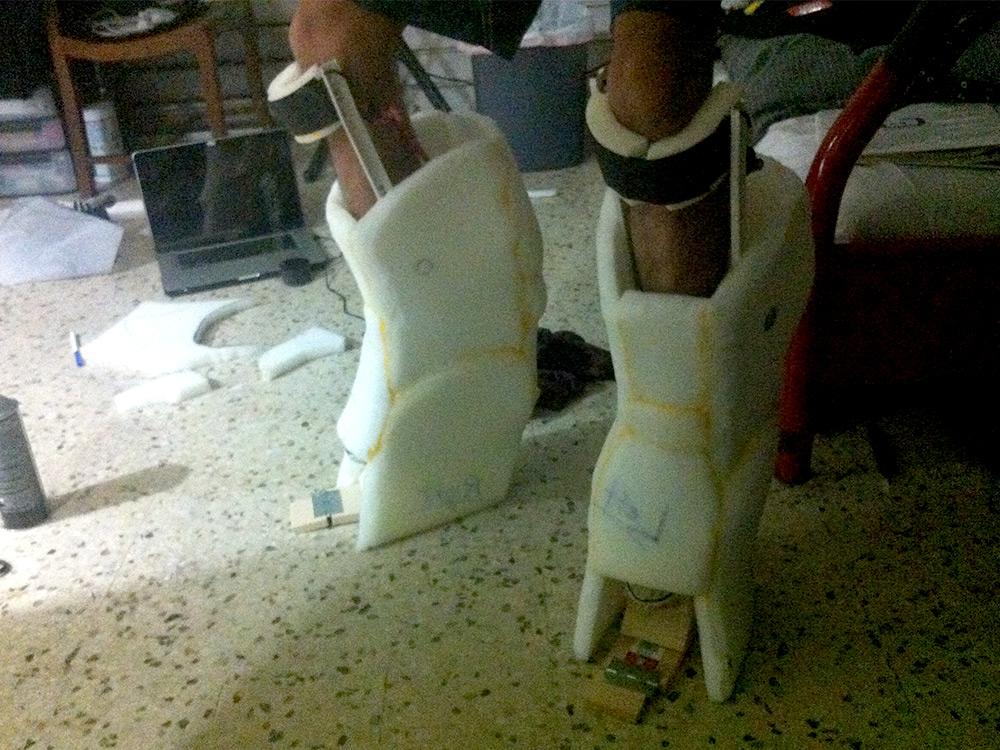
Checking Fit
SeanSumagaysay_Godzilla_Feet_04
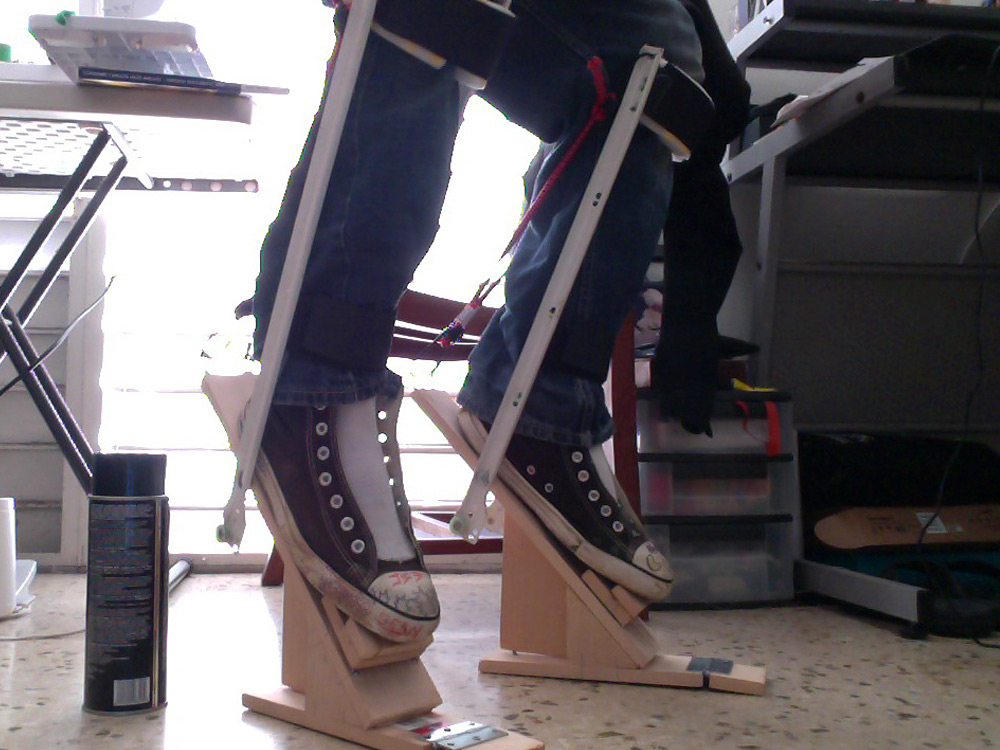
Custom Stilts
SeanSumagaysay_Godzilla_Feet_03
Plastic Belt Buckles
Lower View
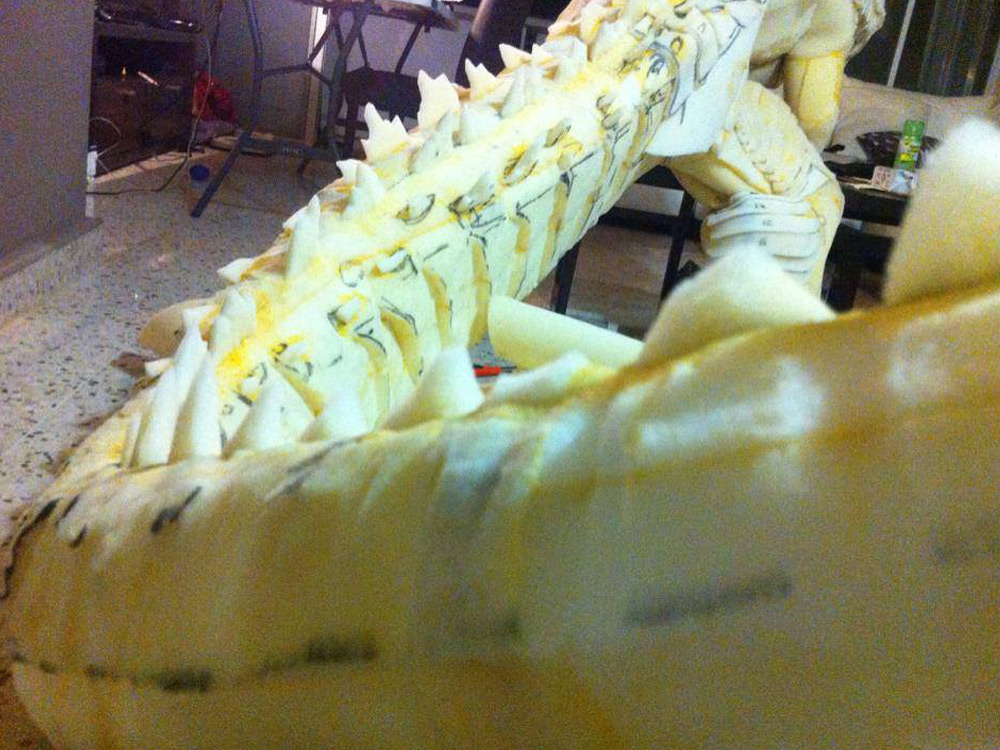
Added Dorsal Plates
SeanSumagaysay_Godzilla_Body_06a
Testing Mobility
Wearing with Stilts
Well Positioned
SeanSumagaysay_Godzilla_Body_04
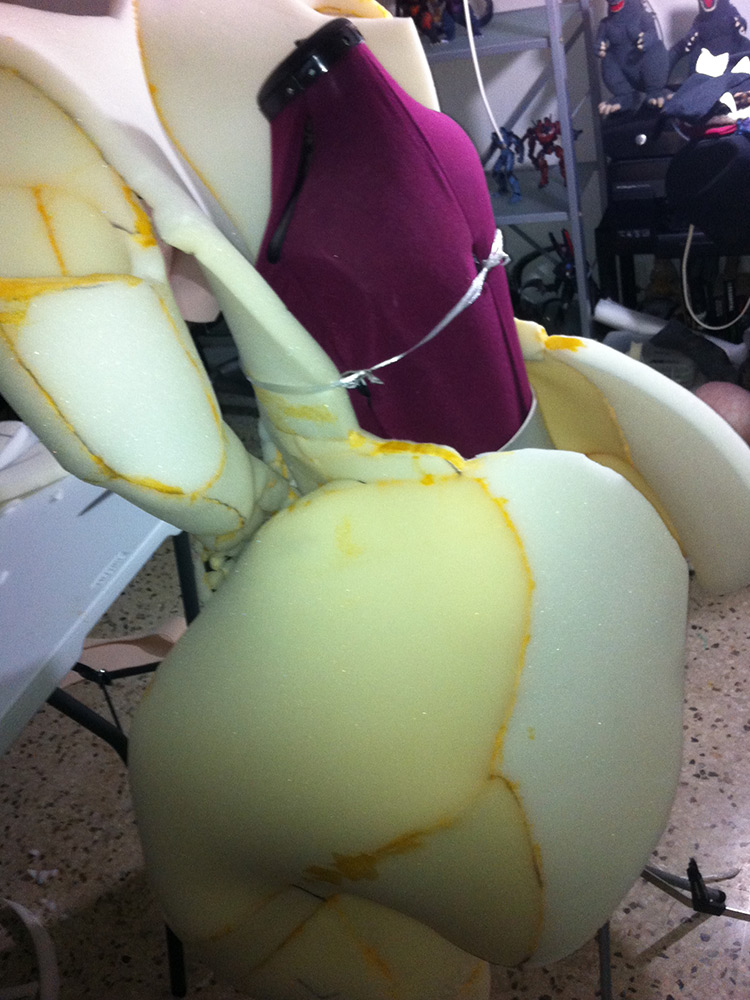
Strapping to Mannequin
Upper Chest Area
Lower Waist
Chest Armor
Nap Time
Profile View
Buckle Close Up
SeanSumagaysay_Godzilla_Tail_01
Reducing Volume
SeanSumagaysay_Godzilla_Tail_11
SeanSumagaysay_Godzilla_Tail_10
SeanSumagaysay_Godzilla_Tail_09
SeanSumagaysay_Godzilla_Tail_08
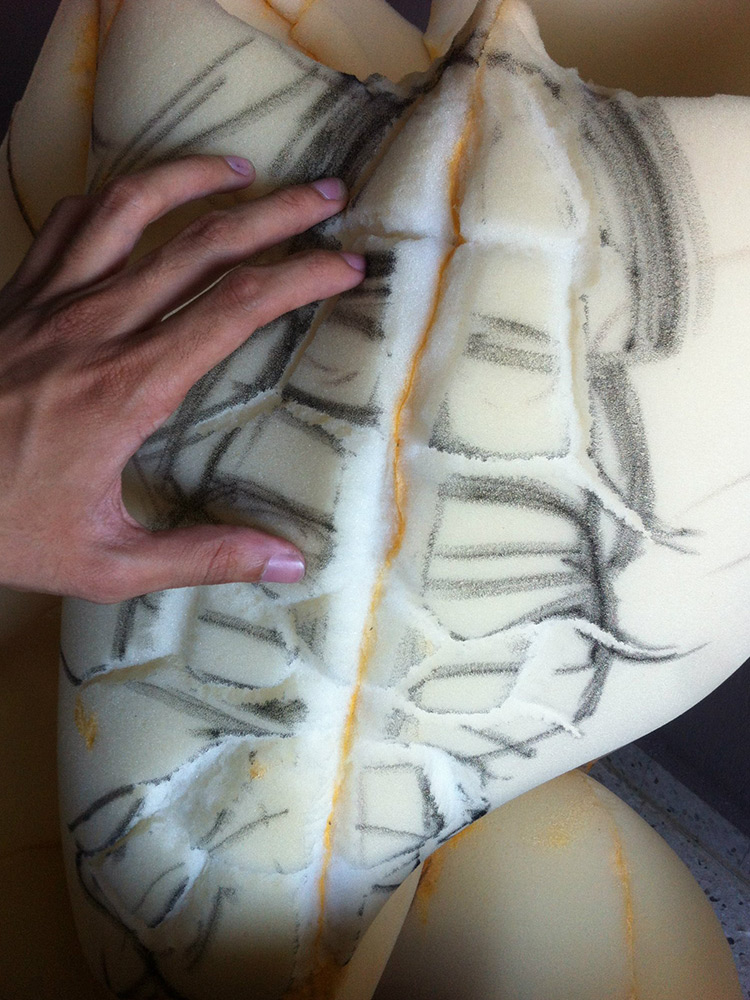
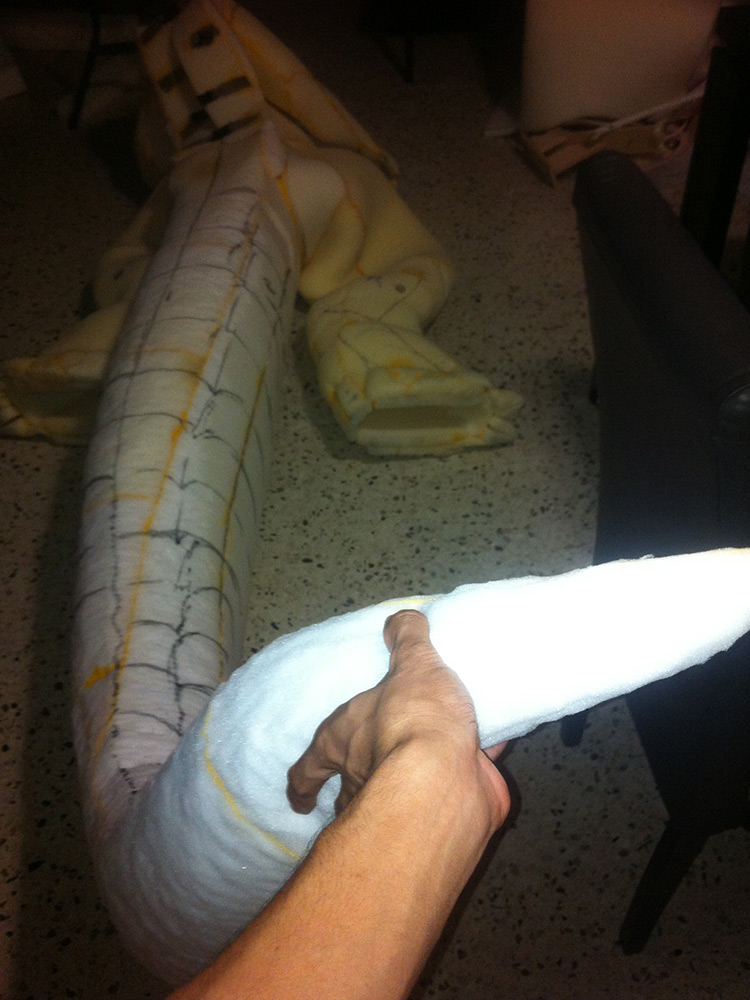
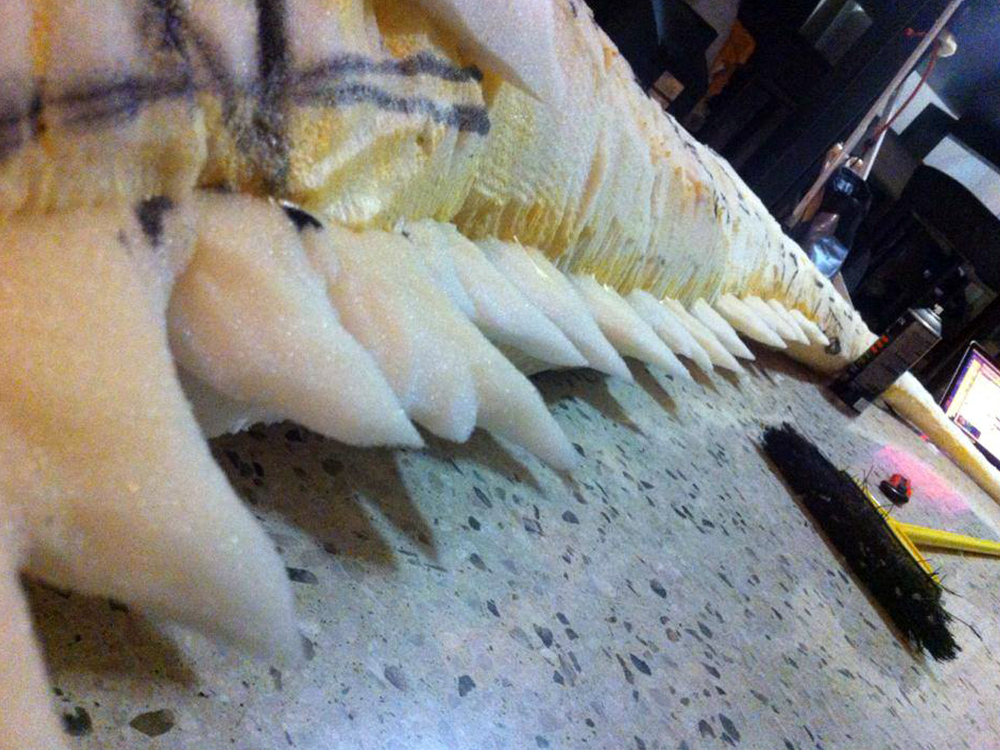
Carving Texture in Tail
SeanSumagaysay_Godzilla_Tail_06
SeanSumagaysay_Godzilla_Tail_05
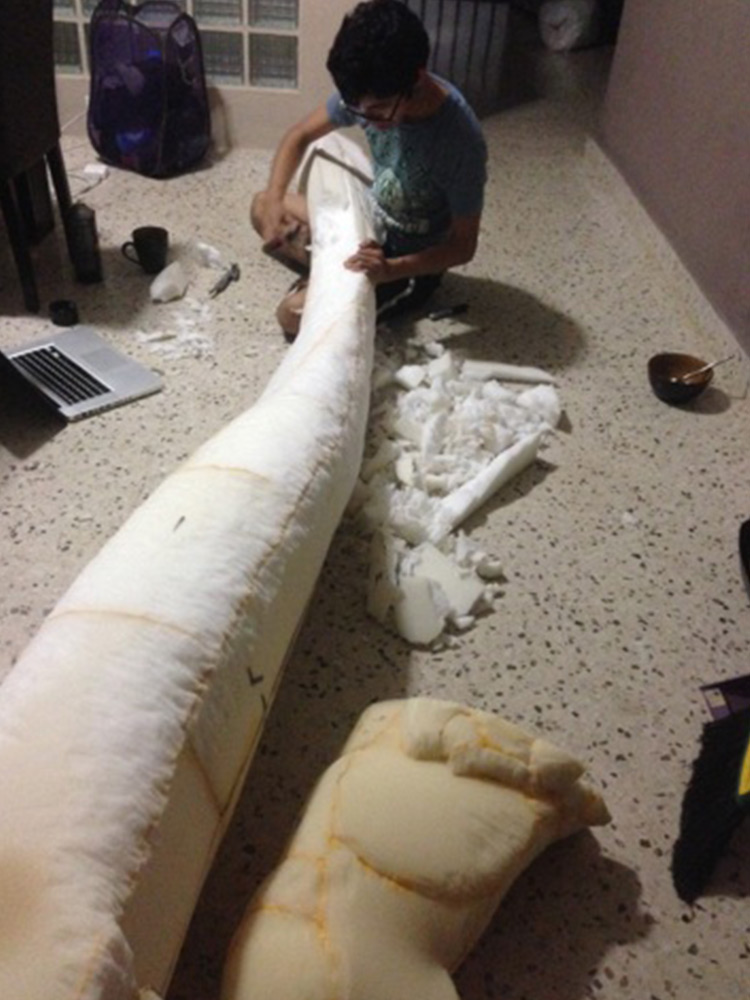
Tail Construction
Night Cutting
SeanSumagaysay_Godzilla_Tail_02
Head Taking Shape
Making Progress
Create Outline
Carve Outline
Patches Pattern
Overlapping Pattern
Neck Scales Added
SeanSumagaysay_Godzilla_Head_03
Dorsal Plate Textured
Lots of Little Dorsal Plates
Tail Dorsals Glued
Middle Row In Progress
Cut Out Shapes
Accurate Silhouette
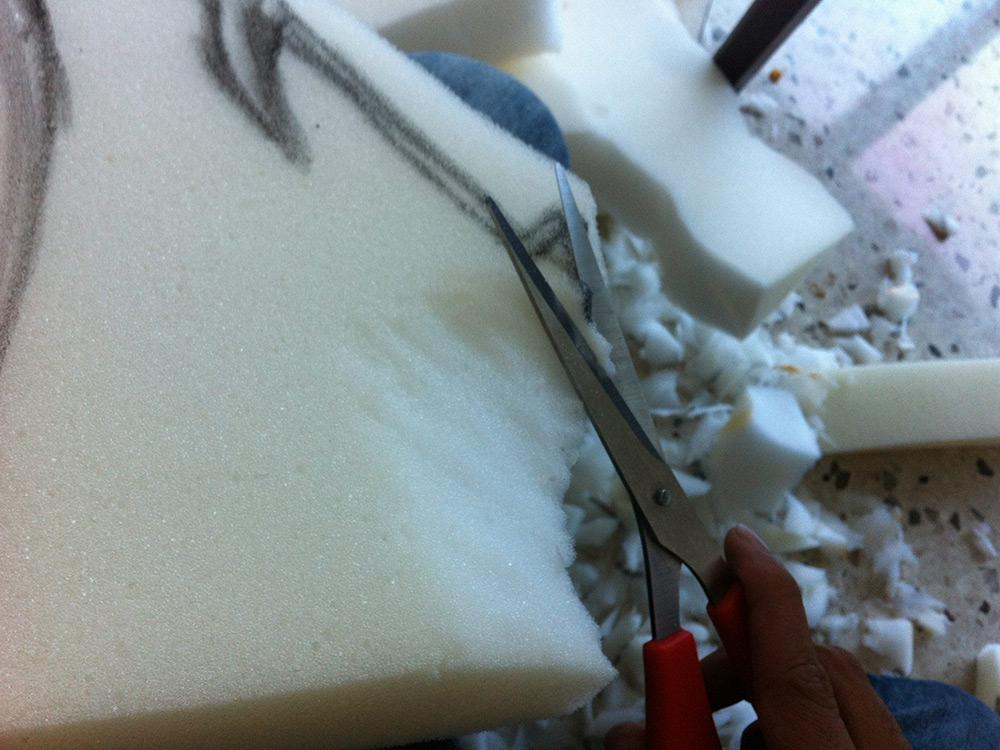
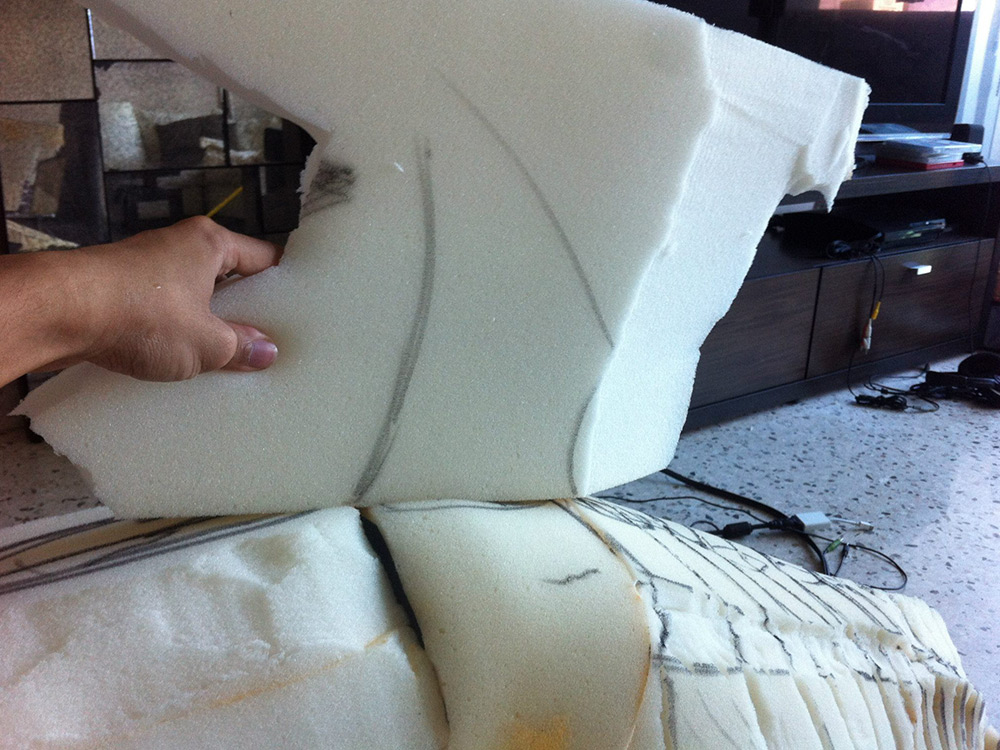
2" Thick Foam
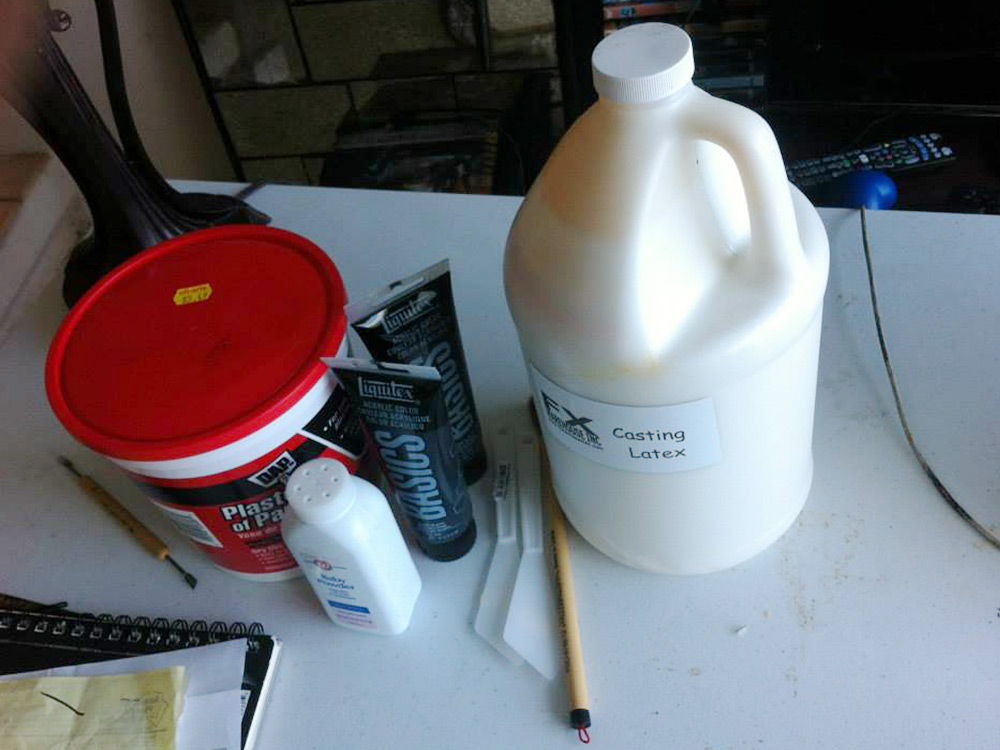
Materials
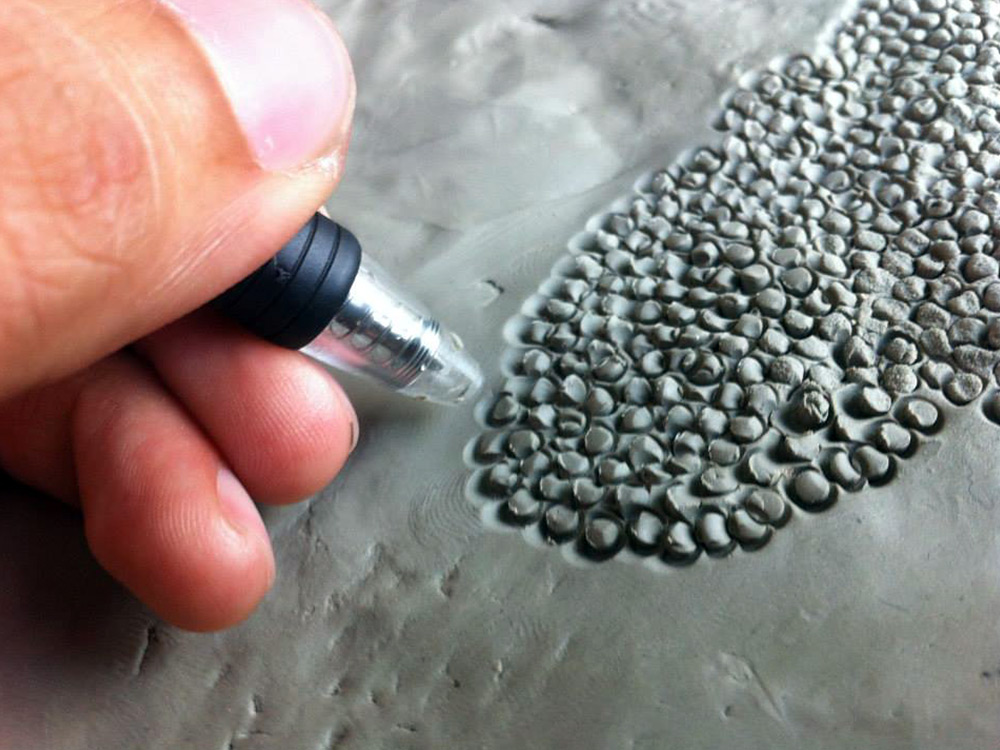
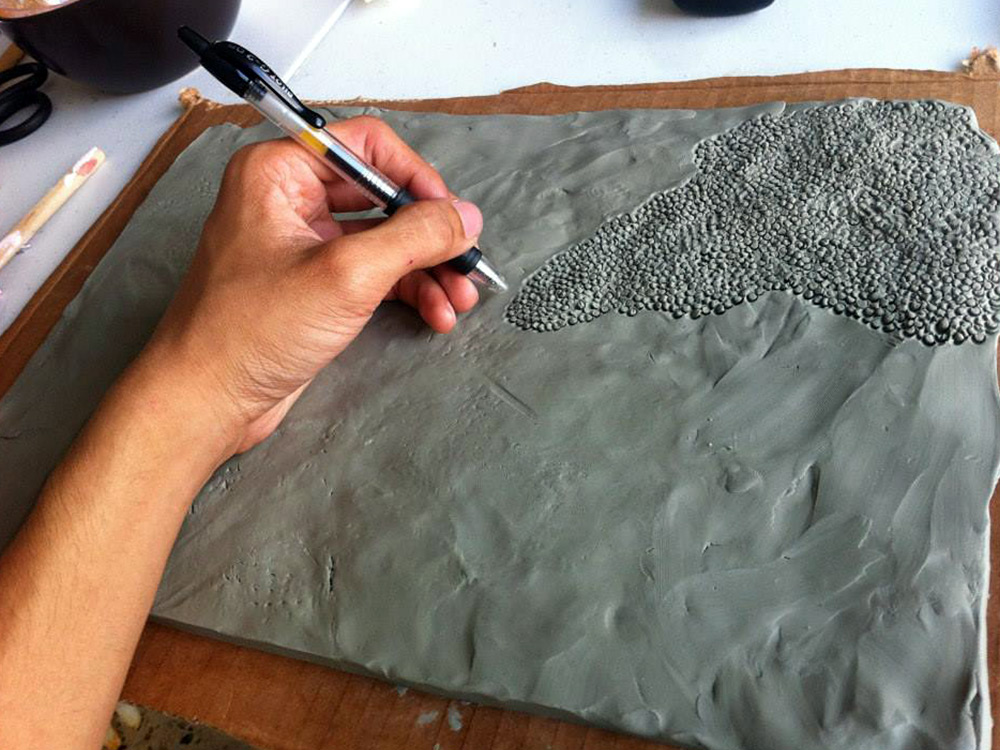
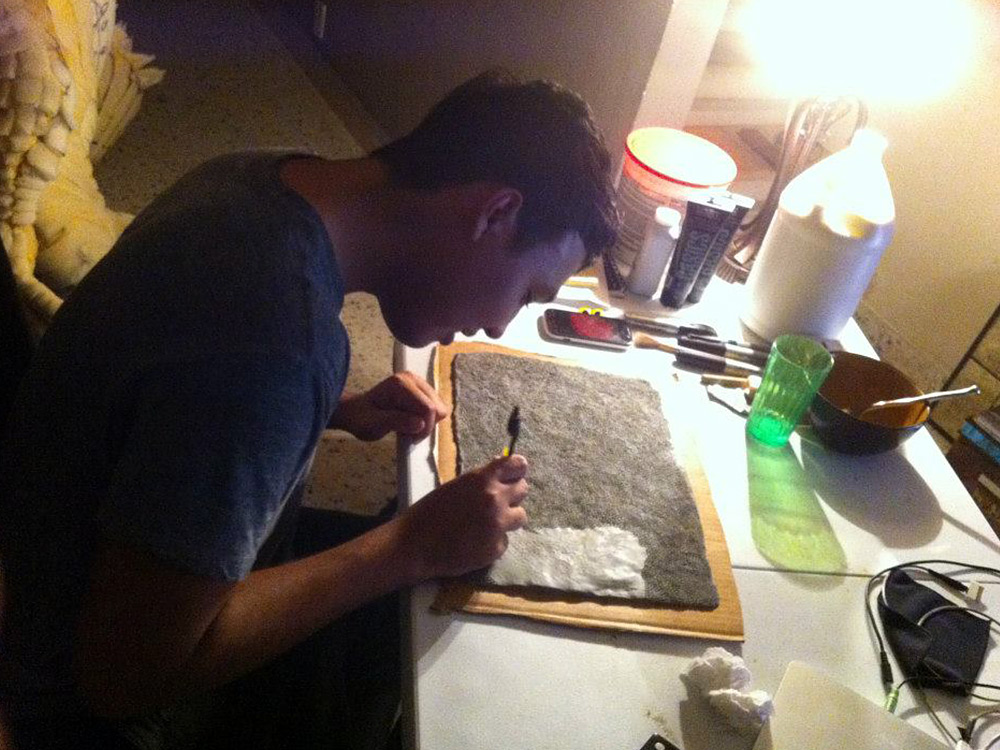
Sculpting Scales
5 Minutes of Work
The Calvary
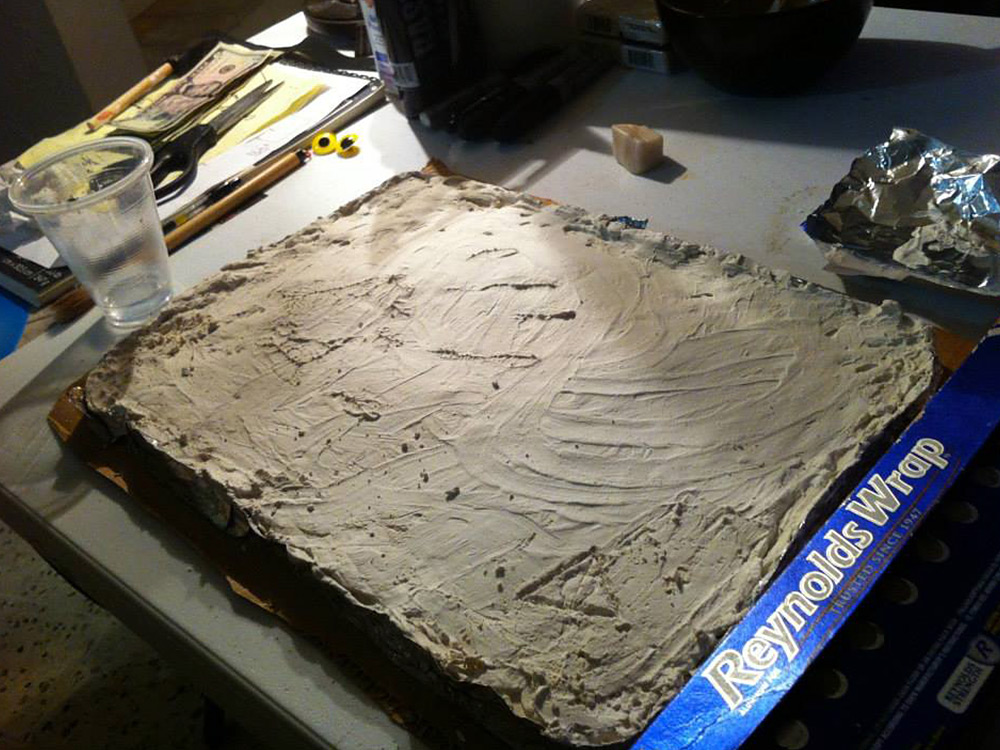
Poured Plaster
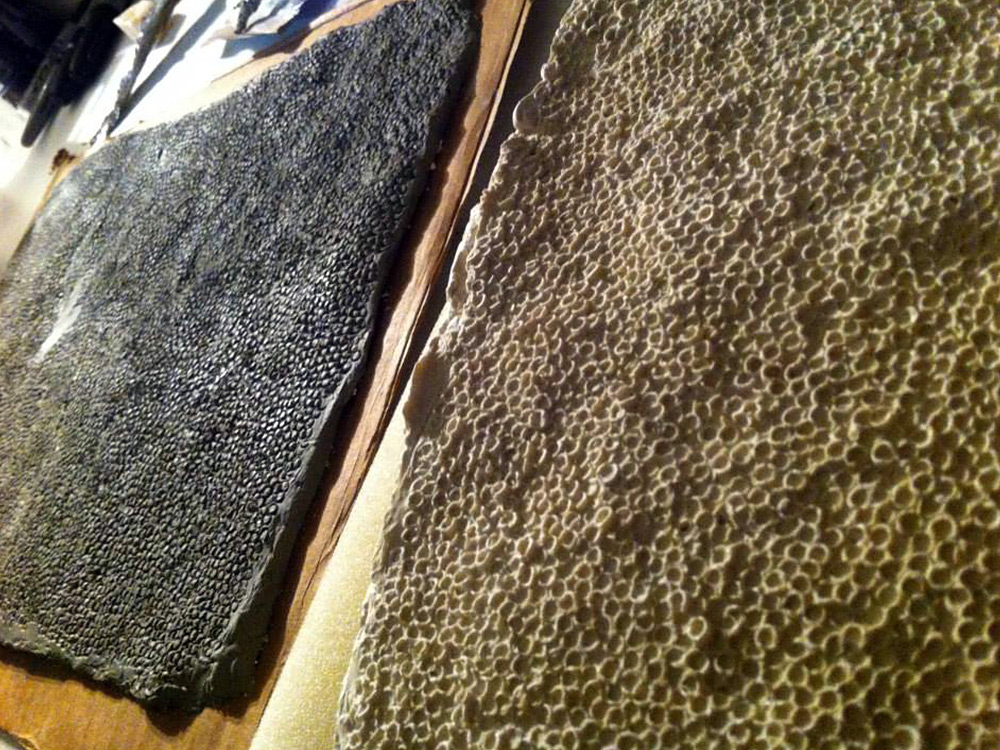
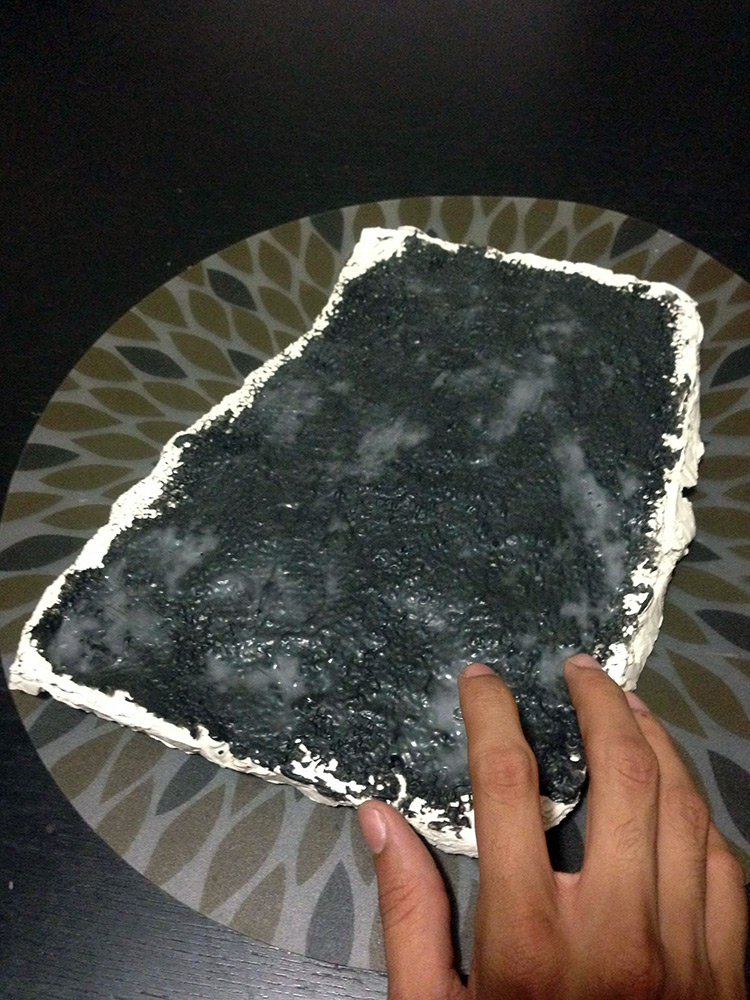
Texture Removed from Mold
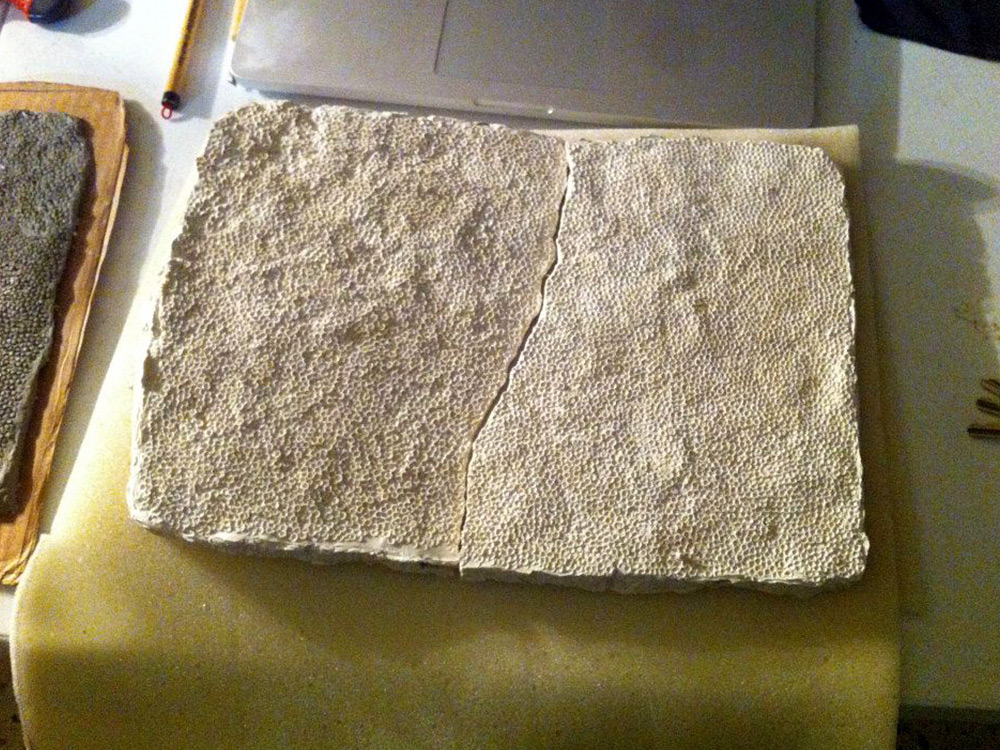
Successful Cast
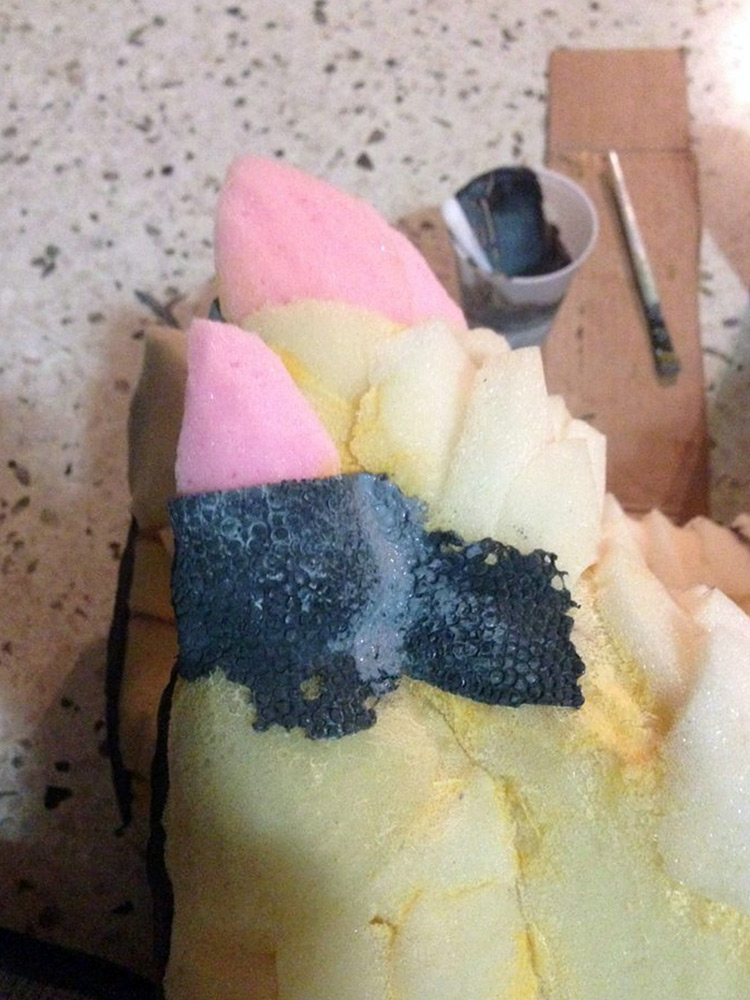
Skin Patch
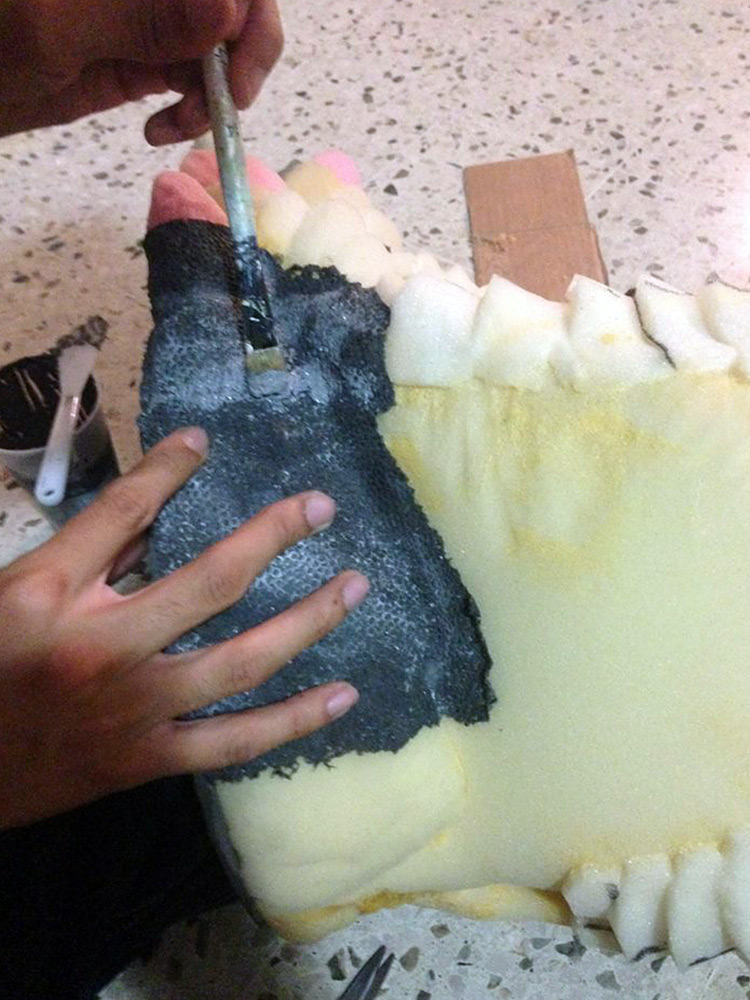
Attaching Patch Pieces
Overlapping Pieces
Looking good!
Cutting and Folding Latex Patches
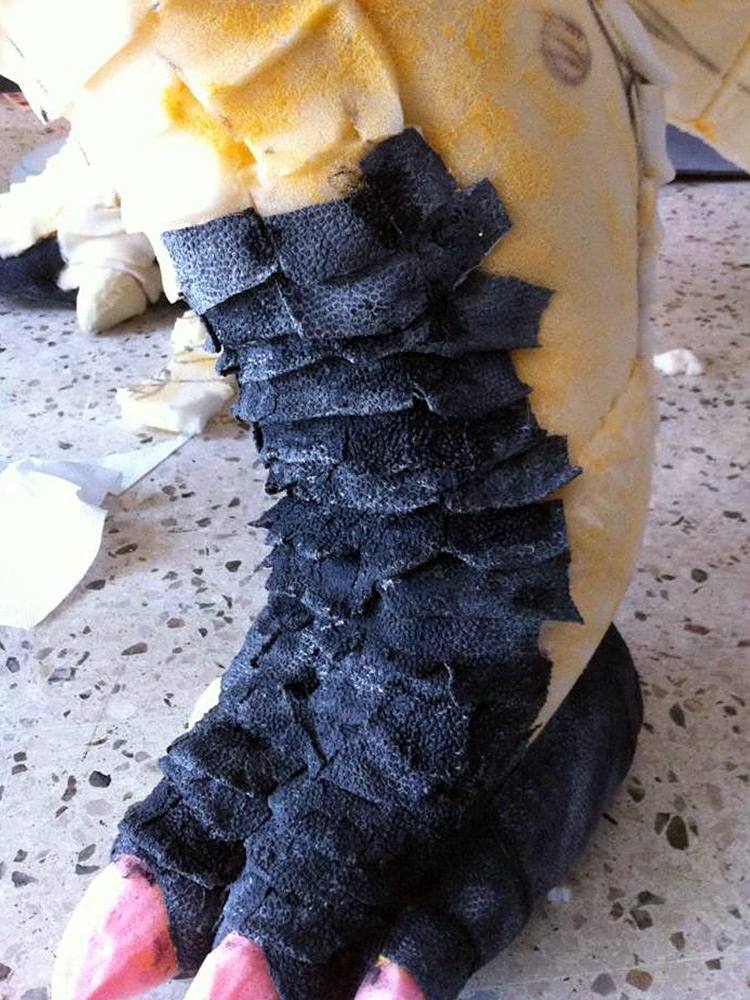
Leg and Thigh Scaled
Scaly Arms
Tail Texture in Progress
Skin Patch Drying
SeanSumagaysay_Godzilla_Texture_17
EXTRA INFORMATION ABOUT THE BUILD
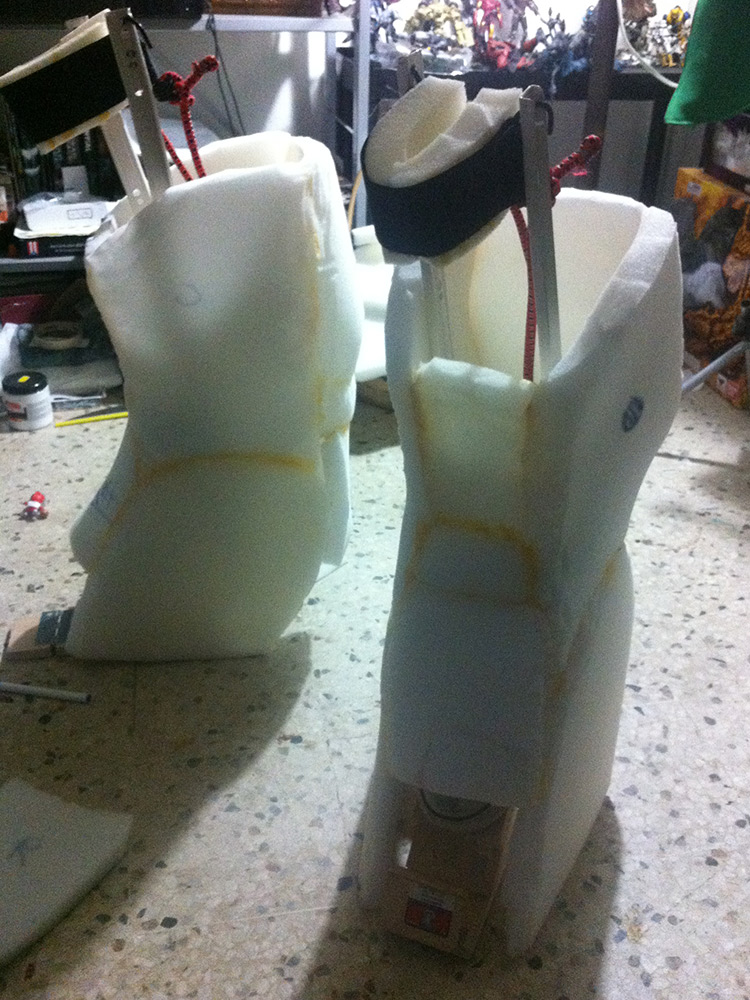
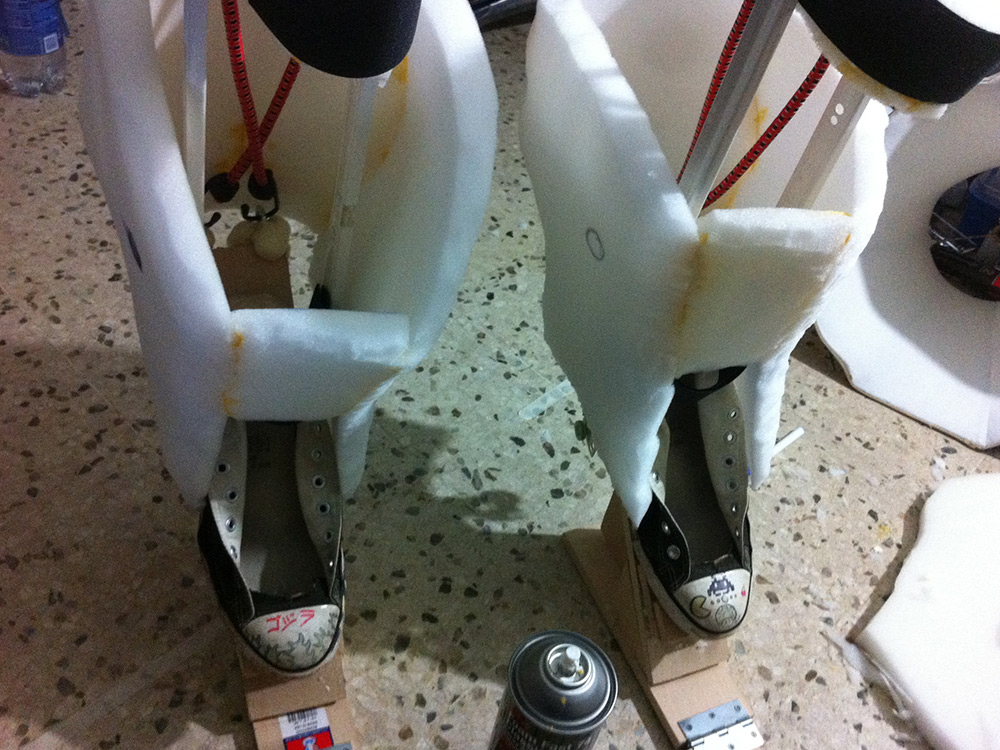
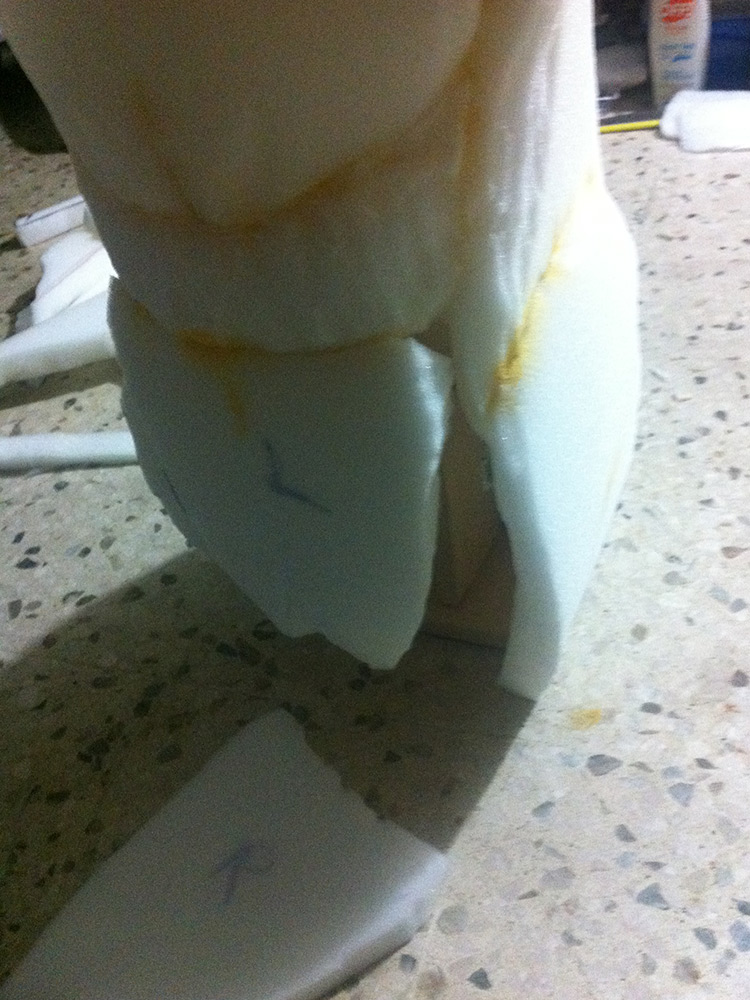
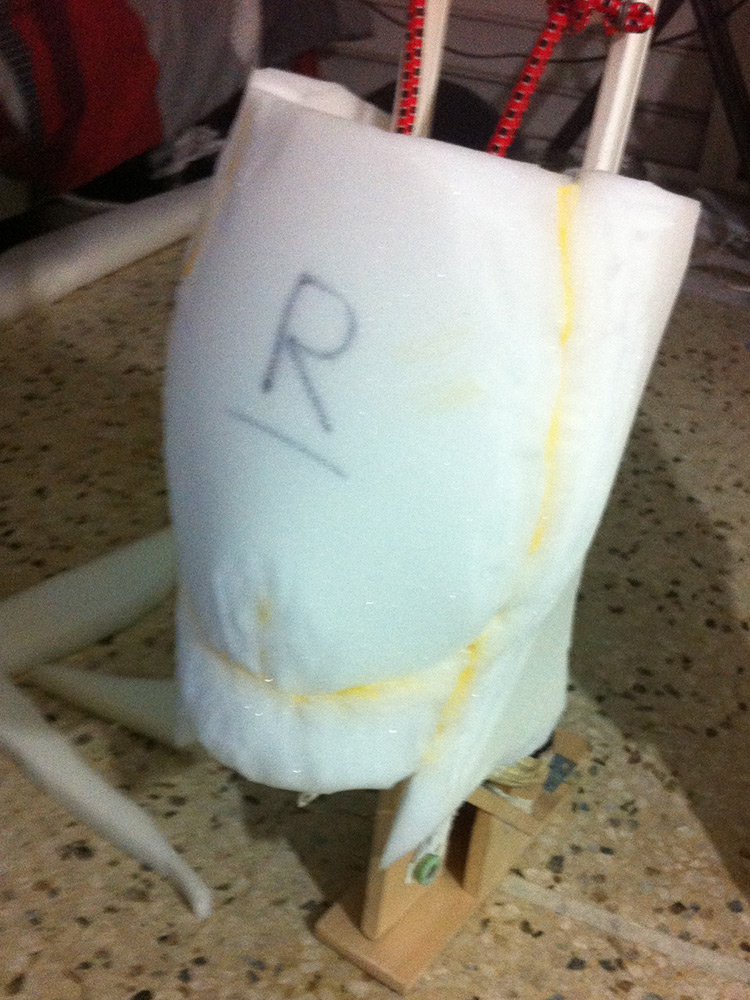
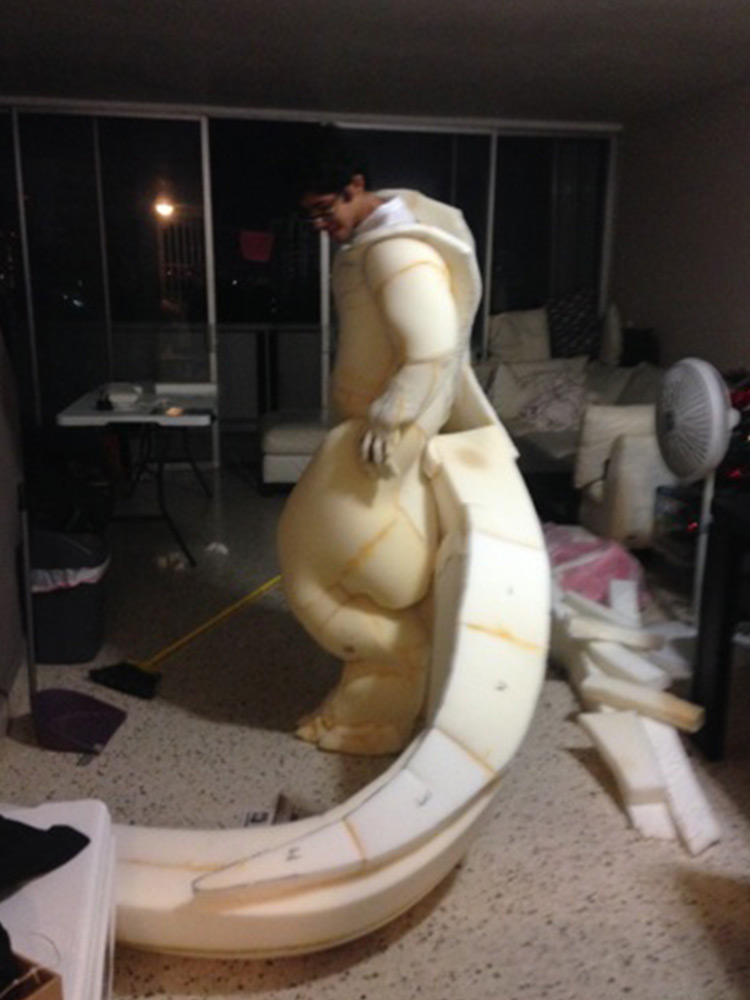
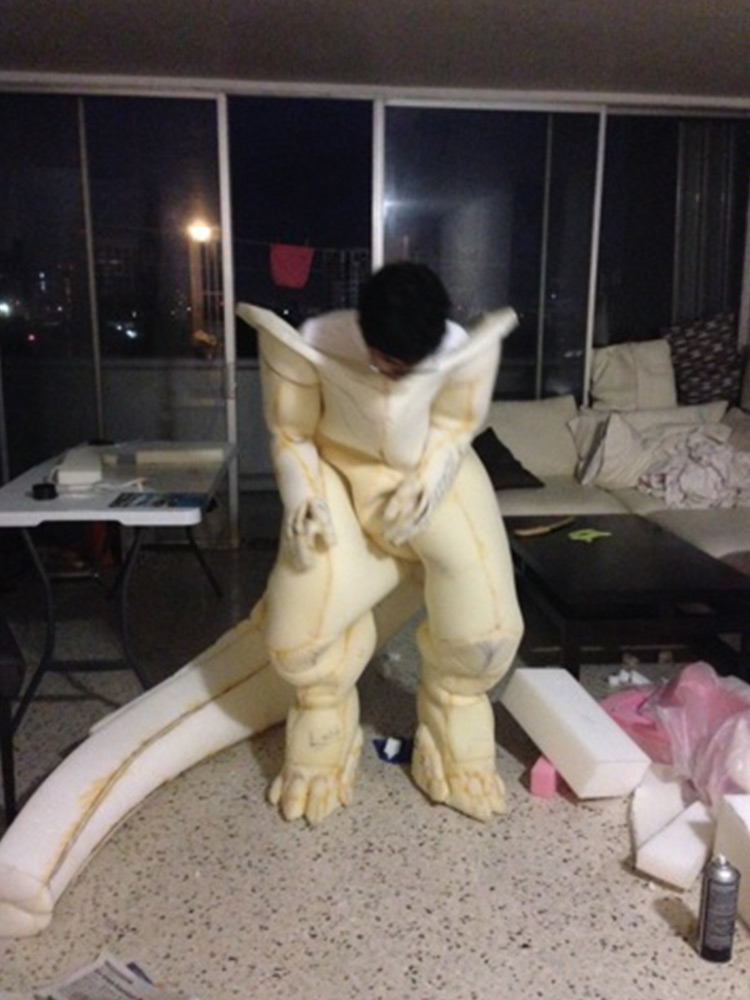
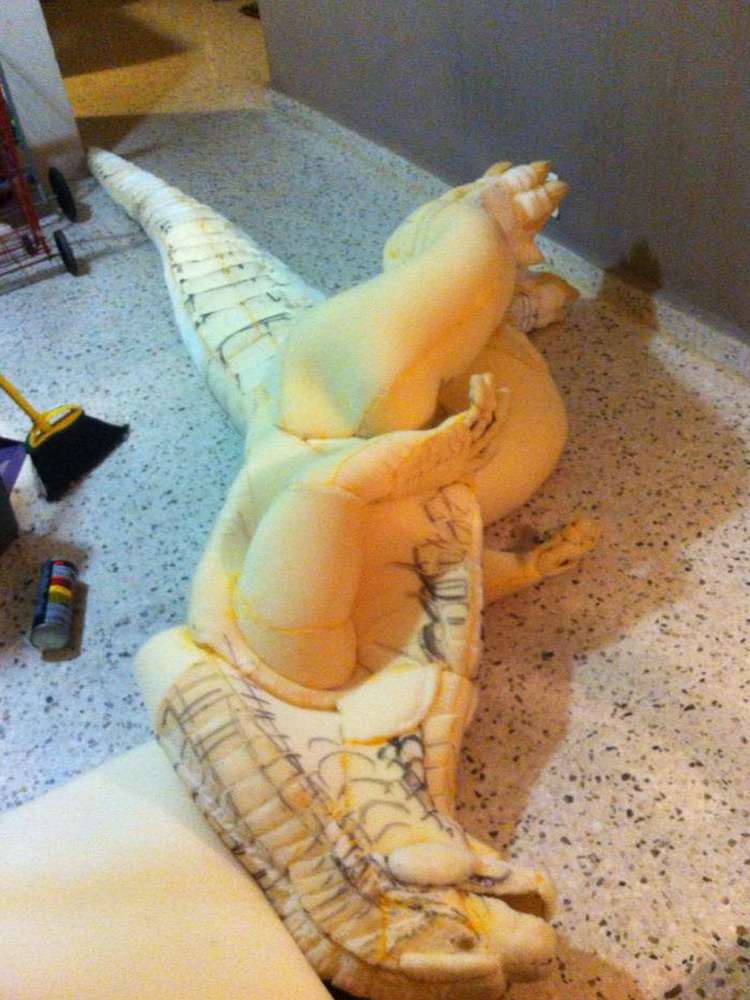
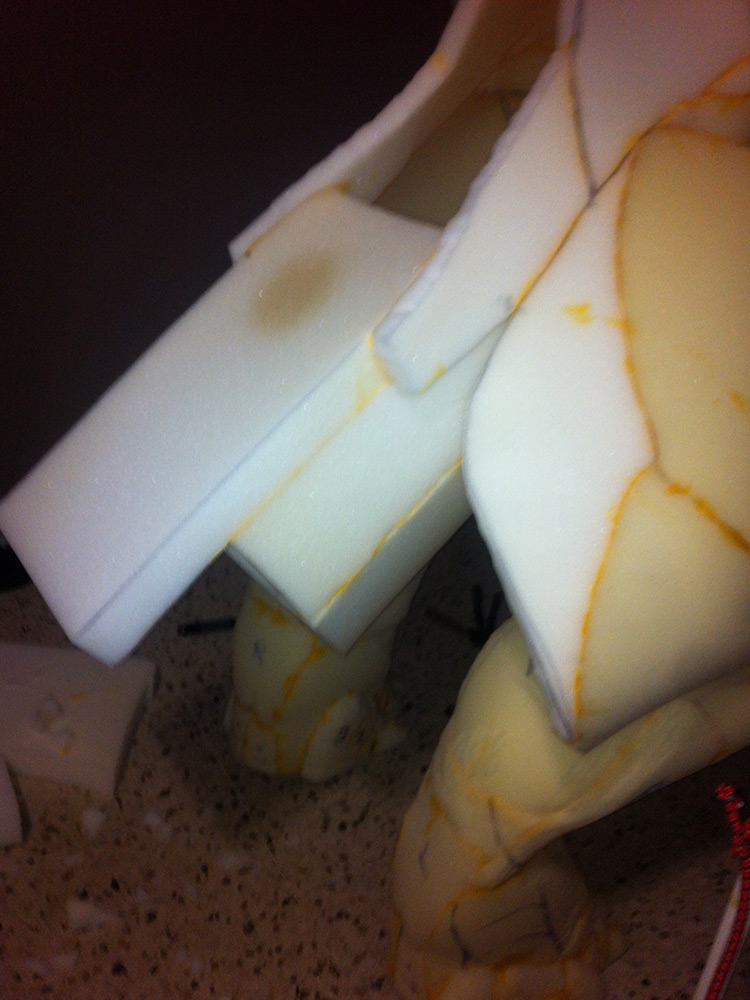
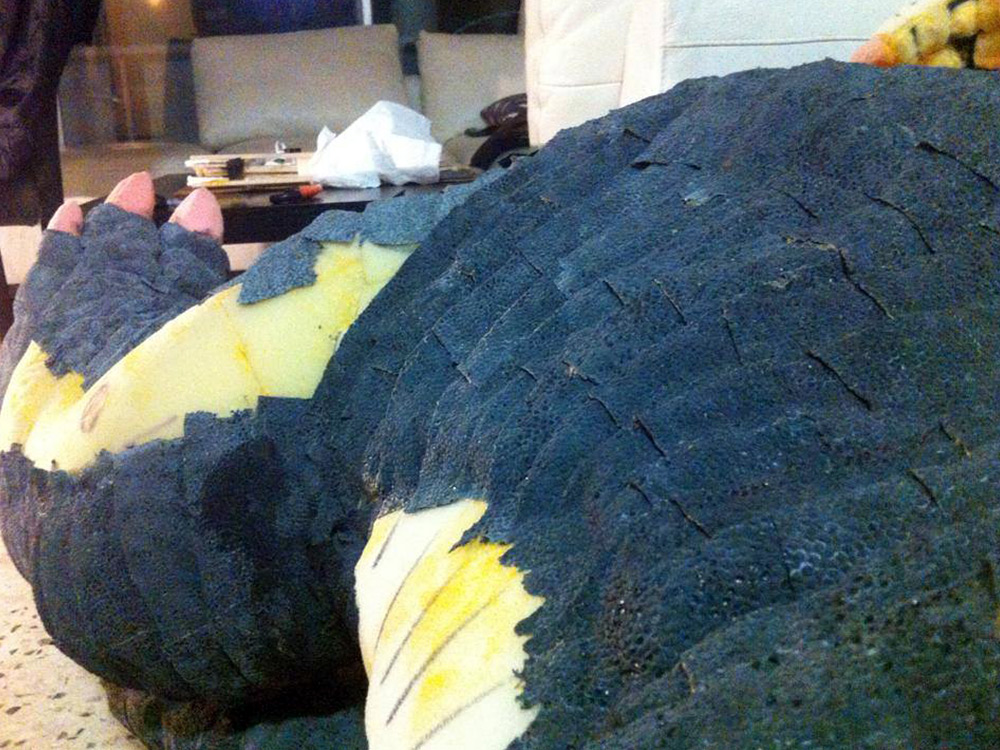
The legs were the first thing I worked on. Personally I felt that the only way I could get the proportions almost right were to use stilts and work around that; it took me about a week to buy the materials, cut the wood using a small hacksaw and screw them all together with a screwdriver. Foam was cut and glued around it, but not glued onto in case I ever need to remove them. The stilts helped created a basis for the proportions of the suit, and managed to lift me up to what would ultimately become Godzilla’s “calves”
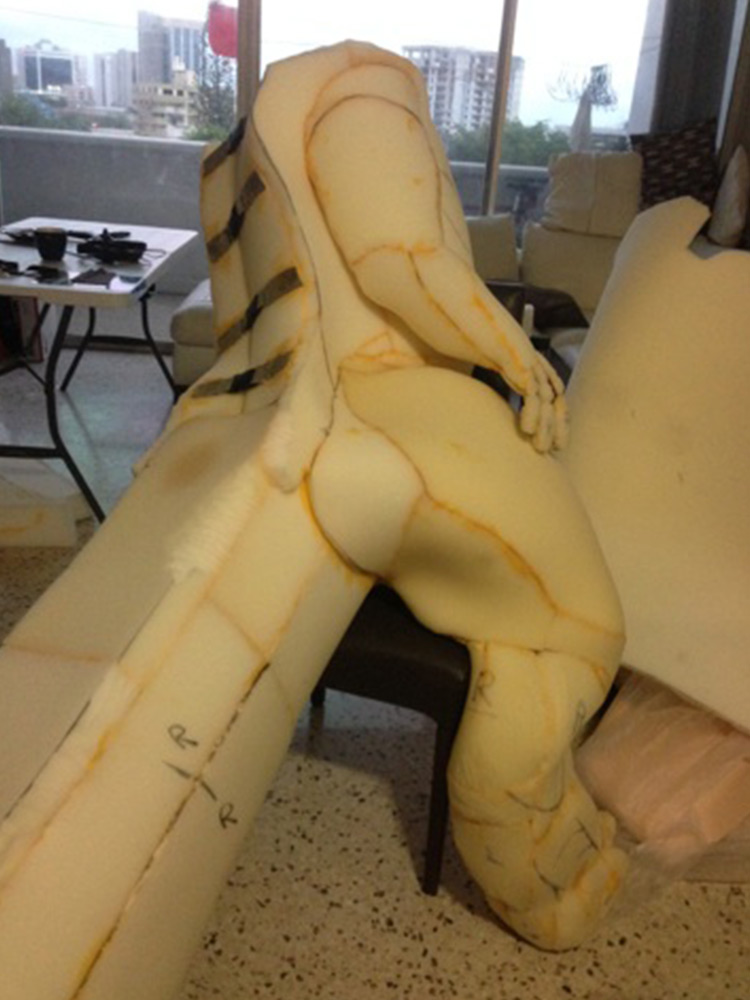
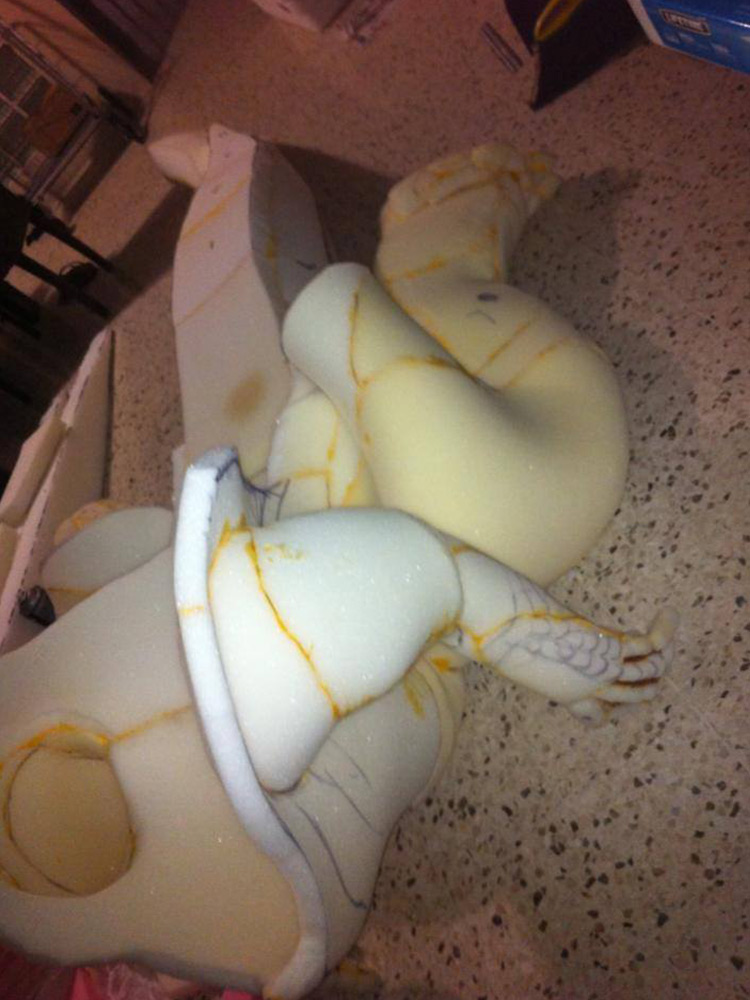
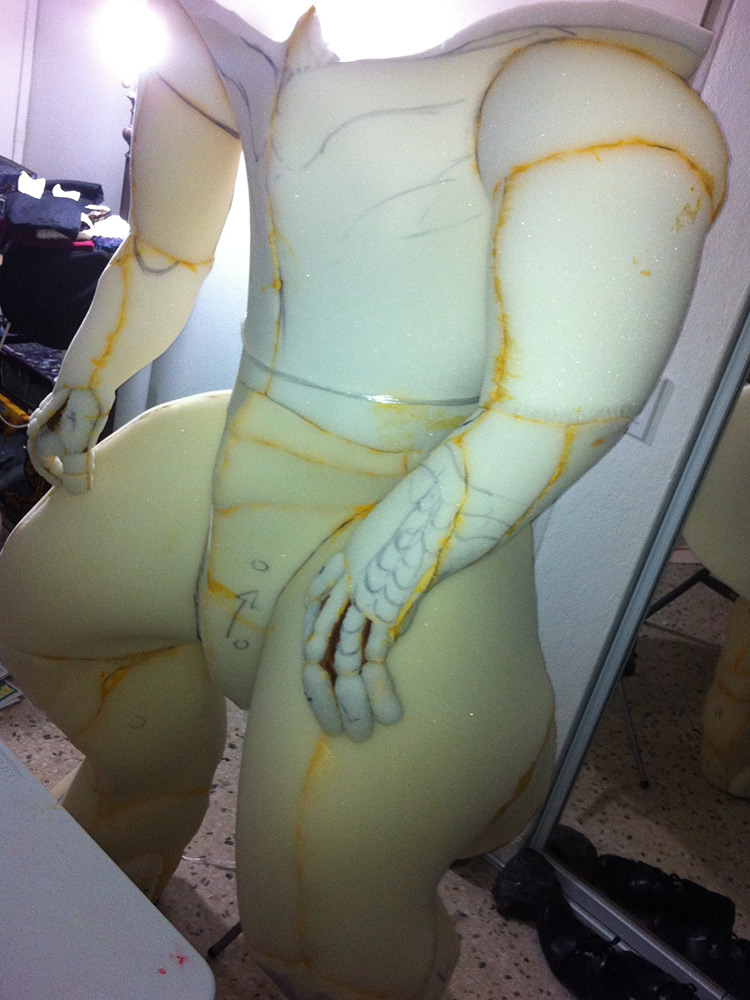
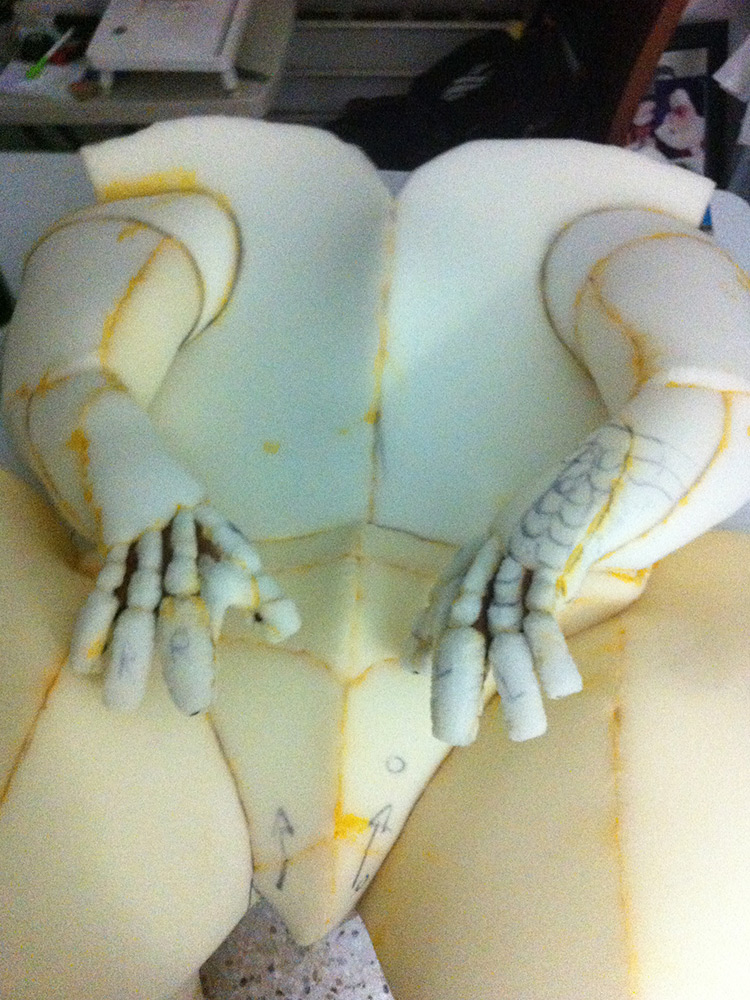
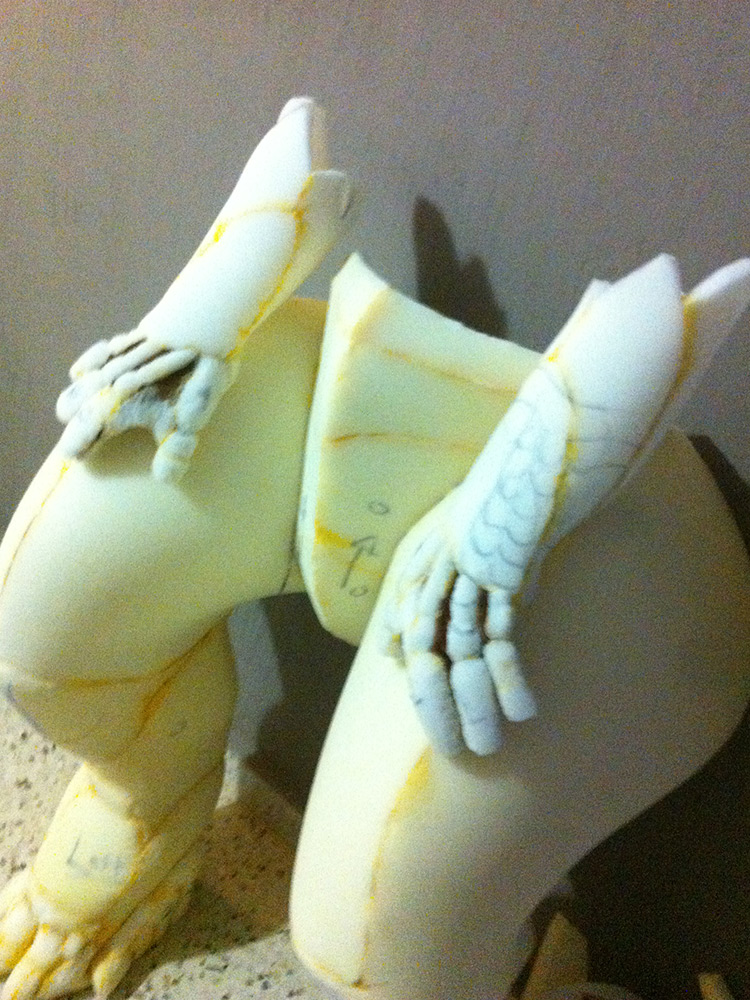
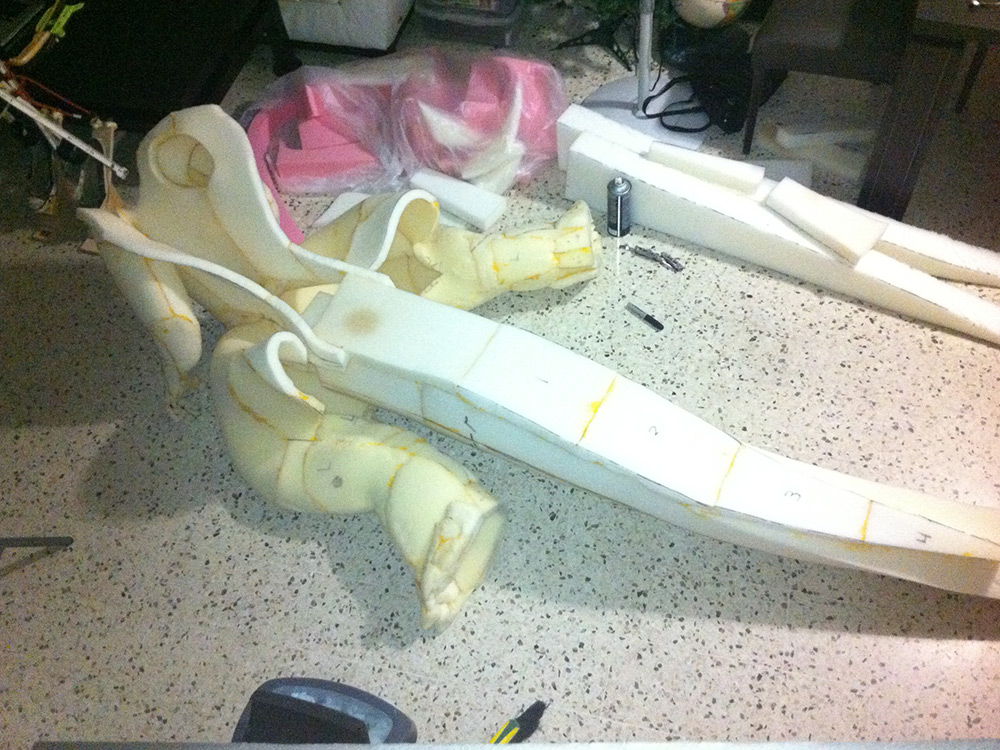
The hands and arms were crafted around and glued on a glove that I hand-sewed. Claws for the hands and feet where made with a firmer foam and glued onto their respected areas. The arms were then glued to the upper torso region.
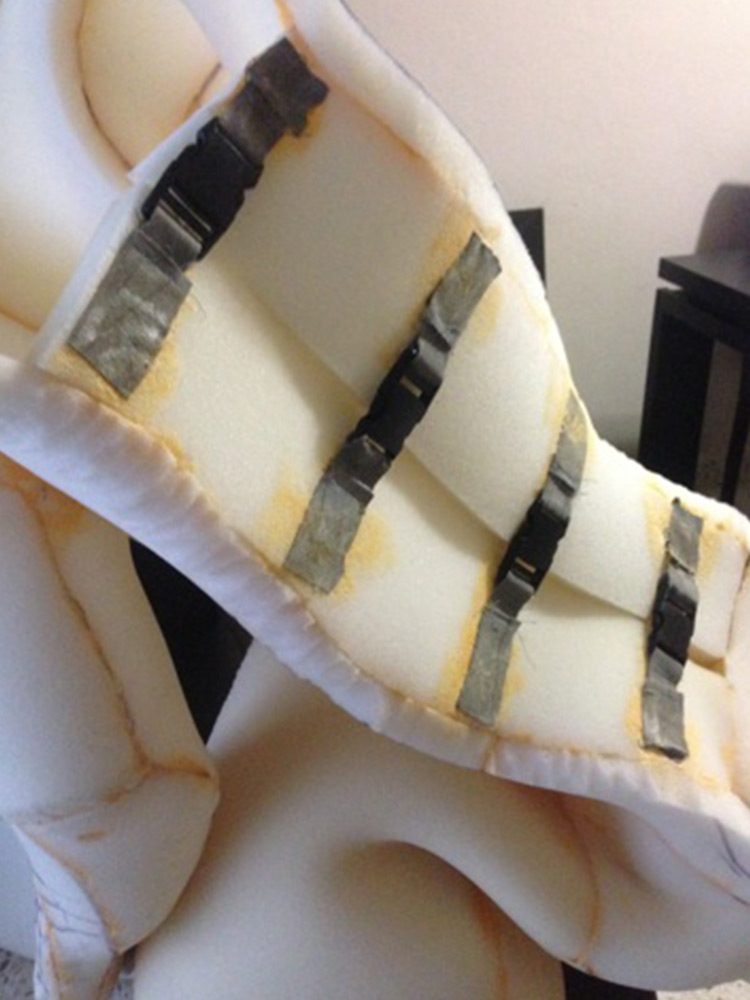
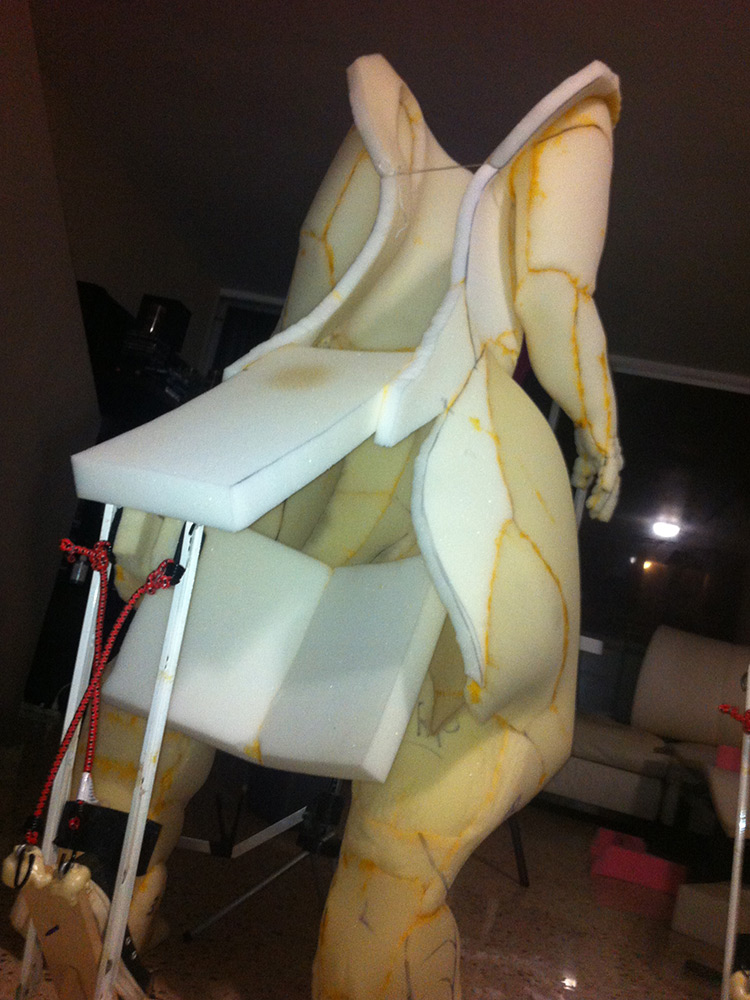
The Body was the second part into building this suit. It was the easiest thing to work on as larger “flat” sheets meant little was needed to carve around. The back region was sealed with plastic belt buckles and fully covered with velcro using a thicker piece of foam that would later house the iconic dorsal fins.
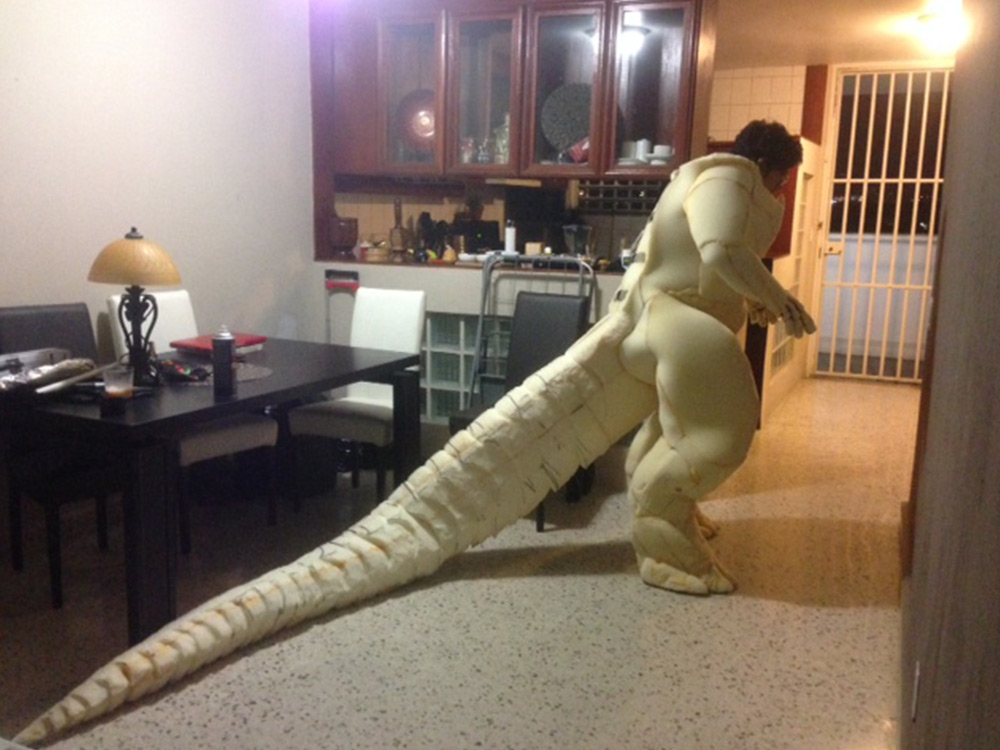
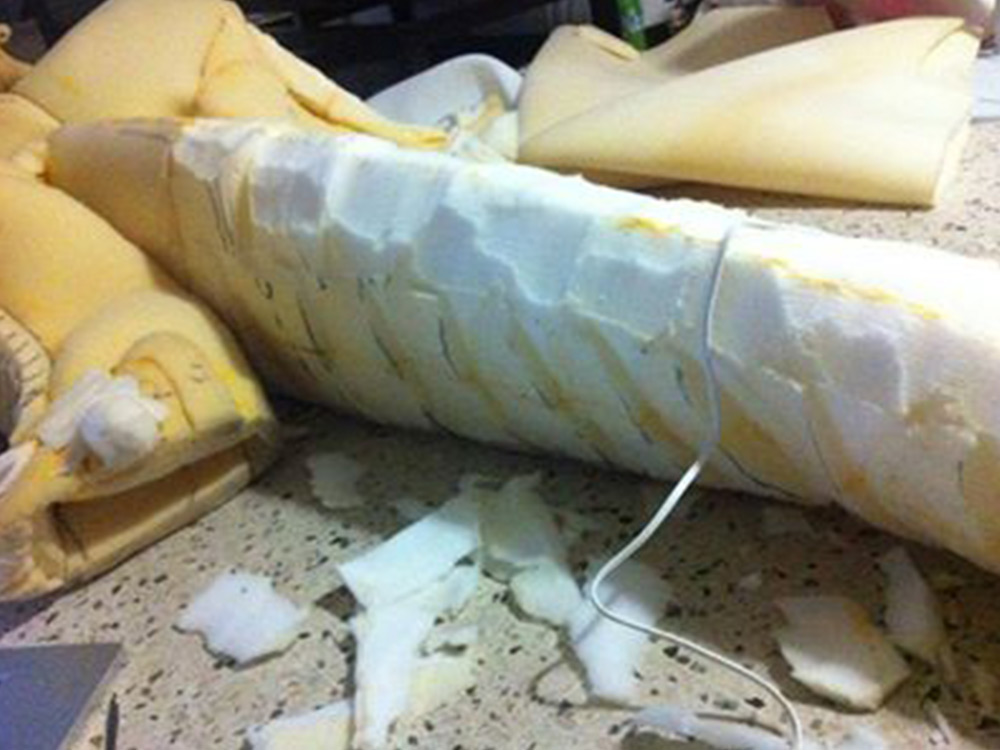
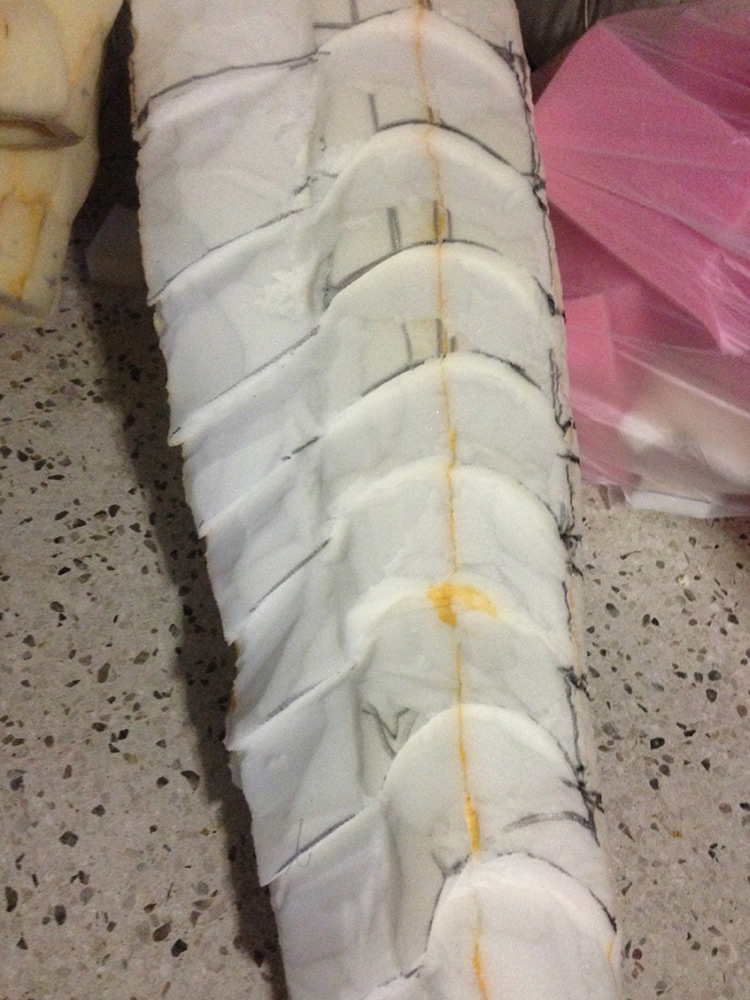
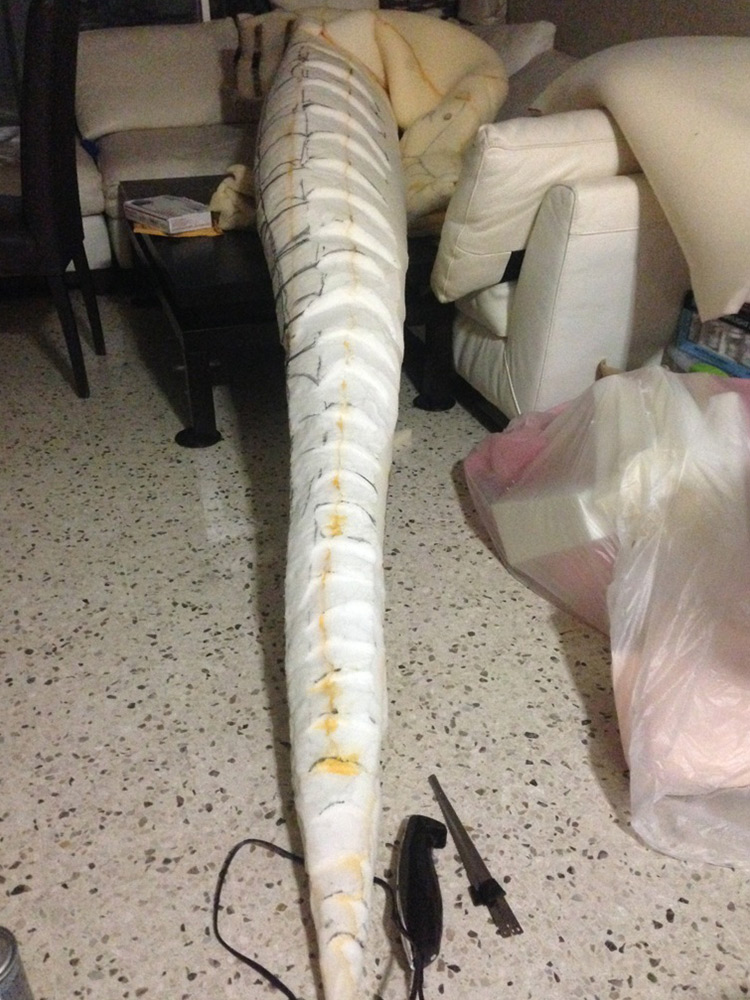
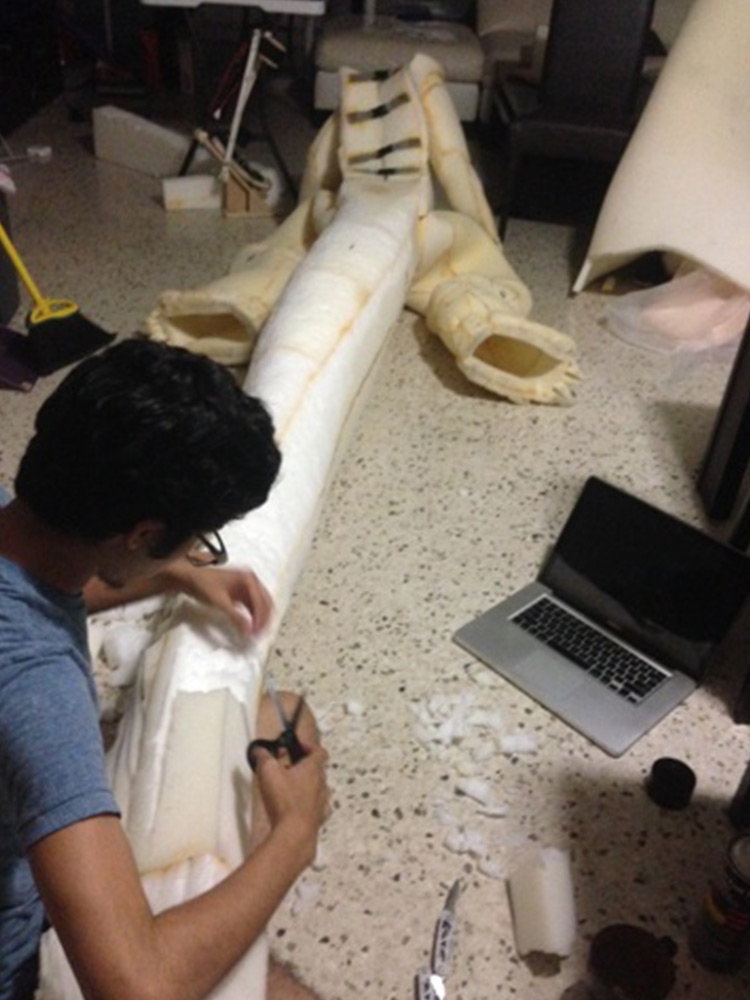
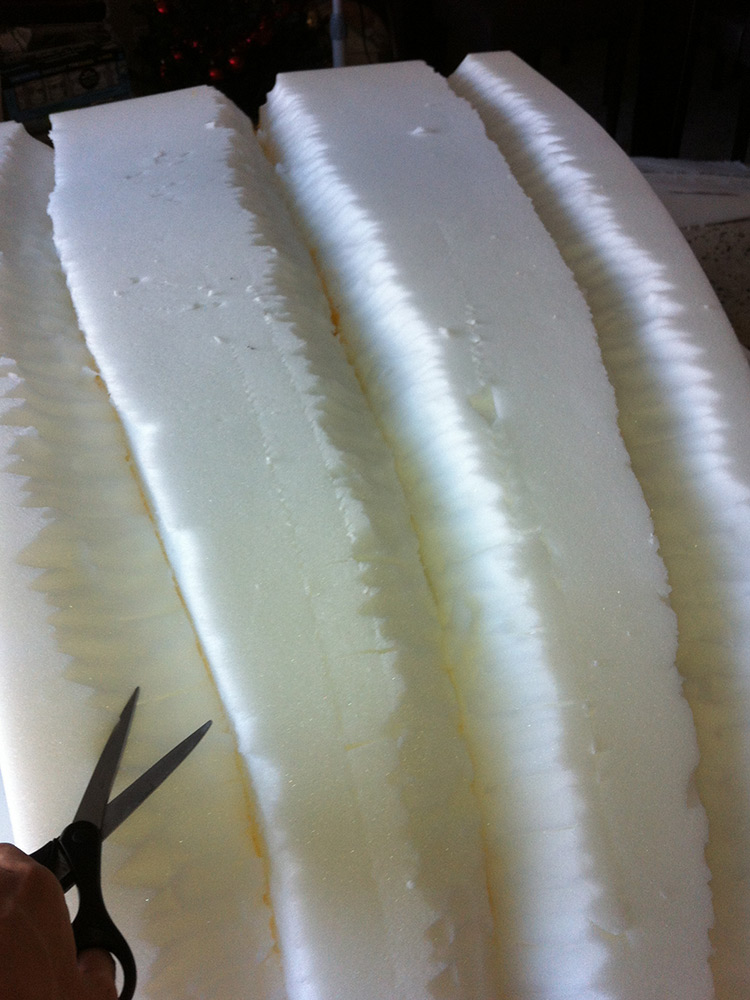
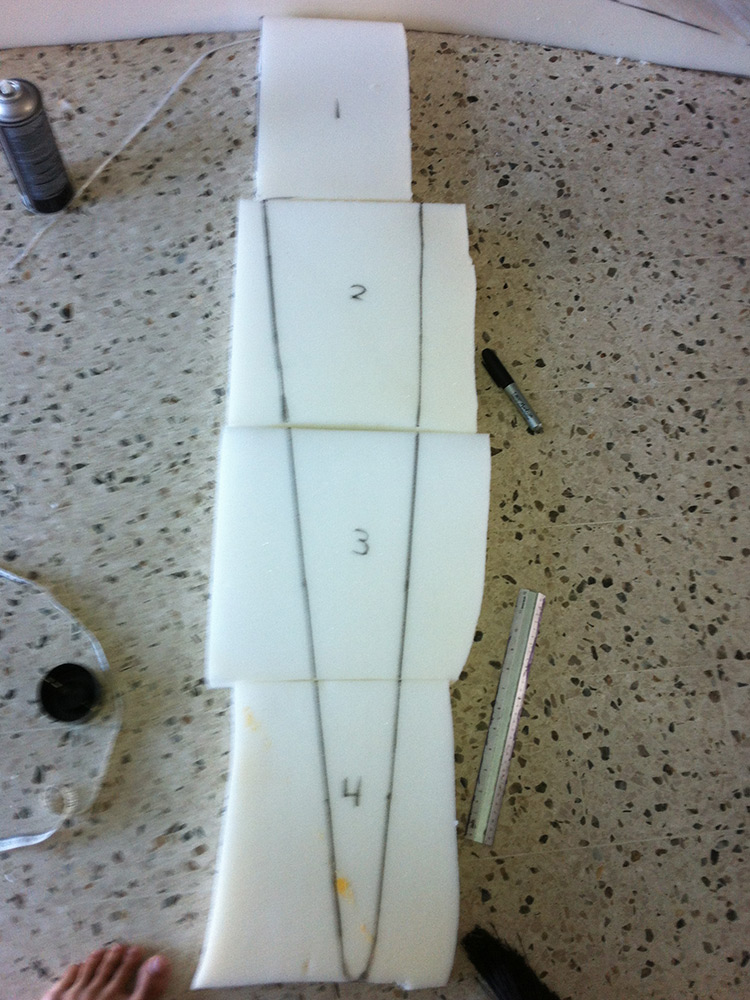
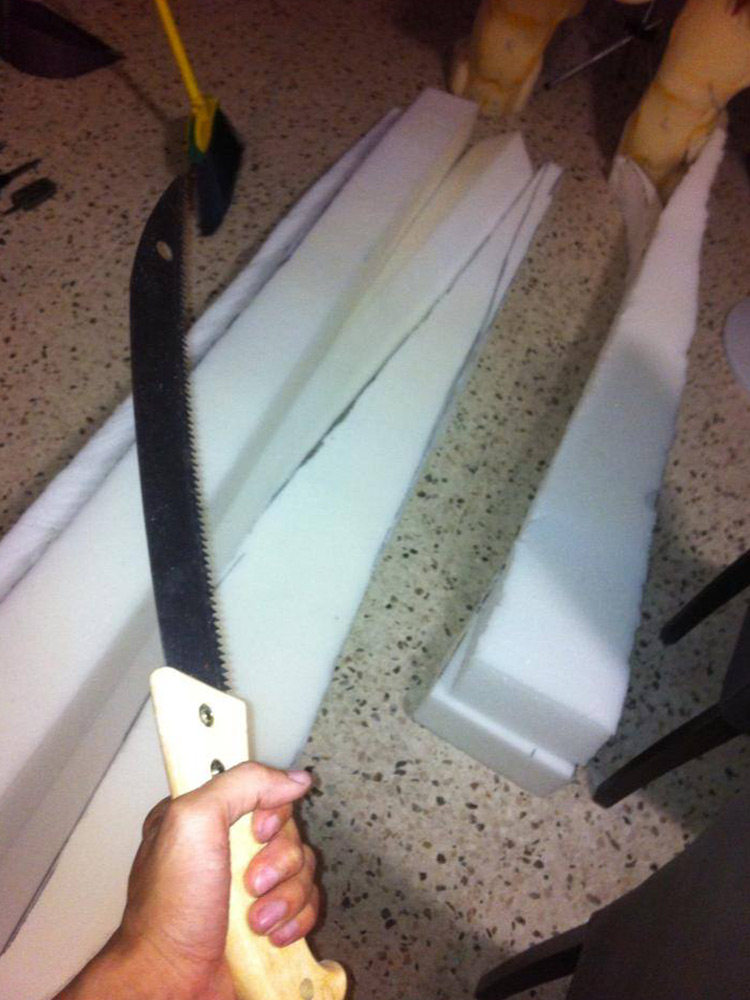
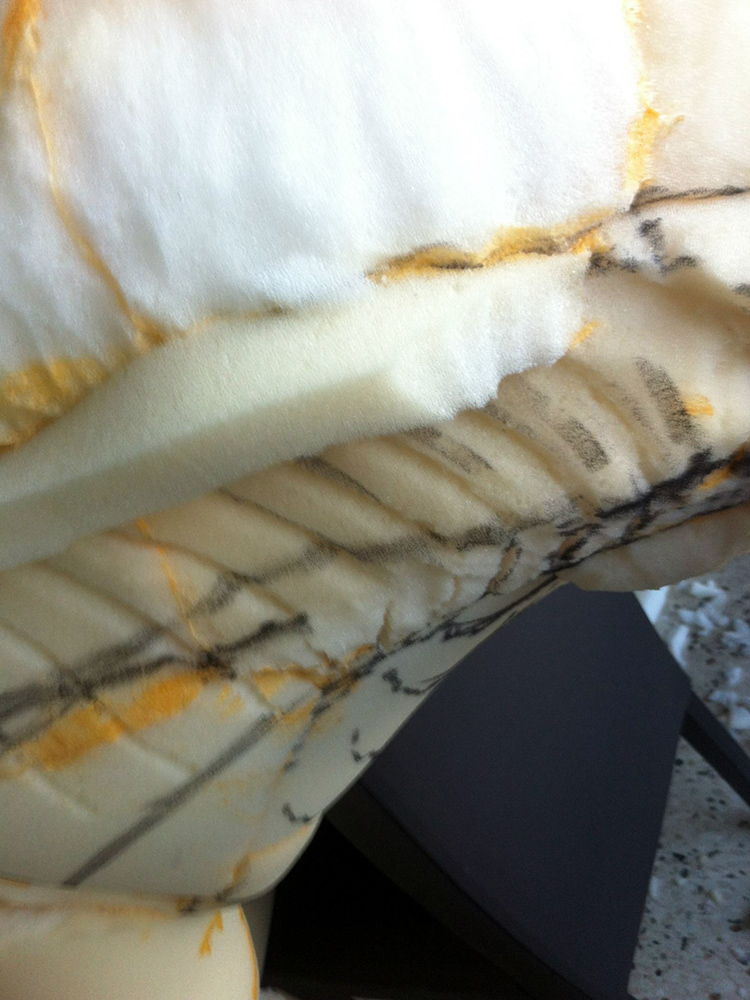
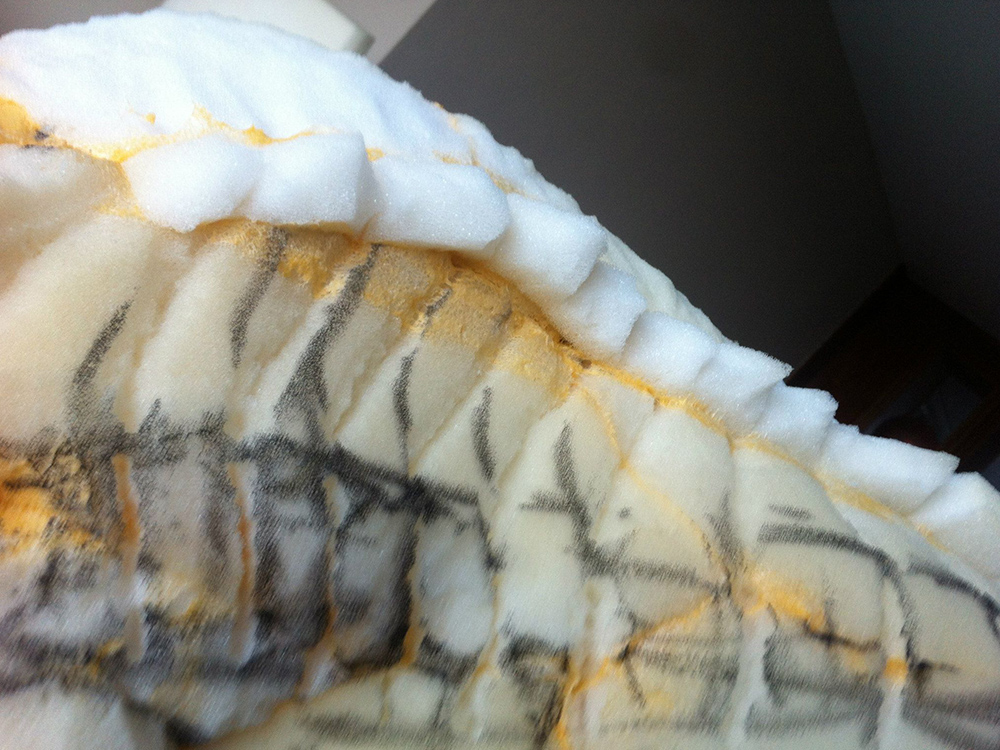
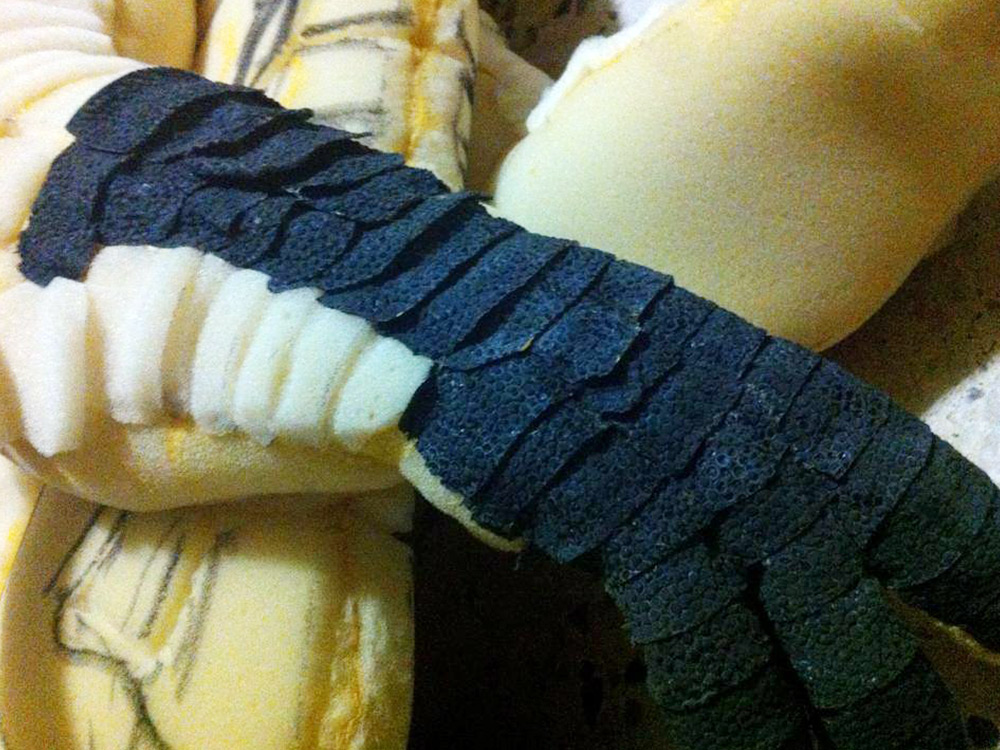
The tail was one of the more difficult parts to do. A thick sheet of foam was cut into 4 parts and glued in a straight line. Because of my limited amount of materials, I used scissors to carve the whole thing into a cylinder-shaped base. It was a painful process, but luckily I managed to buy an electric knife to carve details on the tail columns.
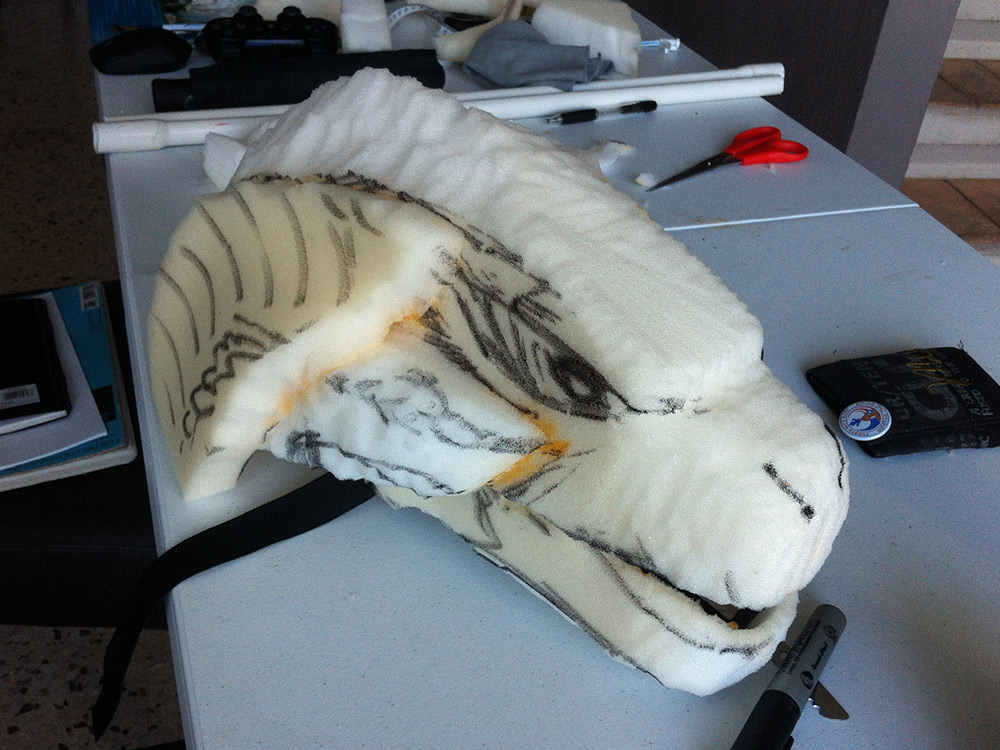
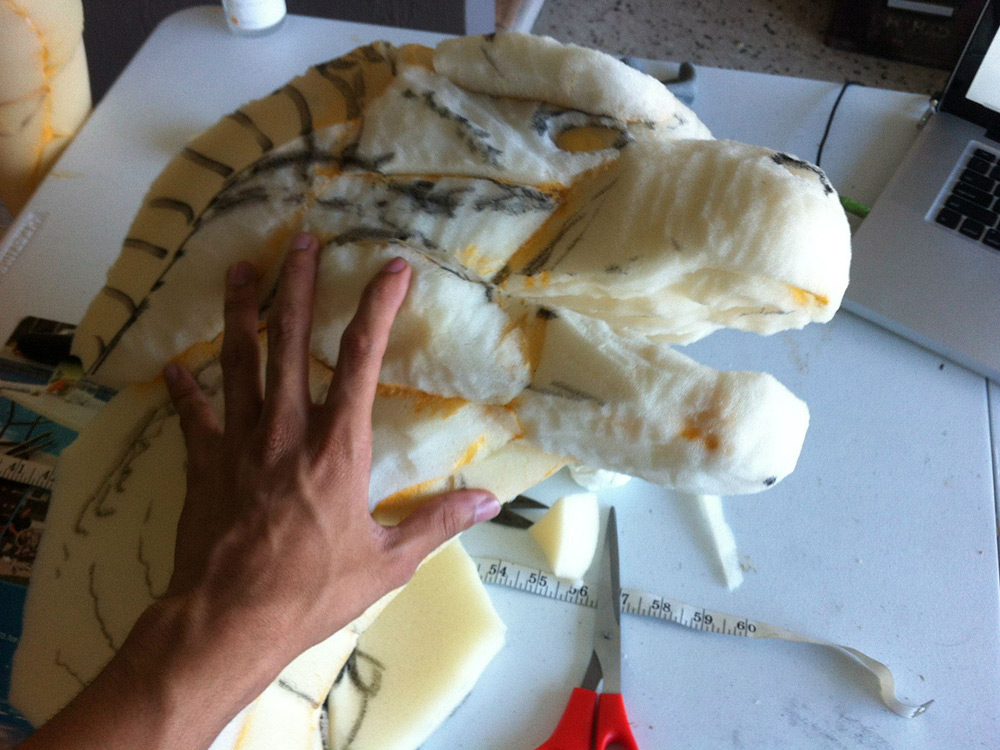
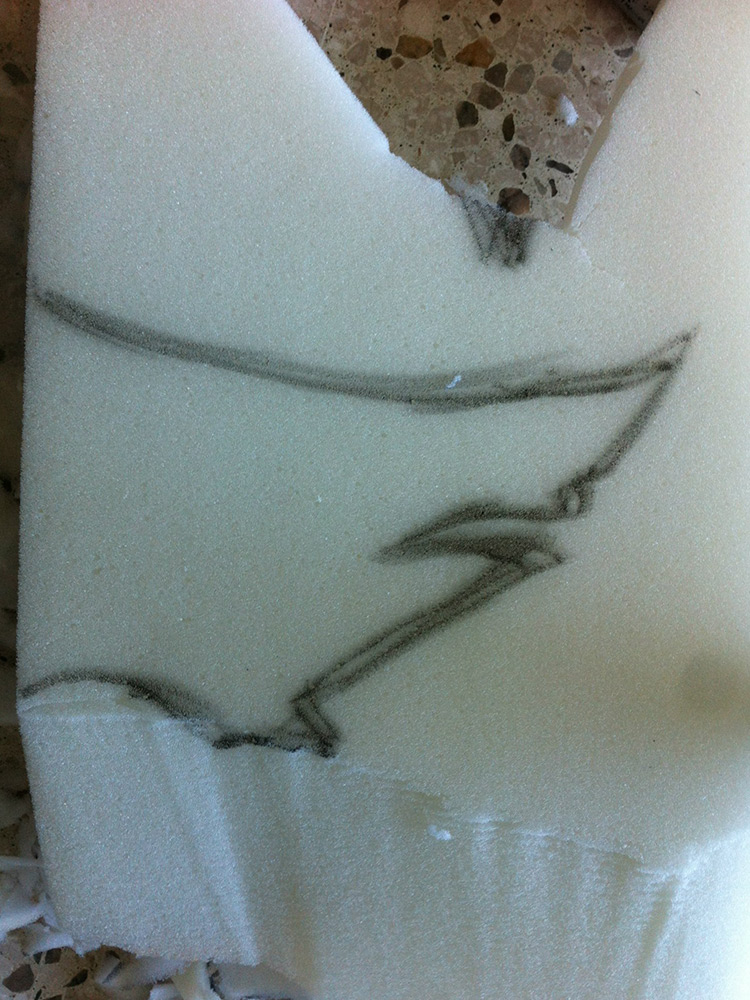
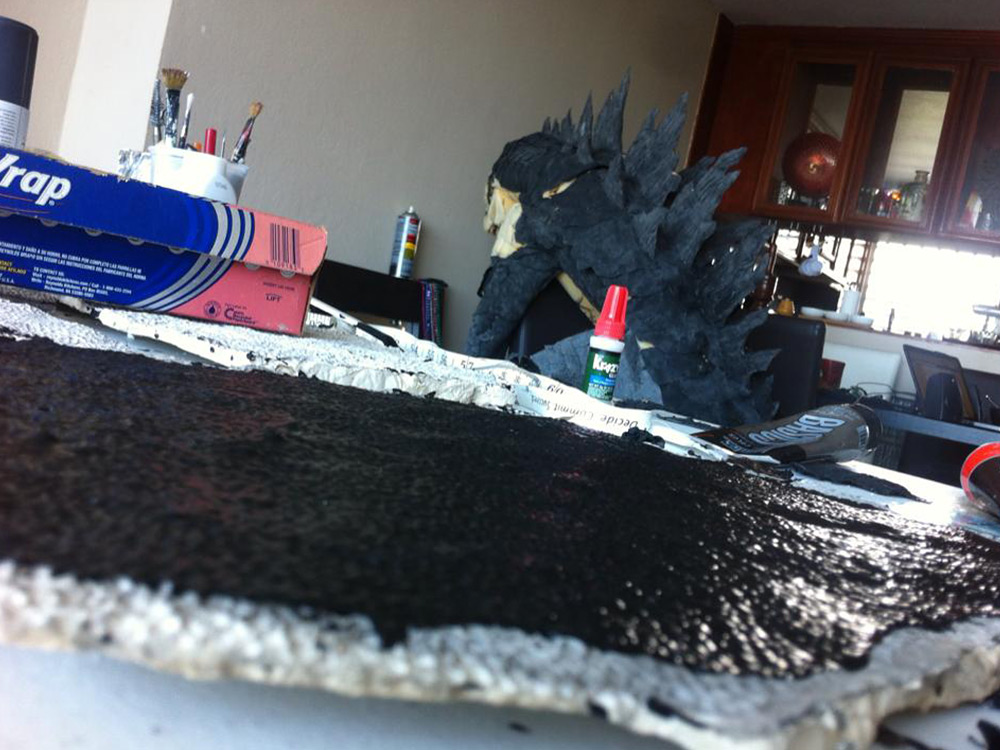
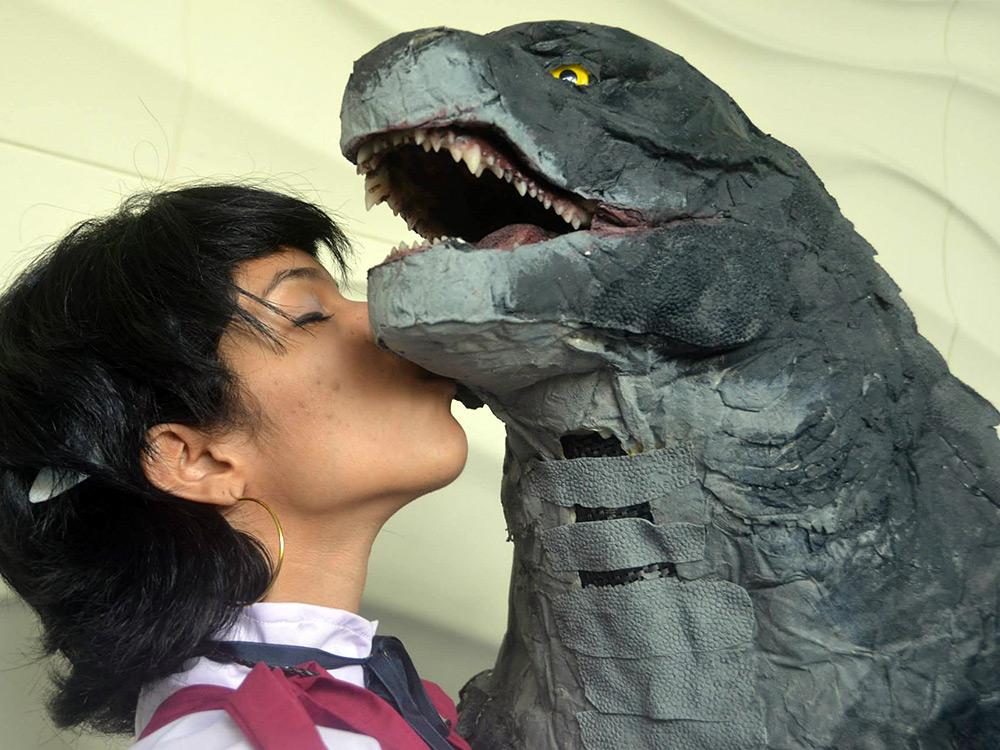
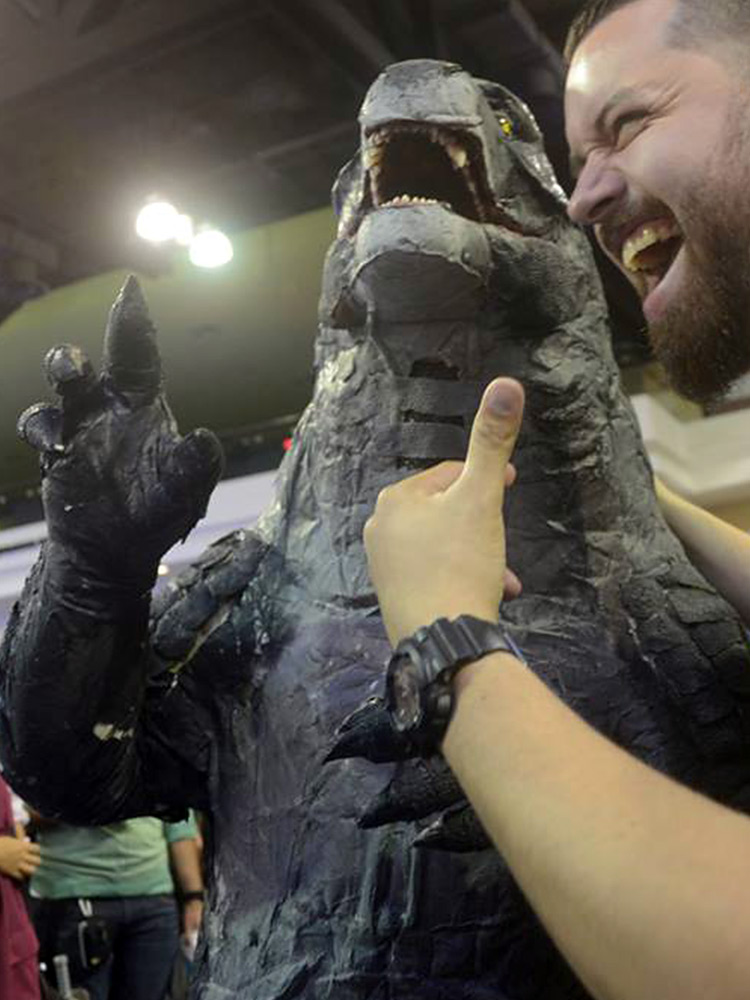
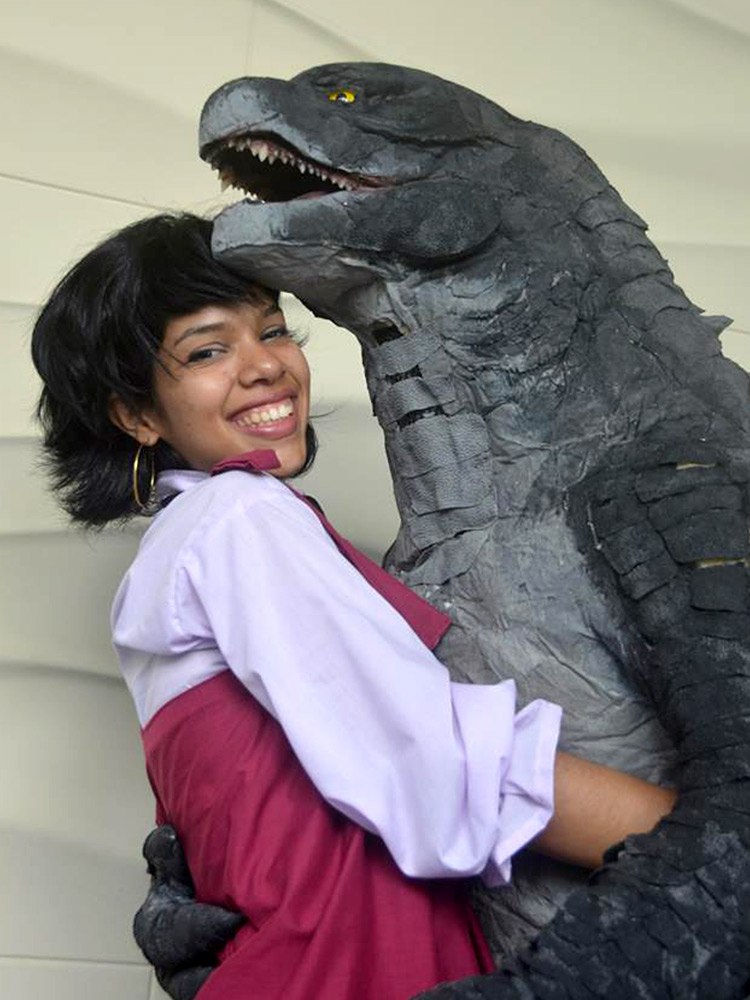
The head was the most important part of the suit for me in order to capture his ferocity and majesty. I used a block of foam so that the head would be stiff enough to hold on it’s own.
A black marker was used to draw the face on 3 dimensions for all sides of the block as a reference as I carved my way in. Once the basic shape of the head was completed, I tweezers and scissors to carve out foam for the inside of the jaw, eye sockets and other details.
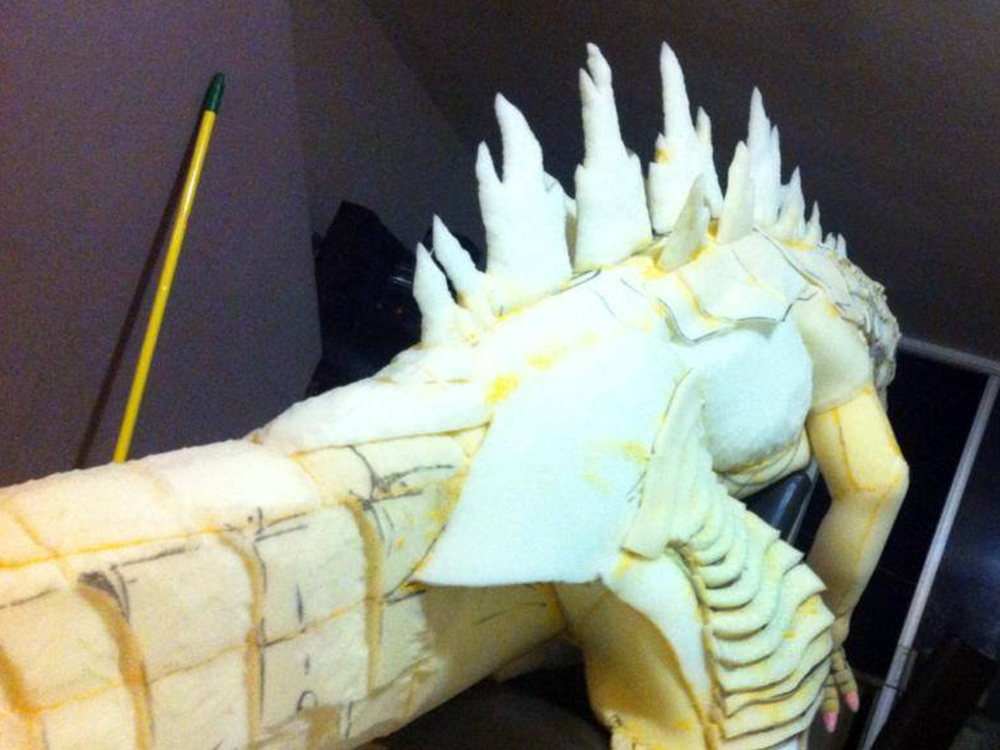
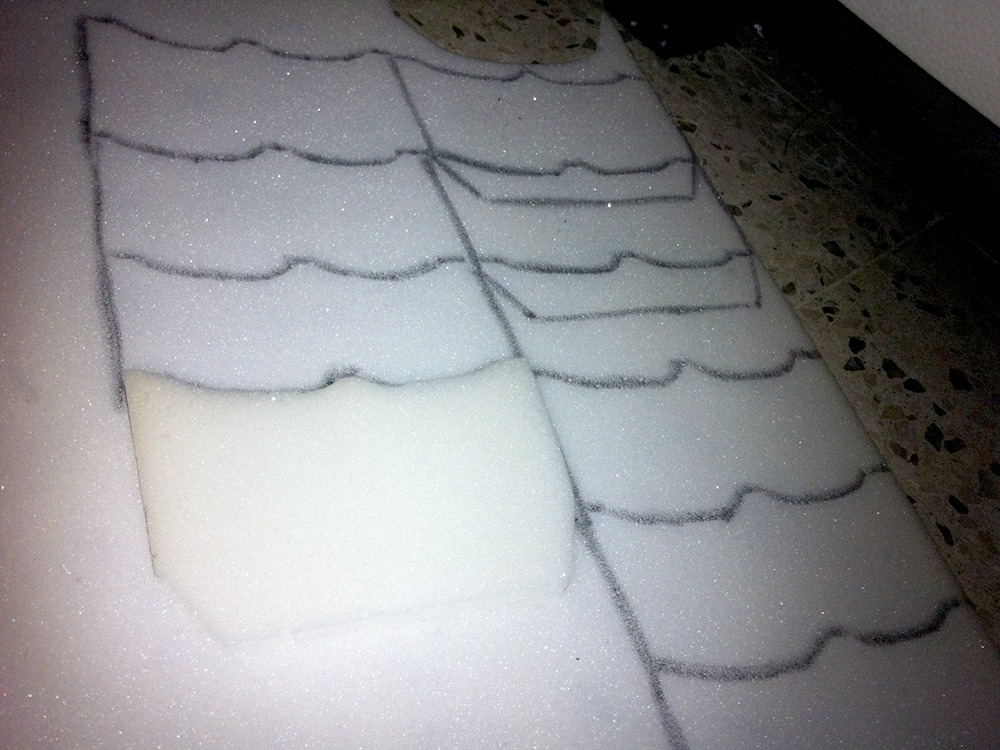
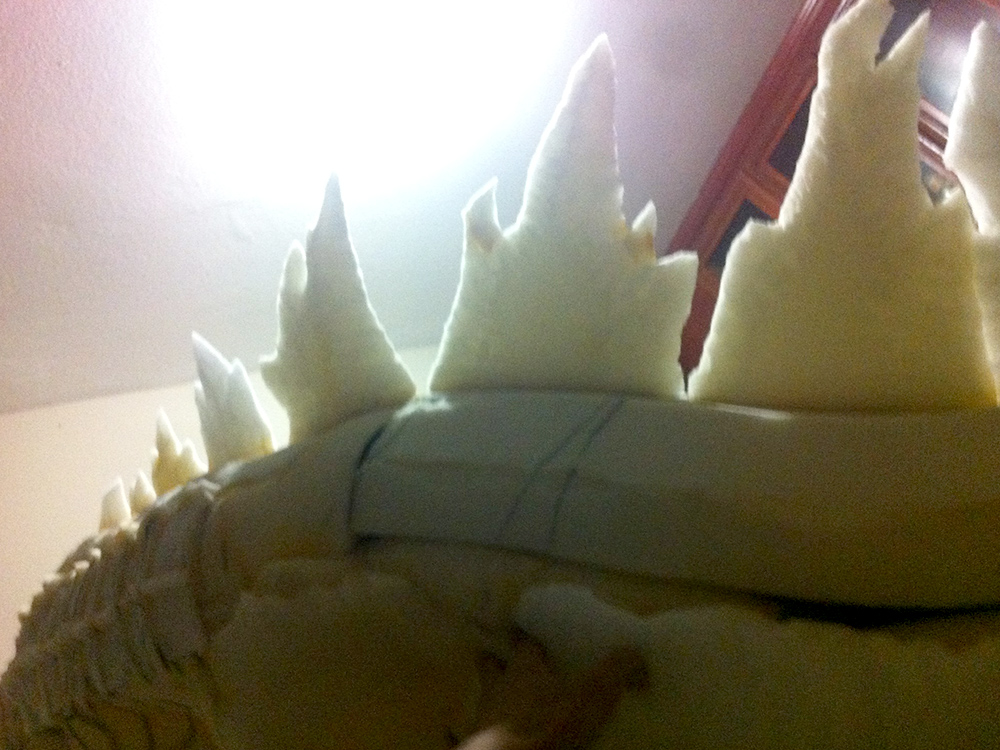
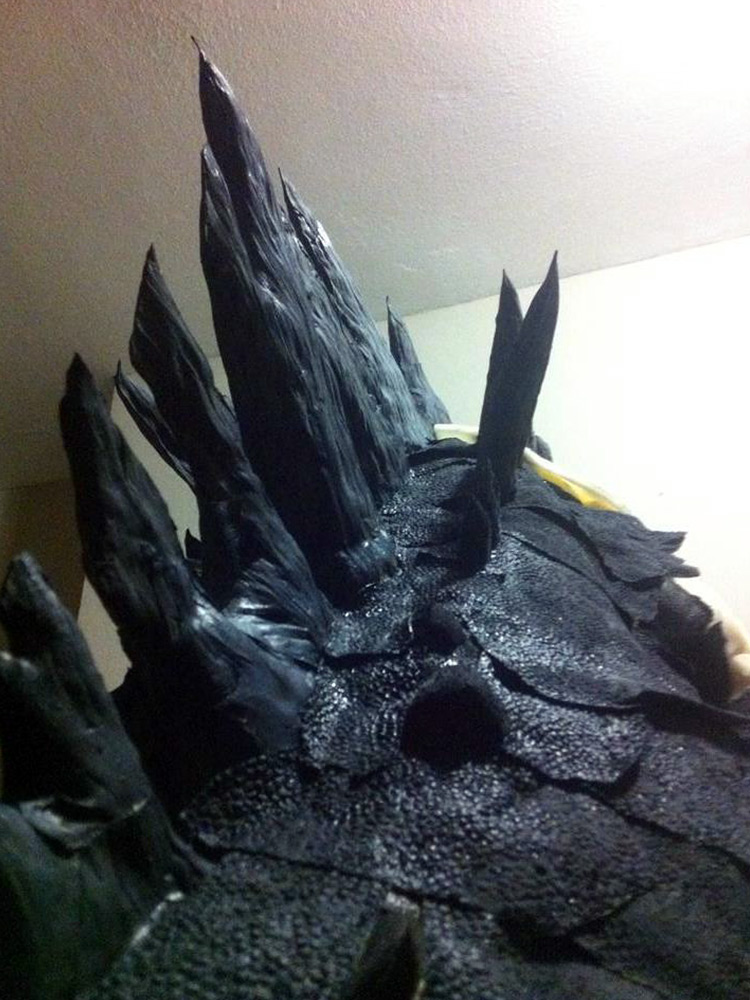
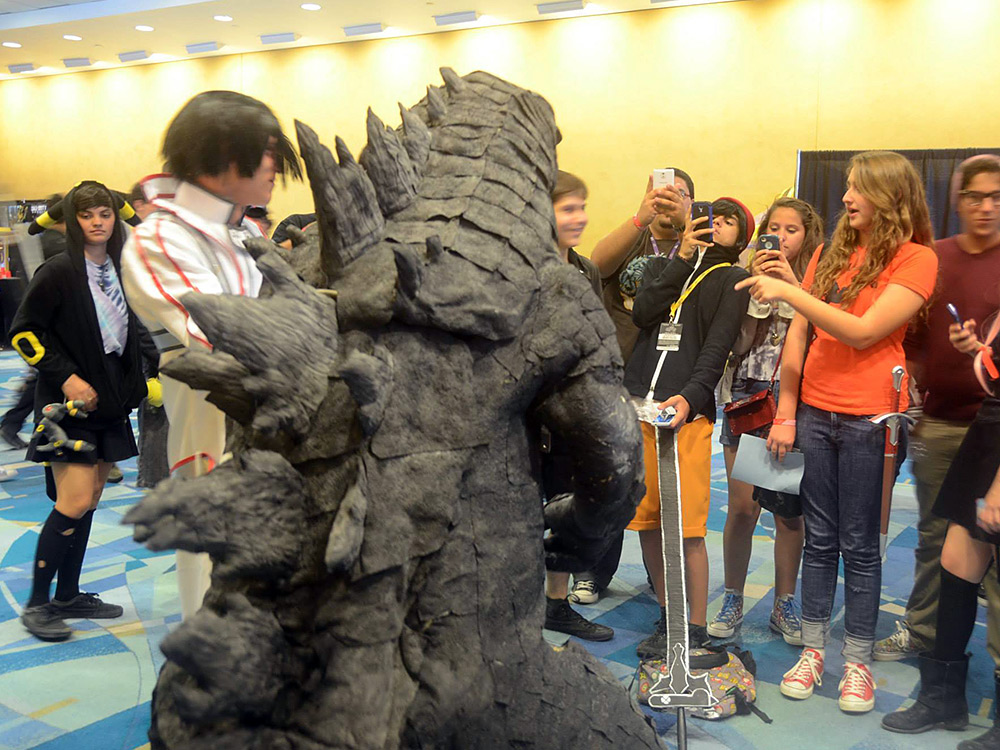
The dorsal plates were also another important part as it was one of the things that stood out and made this Godzilla design unique in my opinion. I started with a basic outline to determine the positioning of every single one, using the toys and images from the film as a reference to draw an accurate silhouette. Once the design was cut out, the ends are carved diagonally on both sides to give it’s thin-sharp edges.
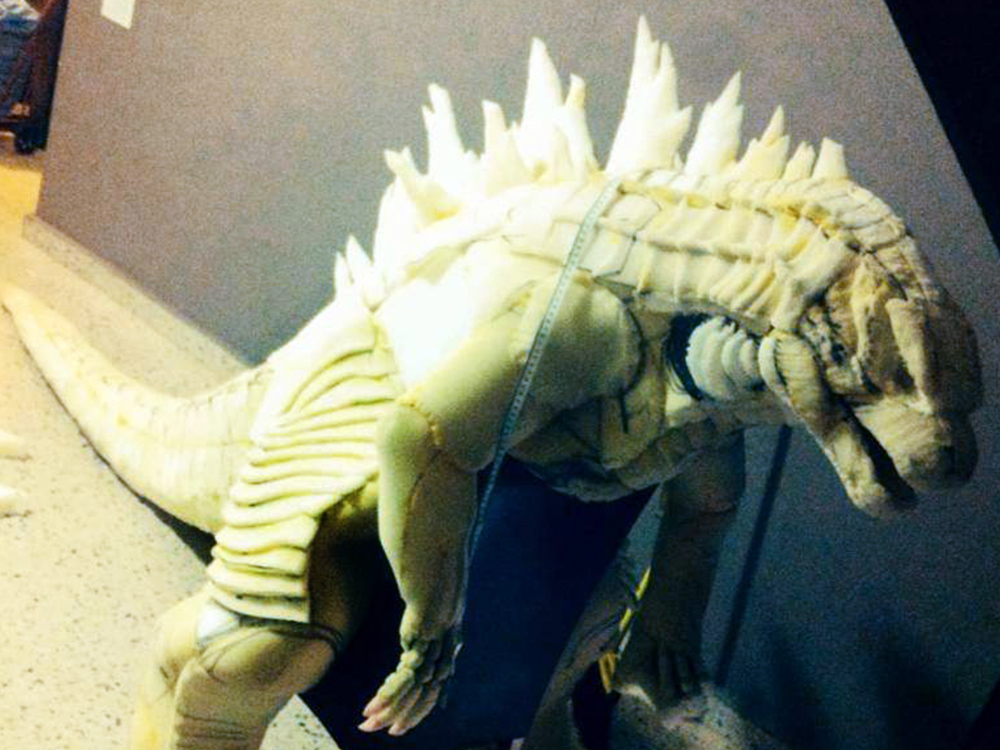
Although the foam was already used to give the suit’s overall design and shape, along with the patterns of it’s scales. It still needed it’s skin texture and color to give it life.
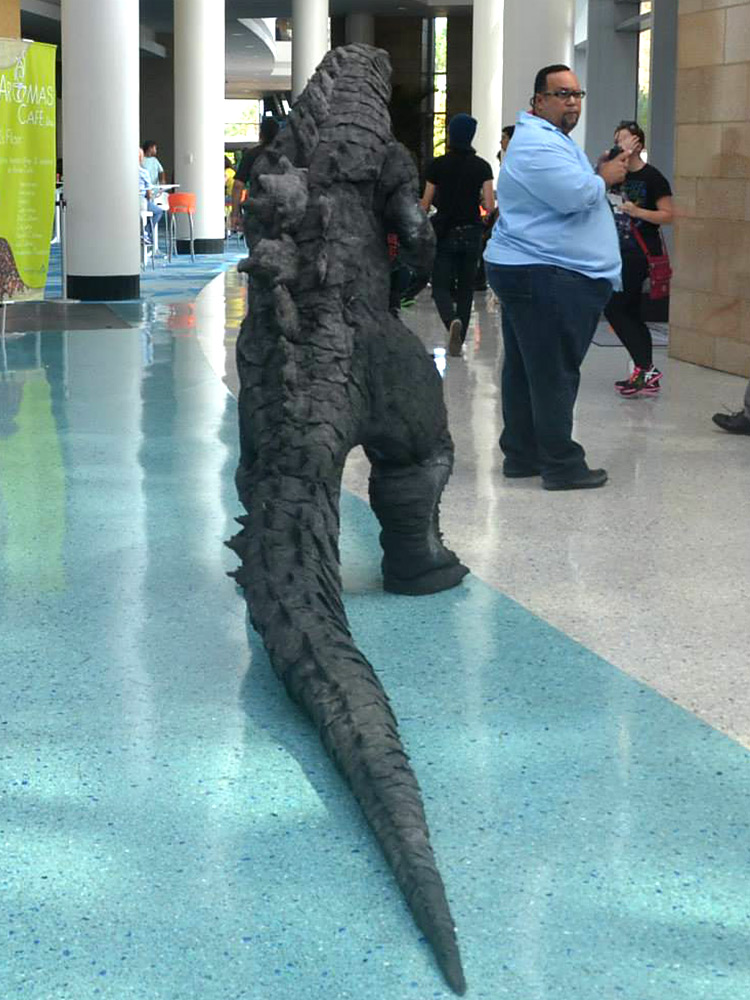
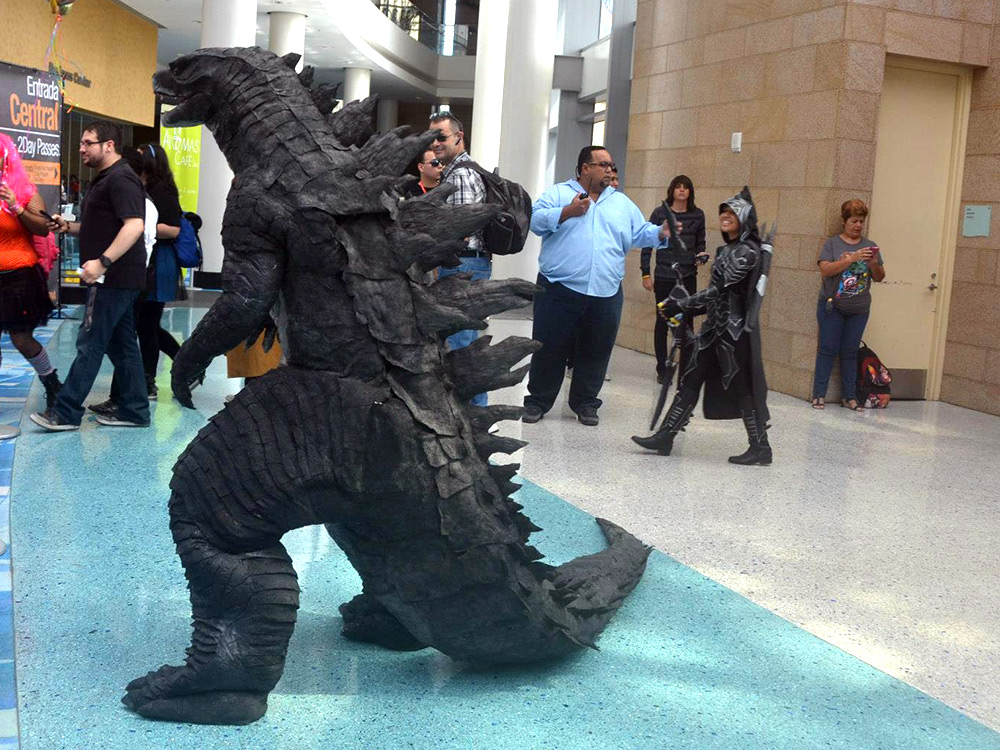
I could say that I’m somewhat satisfied, but there is still plenty of room for improvement. The stilts weren’t included for the completed suit because a screw on one leg broke apart about a month before completion, making it un-repairable.
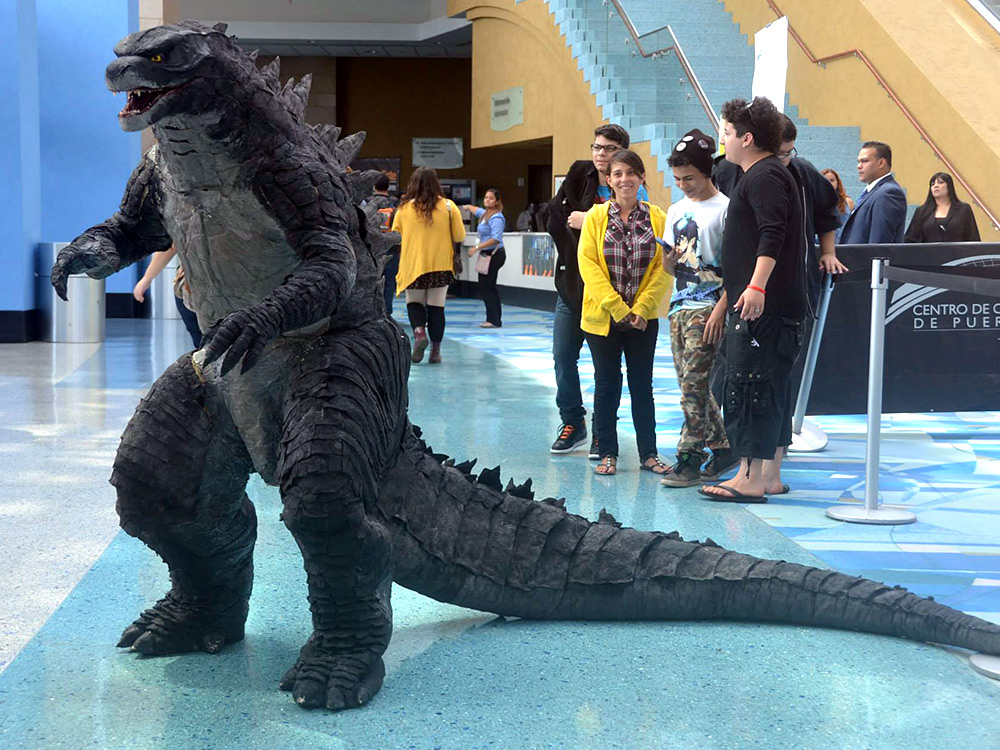
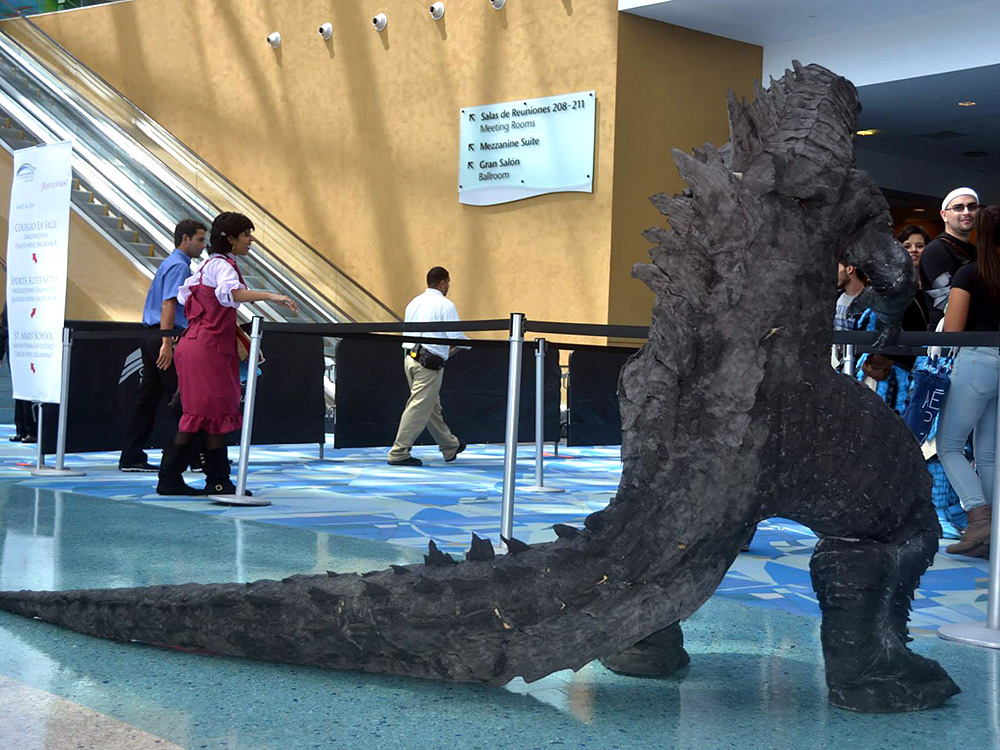
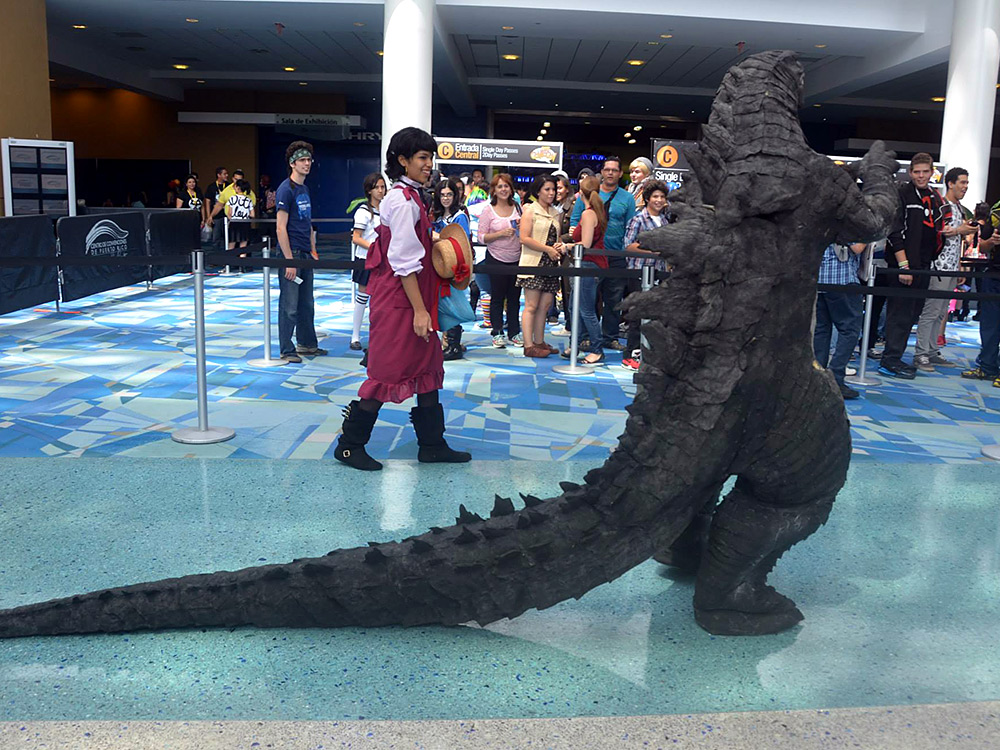
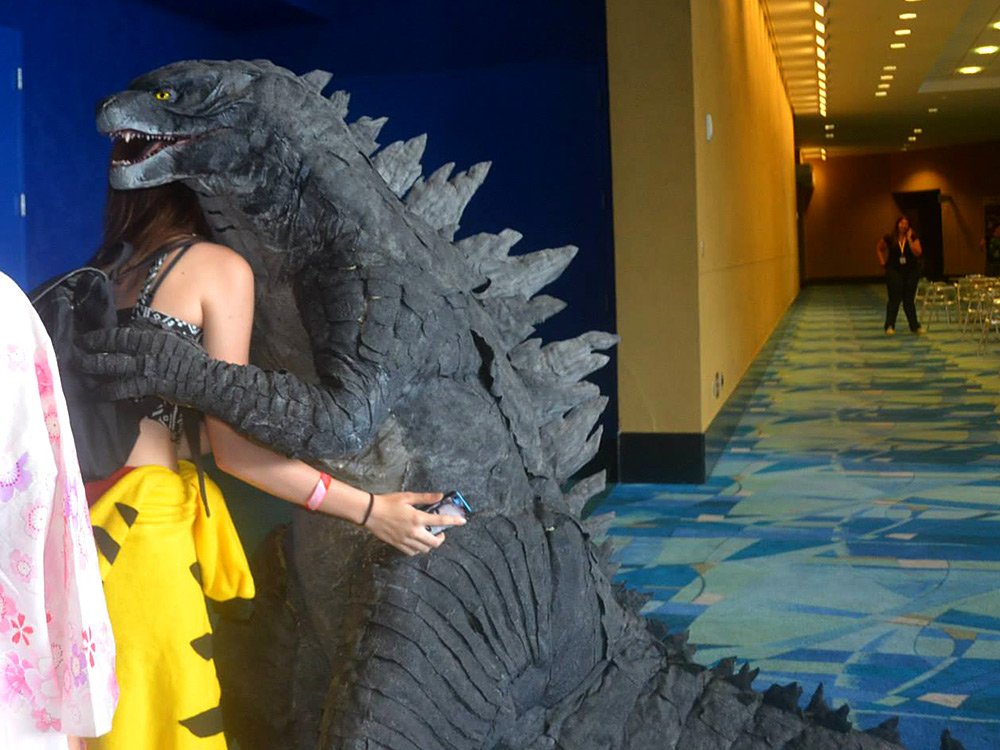
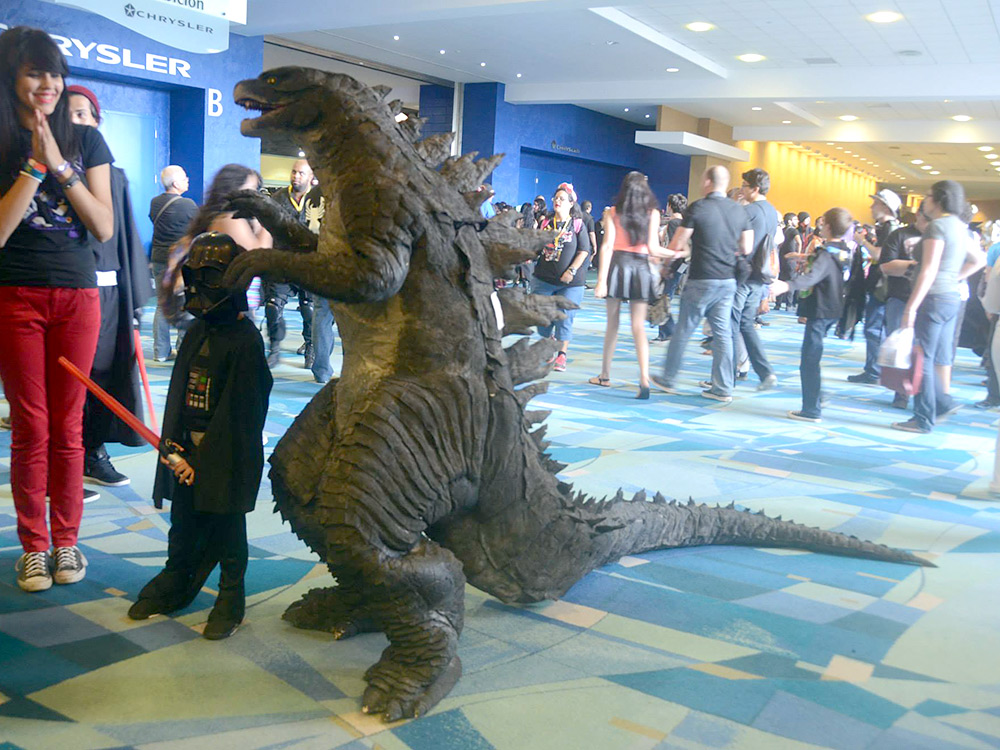
The frontal area of the suit (head to pelvic area), undersides of the arms and both sides of each leg had to be last minute add-ons using masking tape and coating them with latex to prep the suit for this year’s Puerto Rico Comic Con; this meant the suit would have many fragile spots, which meant that any movement would easily tear those areas, so I had to be very cautious when walking around.
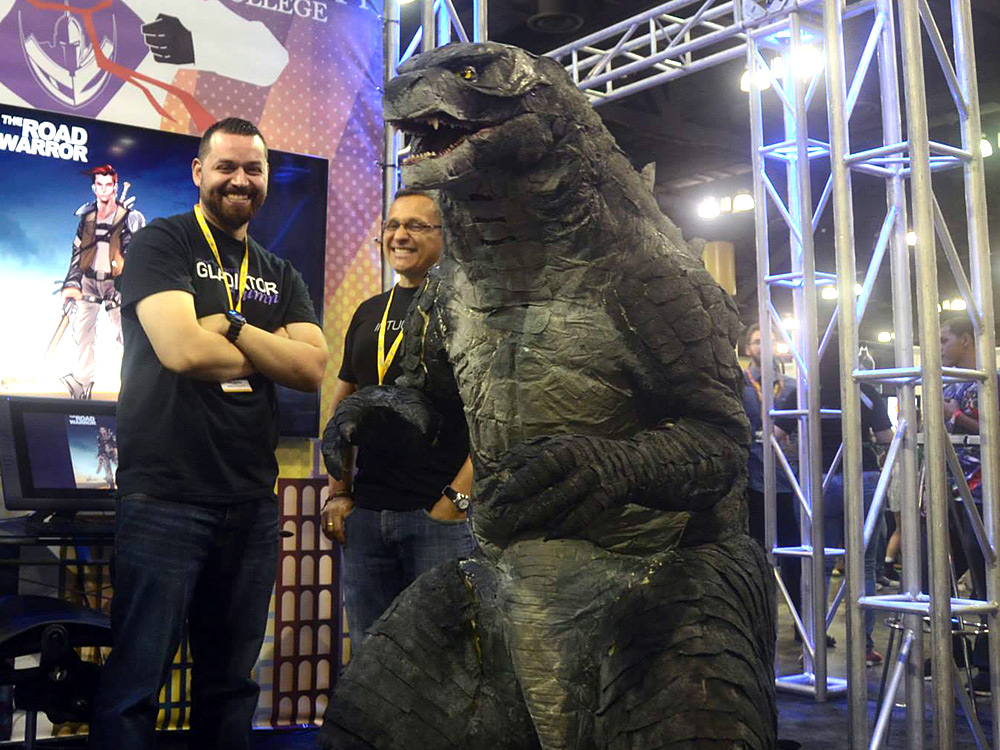
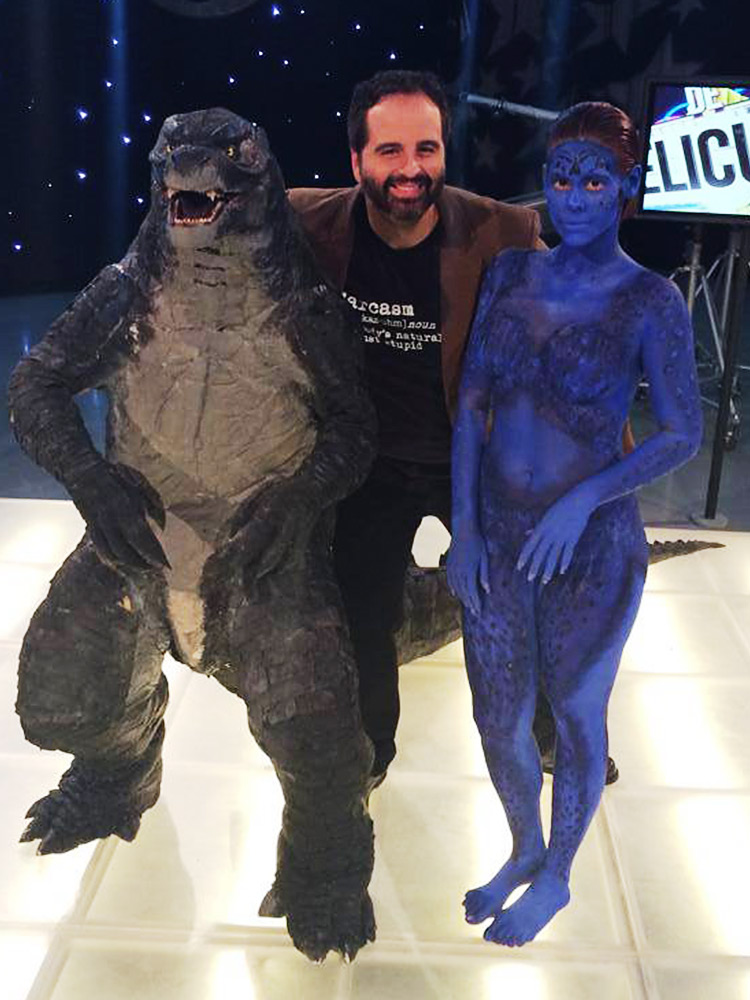
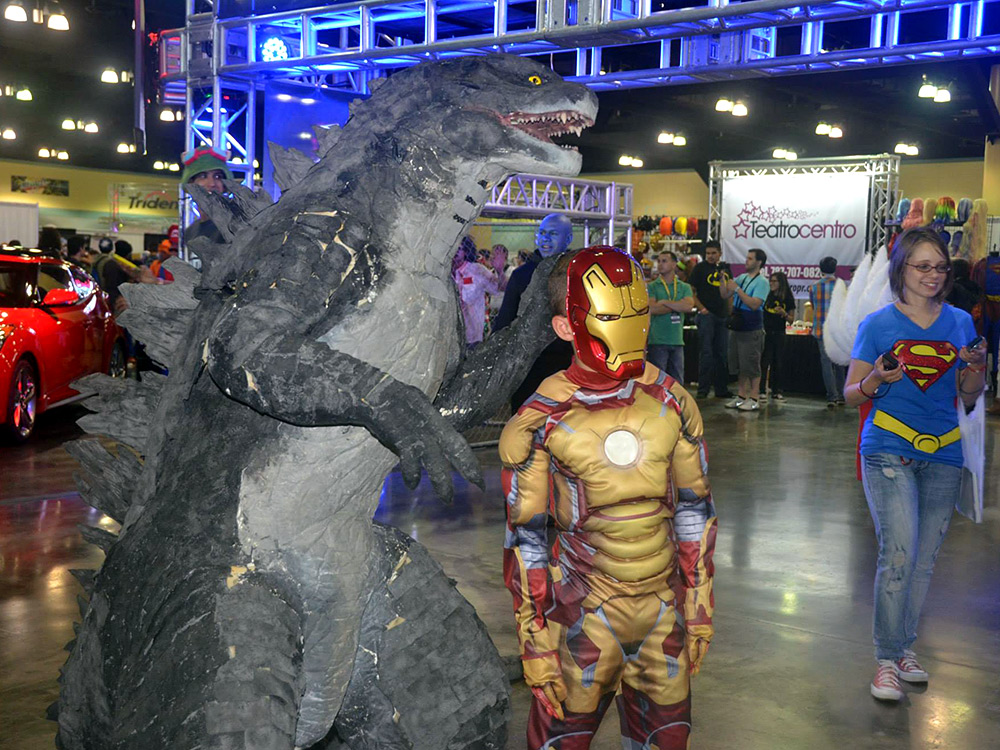
That’s not to say that I really enjoyed the day and loved everyones reaction, people were so impressed by it, children were in awe or scared, and pictures were taken at every second. I would last for about 2 hours and would have to take an hour break. Thankfully for mother and girlfriend were there to support me at every moment and made sure I felt comfortable being inside the suit for so long (I didn’t need to worry about the heat, had a portable fan that would serve as a ventilation system, along with cooling gel packs).
At the end of the day I was exhausted & had to go through a few body aches for about week or so, but it was so worth it.
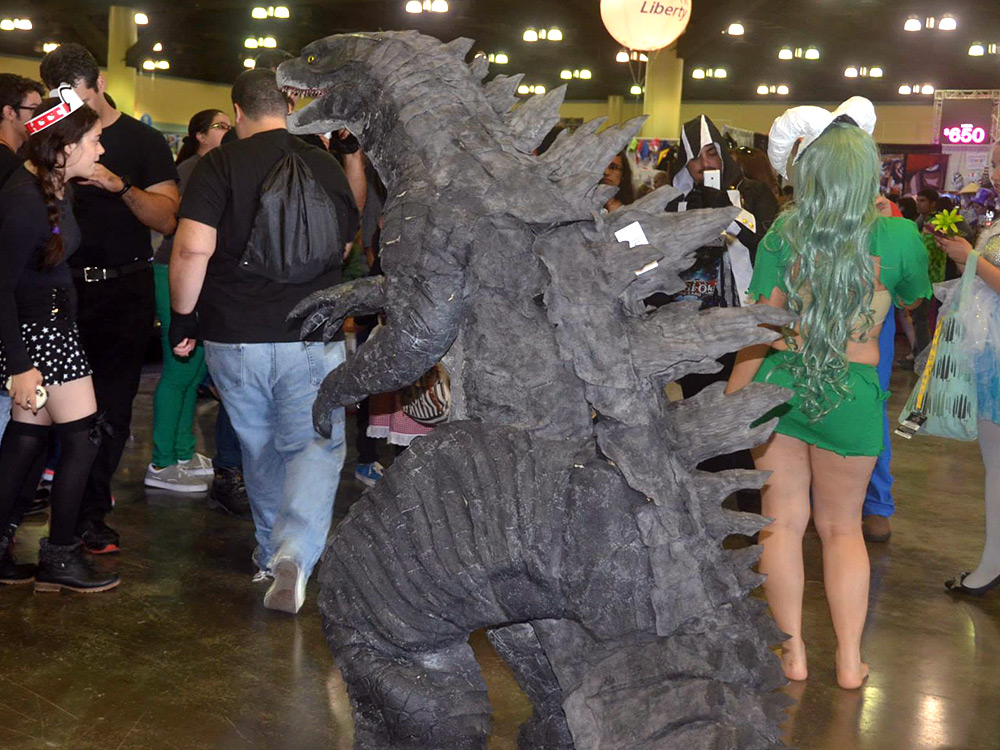
Just like I said before, the suit will go through improvements, I’m even considering building it from scratch all over again. My goals for phase 2 is to have a suit that can achieve far more dynamic poses/movement & improve the proportions and accuracy of the new Godzilla design. Stay tuned to the suit’s official page on Facebook for further updates.
Hope you guys enjoyed this. And as always; long live Godzilla, and love cosplaying.
-Sean, Project Nautilus
VIDEO
Project Nautilus: Suit Test 1.0
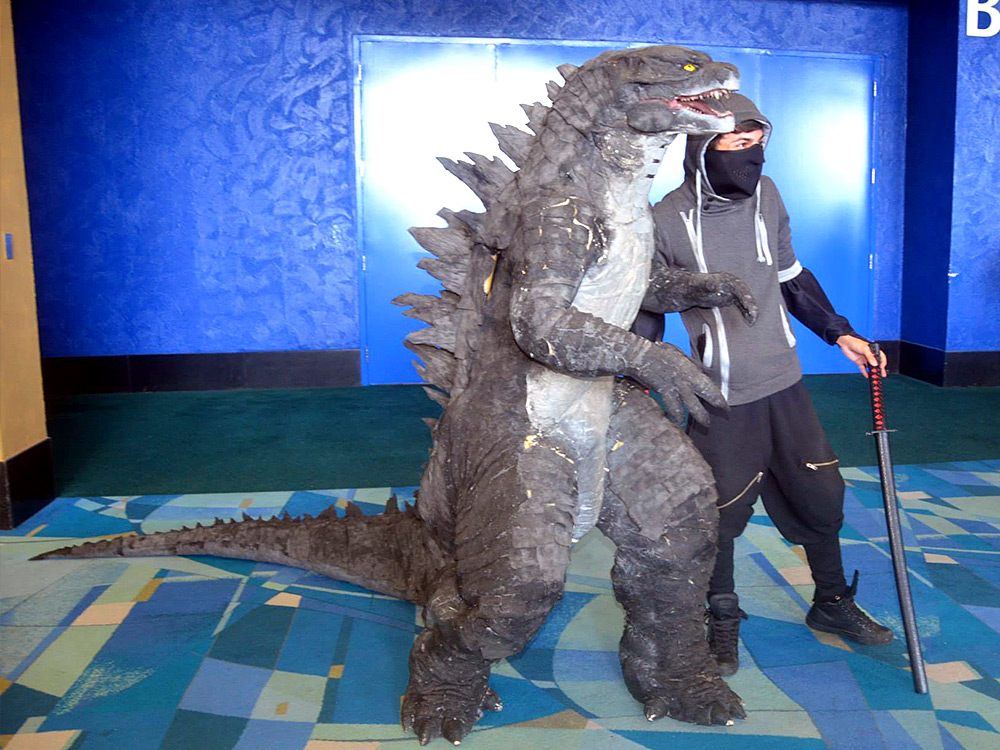
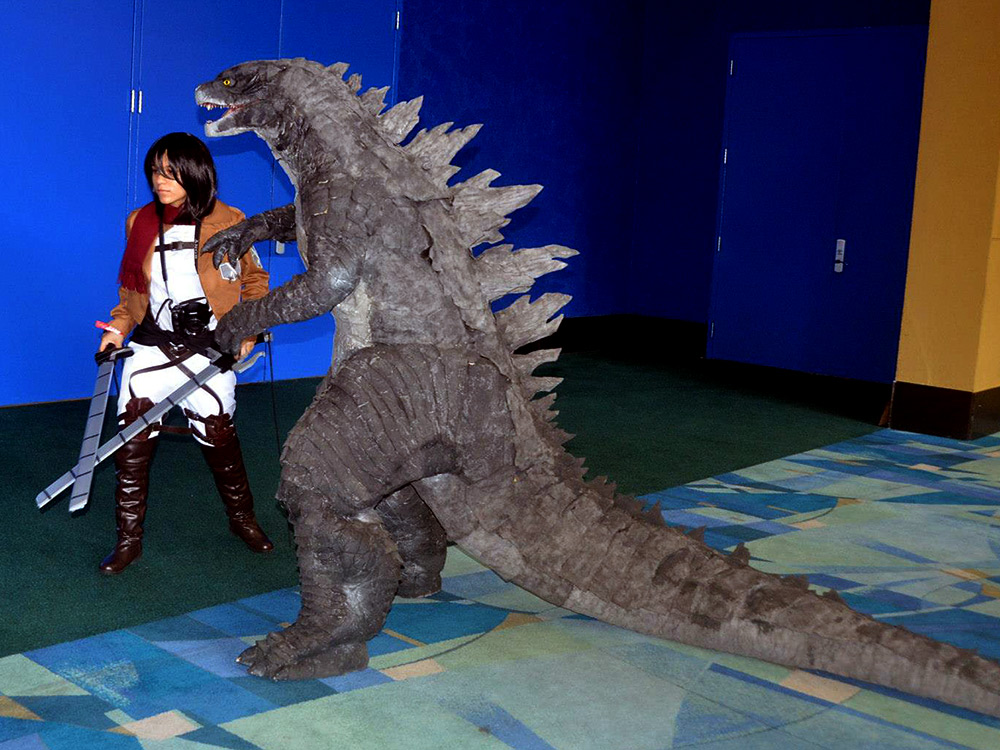
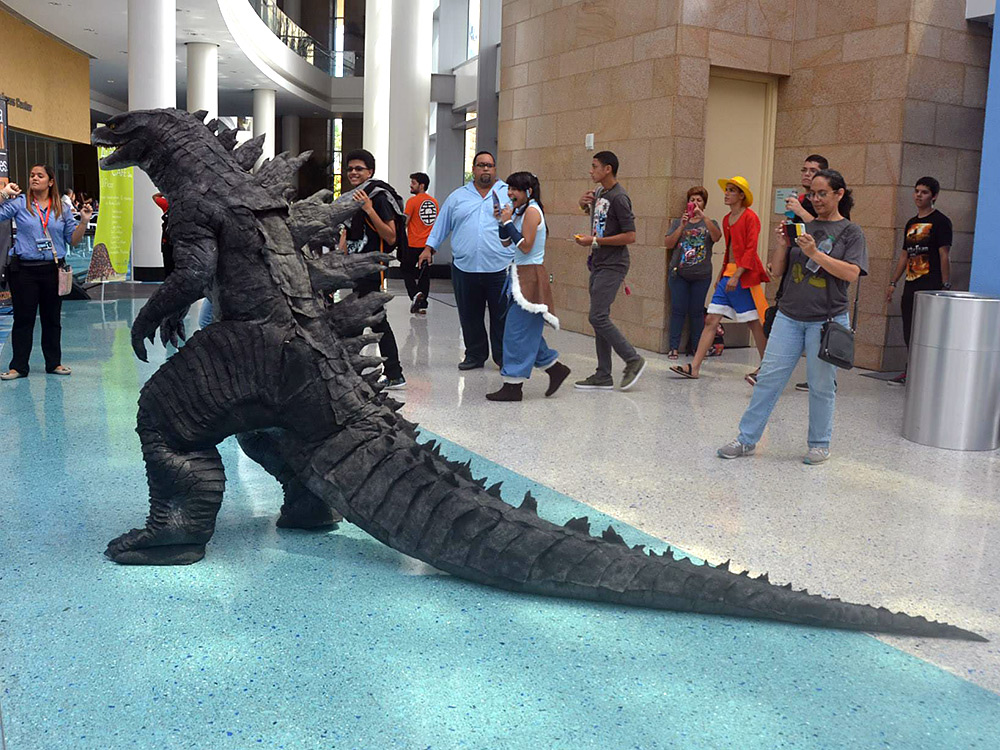
A cosplay project based on the official Godzilla design of the Legendary Pictures film Godzilla (2014). Within this video you’ll see testing of the mobility and flexibility of the suit without stilts.
VIDEO
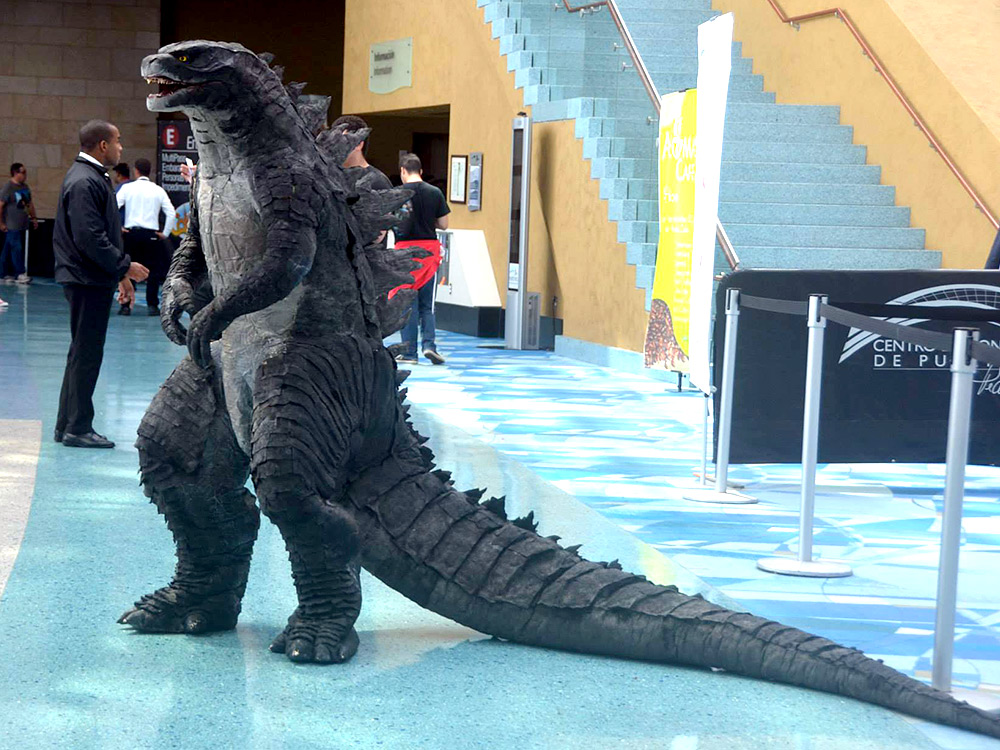
Project Nautilus: Suit Test 2.0
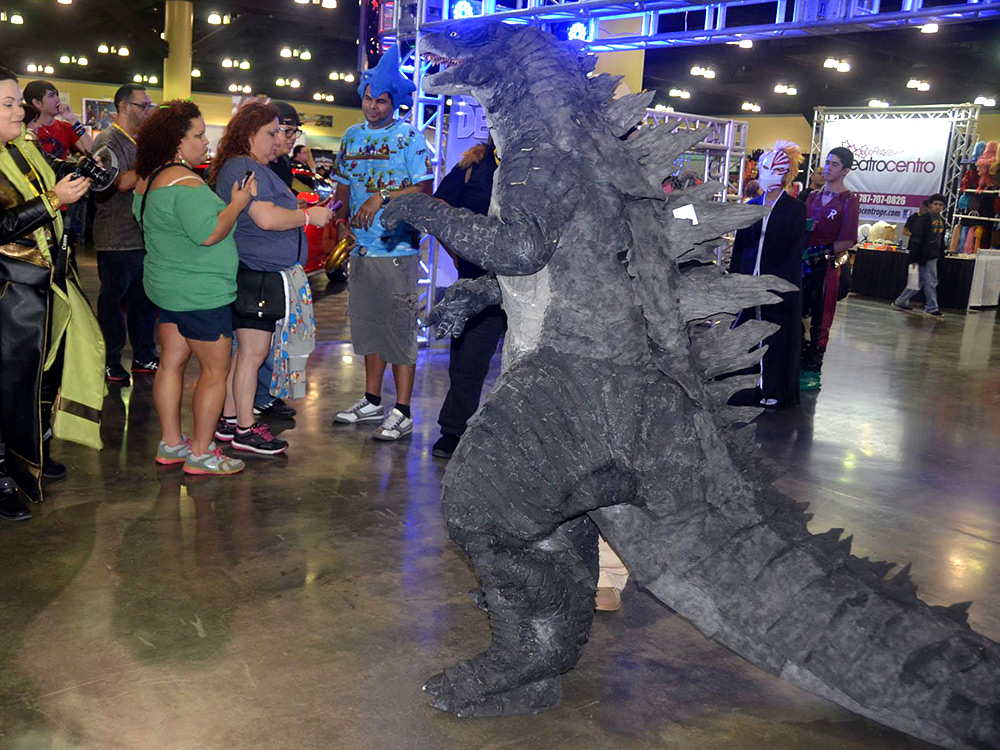
A cosplay project based on the official Godzilla design of the Legendary Pictures film Godzilla (2014). At this point I’m at about 85% completion. Within this video you’ll see testing of the mobility of the suit WITH stilts. The stilts help make the suit look taller but limits mobility to some degree.
Links
Contact
Have you already completed your own Godzilla costume and want to feature it here? Then by all means contact me and we’ll work together to add your costuming experience to this site.