Head
Head
KRYS BAIOA FUSION GODZILLA
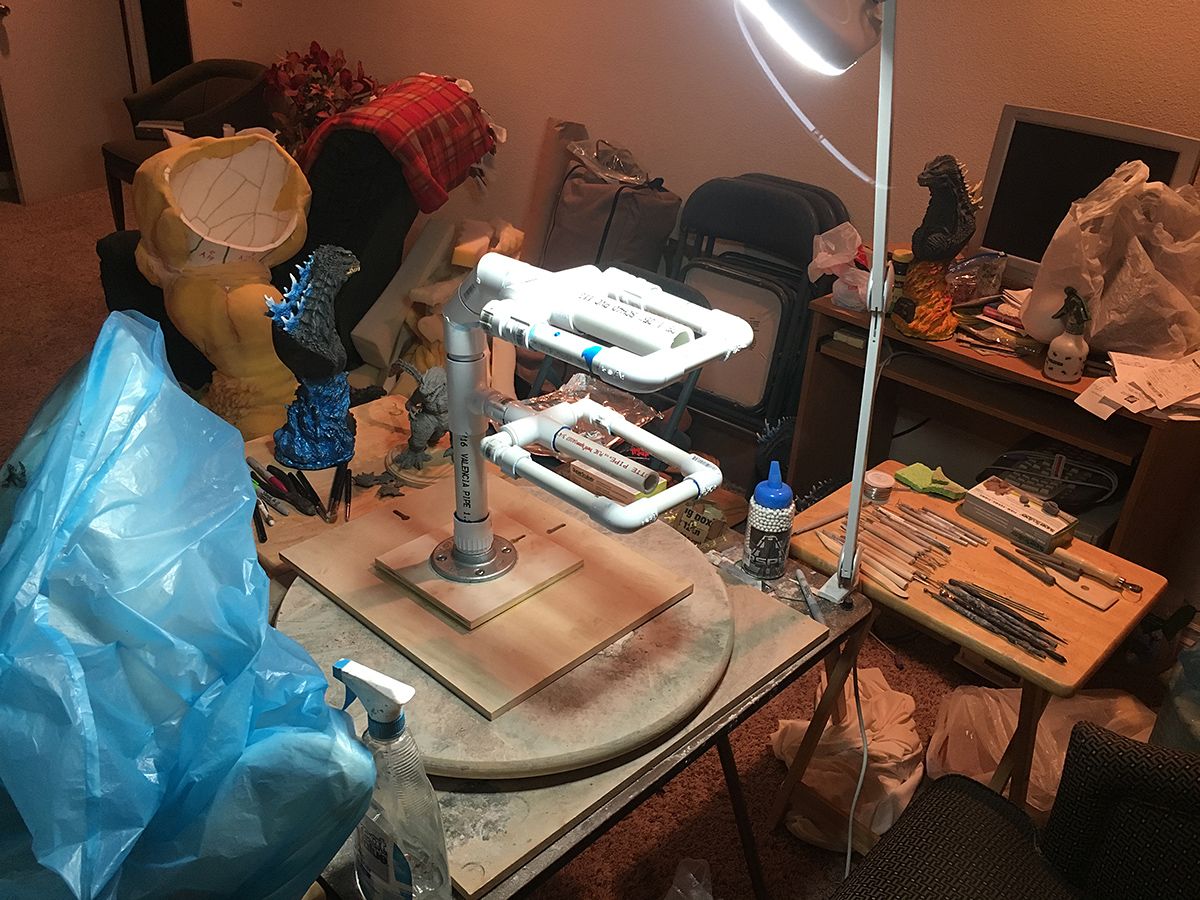
Armature
The head of the suit started with an armature for a clay sculpt. I used PVC pipe and PVC glue to hold the basic shape of a Godzilla head in place. It’s best to have a lazy susan to see the sculpt in a 360° view.
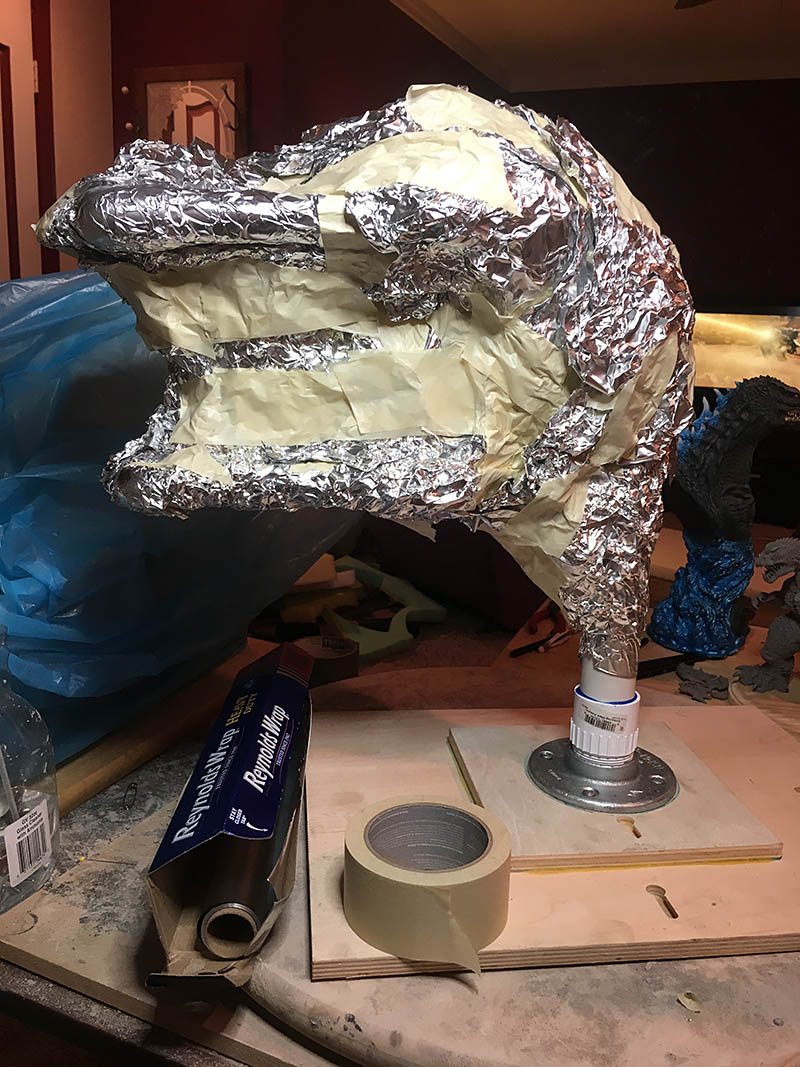
Tin Foil
In order to keep the sculpt light by using as less clay as possible, I bulked out the shape with tin foil.
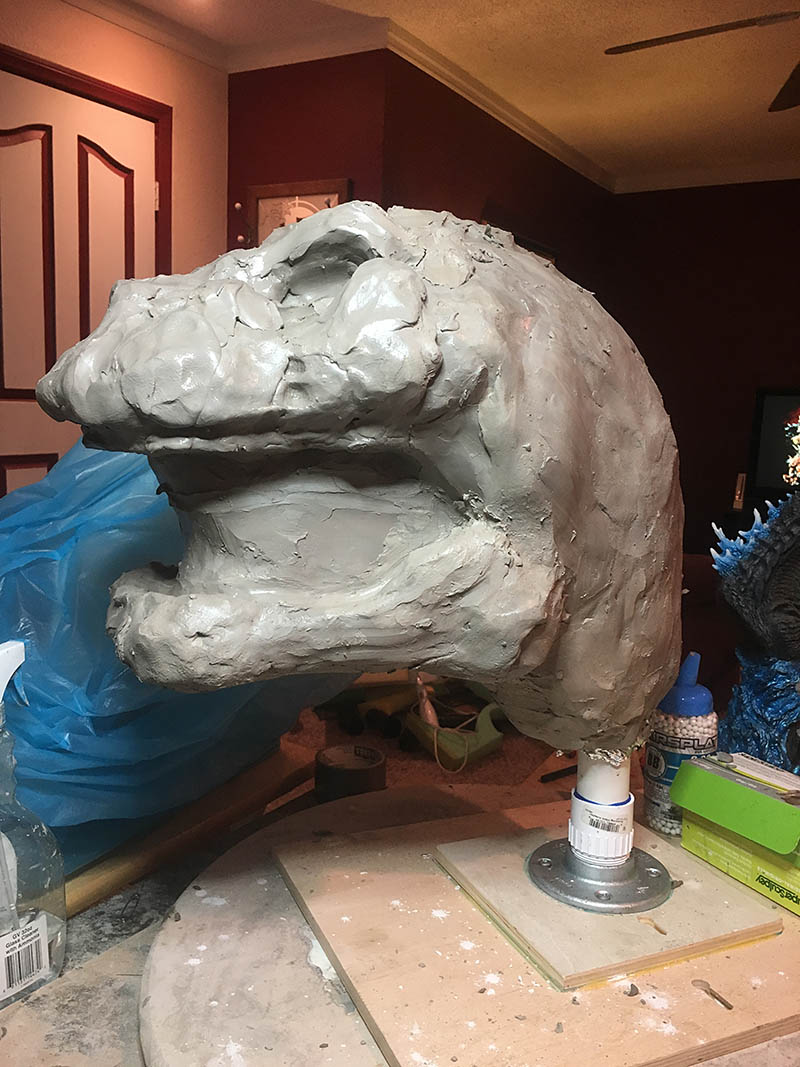
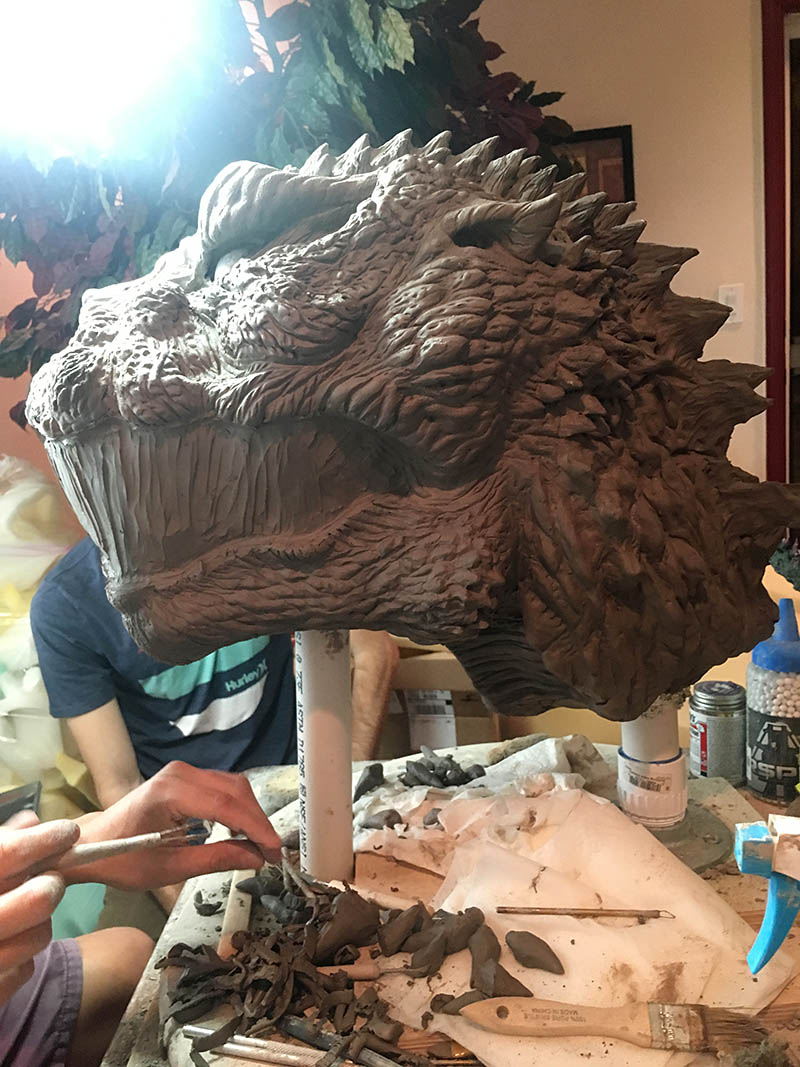
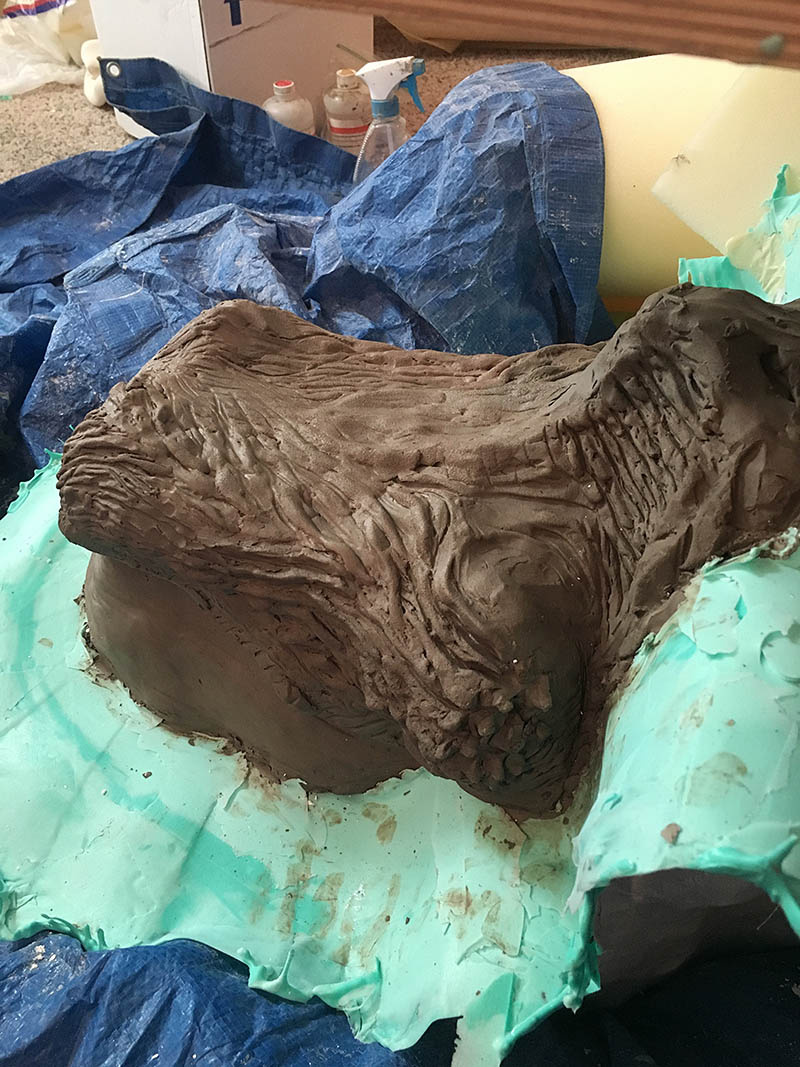
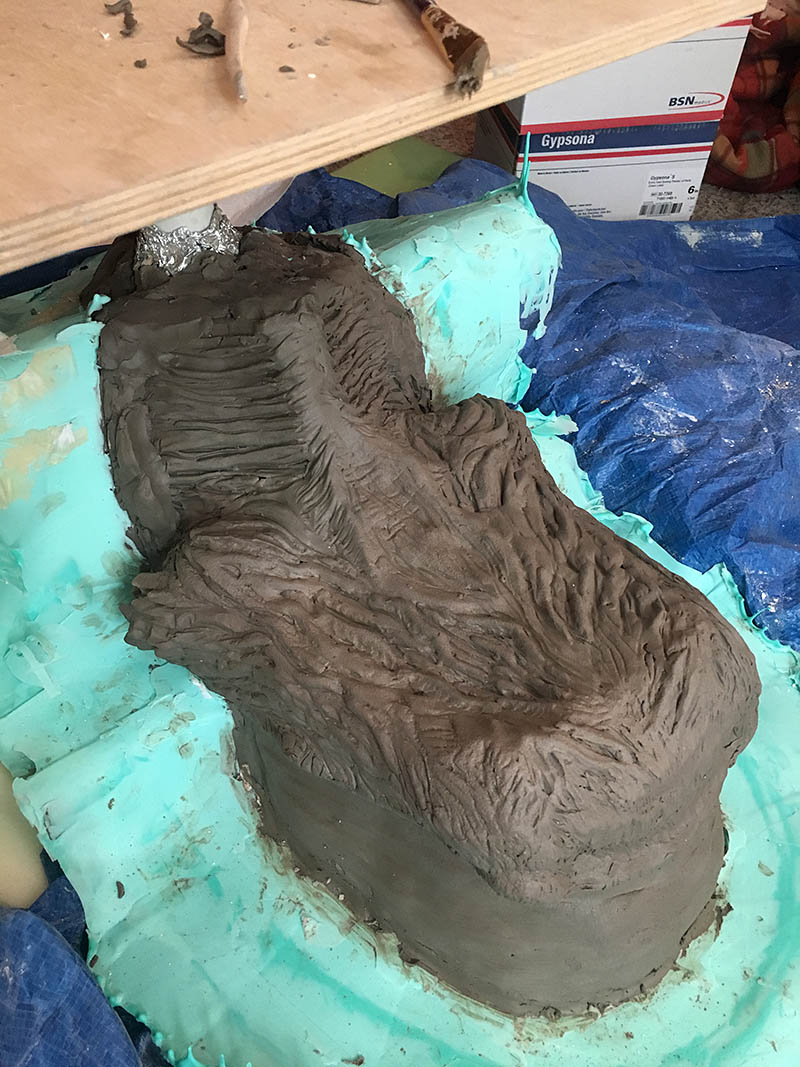
Clay
Clay is then added quickly to build up the shape I want. Itʼs best to just pack on the clay in blocky chunks. You can always remove clay you donʼt want, or add where needed. This kind of clay is WED clay which is a water based clay and needs to be sprayed with water every 10 minutes or so.
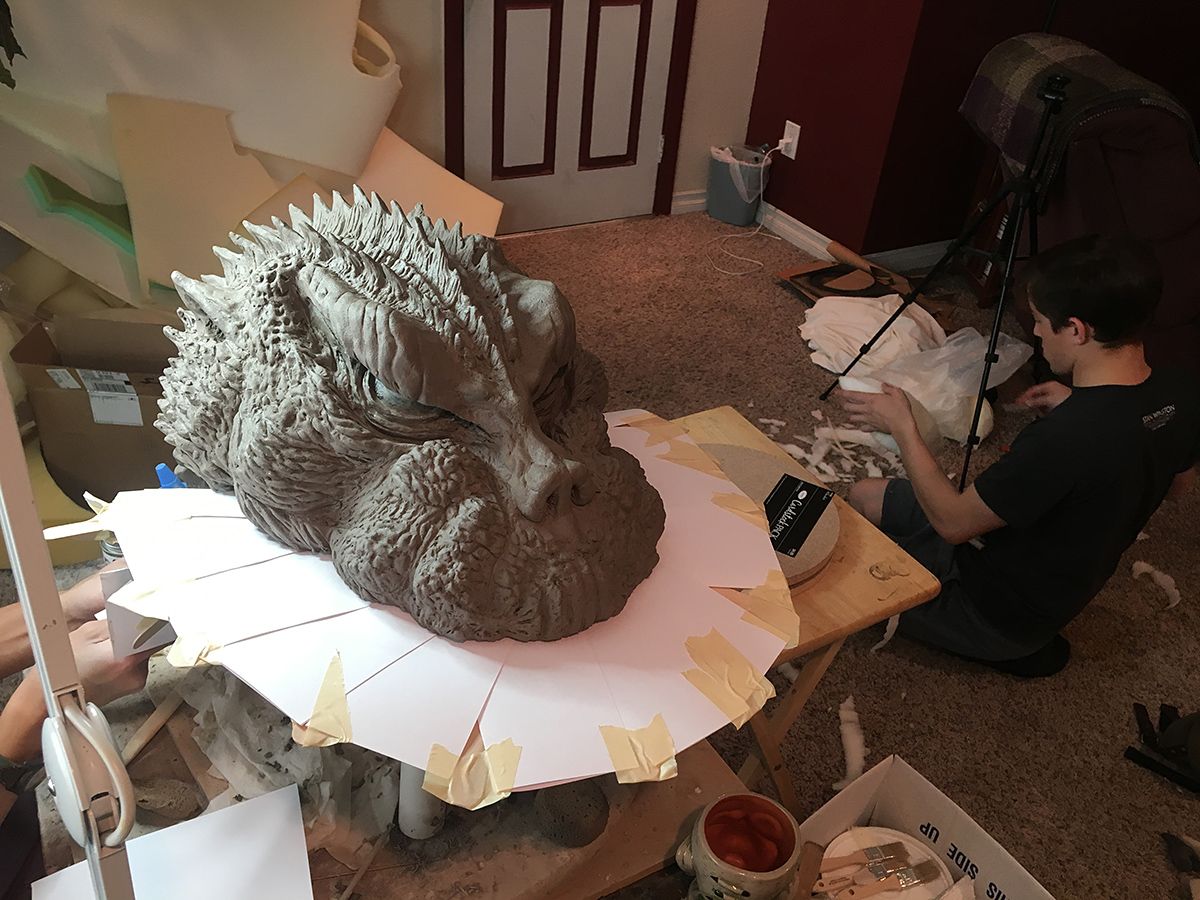
Sculpt Taking Shape
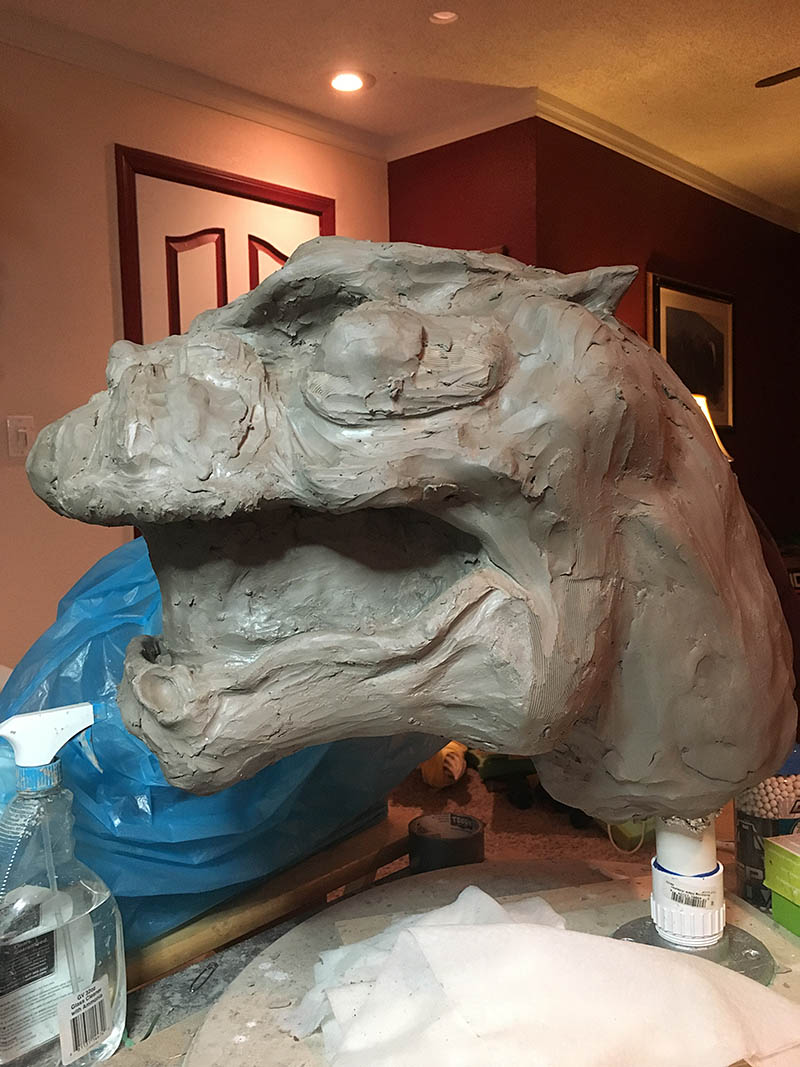

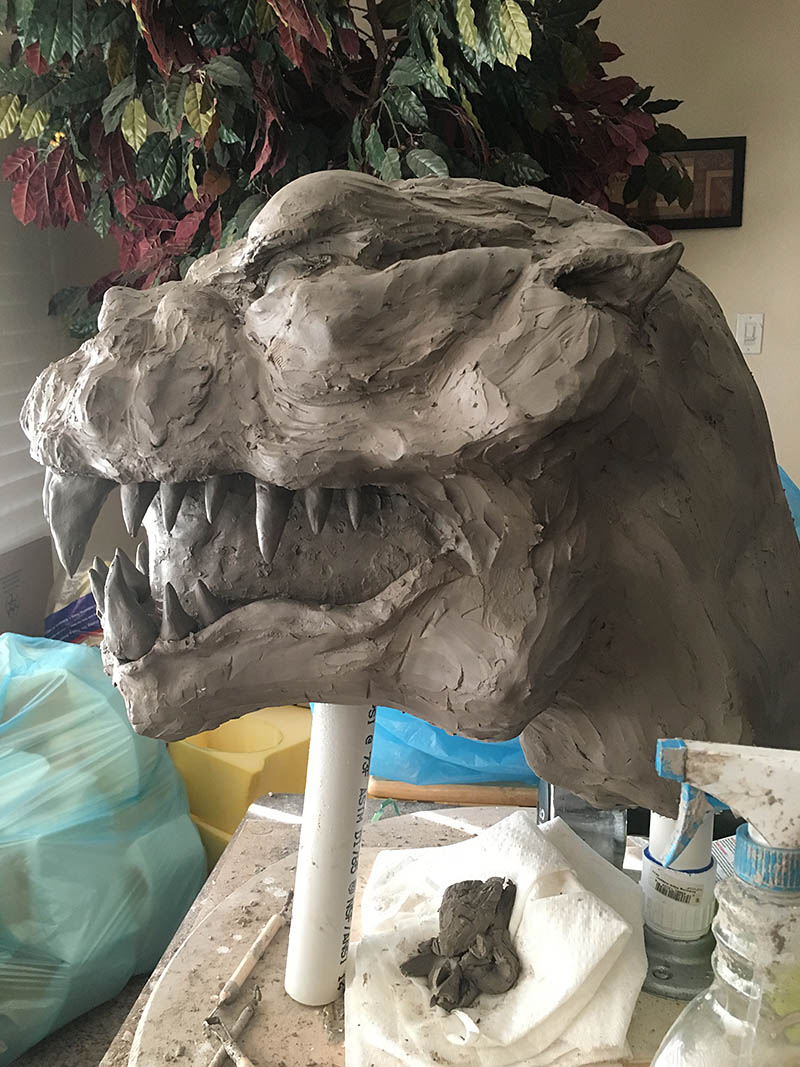
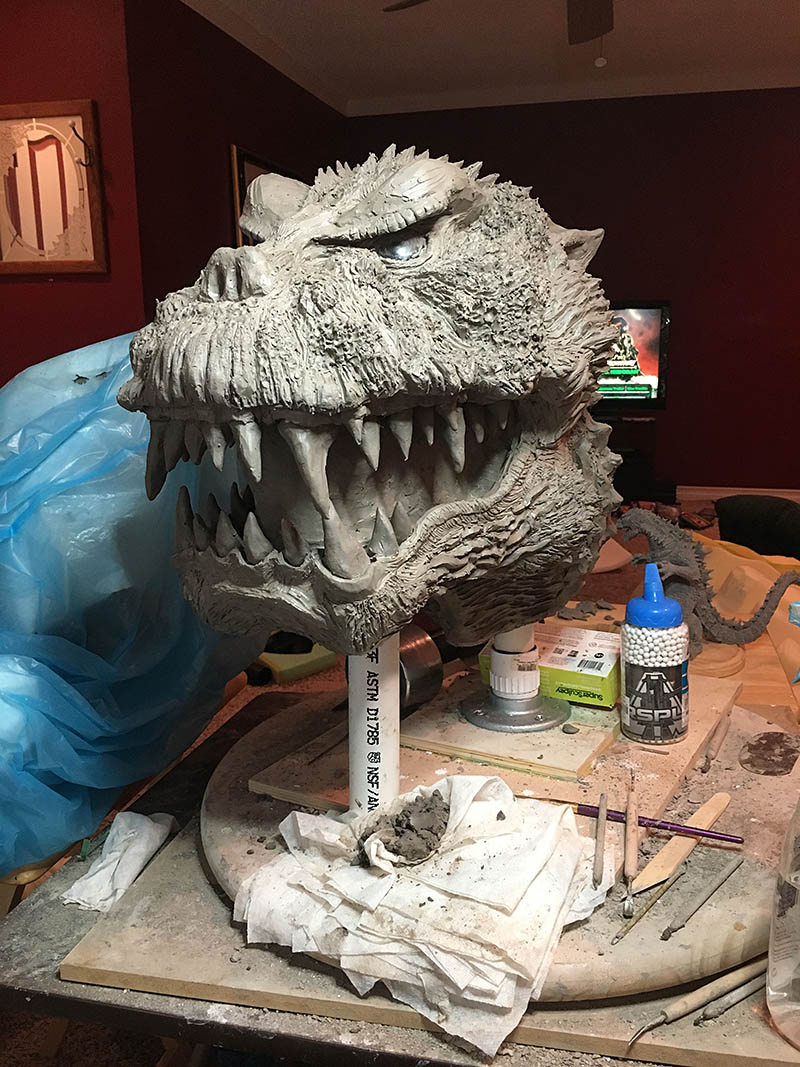
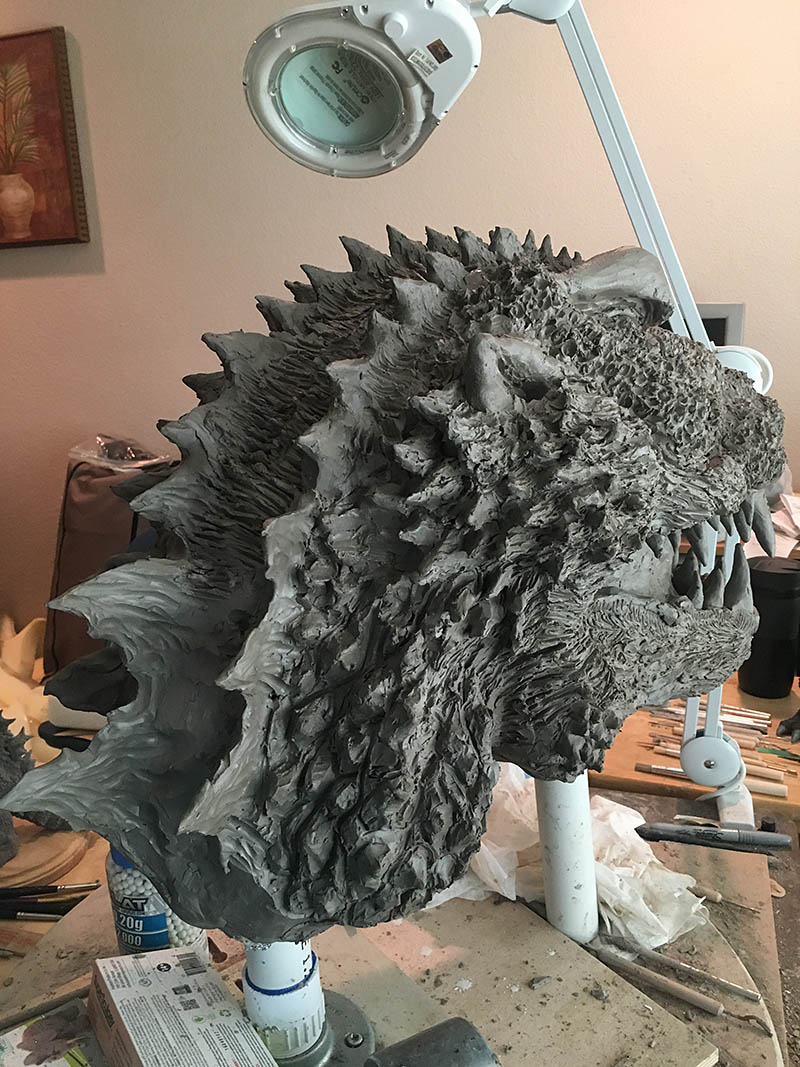
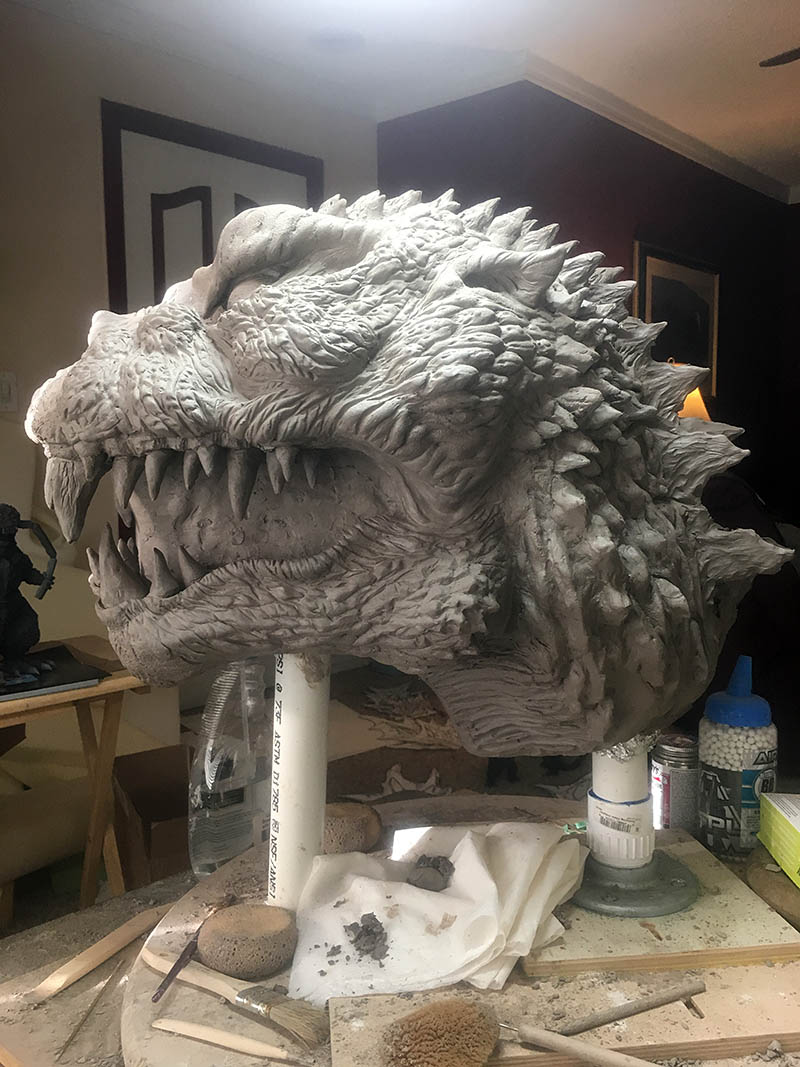
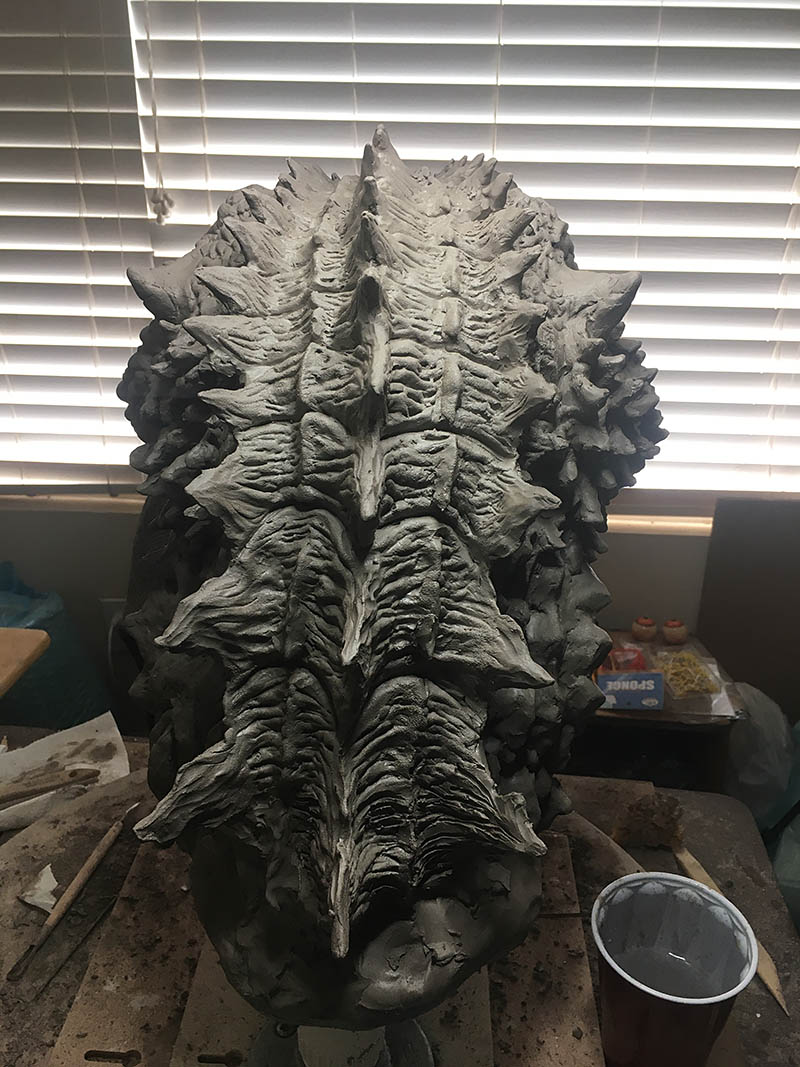
Over the course of a few hours a day, the sculpt takes shape. Once I was happy with the basic form, I then began detailing. Itʼs important to have reference material in sight to help create specific shapes you want. There were many images of different Godzillas around me that I wanted incorporated into the design.
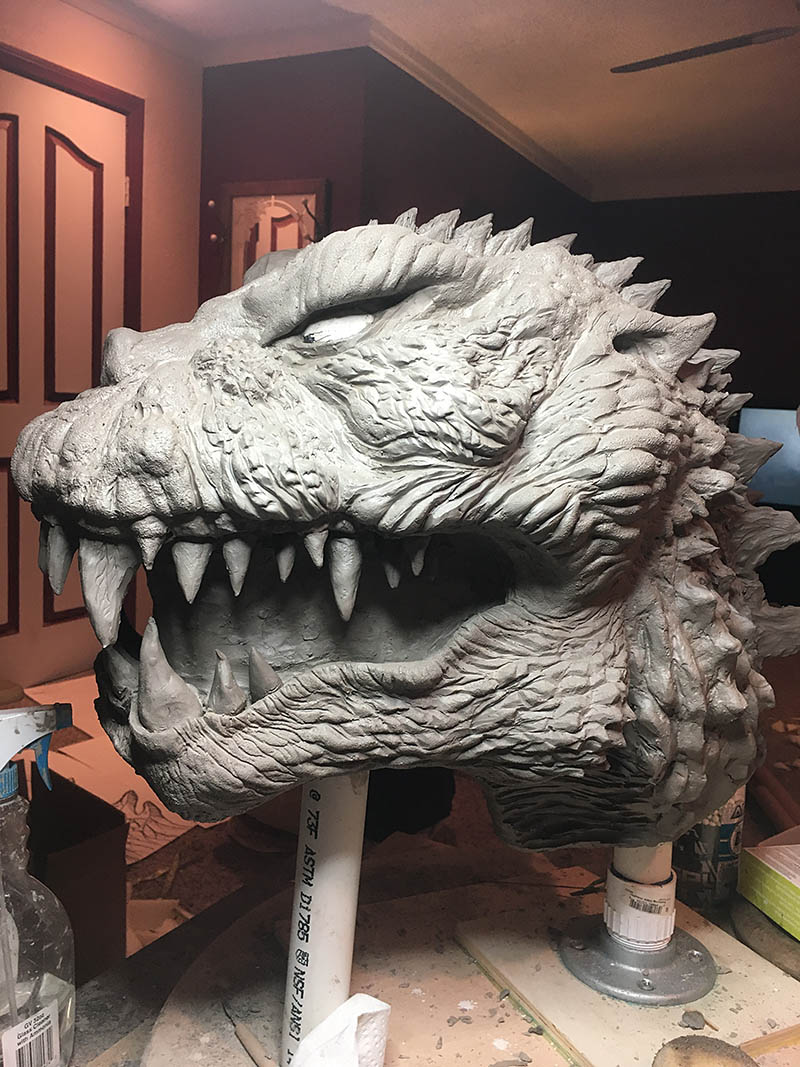
Remove Teeth
Before molding, I removed the teeth and filled in the gap of the mouth with clay.
Paper Cards
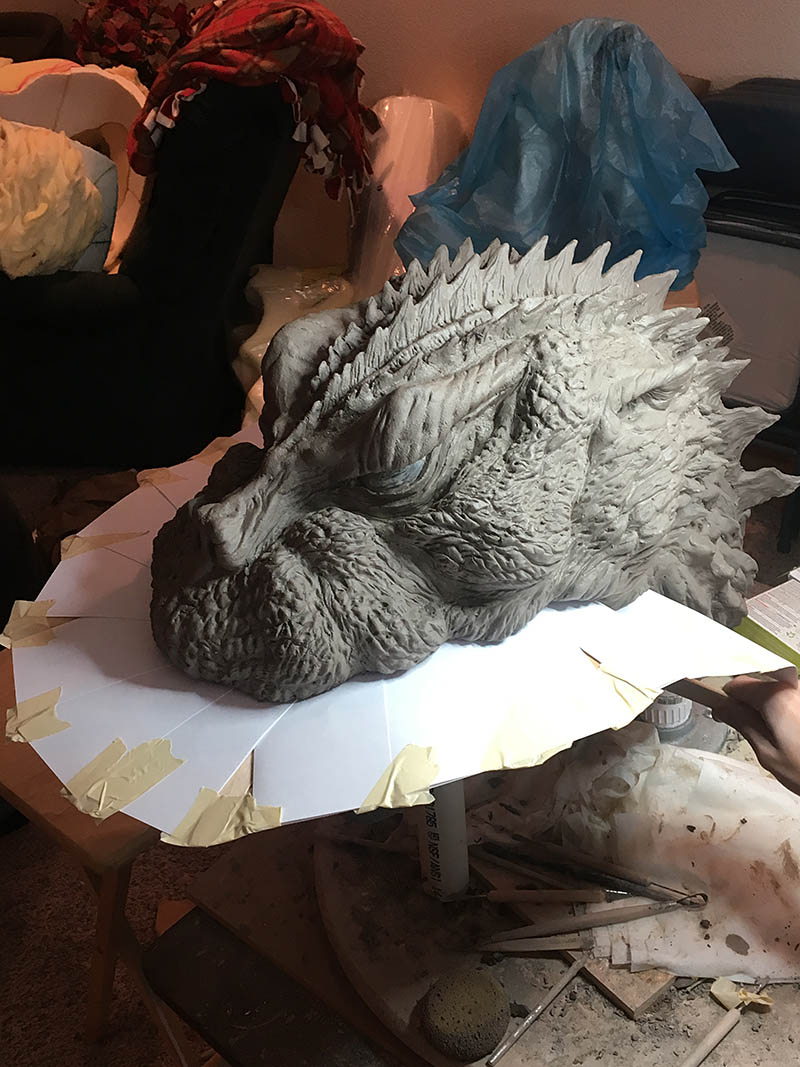
I then took poster paper and cut them up into little cards. These paper cards were inserted right into the clay and served as a barrier wall for the two halves of the mold. The wall was supported underneath by popsicle sticks which were also stuck right into the clay.
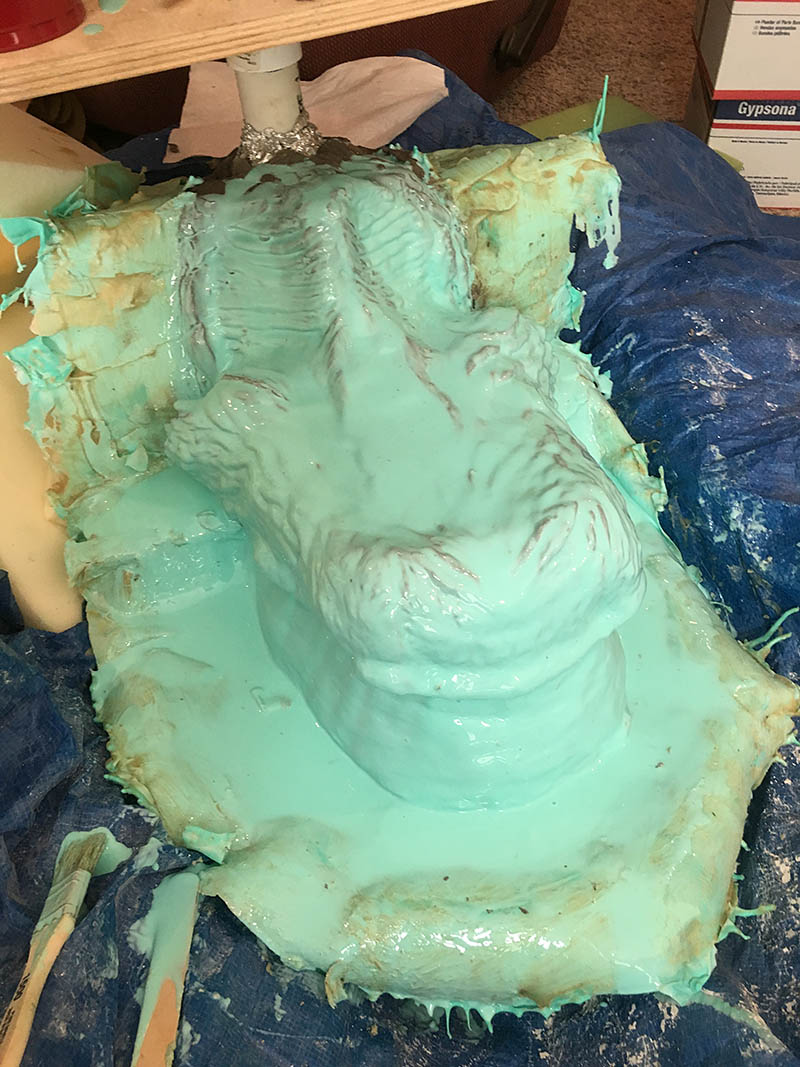
Brush on Mold
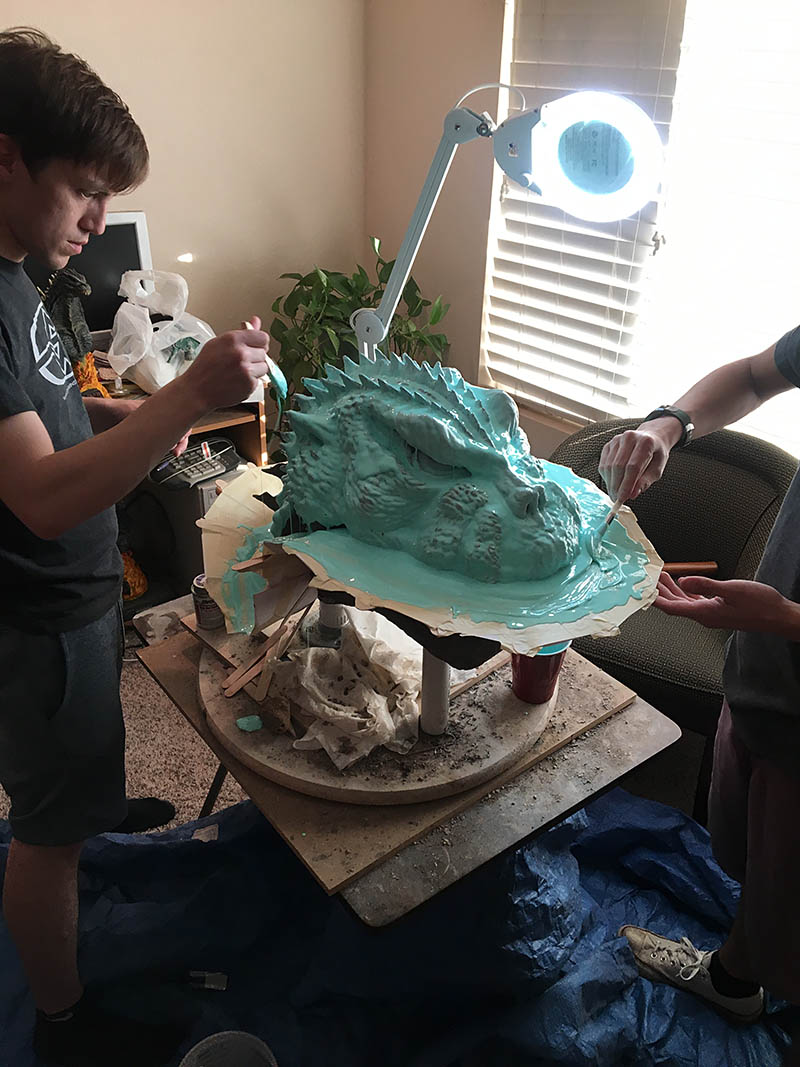

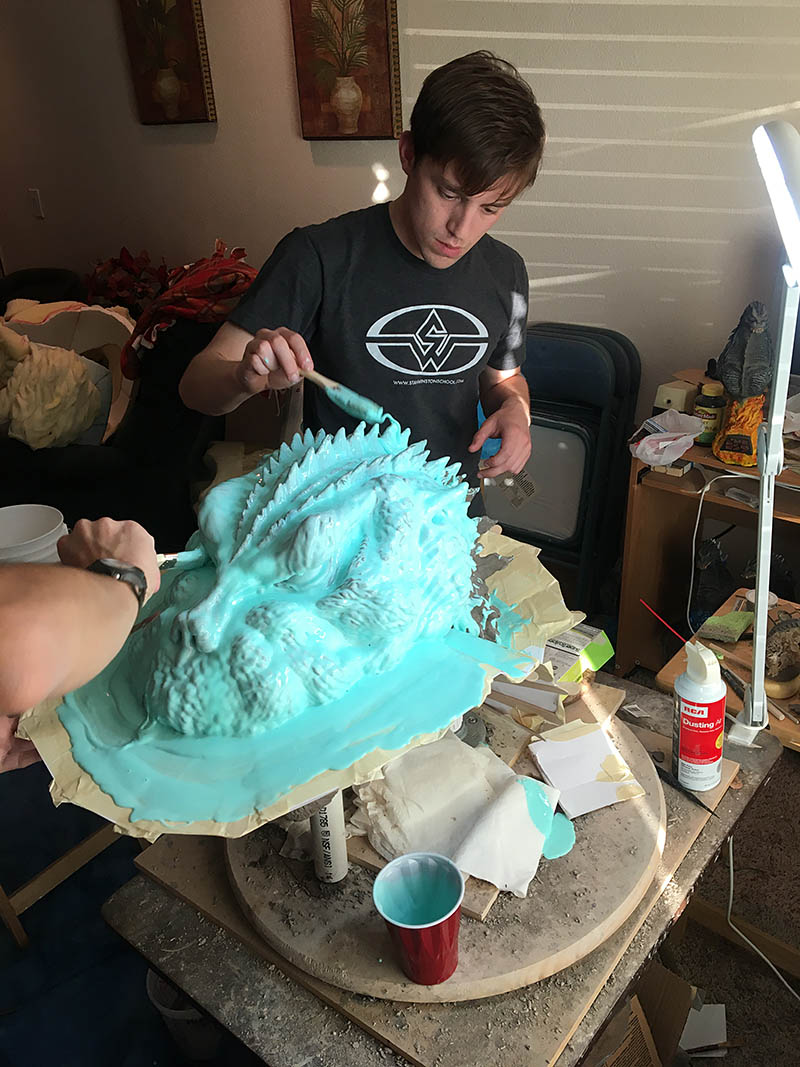
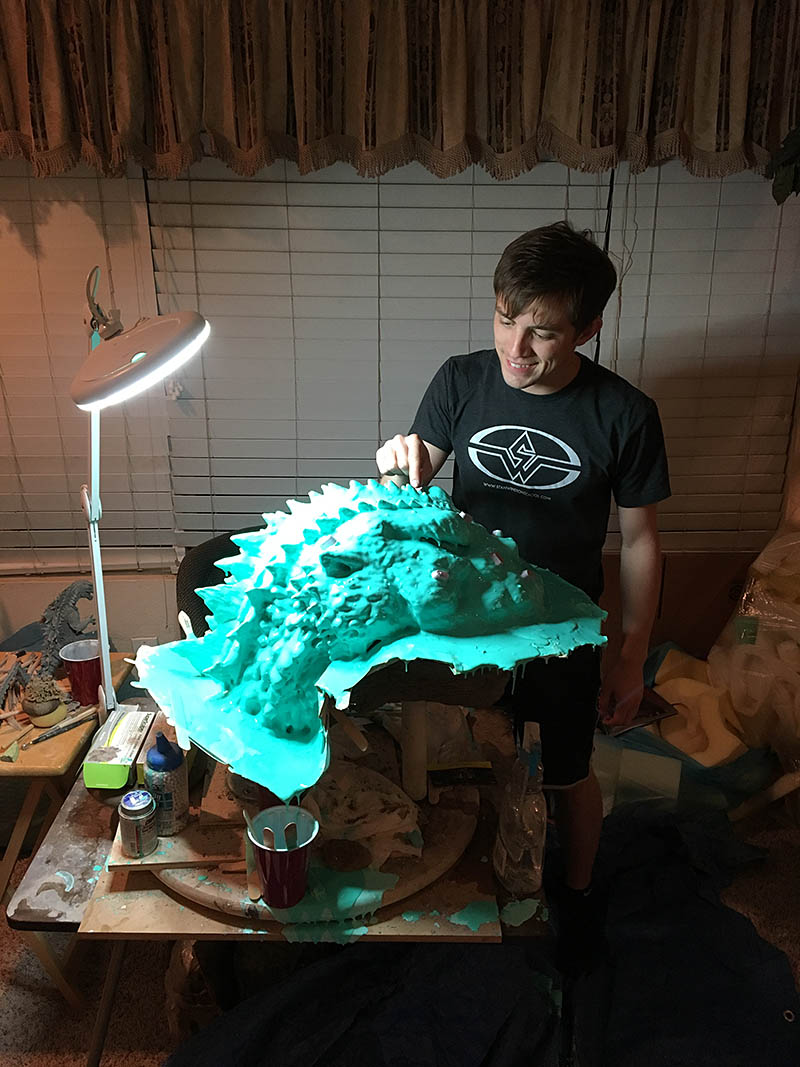
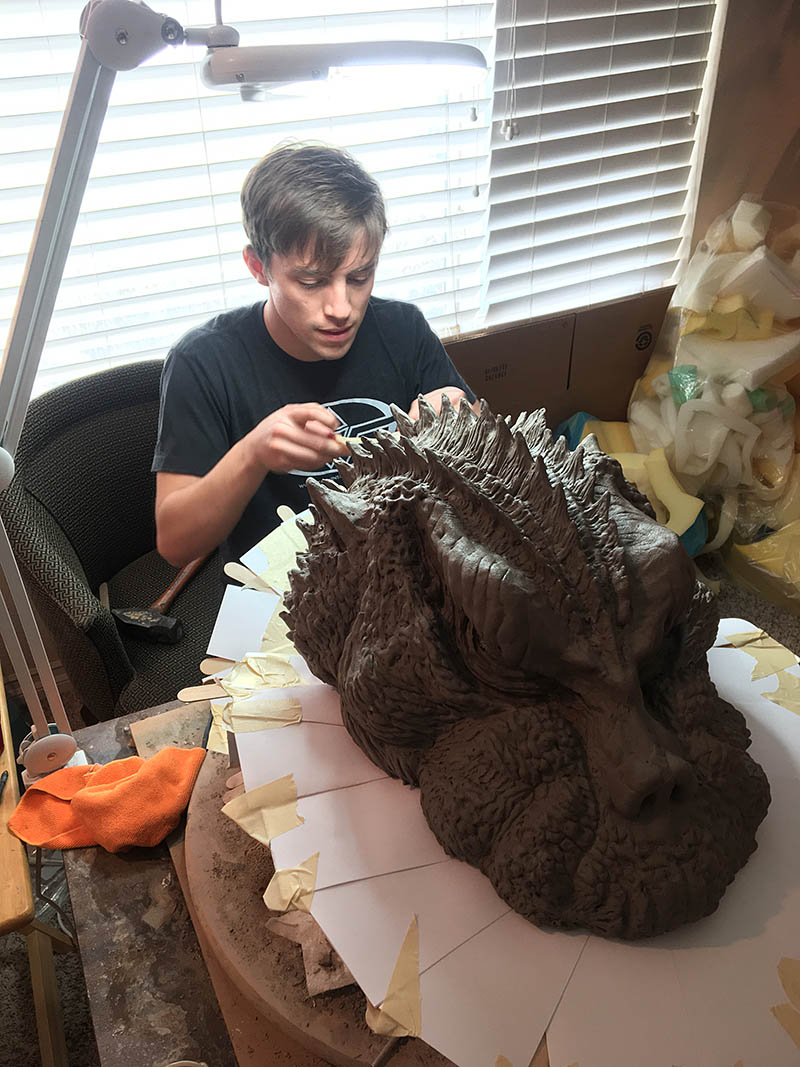
I went with the “brush on mold” technique where silicone is poured and brushed right onto the clay sculpt. Itʼs important to let the first layer be very thin and fully cured before other layers are added. This first coat picks up all the detail.
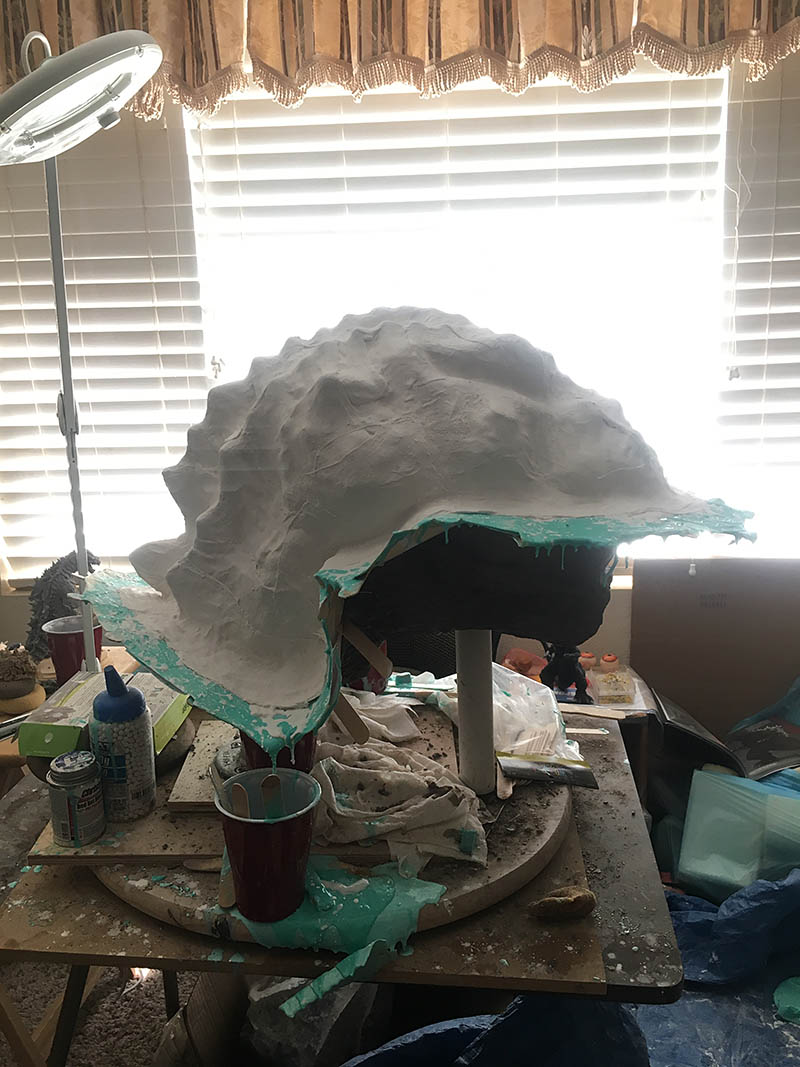 Mother Mold
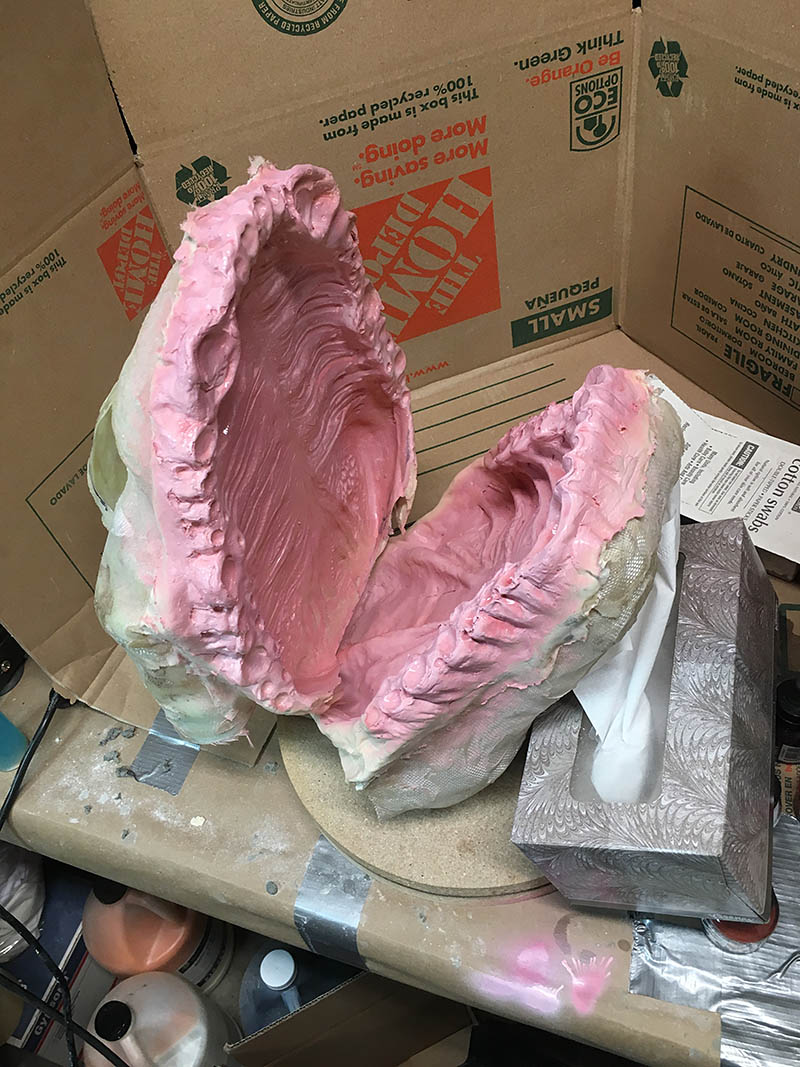
Once several layers of silicone was added, the next step was to make a plaster “mother mold” this gives the silicone support and helps it hold its shape. The silicone was just under half and inch thick before the plaster was laid down. I had a bucket of water nearby and dipped pre-cut strips of gypsum wrap into the water which activated the plaster. It’s important to work quickly before the gypsum wrap hardens.
Molding Lower Jaw
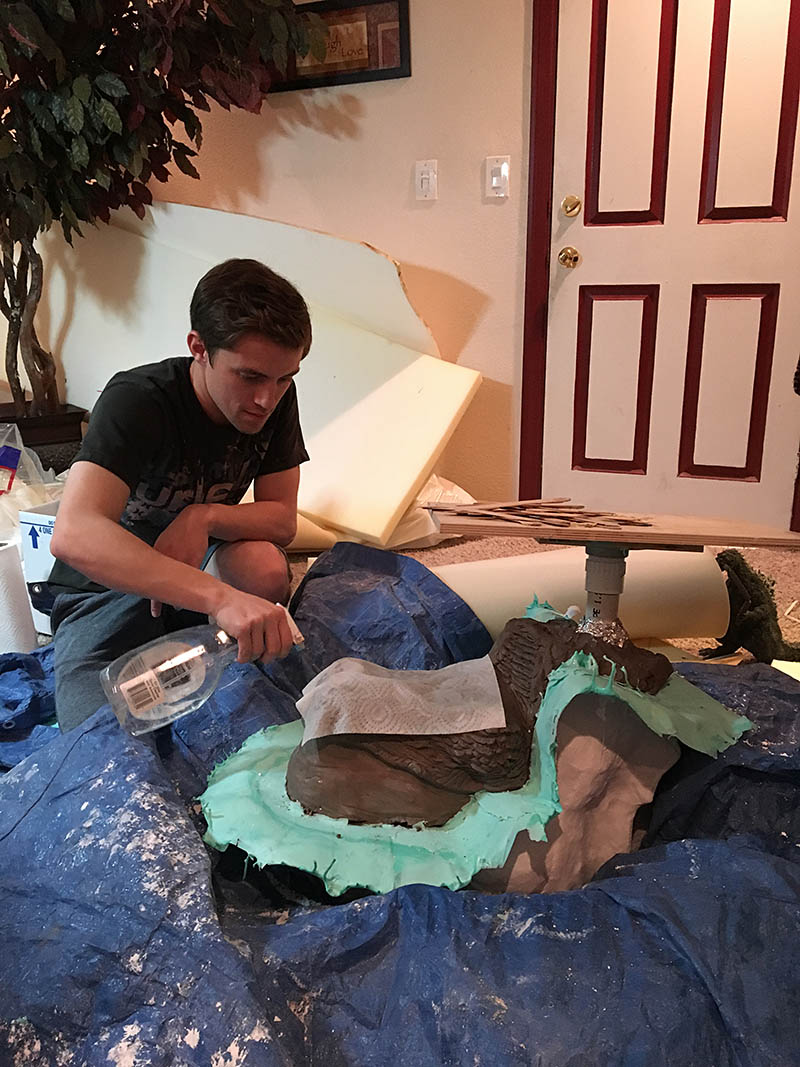
Once the plaster on the upper head fully cured, it was time to mold the lower jaw. This was done by laying down a tarp and creating a “bed” for the upper head to rest in. I just used large scraps of foam and put them under the tarp.
Laying Down Keys
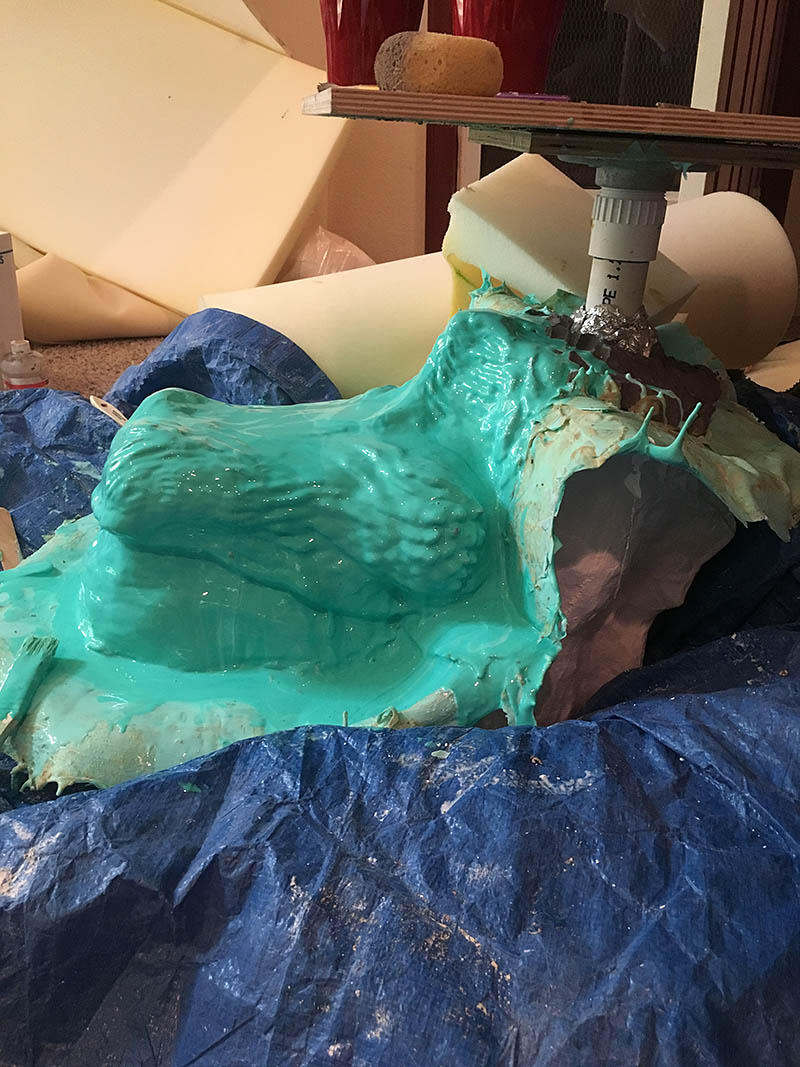
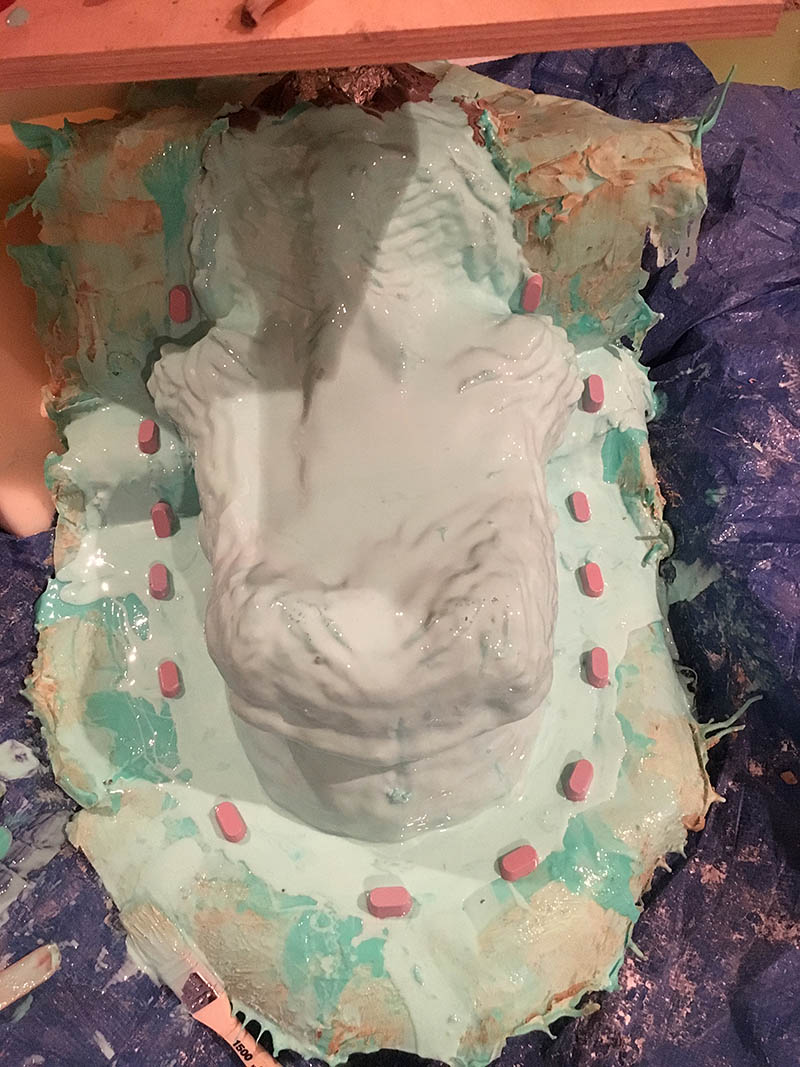
The same process used to mold the upper head is then used to mold the lower jaw. On the last coat of silicone, I laid down keys around the wall. This will help the mold line up correctly into the plaster mother mold.
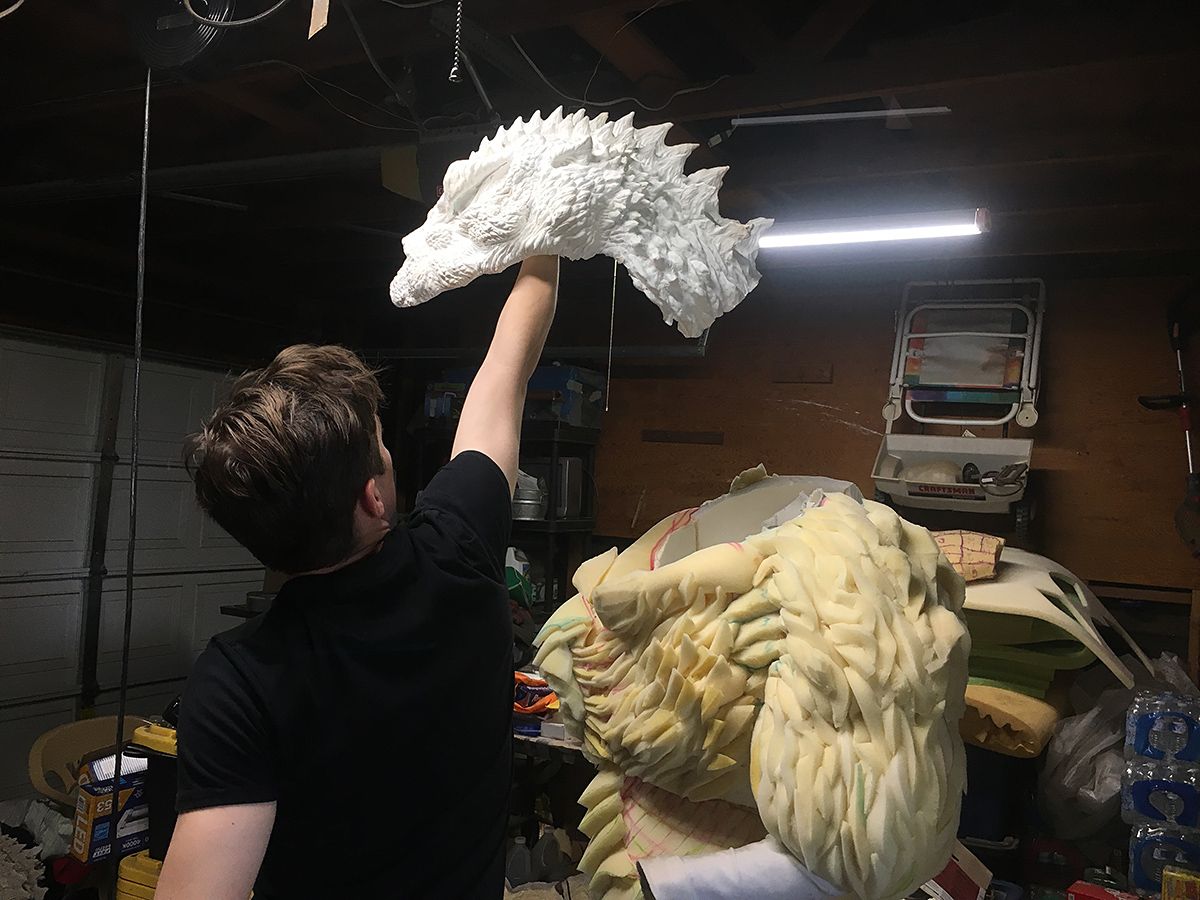 Once the molds were completed, I cast a resin copy of the upper and low head. This was to see detail I captured and to have the head to hold up to the suit to see how things were shaping up.
 With the resin copies, I could also begin sculpting the gum palates. This was sculpted out of monster Clay.
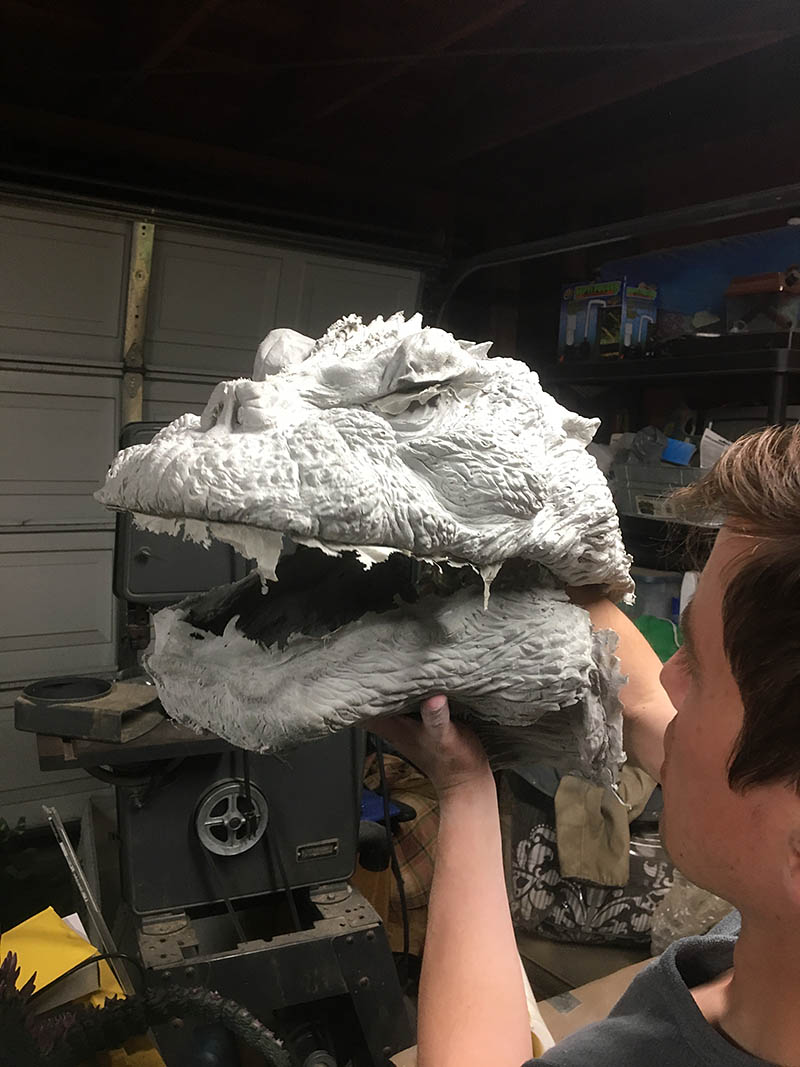
 Simultaneously, I began making a latex copy of the upper head mold. This will be the actual piece used for the suit. This was done by painting latex right into the mold. The first layer was painted on very thin and a hair dryer was used to help it dry. Once the first coat dried, I took strips of paper towel and laid them down over the surface area of all the latex. Then another coat of latex was painted right on to the paper towels. I waited until that layer dried and the process was repeated several times. The purpose of the paper towels is to help give structure to the latex mold.
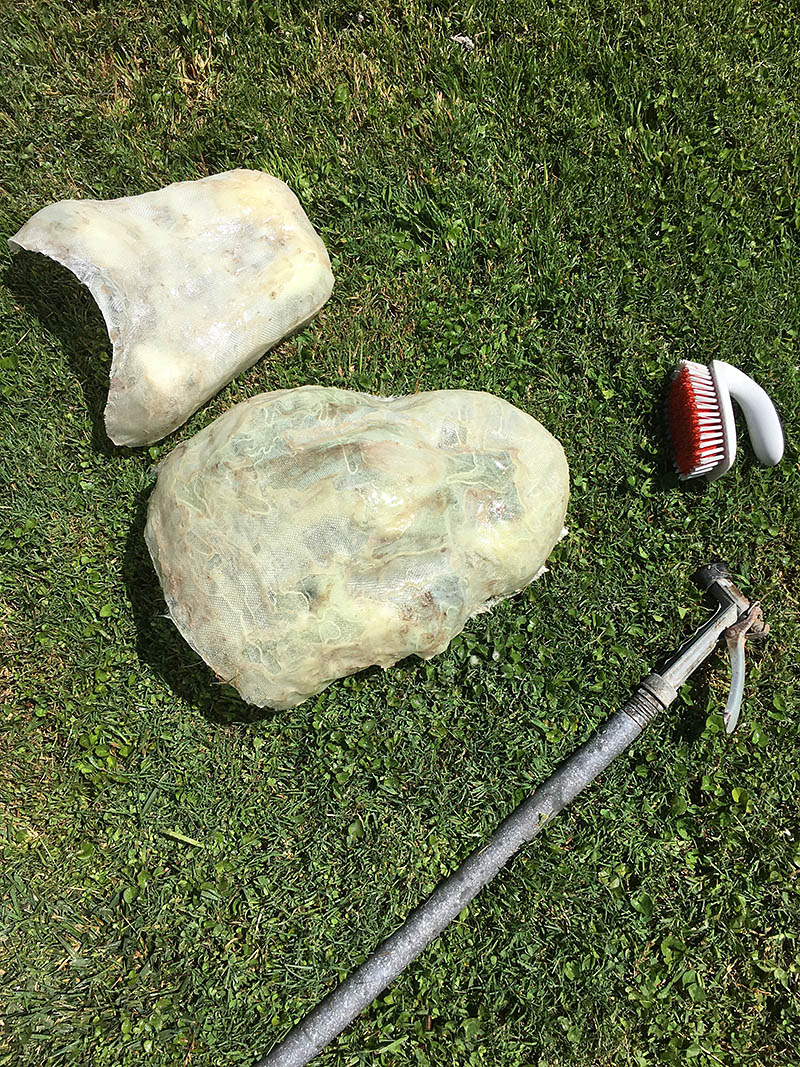
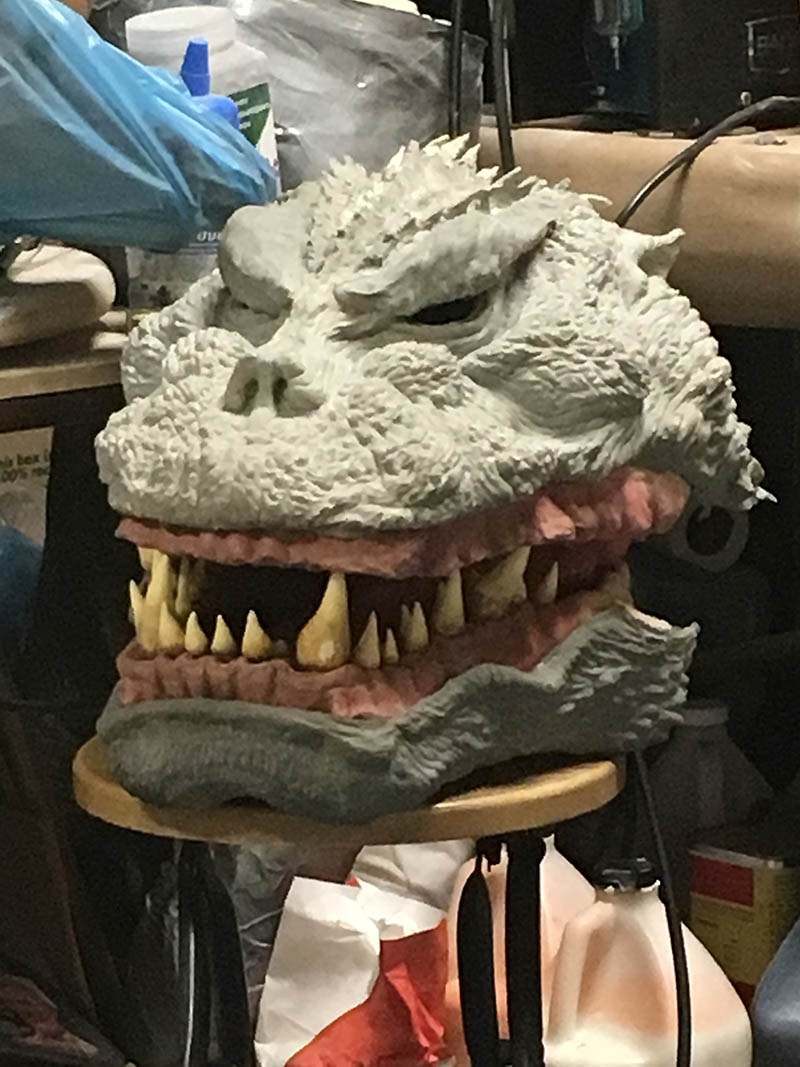
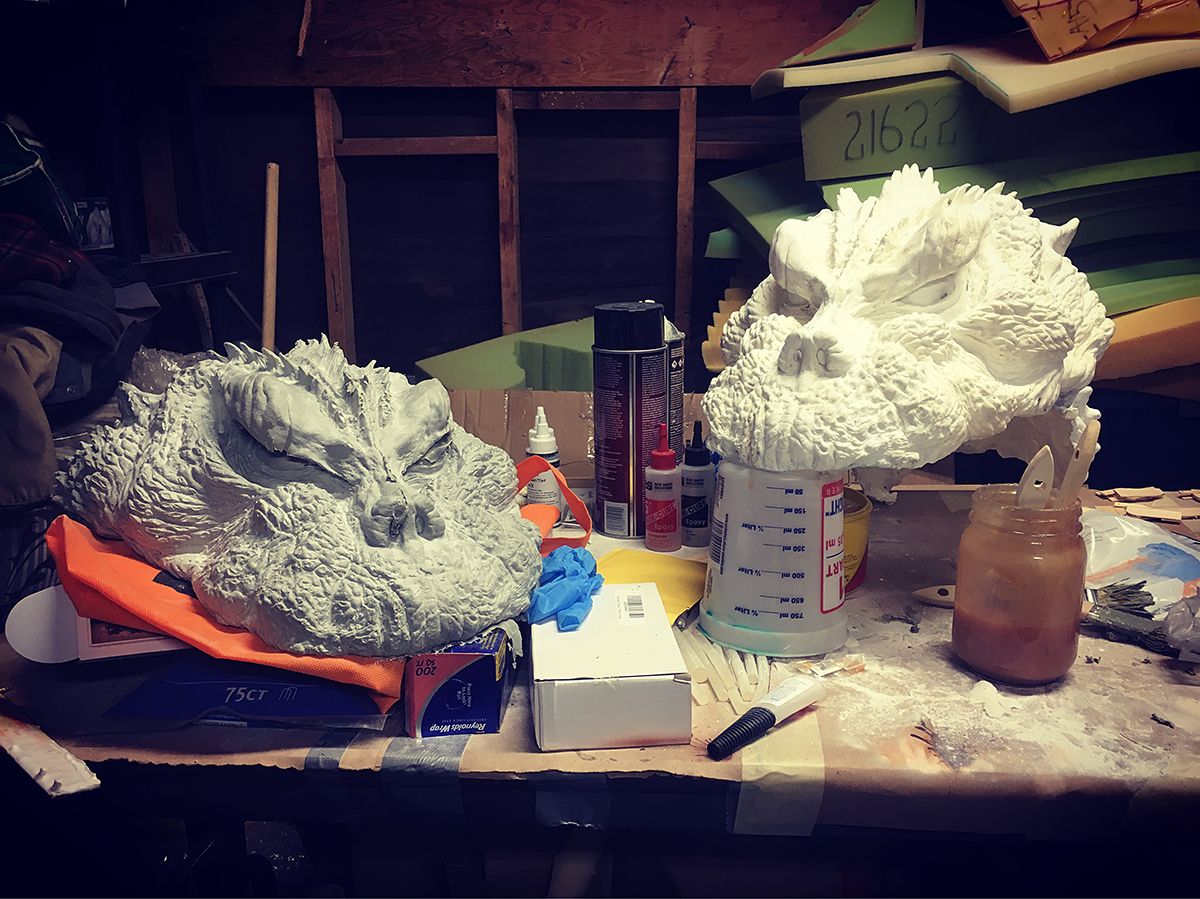 Latex head cast on the left compared to the resin cast on the right.
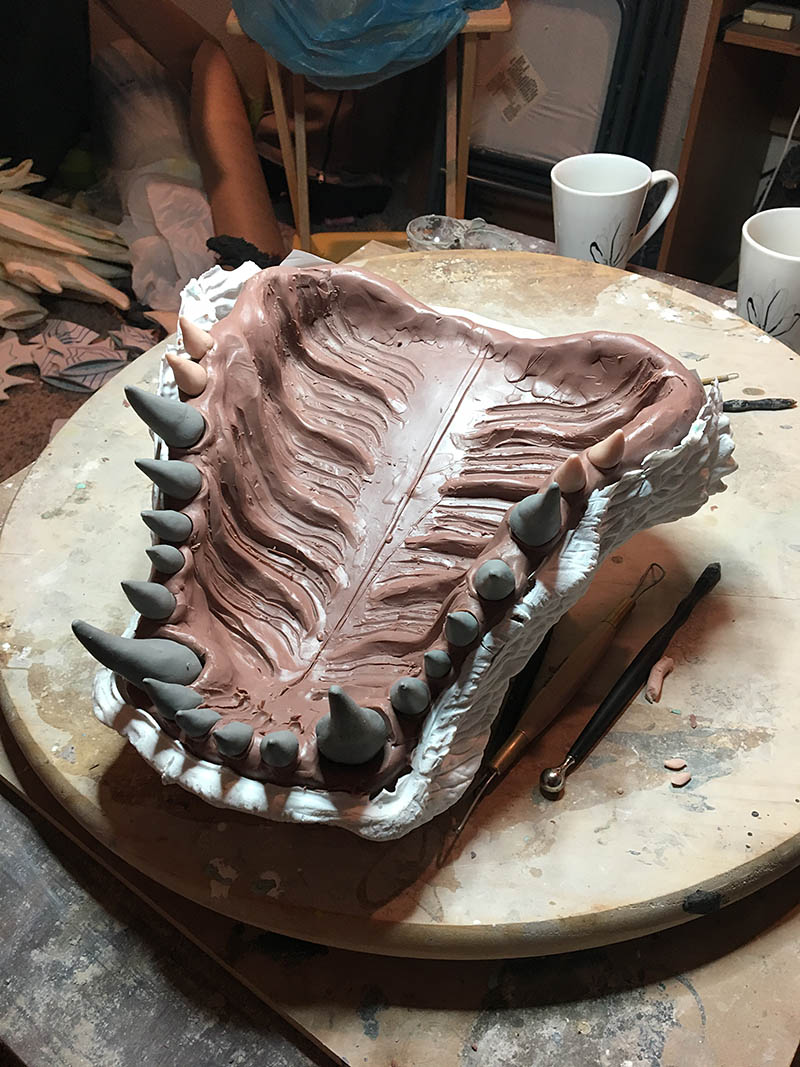
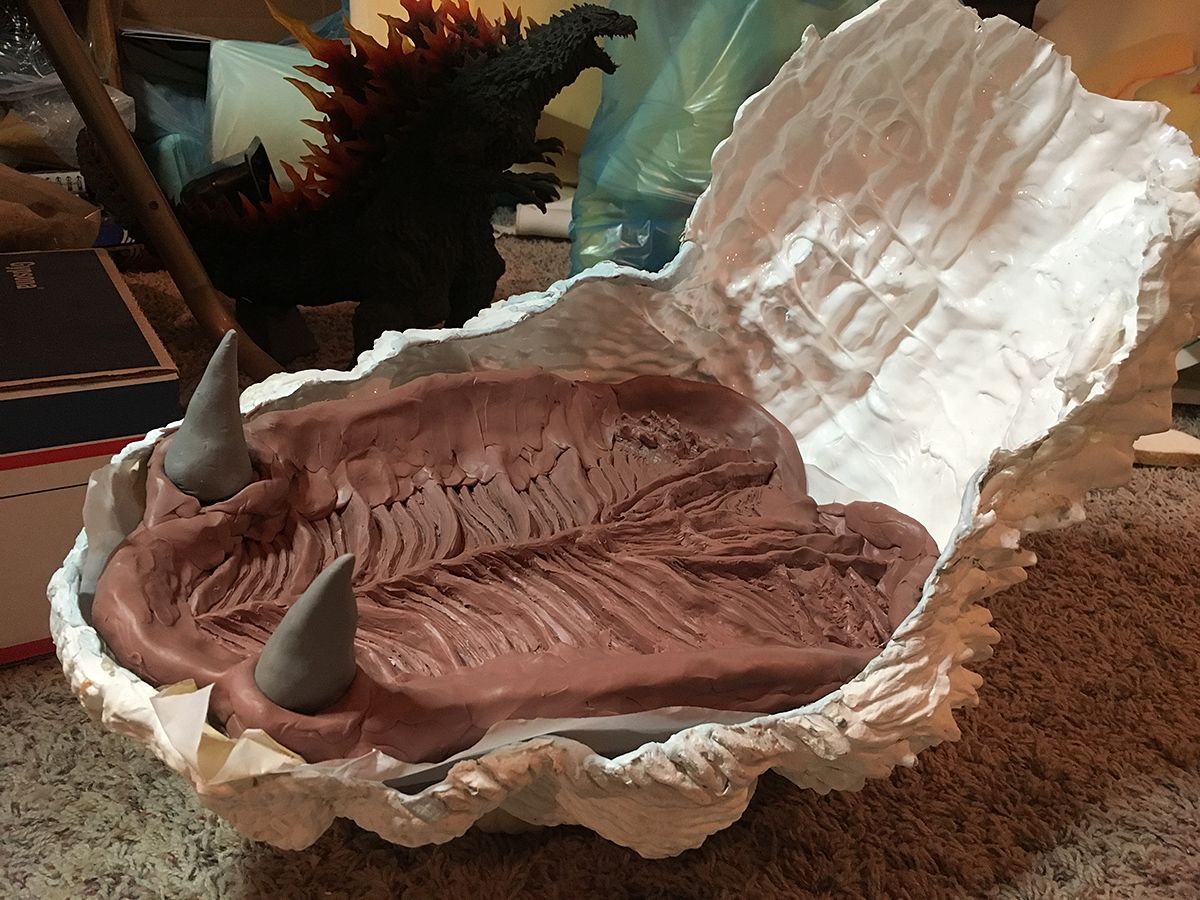 Back to the gum palates….it’s important to fit the gum palate to the resin cast once in a while to make sure the shape of the palate is fitting with the shape of the upper head. I blocked in the two large front fangs to help me line everything up.
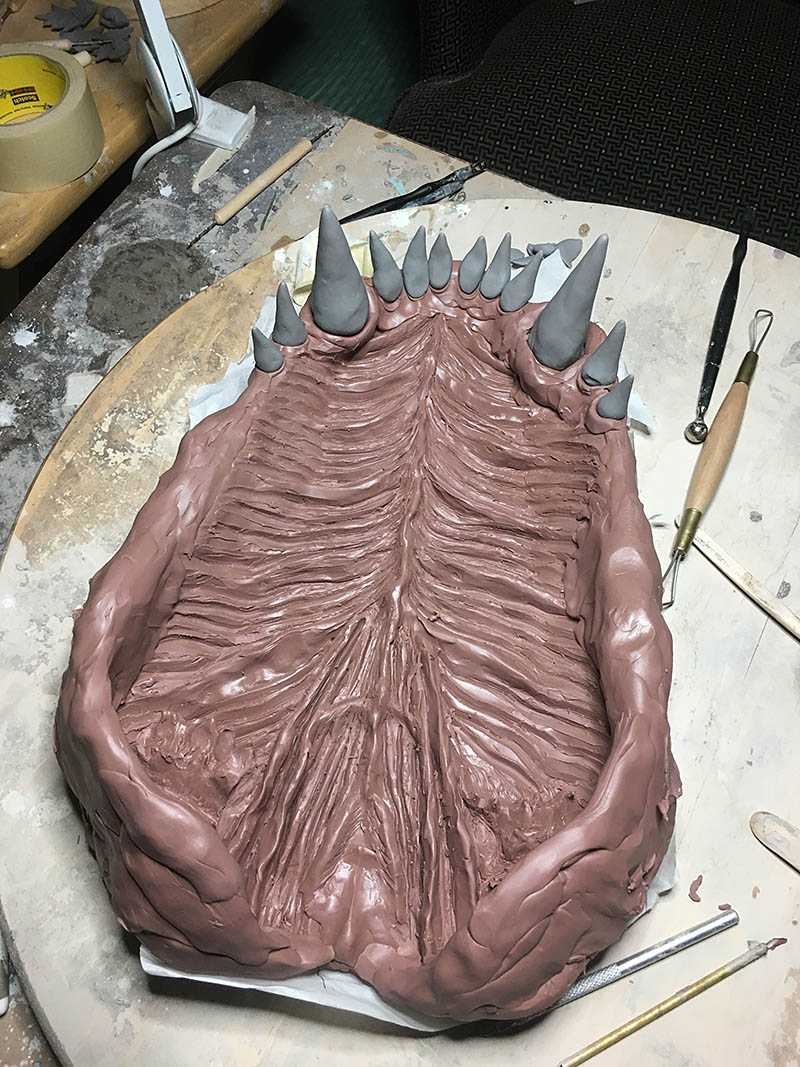 The teeth for the sculpt were made of polymer clay also known as Super Sculpey.
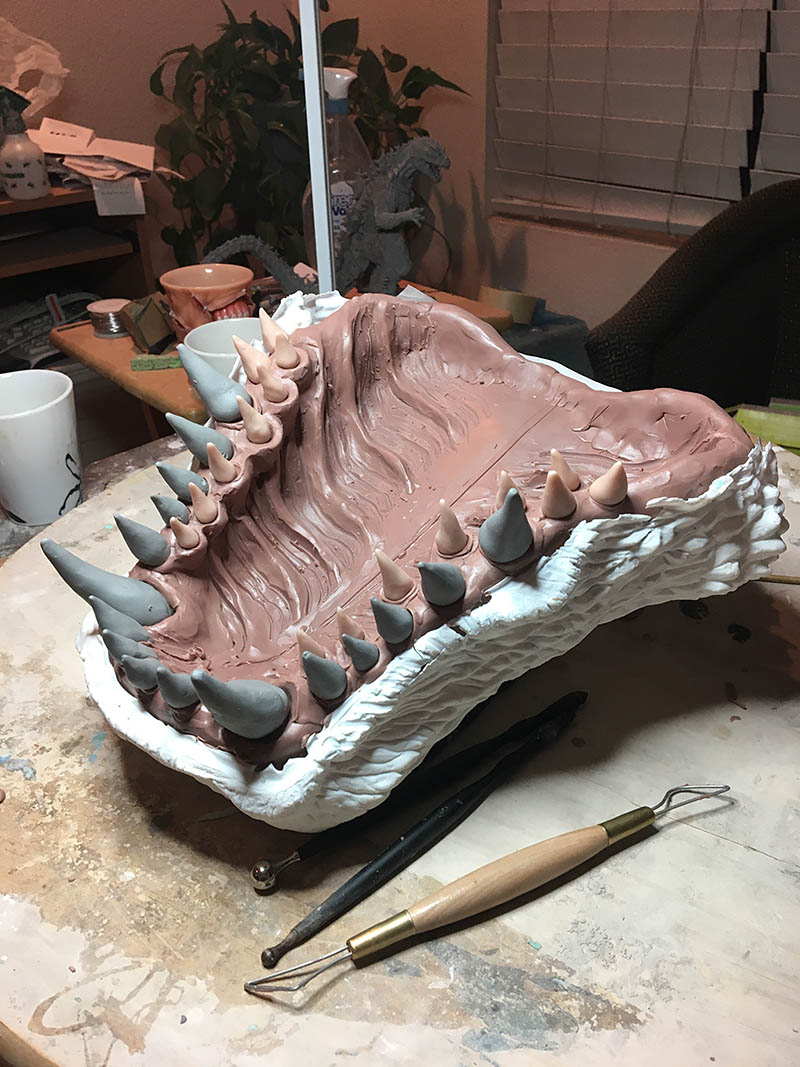
Adding Teeth
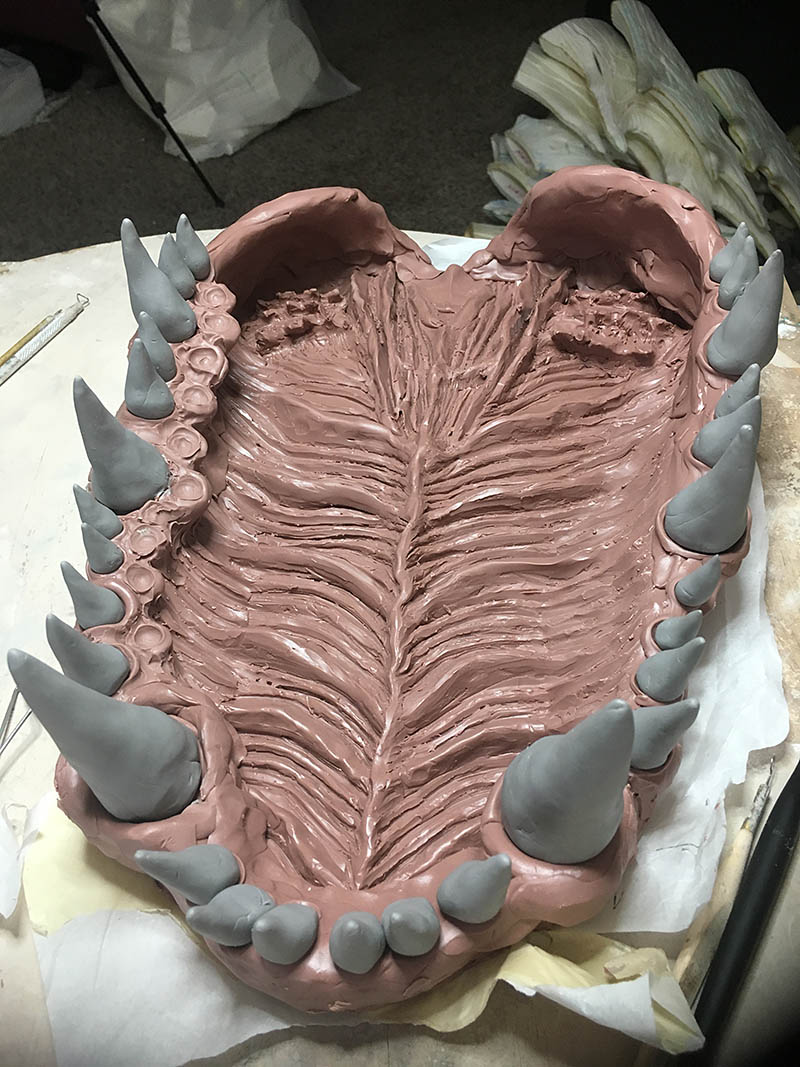
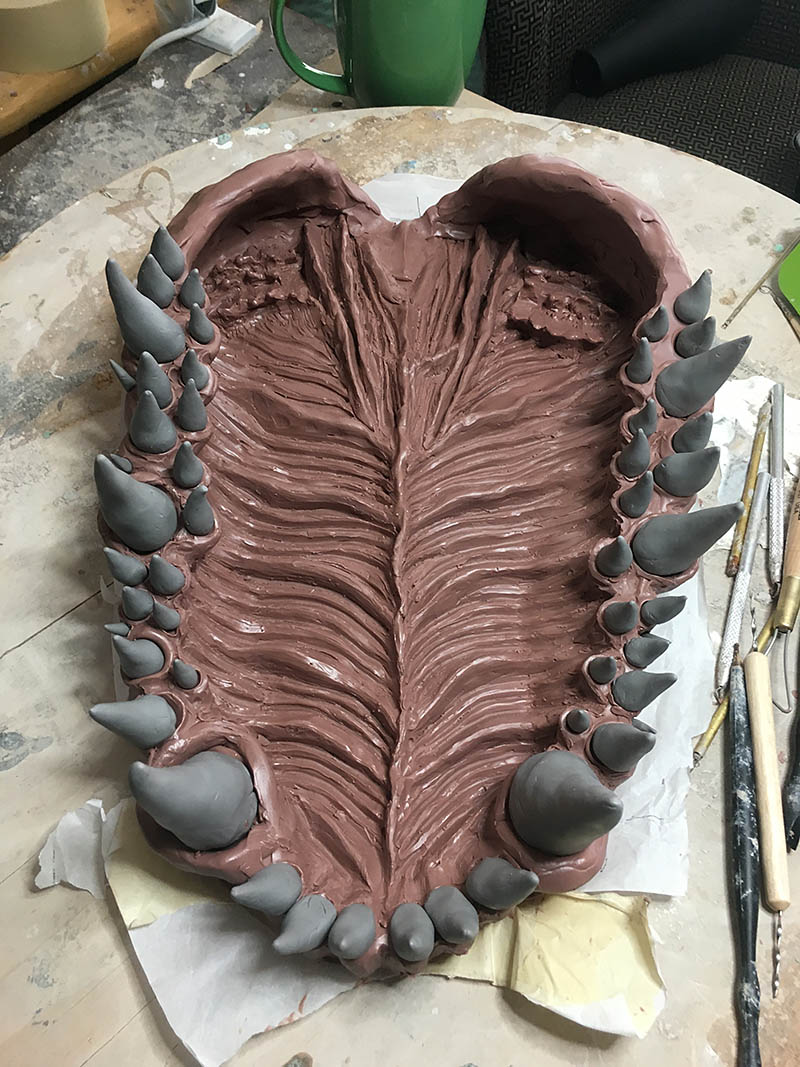
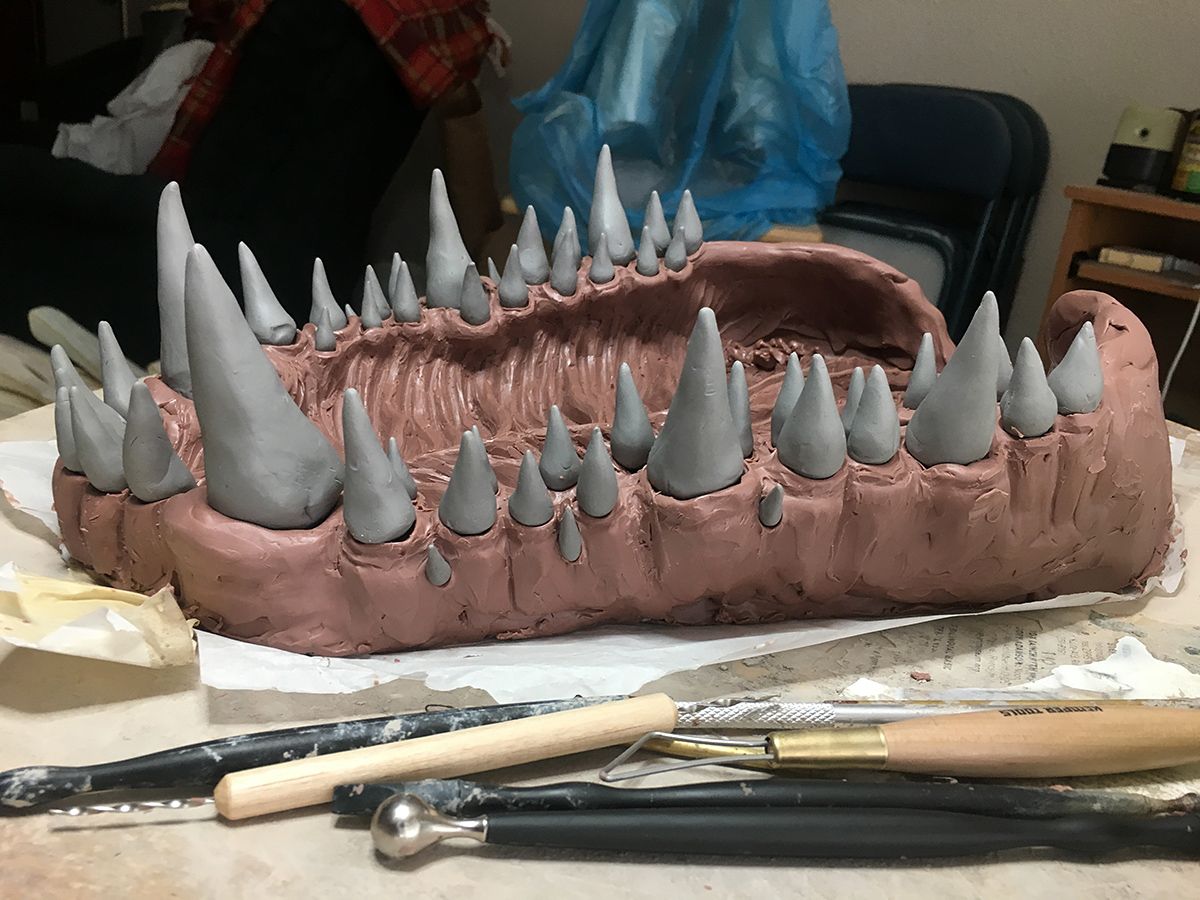
More development of the gum palate as more teeth are added. The double row of teeth towards the back is a nod to the Heisei era Godzilla.
Checking Fit

Lower jaw latex mold with the latex upper head. This will later need to be cleaned up and trimmed.
Bottom Jaw
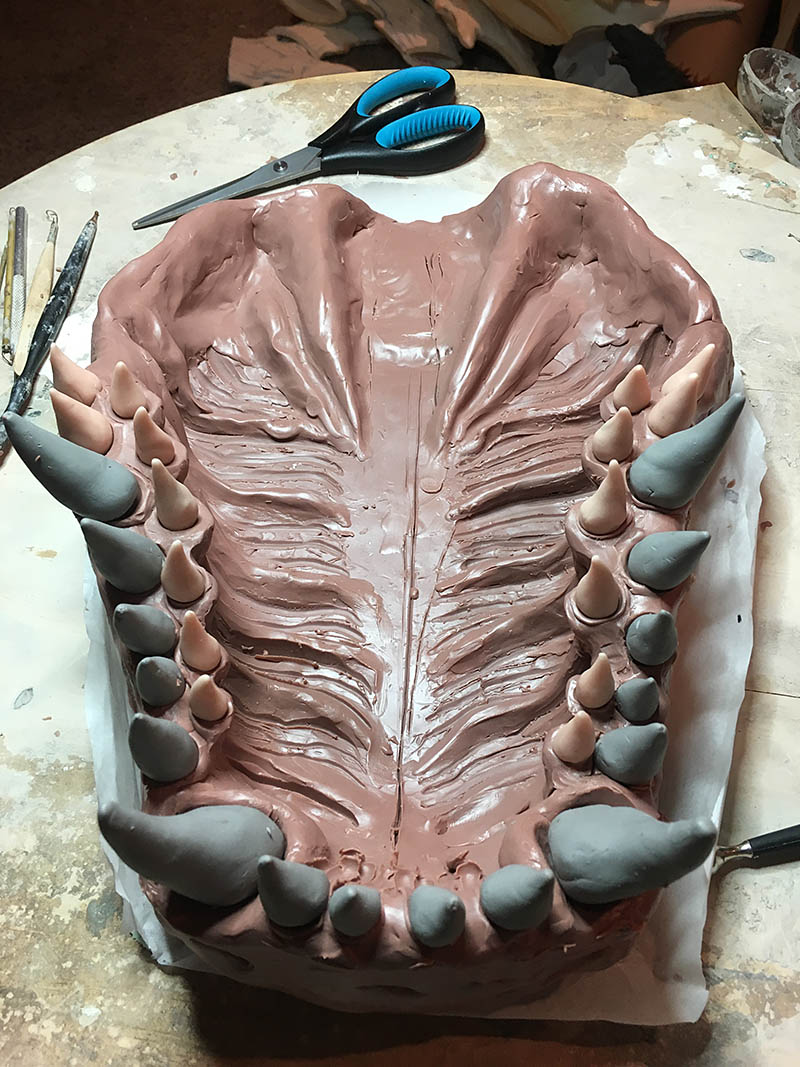
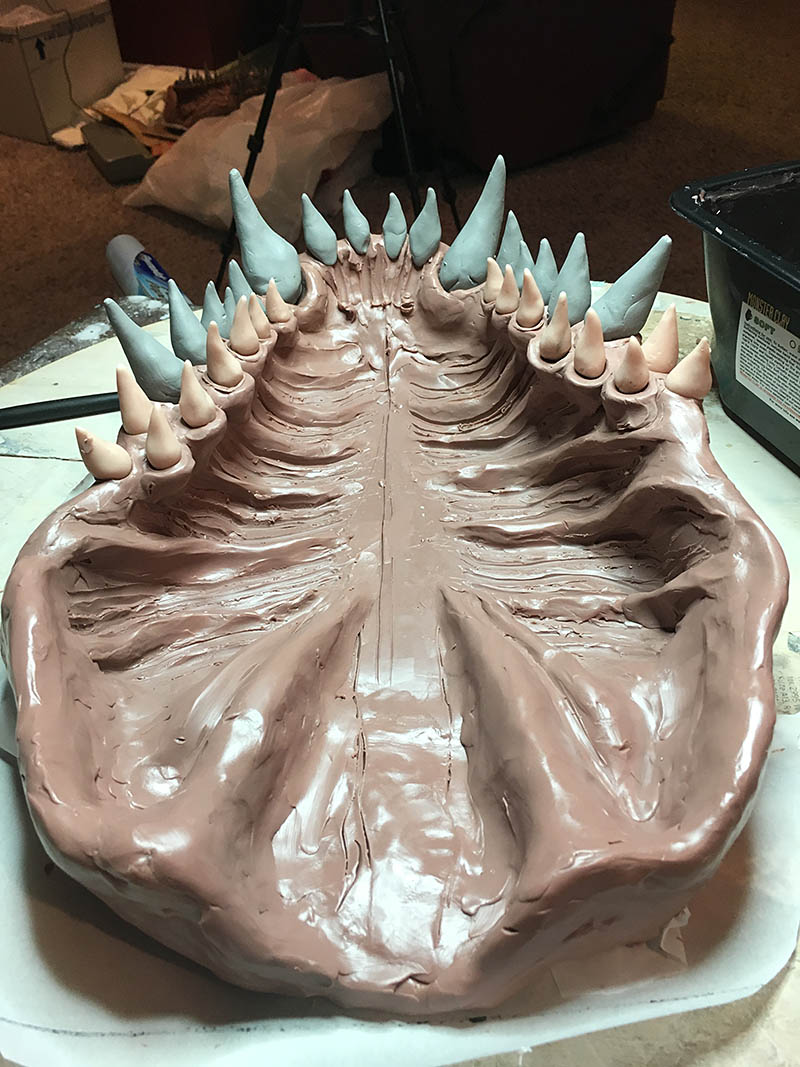
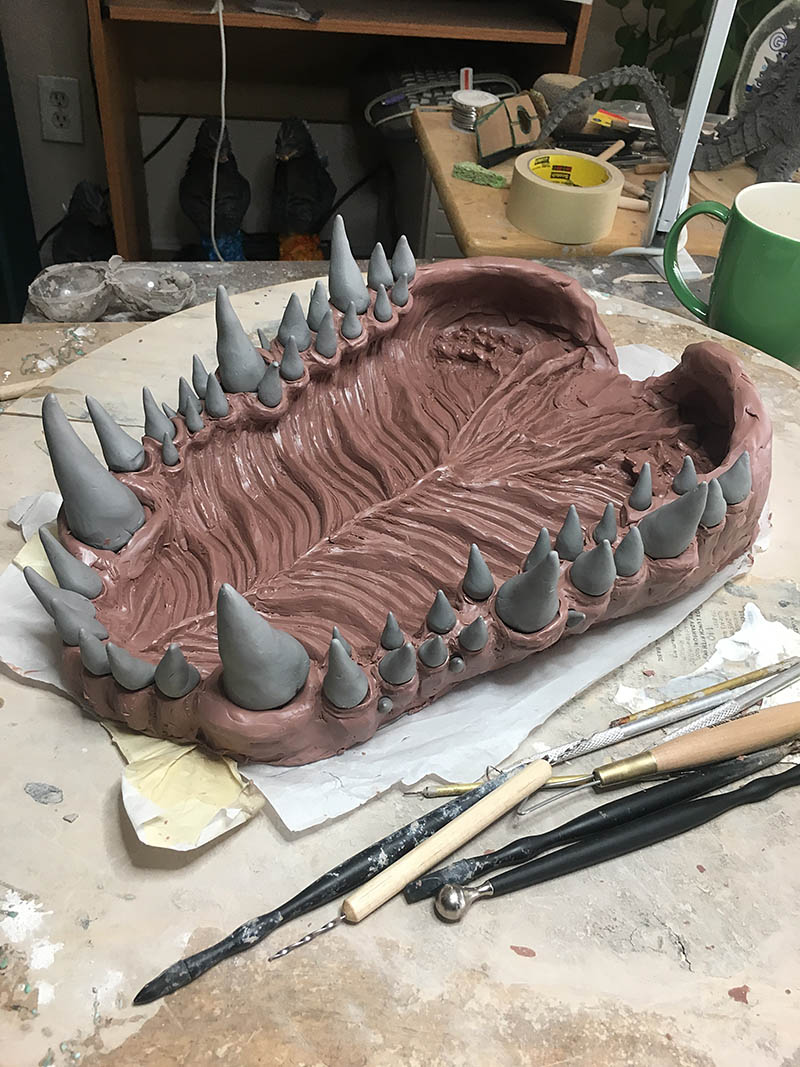
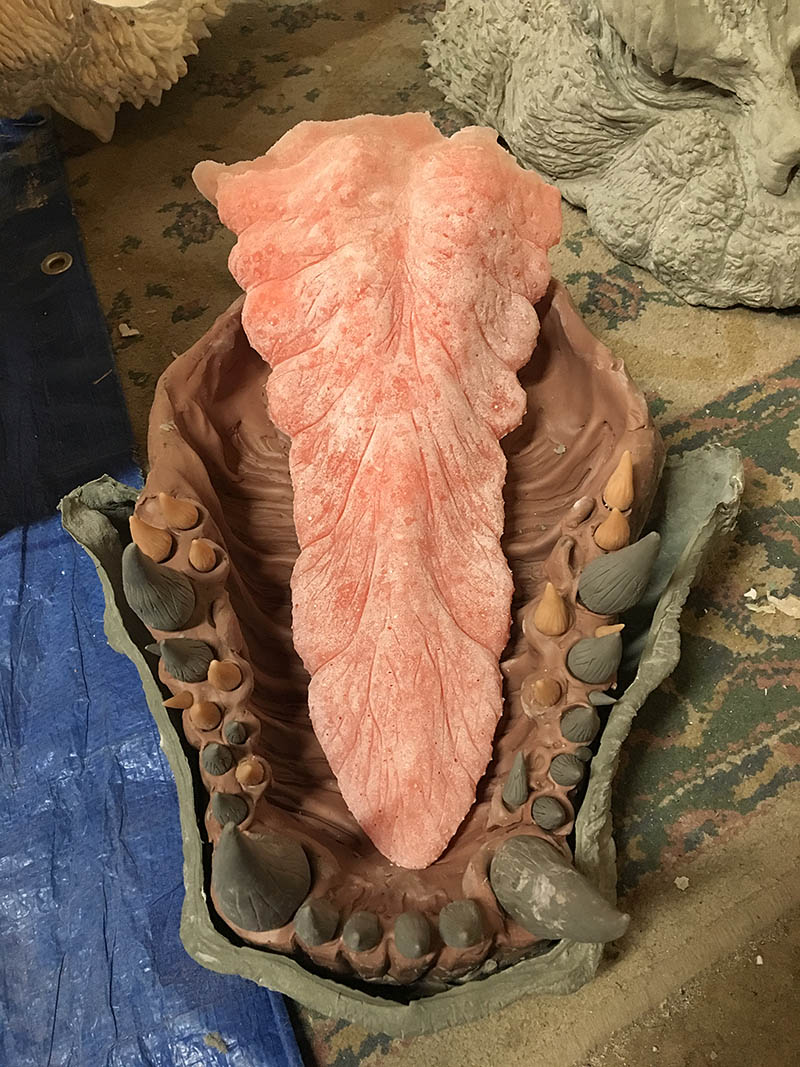
Bottom jaw gum palate with the resin cast of the lower jaw to make sure everything is fitting right. I left a space for the tongue which will be a separate piece.
 The tongue was sculpted separately and cast as a flexible silicone piece. This is the armature for it made out of tinfoil.
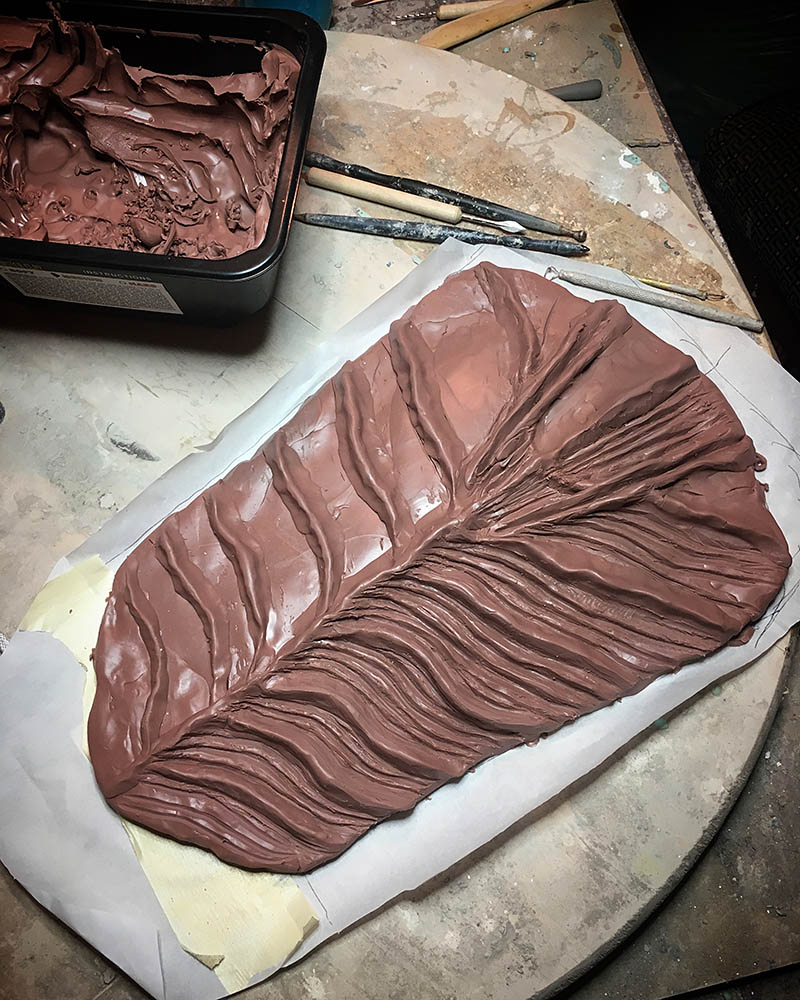
Tongue
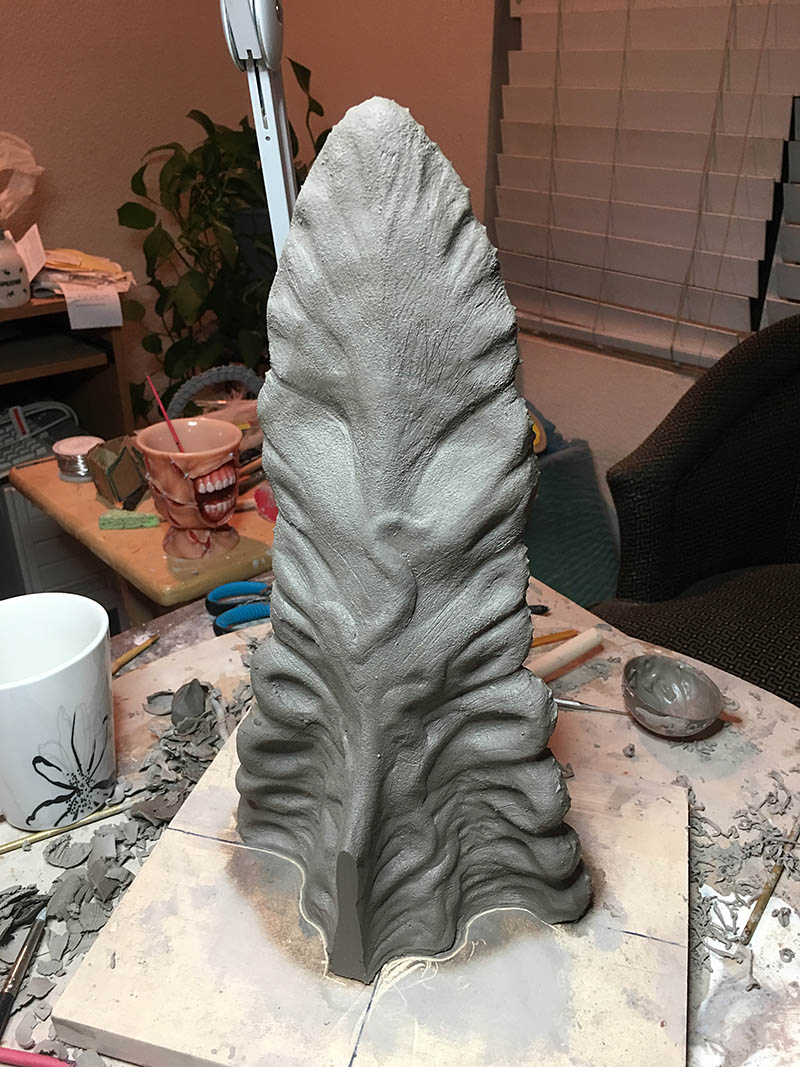
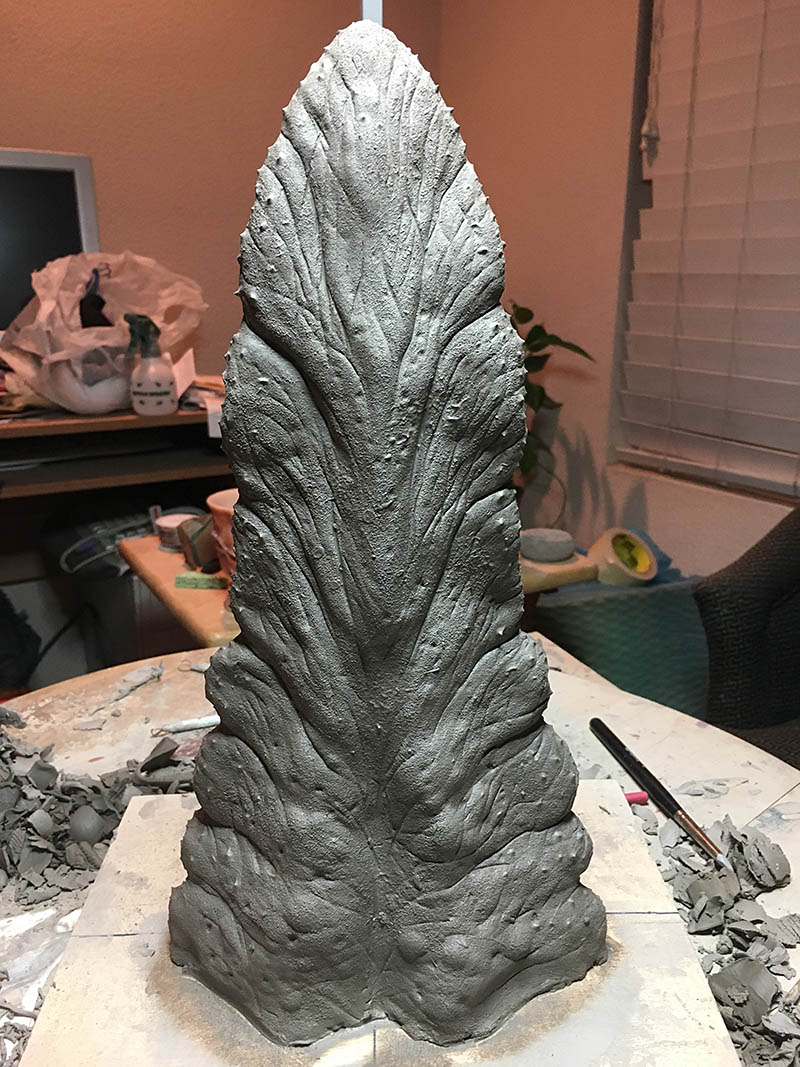
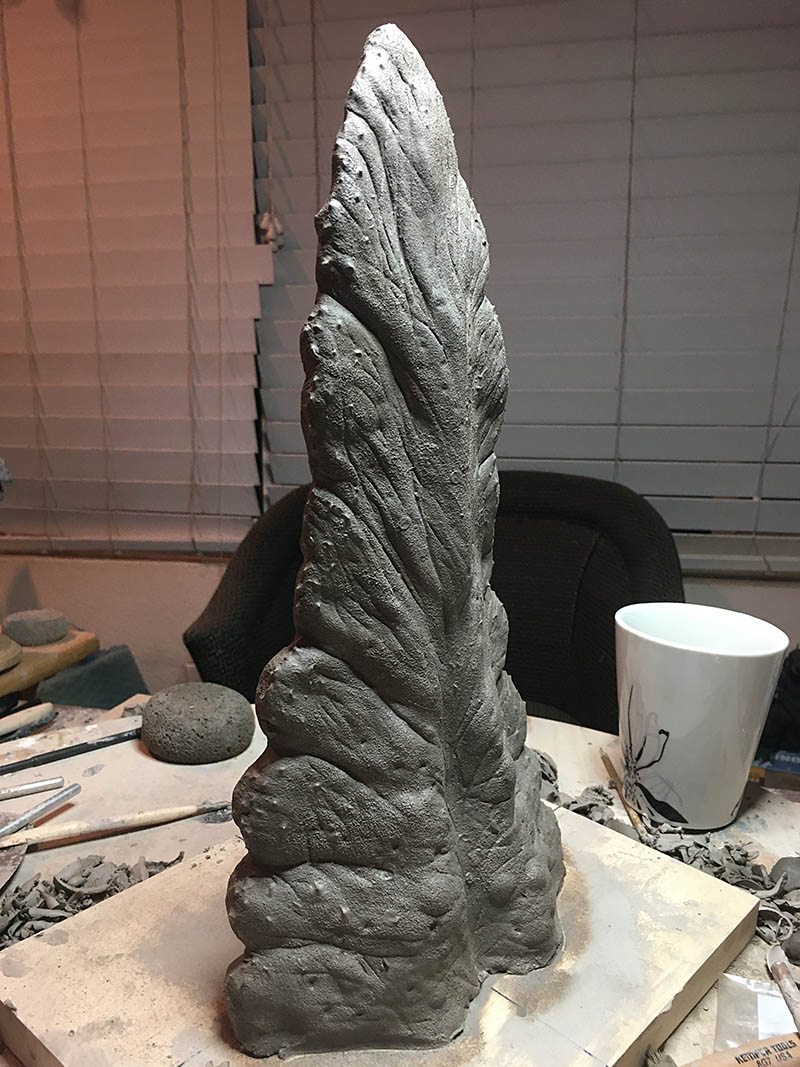
Development of the tongue continues. This was sculpted out of WED clay and textured with a sponge.
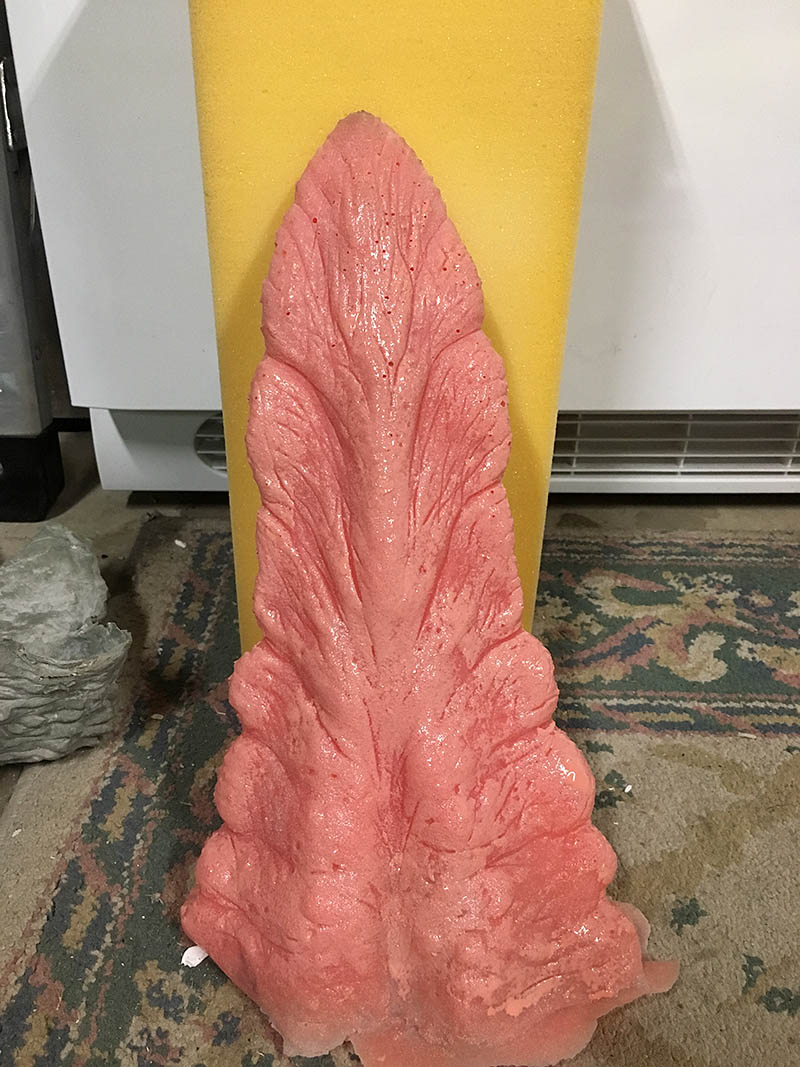
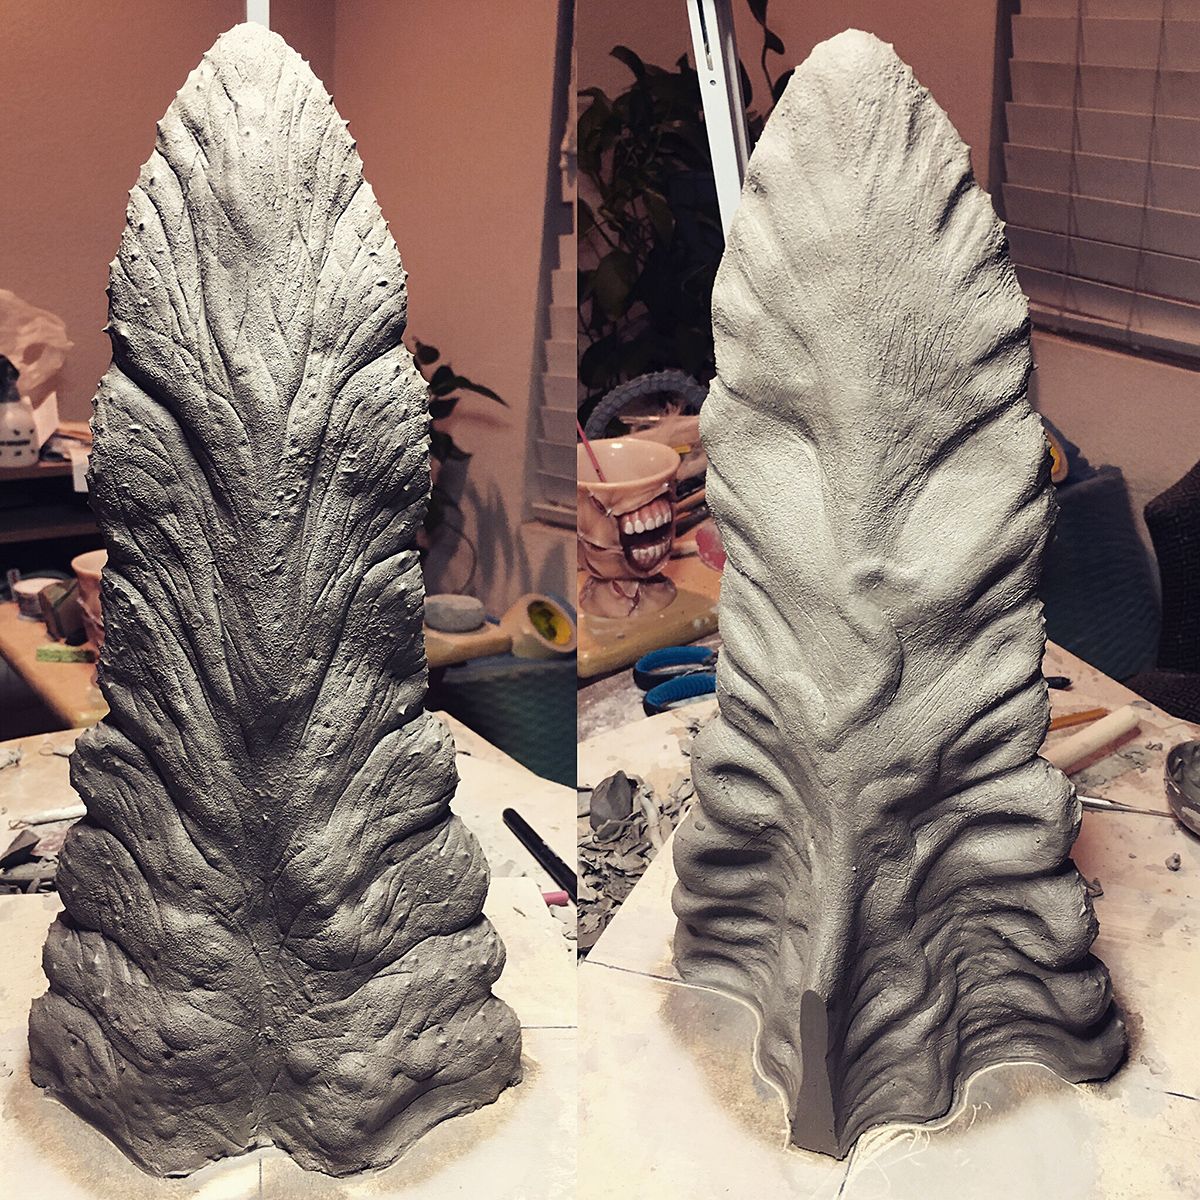 Front and back view of the tongue. No detail was spared. It even has veins. I wanted a very mutated dinosaurian look.
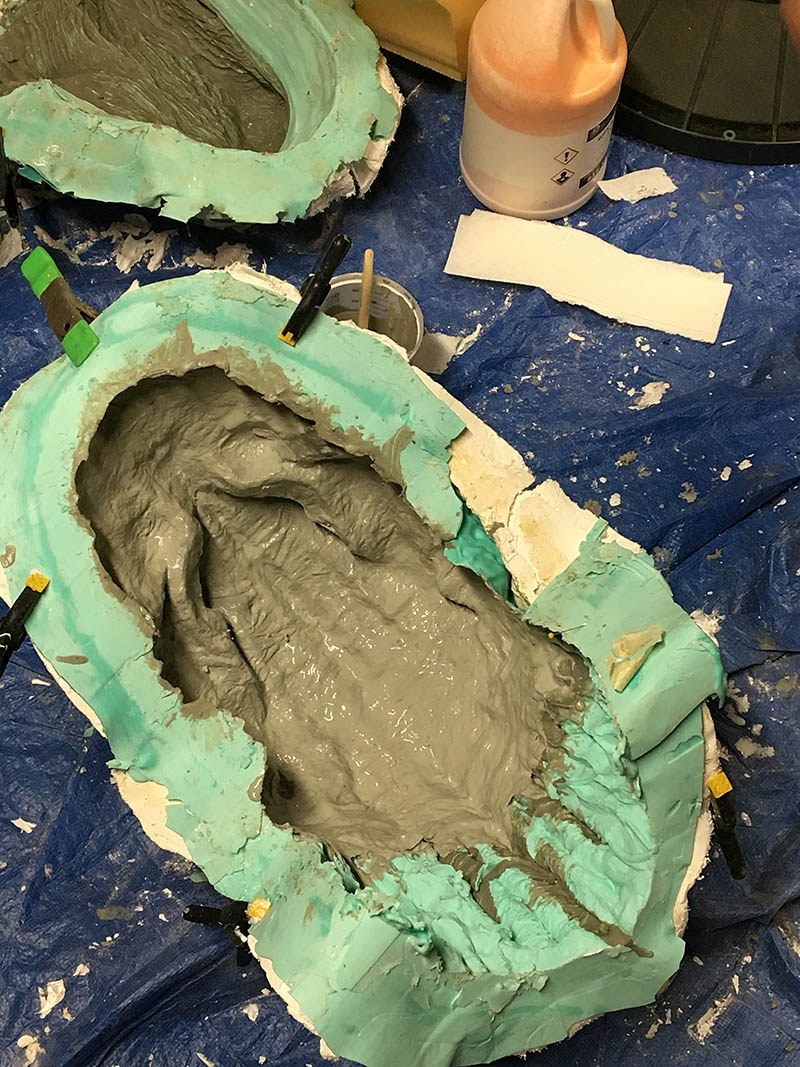
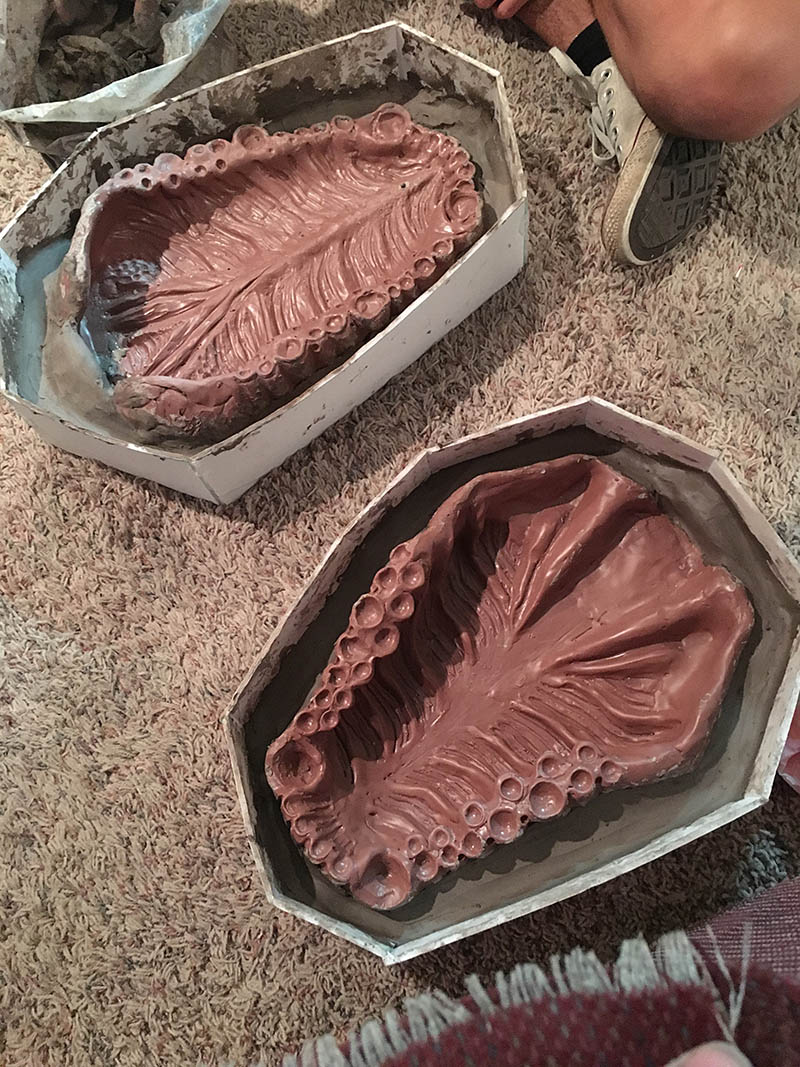 Box molds made out of foamboard were then made for both the lower and upper gum palate. All the teeth were removed as they will be separately molded. Clay was filled in on the sides to take up space reducing the amount of silicone used.
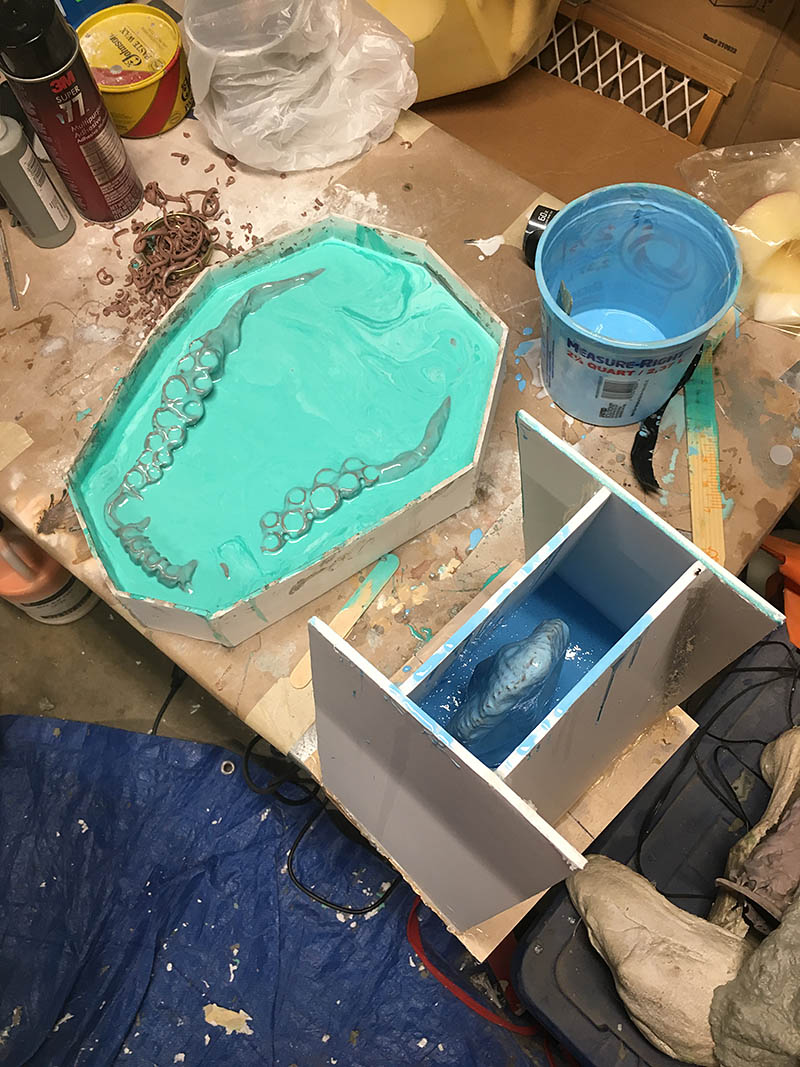 A box mold was made for the tongue as well. First batches of silicone were poured in. They need to be completely submerged.
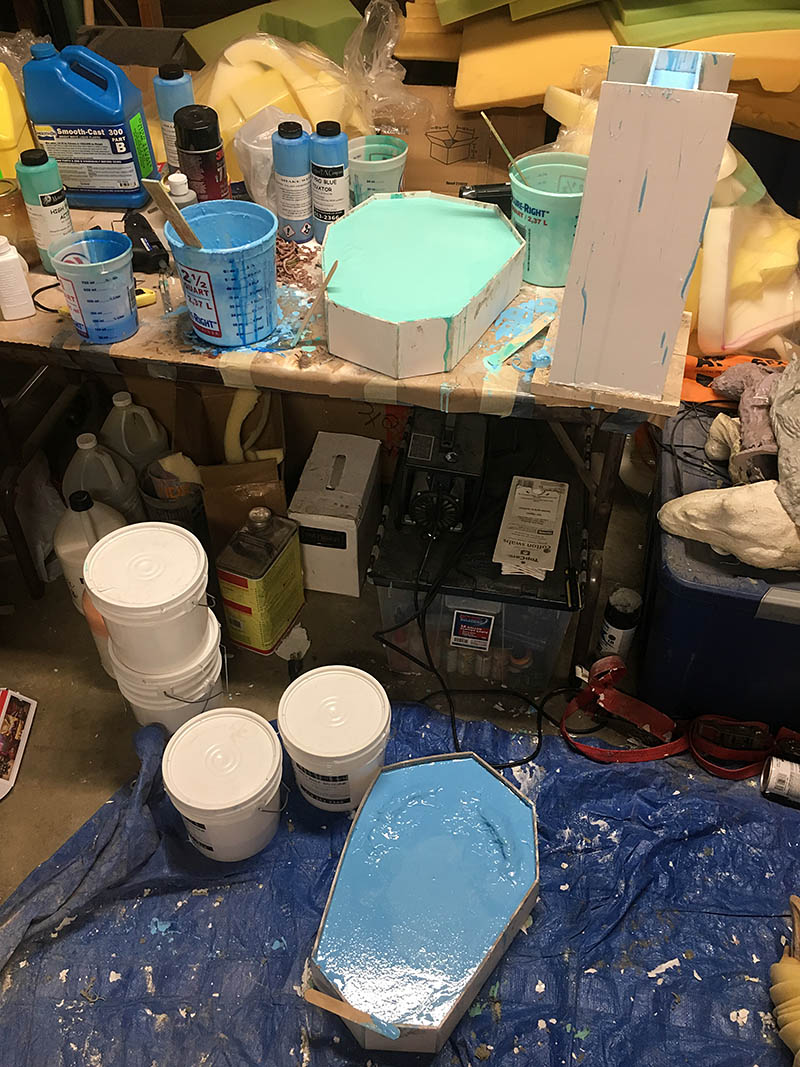 Now to play the waiting game with all three sculpts completely submerged in silicone. Silicone takes about half a day to fully cure.
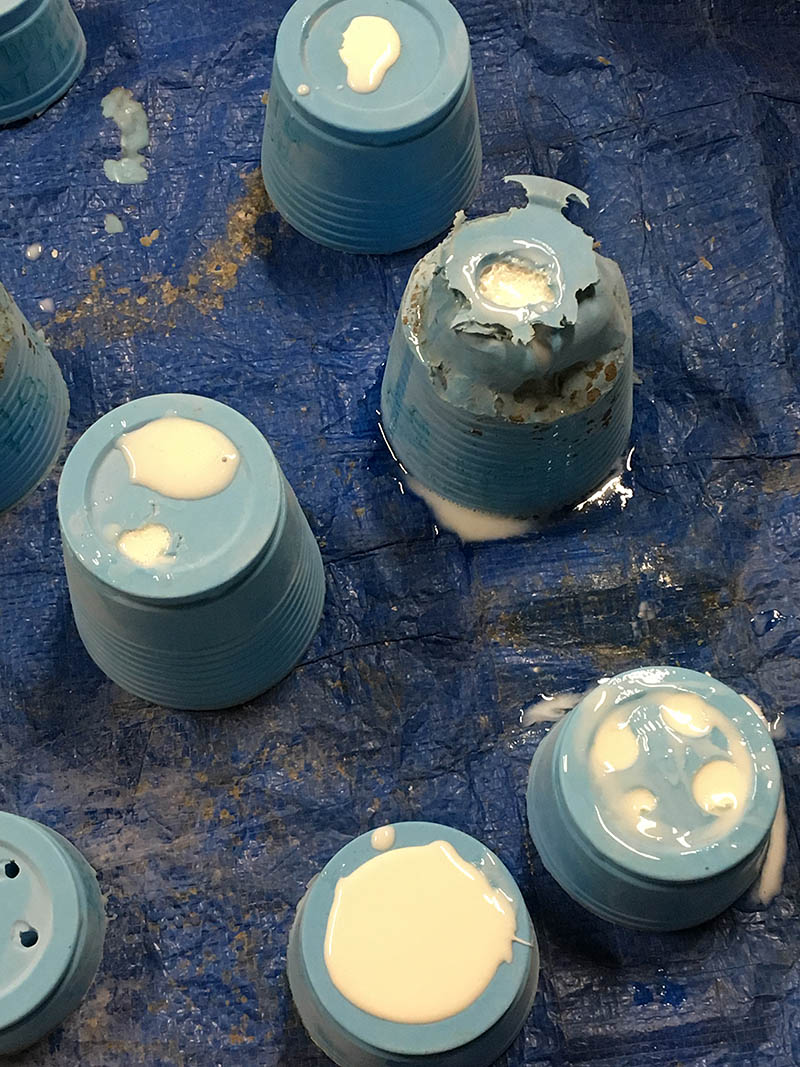
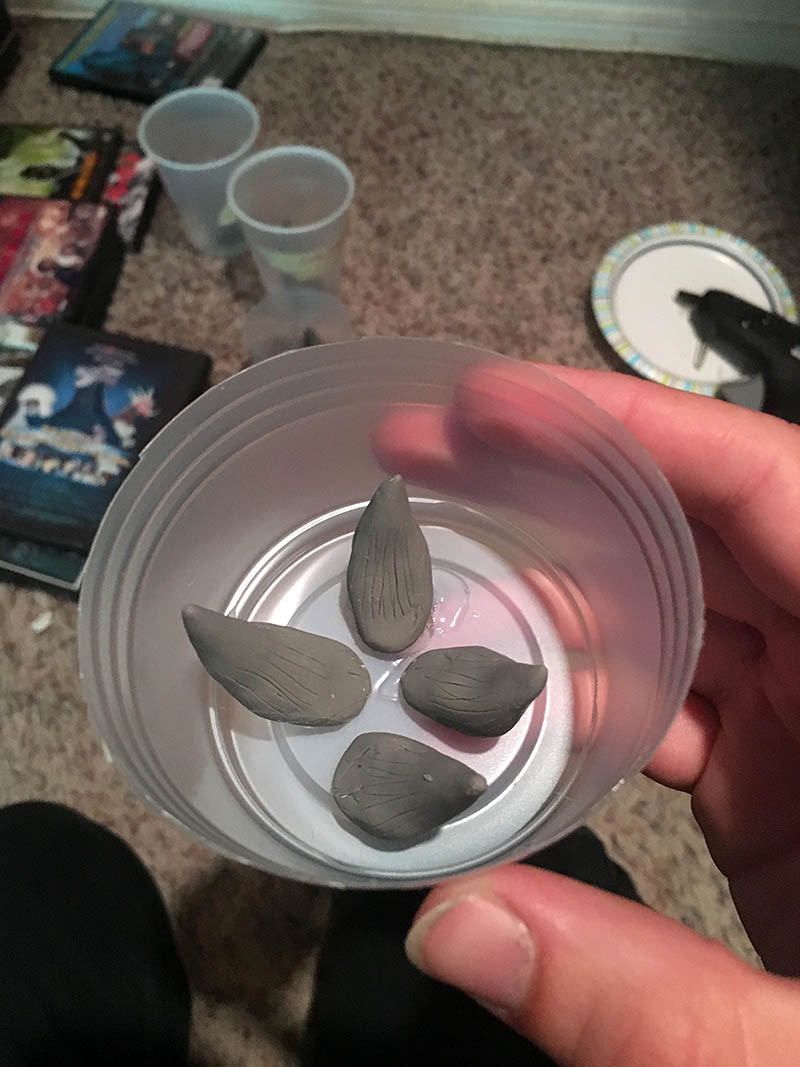 Fortunately I did not need to mold every single tooth I had in the gum palate sculpts. I just needed a few different sizes. Selected teeth were hot glued to the bottom of a disposable plastic cup. Silicone was then poured in all the way to the top.
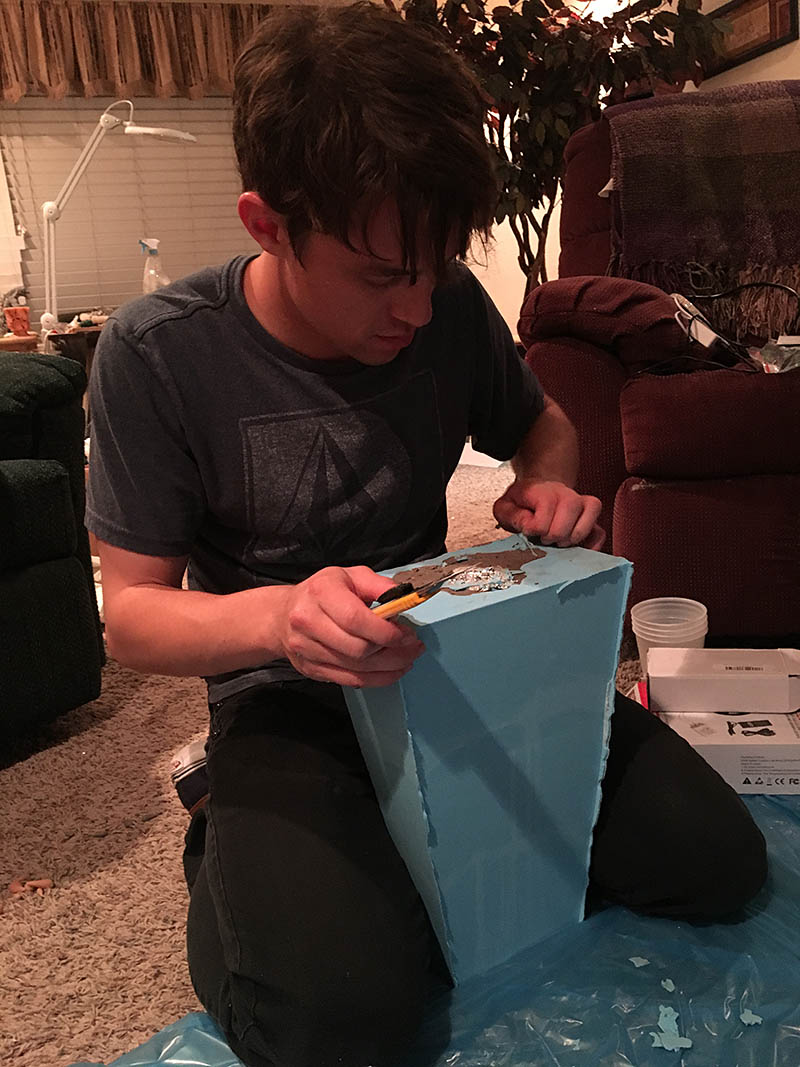 With the silicone tongue mold fully cured, it was time to remove the clay sculpt. Here I’m using an exacto knife to trim the excess on the edges.
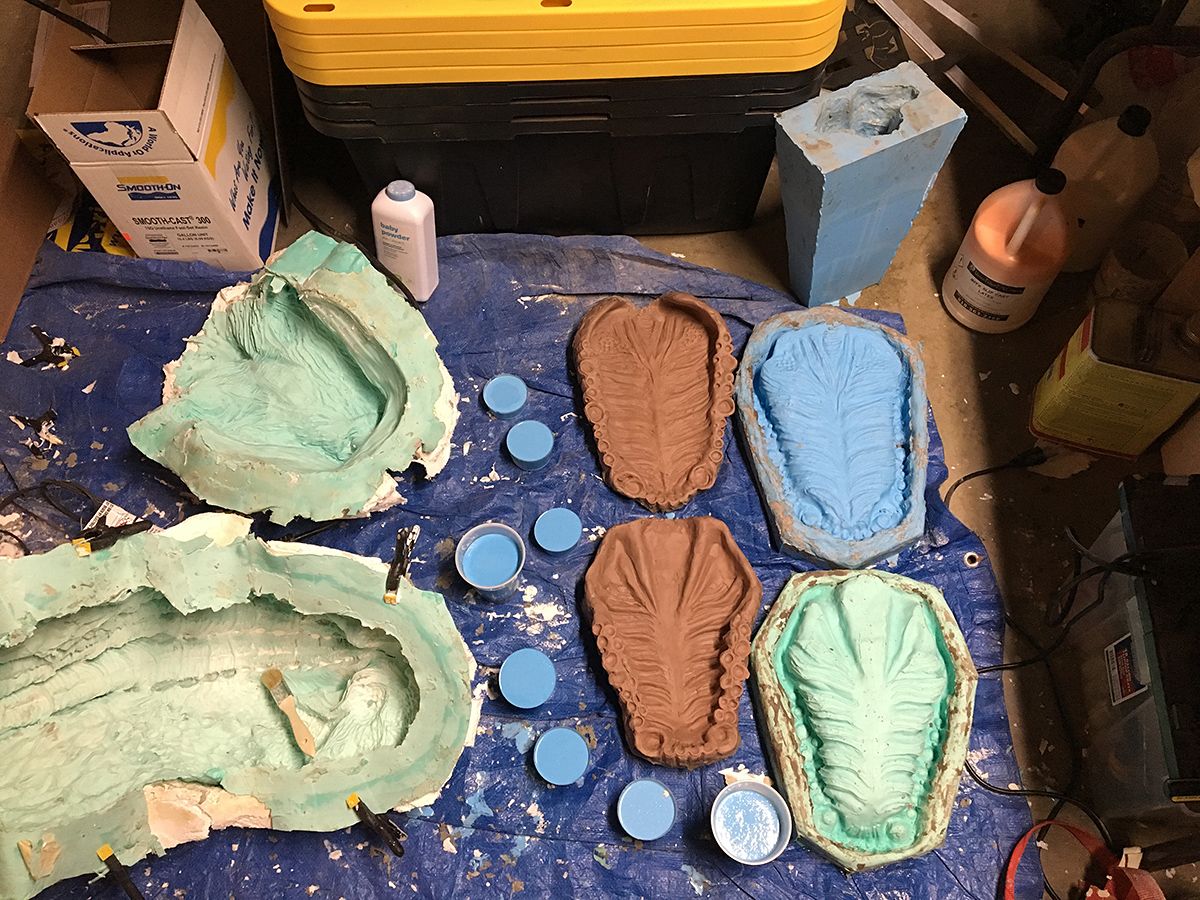 All the silicone molds for the suit in one shot. The smaller blue molds are each different sizes of teeth.
Good Fit
Heres the silicone tongue lined up with the bottom jaw and upper head looking to be a good fit. I added a fleshy orange pigment to the silicone.
 Teeth molds with resin teeth ready to be pulled from them.
 The latex casts of the gum palates were made by brushing a single thin layer of latex to capture all the detail then a second layer of latex was brushed on but this time, while that layer was drying, I added strips of paper towel. Once dry, I repeated the process a few more times until there was 4 layers of paper towels.
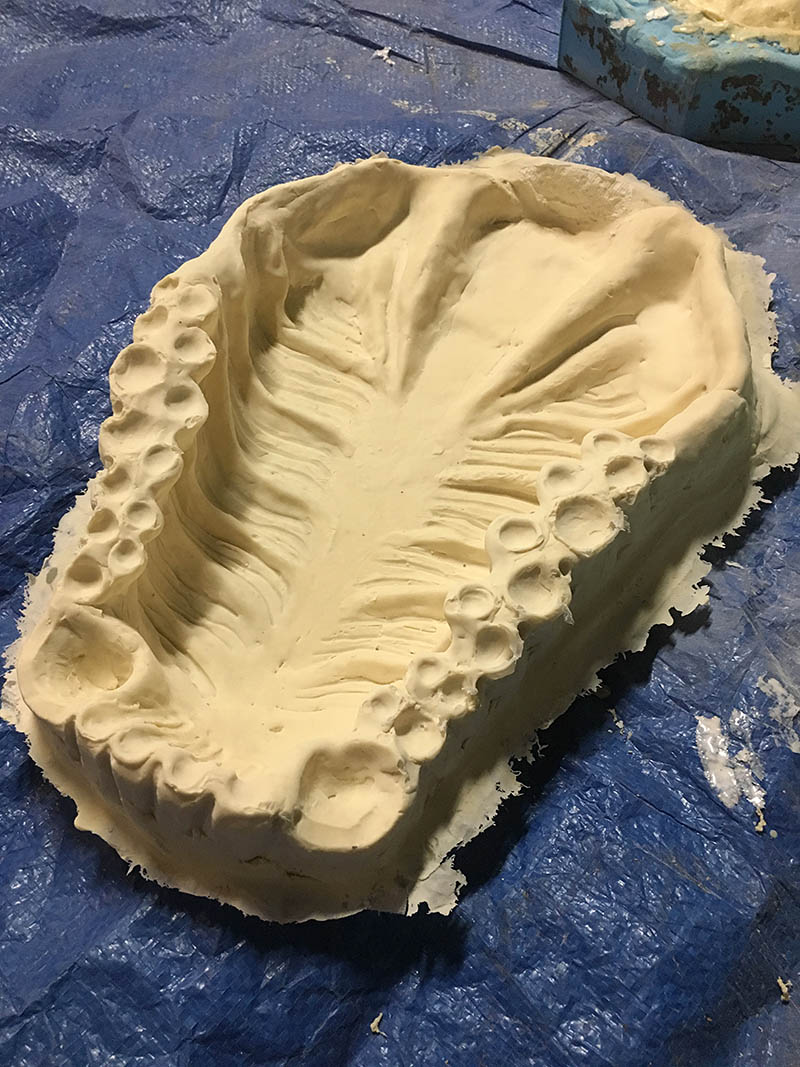 This is the final product out of the mold. A latex gum palate ready to be painted!
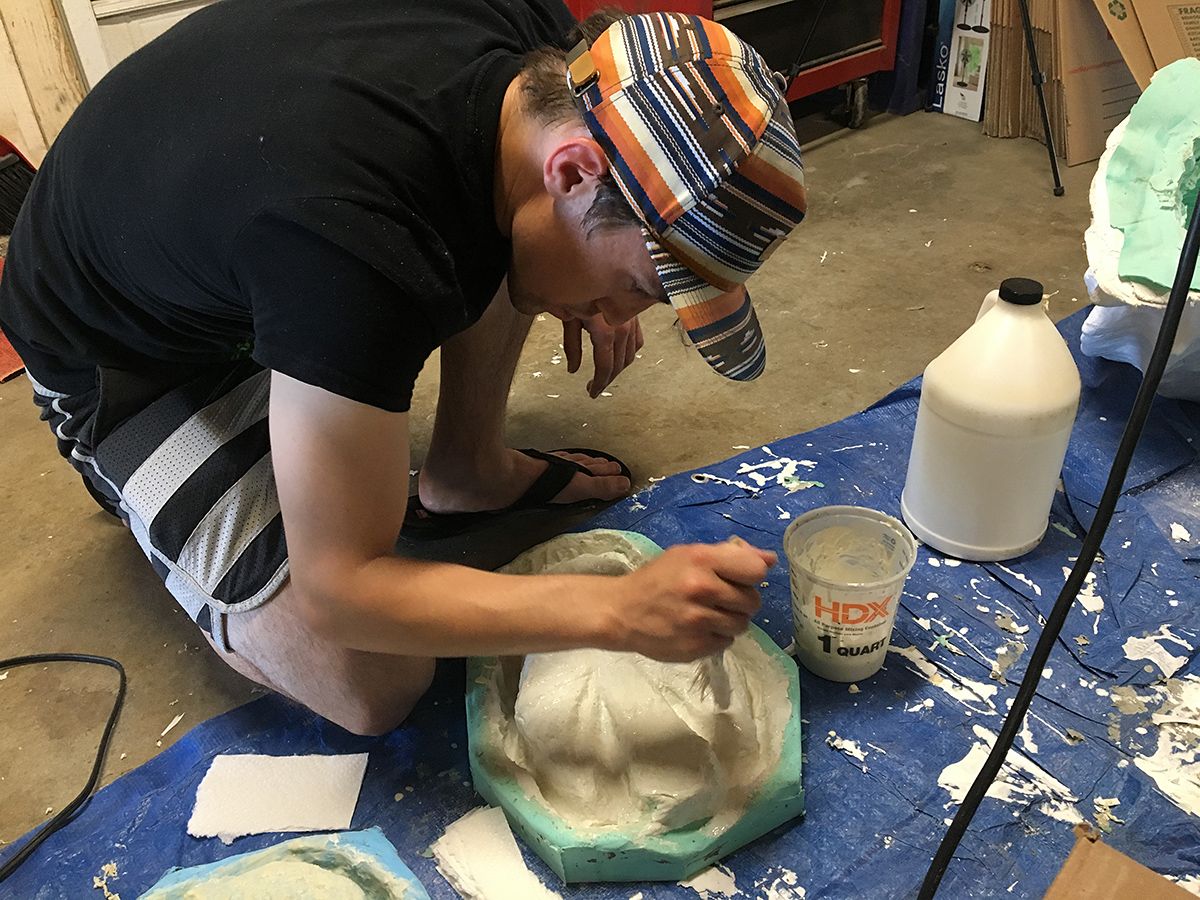
 The next step was to make a fiberglass under skeleton using the two head molds. I used fiberglass cloth, fast setting 5 minute epoxy, rubber gloves, and scissors to cut the cloth.
 First I took the fiberglass cloth and set it down into the head mold until it was flush with the surface. I trimmed any excess at the top. Then I took the 5 minute epoxy and brushed it evenly over the surface of what I wanted for the under skeleton. The epoxy sets fast so I needed to work quickly.
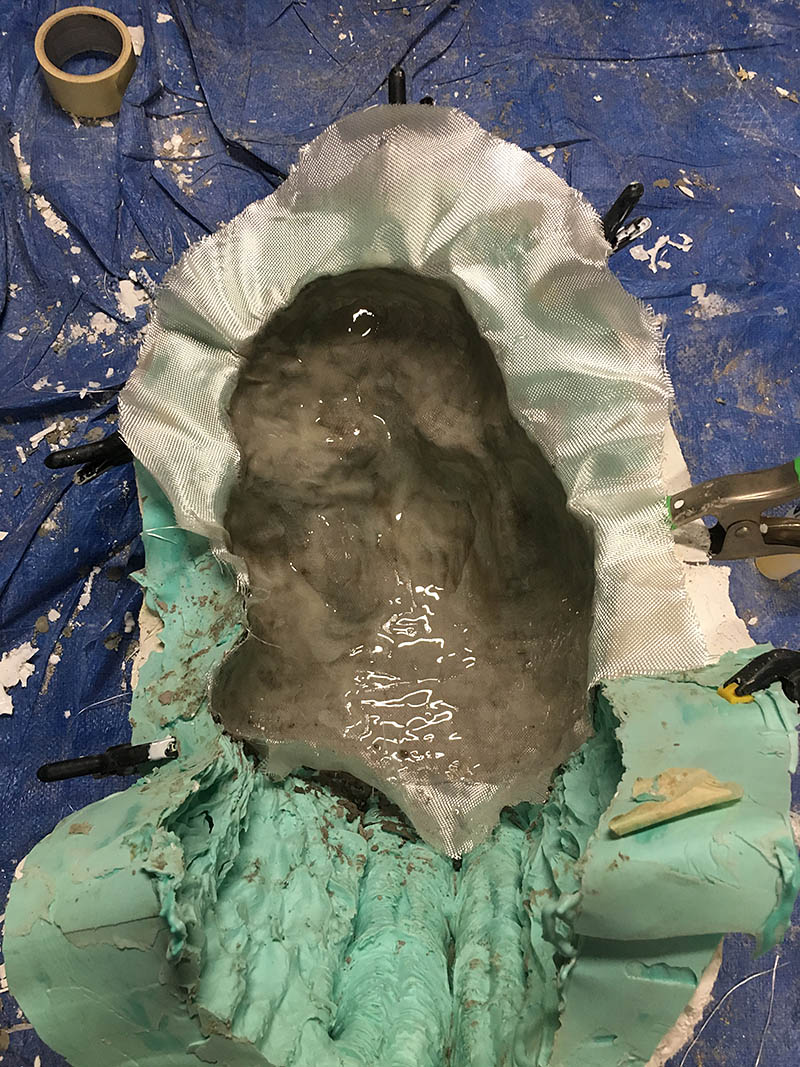
 Once cured. I pulled the fiberglass cast out of the mold and trimmed away the excess fiberglass around the edge. I then washed and scrubbed the two fiberglass molds to remove any exposed glass not captures by the epoxy.
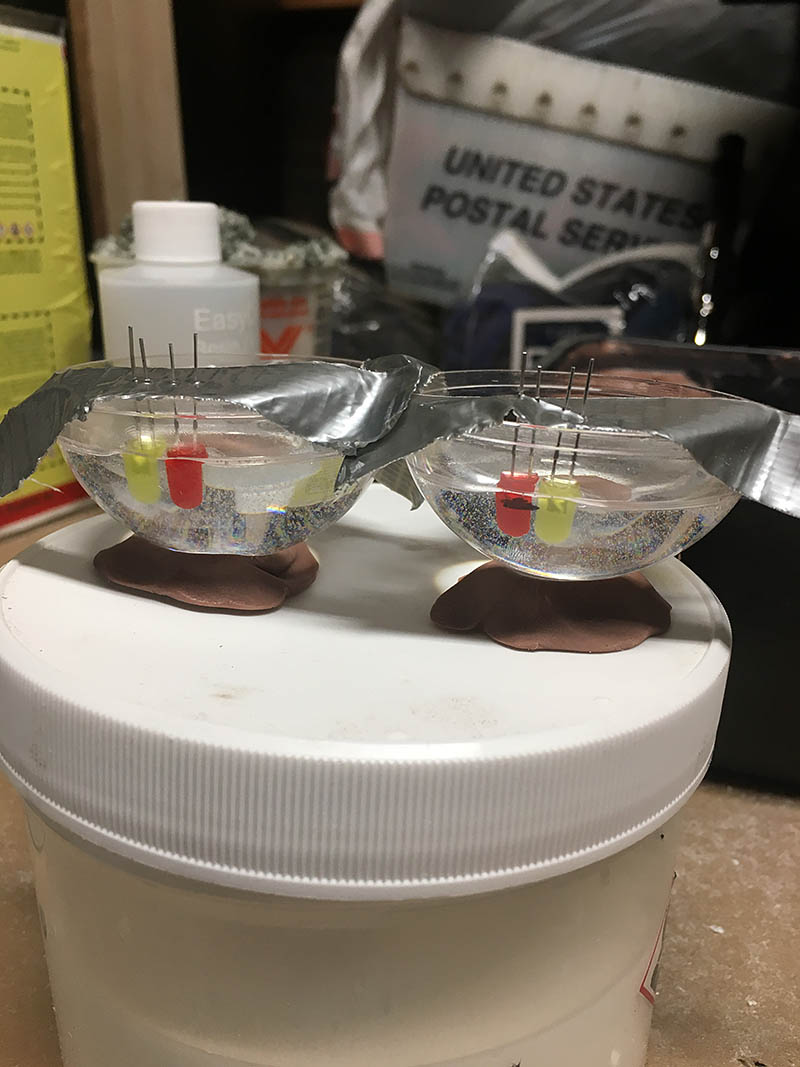 Here’s the beginning of the eyes. I picked up a clear plastic Christmas ornament that consists of two halves. I took Easy Cast clear casting epoxy and filled up each half about 3/4 of the way. The two LED lights were sealed in the epoxy and were intended to light up the eyes but an alternative method was used. Once the epoxy cured, I painted the flat surface.
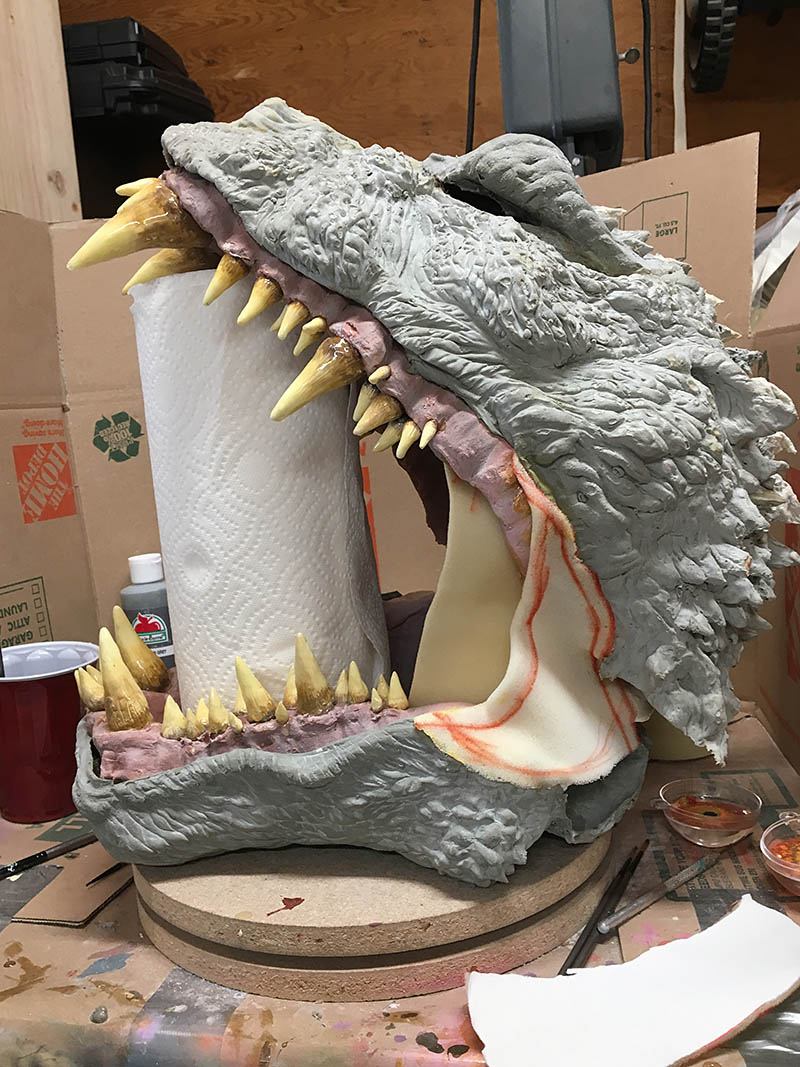
 Latex gum palates glued down to the fiberglass under skeleton using barge with the first layer of paint laid down. I used an airbrush to paint them.
 The tongue proved to be too heavy as a solid silicone piece. A second hollow cast was made and a block of foam was carved to fit inside to fill out the shape.
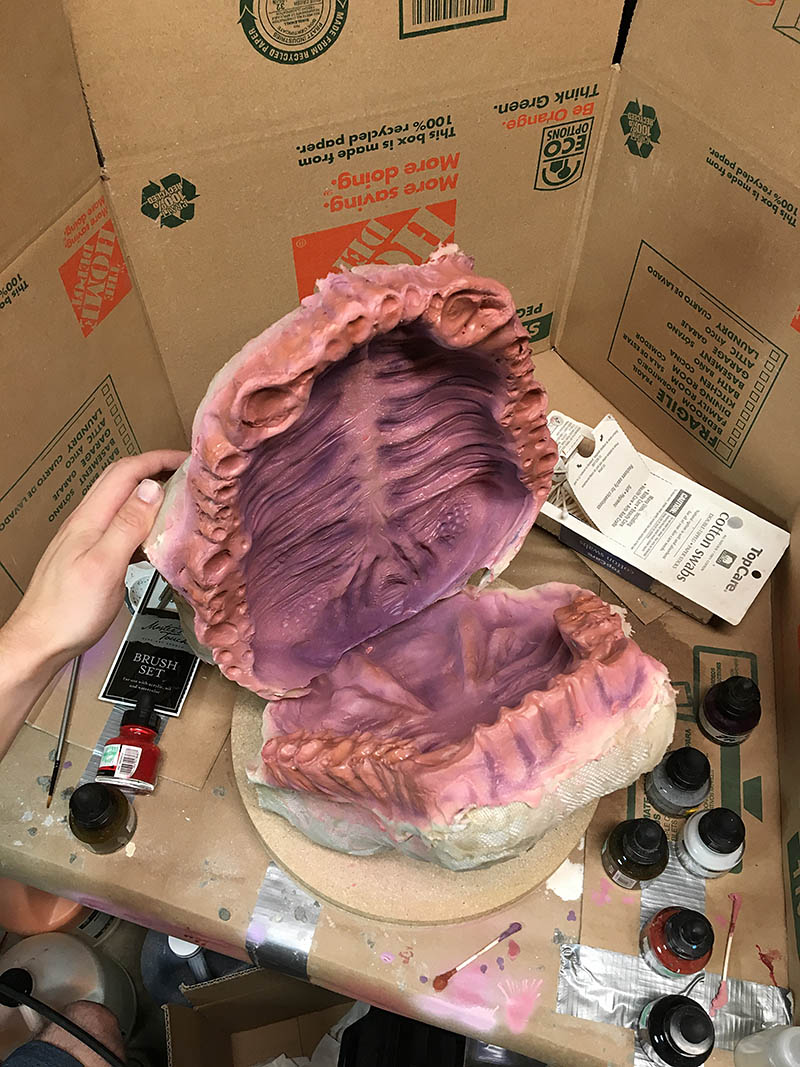 More colors being thrown onto the gums. It was very experimental but eventually the proper colors were found.
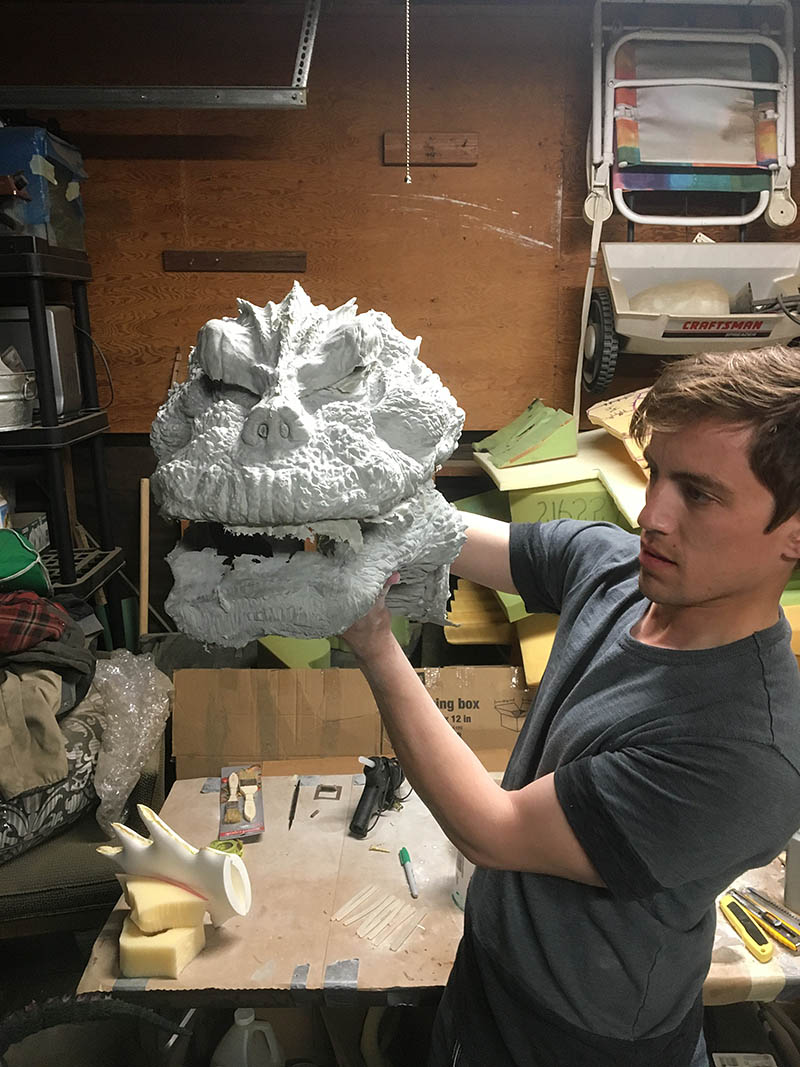
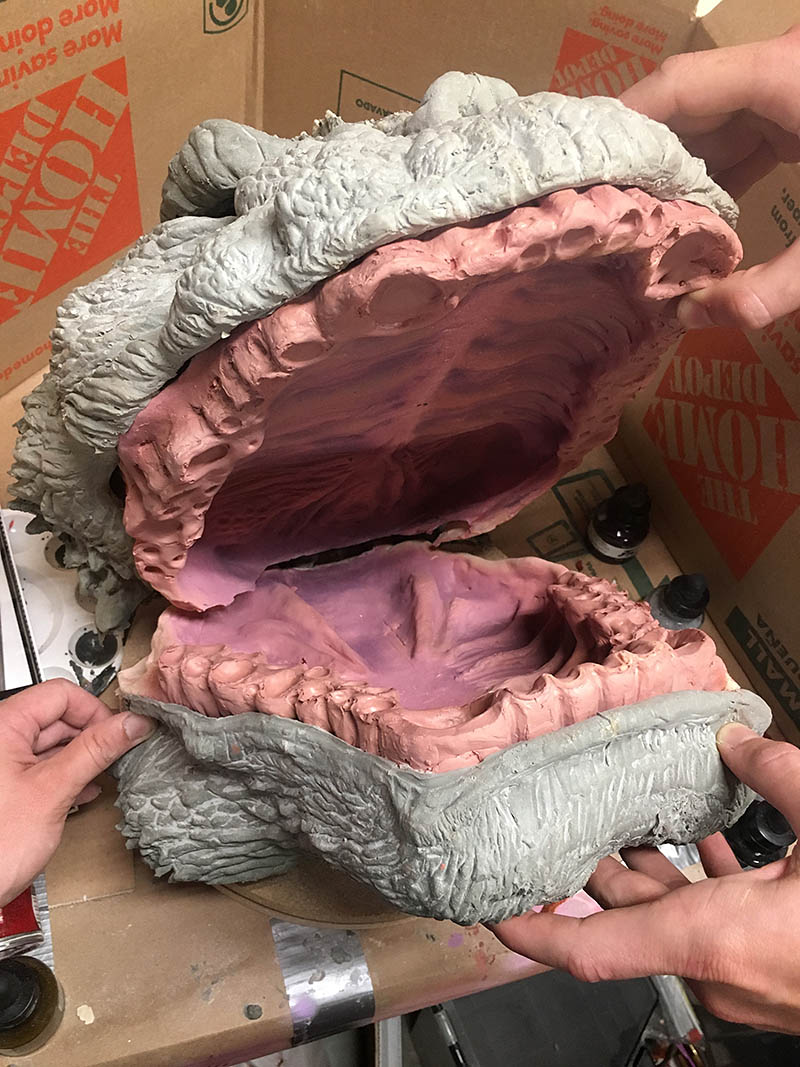 Test fitting the latex head pieces over the fiberglass under skeleton. Looking to be a good fit.
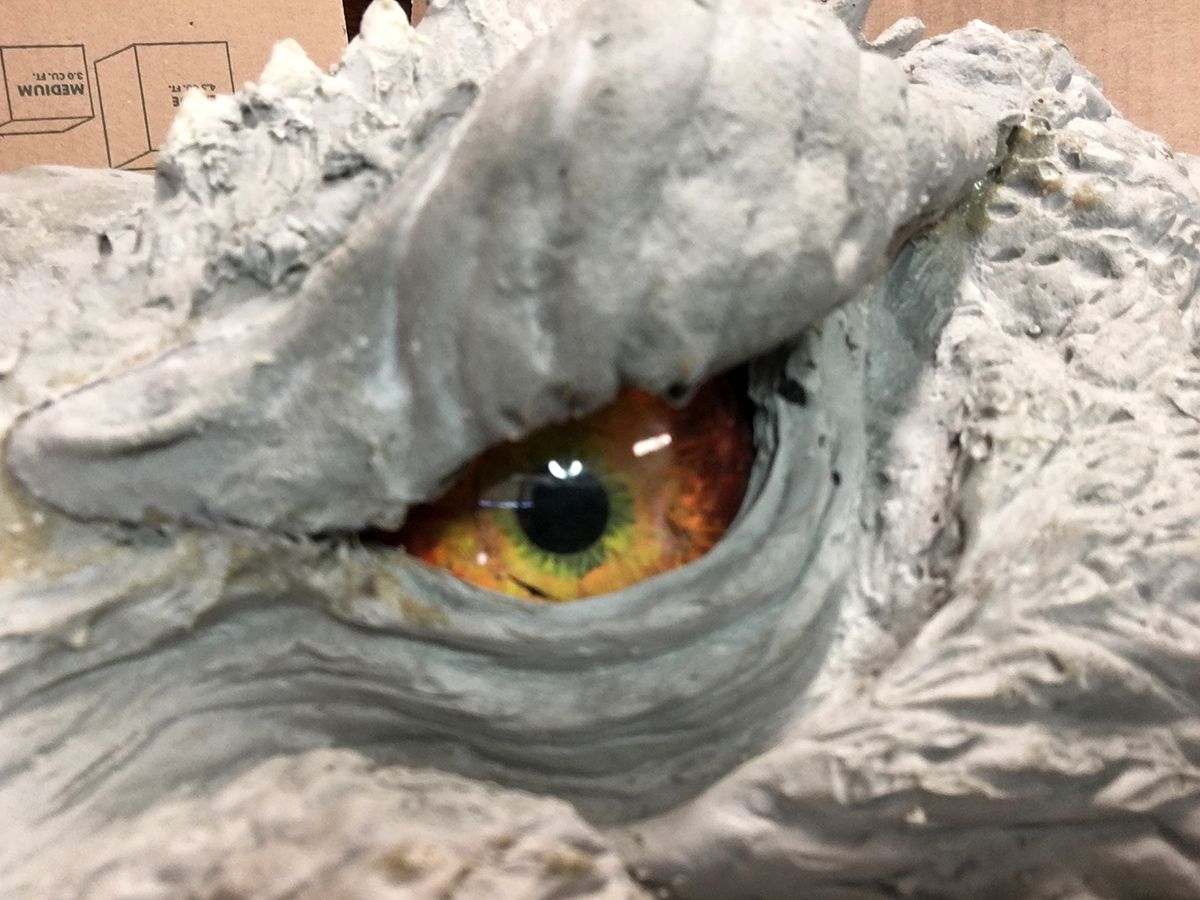
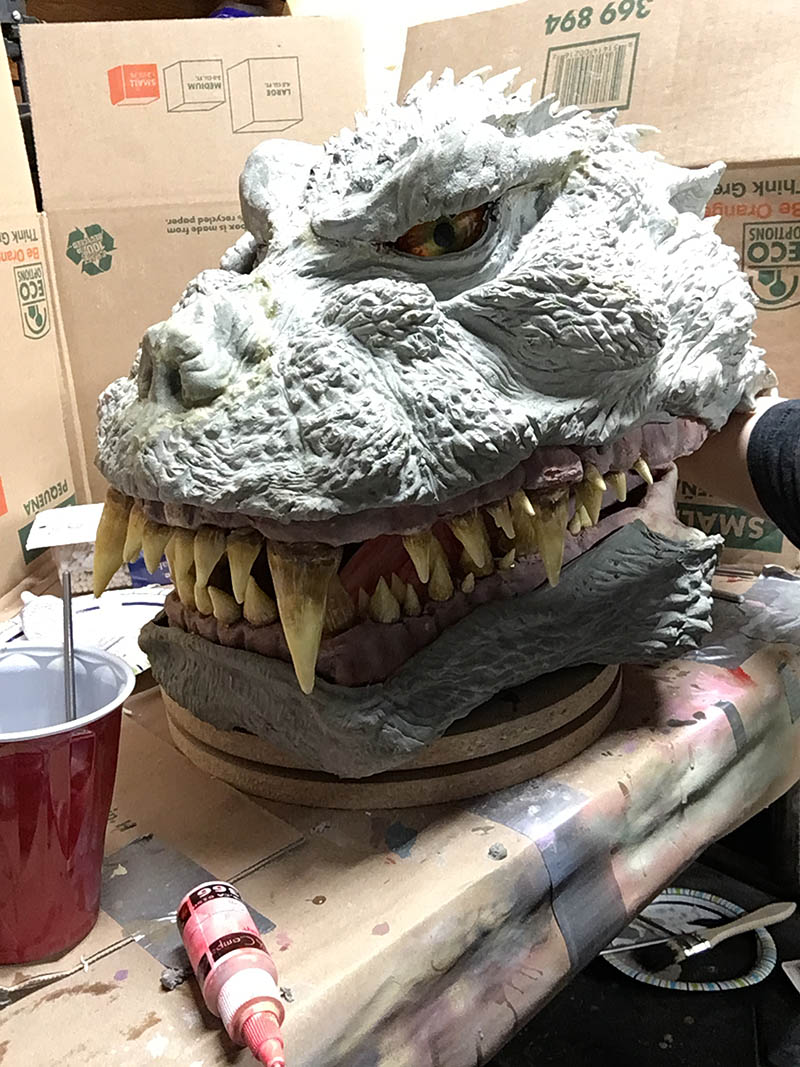
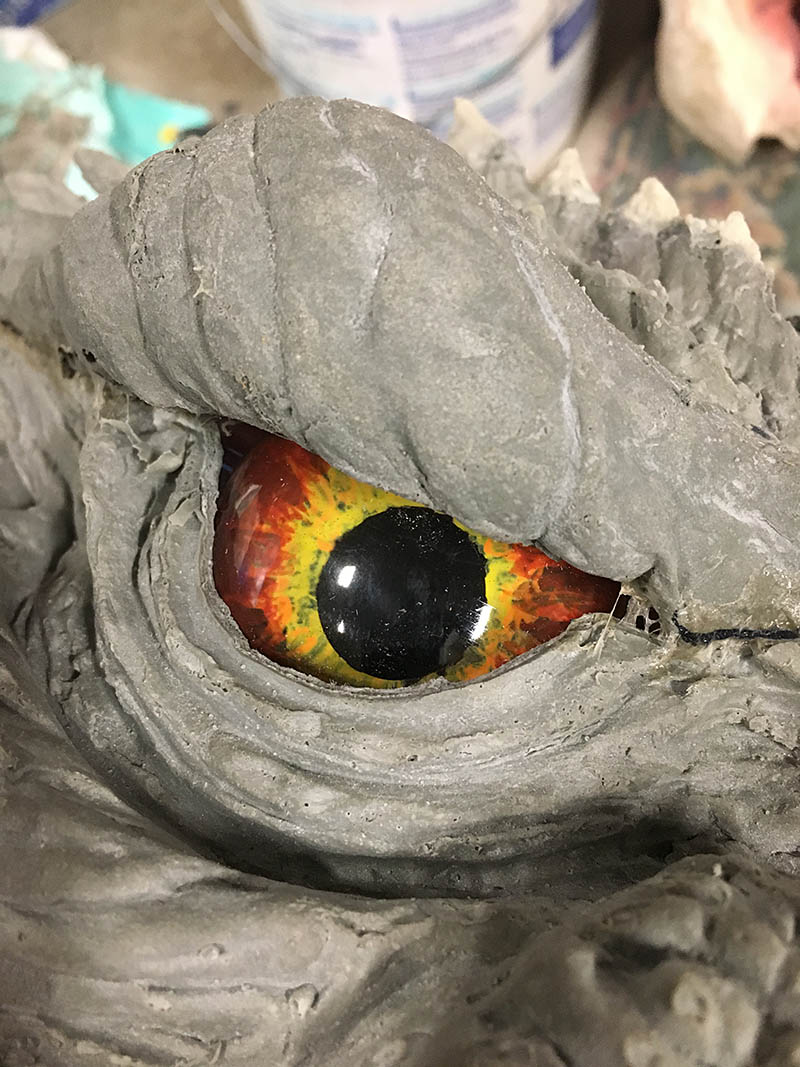 Here’s the painted eye lined up with the eye hole in the latex head just to see how it looks. I ultimately ended up reducing the size of the pupil quite a bit from what’s pictured here giving him a more primal look.
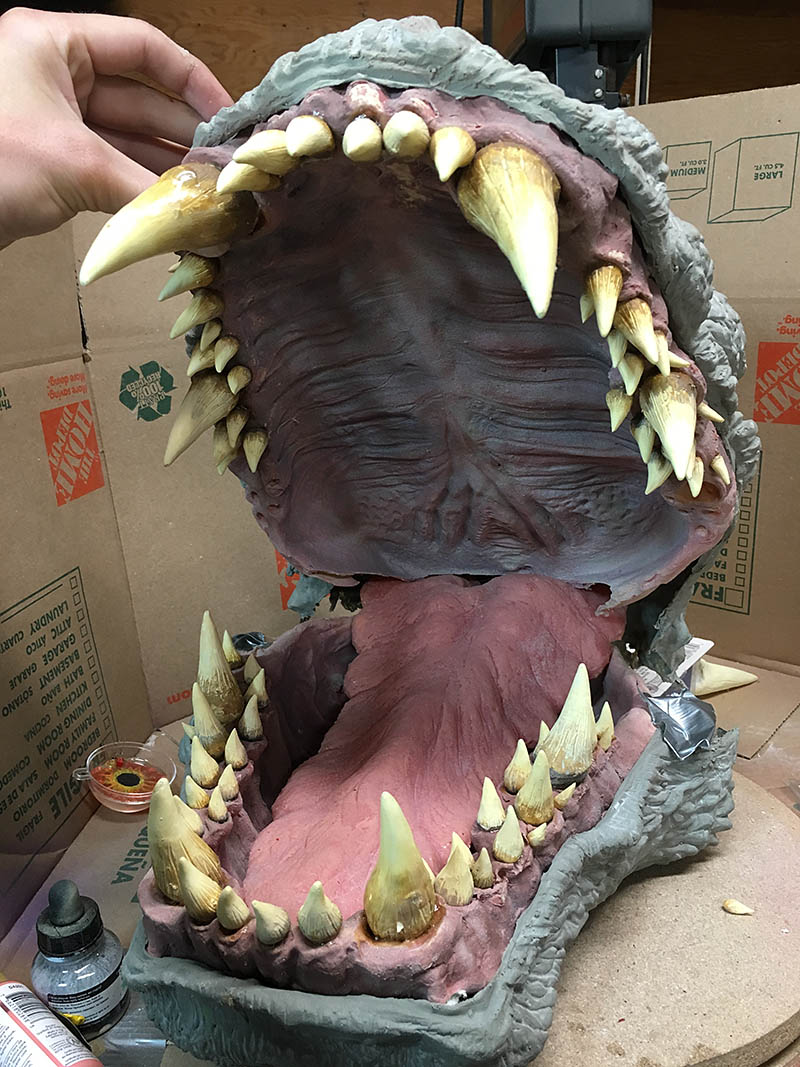
 Painted resin teeth were then glued to the gums with barge. Holes were punched through each tooth socket so that barge would be able to anchor to the latex underneath. Otherwise, the barge could potentially pull away from just being attached to the paint.
 A full set of bottom teeth.
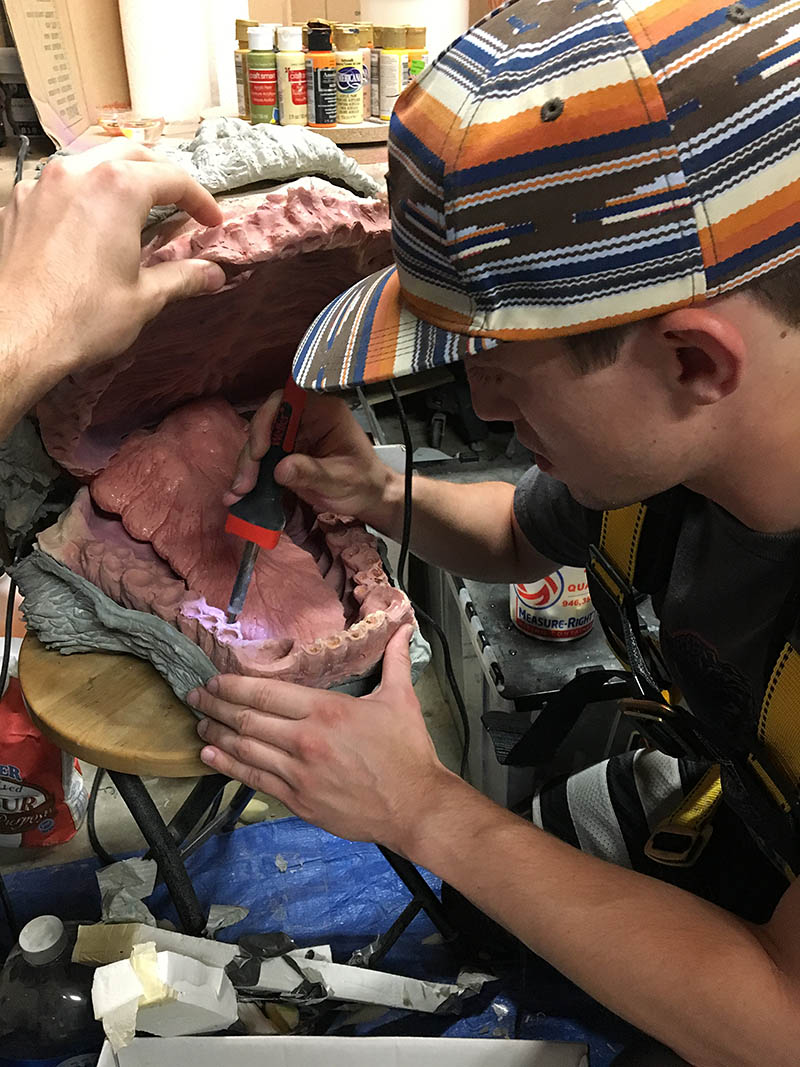 Holes were pinched through each tooth socket with a soldering iron. It’s important to be in a well ventilated area.
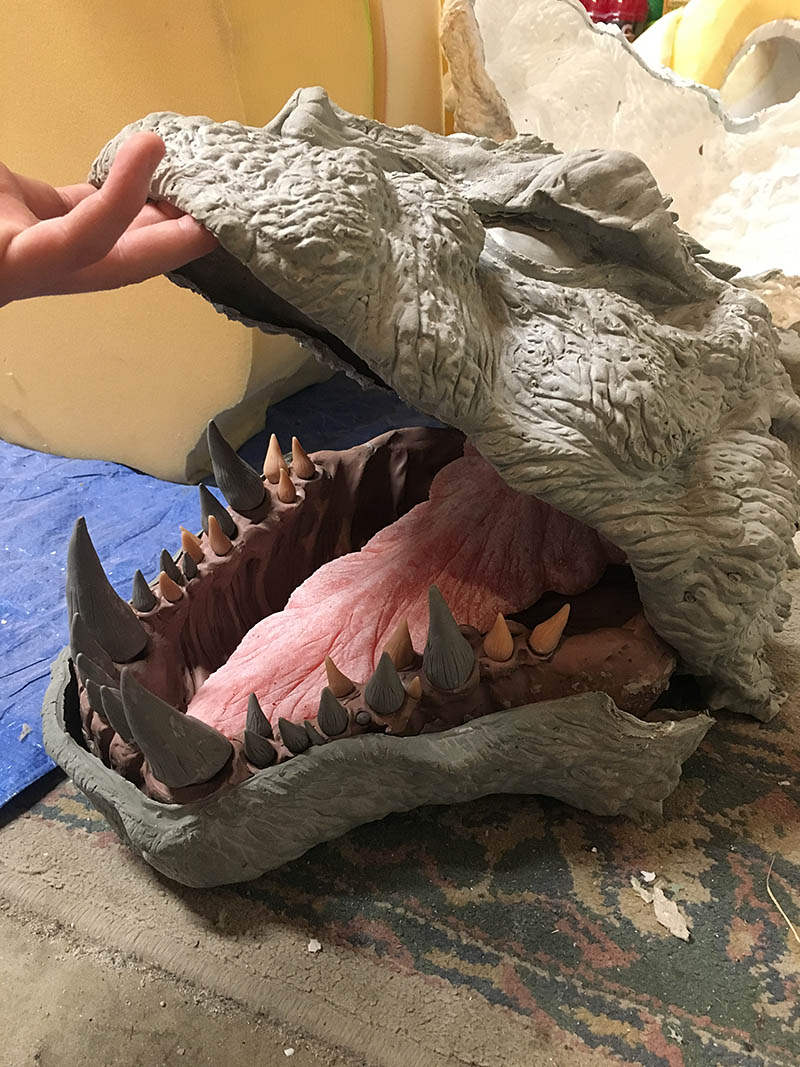
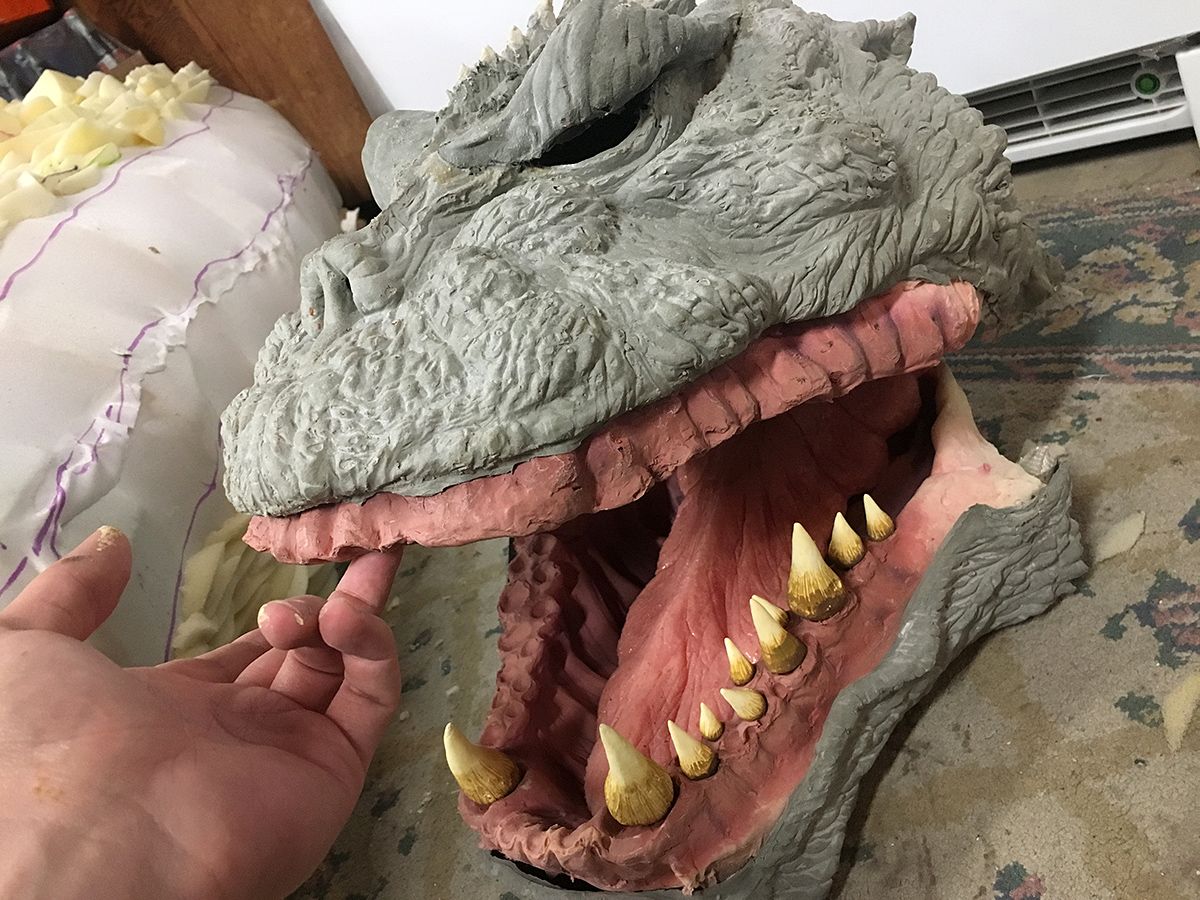
Full Mouth
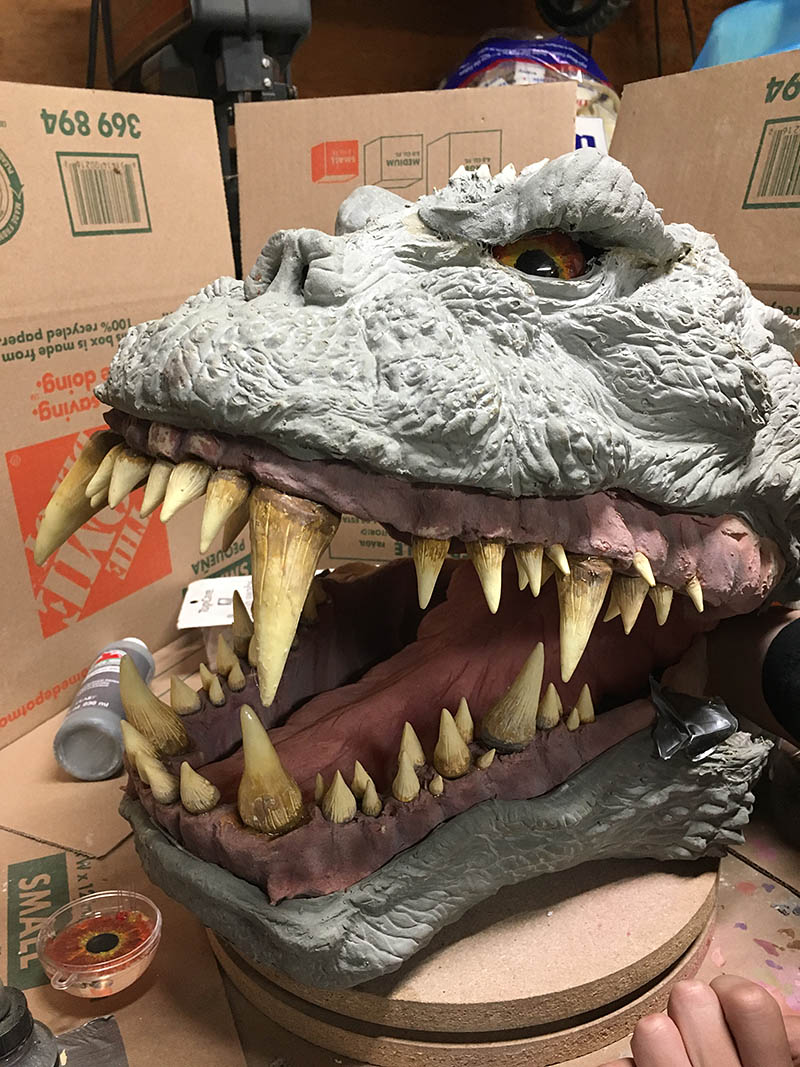
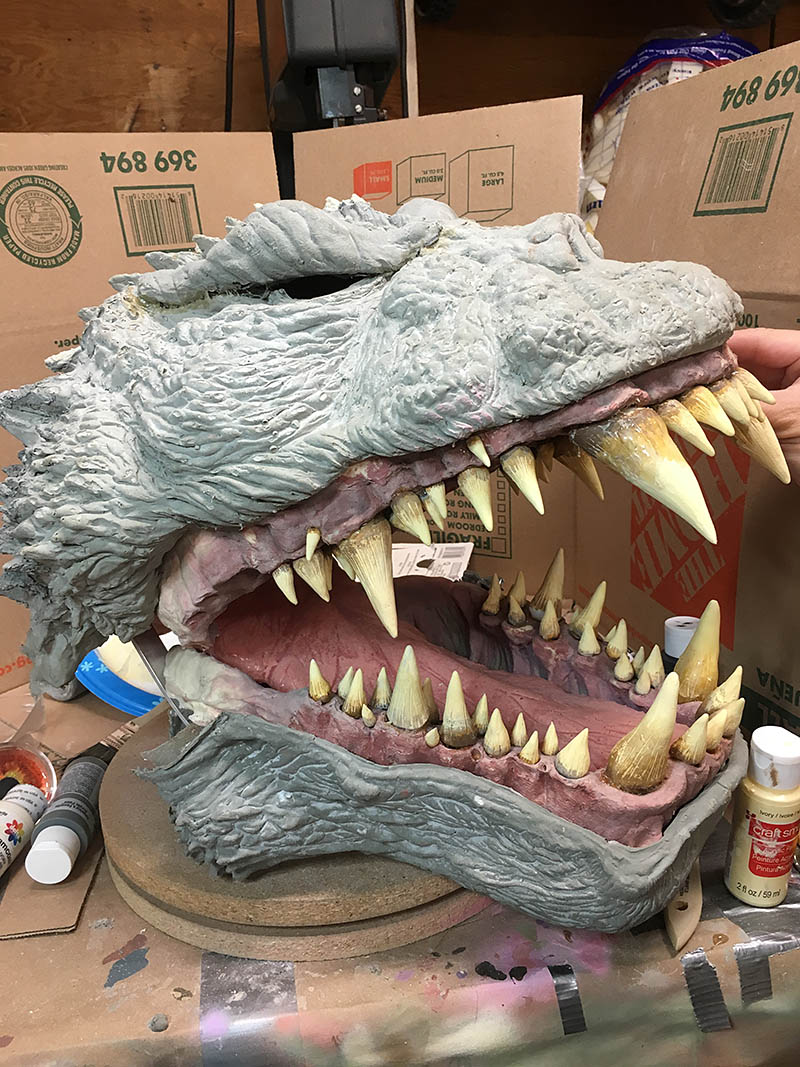
My first look at a full mouth of teeth. The two halves of the head were connected with an aluminum rode on a hinge so that the bottom jaw could open and close. The moving mouth is still a feature I have yet to add on the suit.
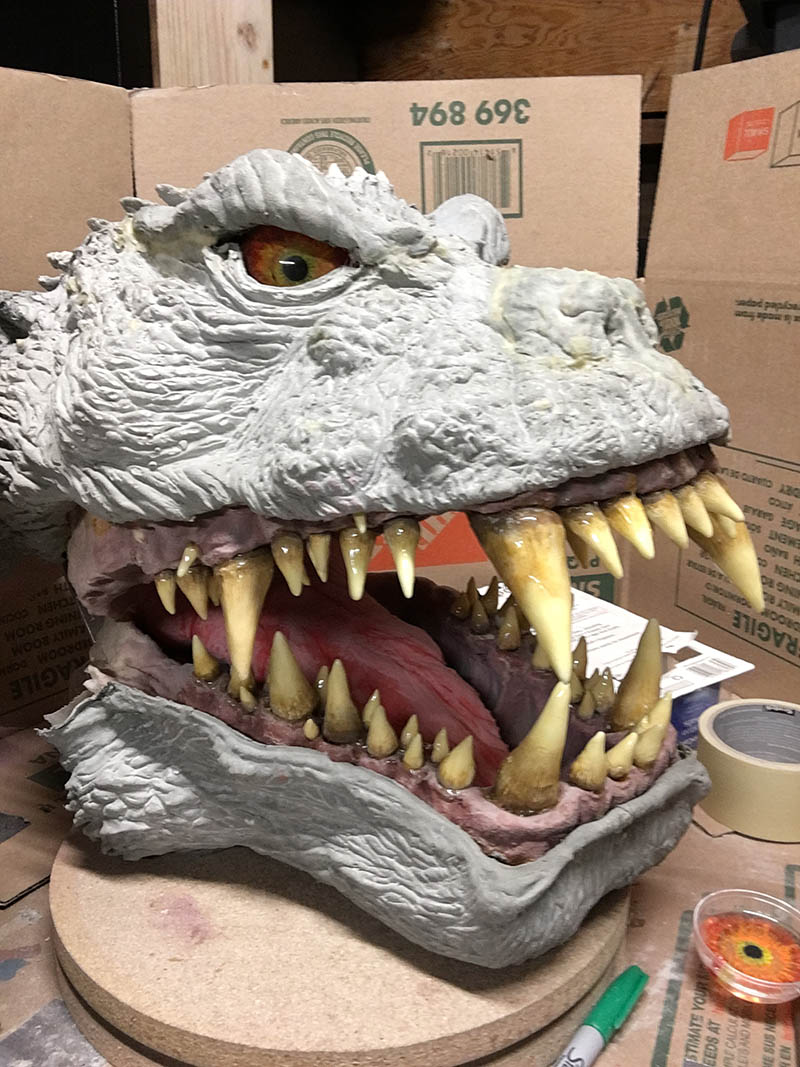
 Heres the eye with the reduced pupil.
New Nose
Even this late in the game, it’s still possible to make changes to something you don’t like. I noticed his nose was just a little too short for my liking. Just the nose tip was cast out of latex in the head mold and then was added over the old nose tip, moving it forward by an inch and a half.
 To bridge the two halves, 1/8in foam “skin” was added.